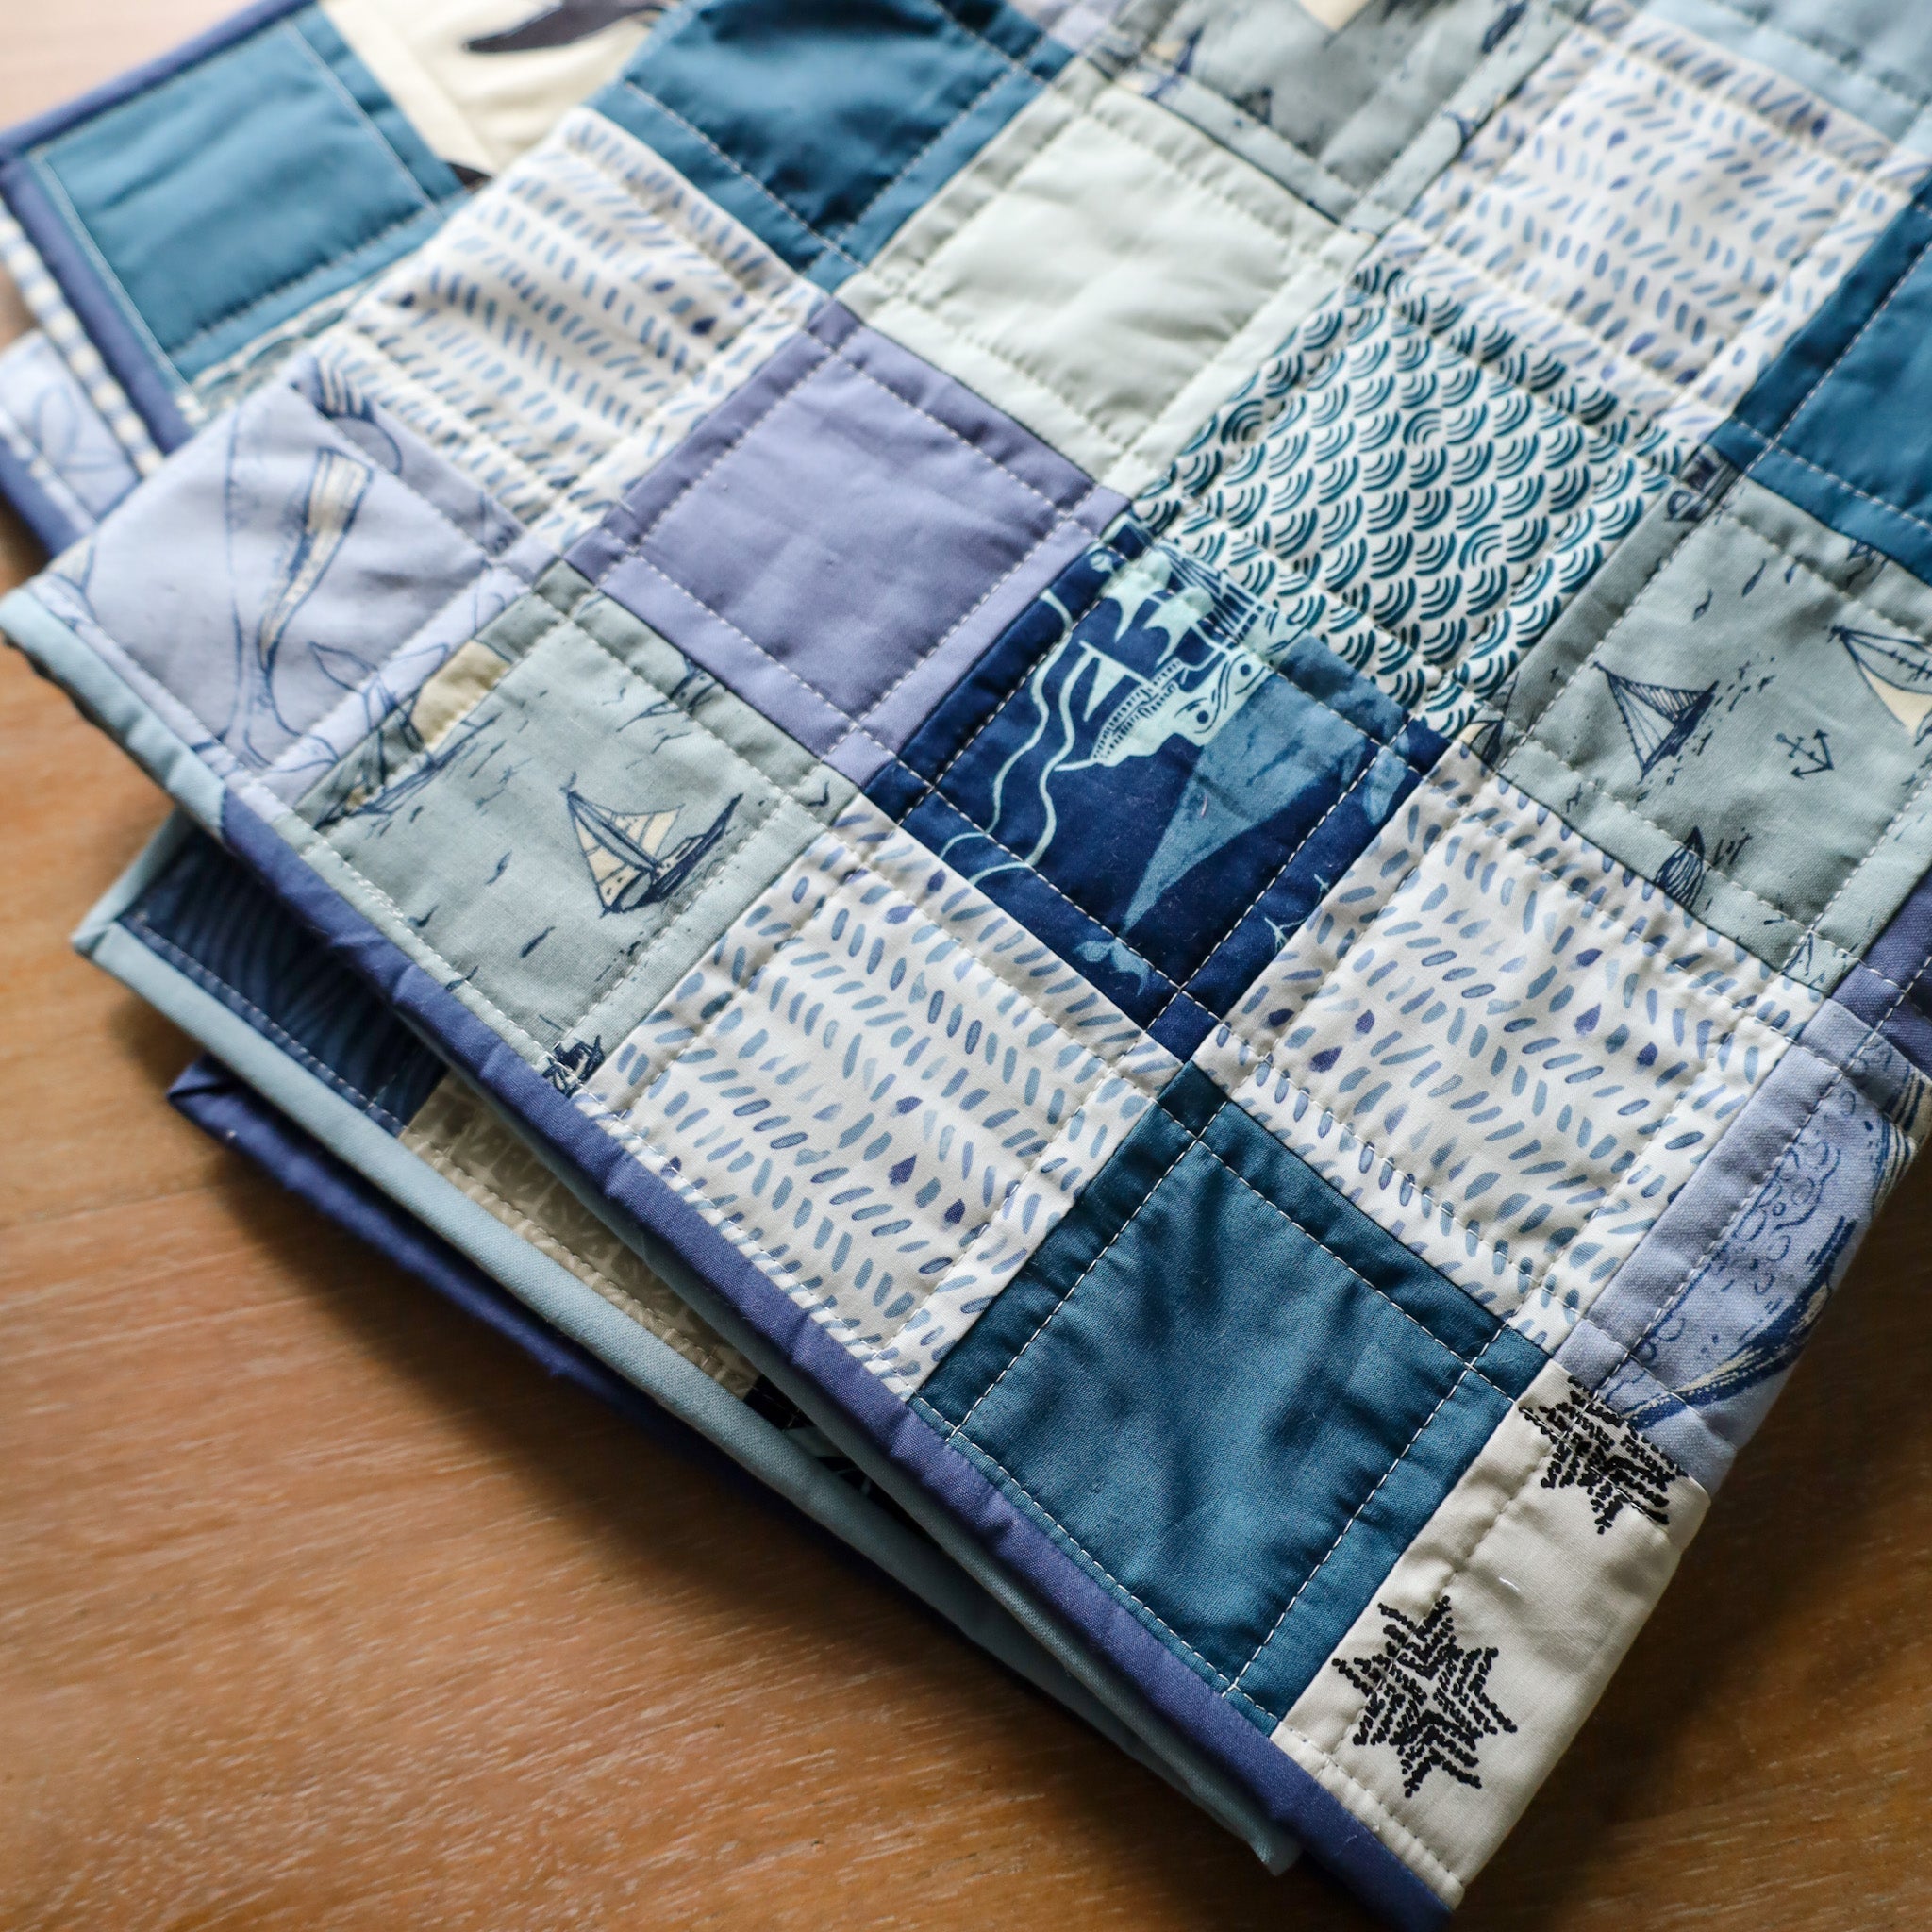
How to Resize a Quilt Pattern - 4 Ways to Make a Quilt Bigger or Smaller
Ever fallen in love with a quilt pattern only to realize it's the wrong size?
The design is perfect, you've got just the right fabric pulled from your stash…but then it hits you: it's not sized right for your project.
Maybe it doesn’t come in a big enough size for your king bed, or you’d like a few extra inches on the throw size for maximum snuggling, or you wished it used all the fat quarters in your bundle.
The good news is that, in many cases, you can adjust the pattern size and make it bigger! Today I’m sharing four of my favorite ways to size up (or size down) a quilt pattern, so you can make it perfect for your project.
(These methods work for sizing up and down, but since I get more questions about sizing up, we’ll mostly focus on that. 🙂)
💡 |
Quilt Size 101
|
HOW TO RESIZE A QUILT PATTERN
- Method 1: Add or remove blocks
- Method 2: Create a border
- Method 3: Add or remove sashing
- Method 4: Scale up the design
- Things to consider when sizing up
- You may also like
- Frequently asked questions
Method 1: Add or remove blocks
| Pros to adding more blocks | Cons to adding more blocks |
|
👍 Requires minimal extra math 👍 Can work with a finished quilt top (not yet quilted) 👍 May be doable with scrap or stash fabric |
👎 Only works with block-based patterns 👎 Limits your size options |
In most cases, the easiest way to make a quilt pattern bigger is to simply add more blocks!
Let’s say you’re working on a Summer Pop quilt, for example, but you want a larger bed size than the included 80” x 98”. You just need to make a few more blocks. Adding another column of blocks would give you a width of 90”, and then you could add an extra row to get a 112” length. That gives you a 90” x 112” quilt, which is a very comfortable queen size!

Adding one extra row and column gives you a much larger Summer Pop quilt!
If that sounds pretty easy, that’s because it is! You don’t have to do any math to figure out what size pieces to cut…you just follow the existing pattern again. You'll want to make sure you have enough of each fabric at the beginning of your project unless you're making a scrappy quilt from your stash. Another nice thing about adding blocks is that you don’t have to commit to a size when you start. You can plan to add more blocks the whole time, or you can decide to sew some extras once you see the size of your quilt top.
The biggest downside is simply that this method only works for block-based patterns…and actually only certain kinds of block-based patterns. Some block-based patterns work better than others and while you could add some extra blocks to a Getaway quilt, or Homecoming quilt it would change the overall look, which would need some extra thought and planning about which blocks you'll be making more of. On the opposite hand, adding another row of Pansy Patch blocks, which are all the same is much more straight forward.
The safest bet is to stick to uniform block-based quilt patterns where each block has the same design (like Summer Pop).
Keep in mind that adding blocks works best when your desired finished size aligns with the block dimensions. Using Summer Pop as an example, the basic block measures 10" x 14", so the quilt size can be increased in 10" increments for the width and 14" increments for the height. This gives you plenty of flexibility while keeping the math simple and the block layout consistent.
Even with those limitations, adding extra blocks is one of the best ways to make a quilt bigger. If it doesn’t work for the quilt pattern you have in mind, though, the next method is almost as simple.
💡 |
Tip: On-point blocks
|
Method 2: Create a border
| Pros to including a border | Cons to including a border |
|
👍 Works easily with any quilt pattern 👍 Requires only basic quilt math 👍 Possible even with a finished quilt top (not yet quilted) |
👎 Can diminish impact of quilt design 👎 Requires additional fabric yardage |
Adding a border to a quilt pattern is another easy way to make it bigger…and it has some extra advantages!
You can put borders on any quilt pattern, whether it’s made of blocks like Pansy Patch or a medallion design like Homespun. In fact, there may be times when you decide to add a border for design reasons instead of size needs! And like adding more blocks, you can decide to create a border while you’re still planning or after you have finished your quilt top (but before quilting).
If your quilt pattern has background fabric on the edges (rather than an edge-to-edge design), you can even add a border from the same fabric for a particularly subtle look!
💡 |
Tip: When to rethink a border
|
Creating a border does require a little bit of math…and considering the overall design is important too! You want to make borders that look intentional, so you may need to play around with sizes until you find just the right look. (As a general rule, make sure your borders are less than half the size of your blocks…and don’t be afraid to go narrower.)
Sometimes you may even want to create two borders (one inside the other), which can really make it look like an intentional part of the quilt design! (Another rule of thumb: Make your inner border narrower than the outer border.) You can also experiment with a border that matches your background versus a contrasting one, or even making a border out of flying geese, half square triangles, or other small units! (Whatever you decide, make sure you’re comfortable sewing long seams.)

A Homespun quilt with one added border, and then another, to make a bed-size quilt.
You'll also want to consider the overall scale of your design. While you definitely could make a king-size Model Farm quilt by adding 25” borders on each side, the center design would look relatively small in comparison to the overall quilt.
And again, borders can change the overall feel of a quilt. For example, my First Gift pattern is a modern take on a traditional block. Part of how I gave it a modern feel was by making the design go edge-to-edge, instead of adding the traditional negative space. You can certainly still add a border to a First Gift quilt…but that will make it feel slightly different from the original design.
Don’t worry, though! With three other ways to resize your quilt, you’ve got plenty of options.

I added borders to this Zen Garden Nightingale quilt (and then created scalloped edges!)
Method 3: Add or adjust the sashing
| Pros to adjusting sashing | Cons to adjusting sashing |
|
👍 Gives lots of flexibility with how much you add or remove 👍 Uses relatively simple quilt math 👍 Usually looks very intentional |
👎 Won’t work on a finished quilt top (without seam ripping) 👎 Works only for block-based quilt patterns 👎 Will likely need more fabric and/or to adjust the cutting instructions |
Instead of adding borders to the sides of your quilt, you can also add, remove, or adjust the amount of sashing between your blocks.
For example, you can take a pattern without included sashing, like Knitted Blooms, and add sashing between the blocks. Adding a couple inches between each row and column on the large throw size would give you an added 6 inches in each direction!

Added sashing makes this Knitted Blooms quilt bigger without any extra blocks.
Or with a pattern that already has sashing, like Granny Patch, you can increase the sashing size. An extra inch on each sashing strip could give you a 98” x 98” queen instead of 92” x 92”.

Extra sashing makes this Granny Patch quilt several inches bigger!
That’s one of the nice things about adding sashing: It gives you a lot of control over how much you add! While adding an extra block can easily increase your overall size by 14 inches or more, you can add a lot or a little sashing to get exactly the size you want.
And it works in reverse too! If you want to make your quilt size smaller, just remove or adjust the sashing! I’ve done both with Christmas Joy quilts, and they turned out beautifully.

This Christmas Joy quilt has no sashing between the blocks, making it smaller.

For this Christmas Joy quilt, I decreased the sashing by 1" to make the quilt smaller.
This is another method that works with block-based patterns. If that doesn’t work for your project, we still have one more way to change the size of a quilt…
Method 4: Scale up the design
| Pros to re-scaling the design | Cons to re-scaling the design |
|
👍 Preserves the original design intent 👍 Possible with any quilt pattern 👍 Works for sizing down too |
👎 Takes the most quilt math 👎 Requires advance planning |
If extra borders or blocks don't work best for your project, you can always scale up the entire quilt pattern! This means changing the actual size of pieces in your quilt, rather than making more of them. I find this works best for something with an allover design like the Model Farm quilt pattern, because you can’t add more blocks or borders to that one without completely changing the look of the quilt.

In fact, you may notice that some quilt patterns already use this method! Each of the Homecoming quilt sizes is the same design, just scaled up or down, as is Vintage Lace!
Below are two photos of different size Homecoming quilt. The first shows the baby size and the second shows the throw size. You can see that the design is the exact same, just slightly larger or smaller.


Even my free Patchwork Squares quilt pattern has a 3.5” block or scaled up 5” block…and you can definitely scale up to 6” or down to 2” if you like!

These Patchwork Squares have the same number of blocks, just in different sizes.
That said, you can use this method with any quilt pattern (including block-based patterns), which makes scaling up one of the most flexible options but also the most complicated option. Out of all the methods I’m sharing today, this is the only one you MUST plan in advance. If you’ve already started cutting your fabric, it’s too late to scale up!
For this method, you'll need to run some math and crunch some numbers. For example, do you want to double the size of your block, decrease your piece sizes by 25% or do something else?
It is more approachable if you only have one or two different measurements in your quilt, but if you have a larger variety of fabric piece sizes, it can become pretty complex to tweak the size of all of those pieces. Just don't forget to account for your seam allowance with finished vs. unfinished measurements when you go this route and make some test samples before you cut everything for your quilt.
💡 |
Tip: Trimmed units
|
Things to consider when sizing up or down
I hope you see that making a quilt pattern bigger is approachable with the right technique! To get the best results, though, you should take some time to plan out how you’ll do it. For instance…
CHOOSE THE RIGHT METHOD
As we’ve talked about throughout this guide, it’s important to think about the specific quilt pattern you’re using when you decide how to size up. A method that works great for one pattern may not work as well (or at all!) for another.
As a general rule, if you’re working with uniform blocks, I recommend just adding more. Borders are great for adding an extra design element, especially to medallion-style patterns. And scaling up is the best choice for quilt patterns where you want to keep the design exactly the same…just bigger!
REMEMBER YOUR FABRIC REQUIREMENTS
While you can add extra blocks or borders at any stage, it does help to plan for them when you’re shopping for fabric.
If you’re adding extra blocks, you can usually use the existing fabric requirements to help you estimate how much extra fabric you’ll need. If a 4 x 4 baby quilt takes two fat quarters, for example, you know that you can get two blocks from each fat quarter you have.

For borders, you’ll probably need some width of fabric strips in addition to the existing fabric requirements, which means using some yardage. The amount should be pretty simple to calculate, but it is something to plan for.
Calculating the extra fabric is trickiest when you’re scaling up. You can use your ratio as a baseline (so if you’re making a quilt at 150% the usual size, you’d want to get 1.5 times the amount of fabric), but you really can’t count on that! Either sit down and math out the exact pieces and how they’ll fit…or buy a generous amount of extra fabric.
ADJUST YOUR BACKING, BATTING, AND BINDING
One final, but very important consideration when increasing the overall size of your quilt: backing, batting, and binding fabric requirements! Your new larger size means you will need extra backing and binding fabric, plus more batting. The math itself isn’t tricky (and you can use a quilt calculator like this one to help), but it is something you need to plan for.
While you’re doing the math, remember: If you plan to get your quilt long-arm quilted, you need to leave at least 4” of extra backing fabric on each side of your quilt, or 8” to each dimension. So for a 40” x 50” quilt top, for example, make sure you have 48” x 58” backing.

CONSIDER A DIFFERENT PATTERN
While sizing up a quilt is hopefully easier than you expected, you don’t have to do it! Sometimes, the easiest way to get a bigger quilt is to just choose a different quilt pattern…no math or extra planning needed.
These Lo & Behold Stitchery quilt patterns come in lots of sizes, so you’ll probably find one close to what you need:

- Pansy Patch (11 sizes)
- Petite Plaid (12 sizes)
- Mountain Horizon 2.0 (9 sizes)
- Ruby Sue (9 sizes)
- Knitted Blooms (8 sizes)
Either way…happy quilting!
You may also like…
- All About Strip Piecing - Quilting’s Time-Saving Secret
- How to Piece Quilt Batting - 2 Ways to Make Frankenbatting from Scraps
- How to Cut WOF Strips for Your Quilt Project: Tips for Perfect Strips
- How to Prepare Fabrics for Quilting - Prewashing, Starching, & More

Frequently asked questions about sizing a quilt pattern up or down
SHOULD YOU UPSIZE YOUR QUILT?
There are definitely times when it’s a good idea to upsize your quilt, like if you want a little extra overhang on a bed sized quilt or you want a throw size to have a few extra inches so you can tuck your feet in. And sometimes a quilt pattern only comes in smaller sizes, and you want something much bigger!
That said, upsizing a quilt pattern takes some careful planning and math. If this is your first quilt, I recommend sticking to a standard pattern.
WHAT IS THE EASIEST WAY TO RESIZE A QUILT PATTERN?
The easiest way to resize a quilt is to add more blocks, because you don’t need to do much math…you just keep making more! (Unfortunately, this only works for patterns with uniform blocks.)
HOW DO YOU RESIZE A QUILT PATTERN TO MAKE IT SMALLER?
To make a quilt smaller, you can make fewer blocks (for block-based patterns), remove sashing between blocks (if you pattern has sashing), or scale down the whole design.