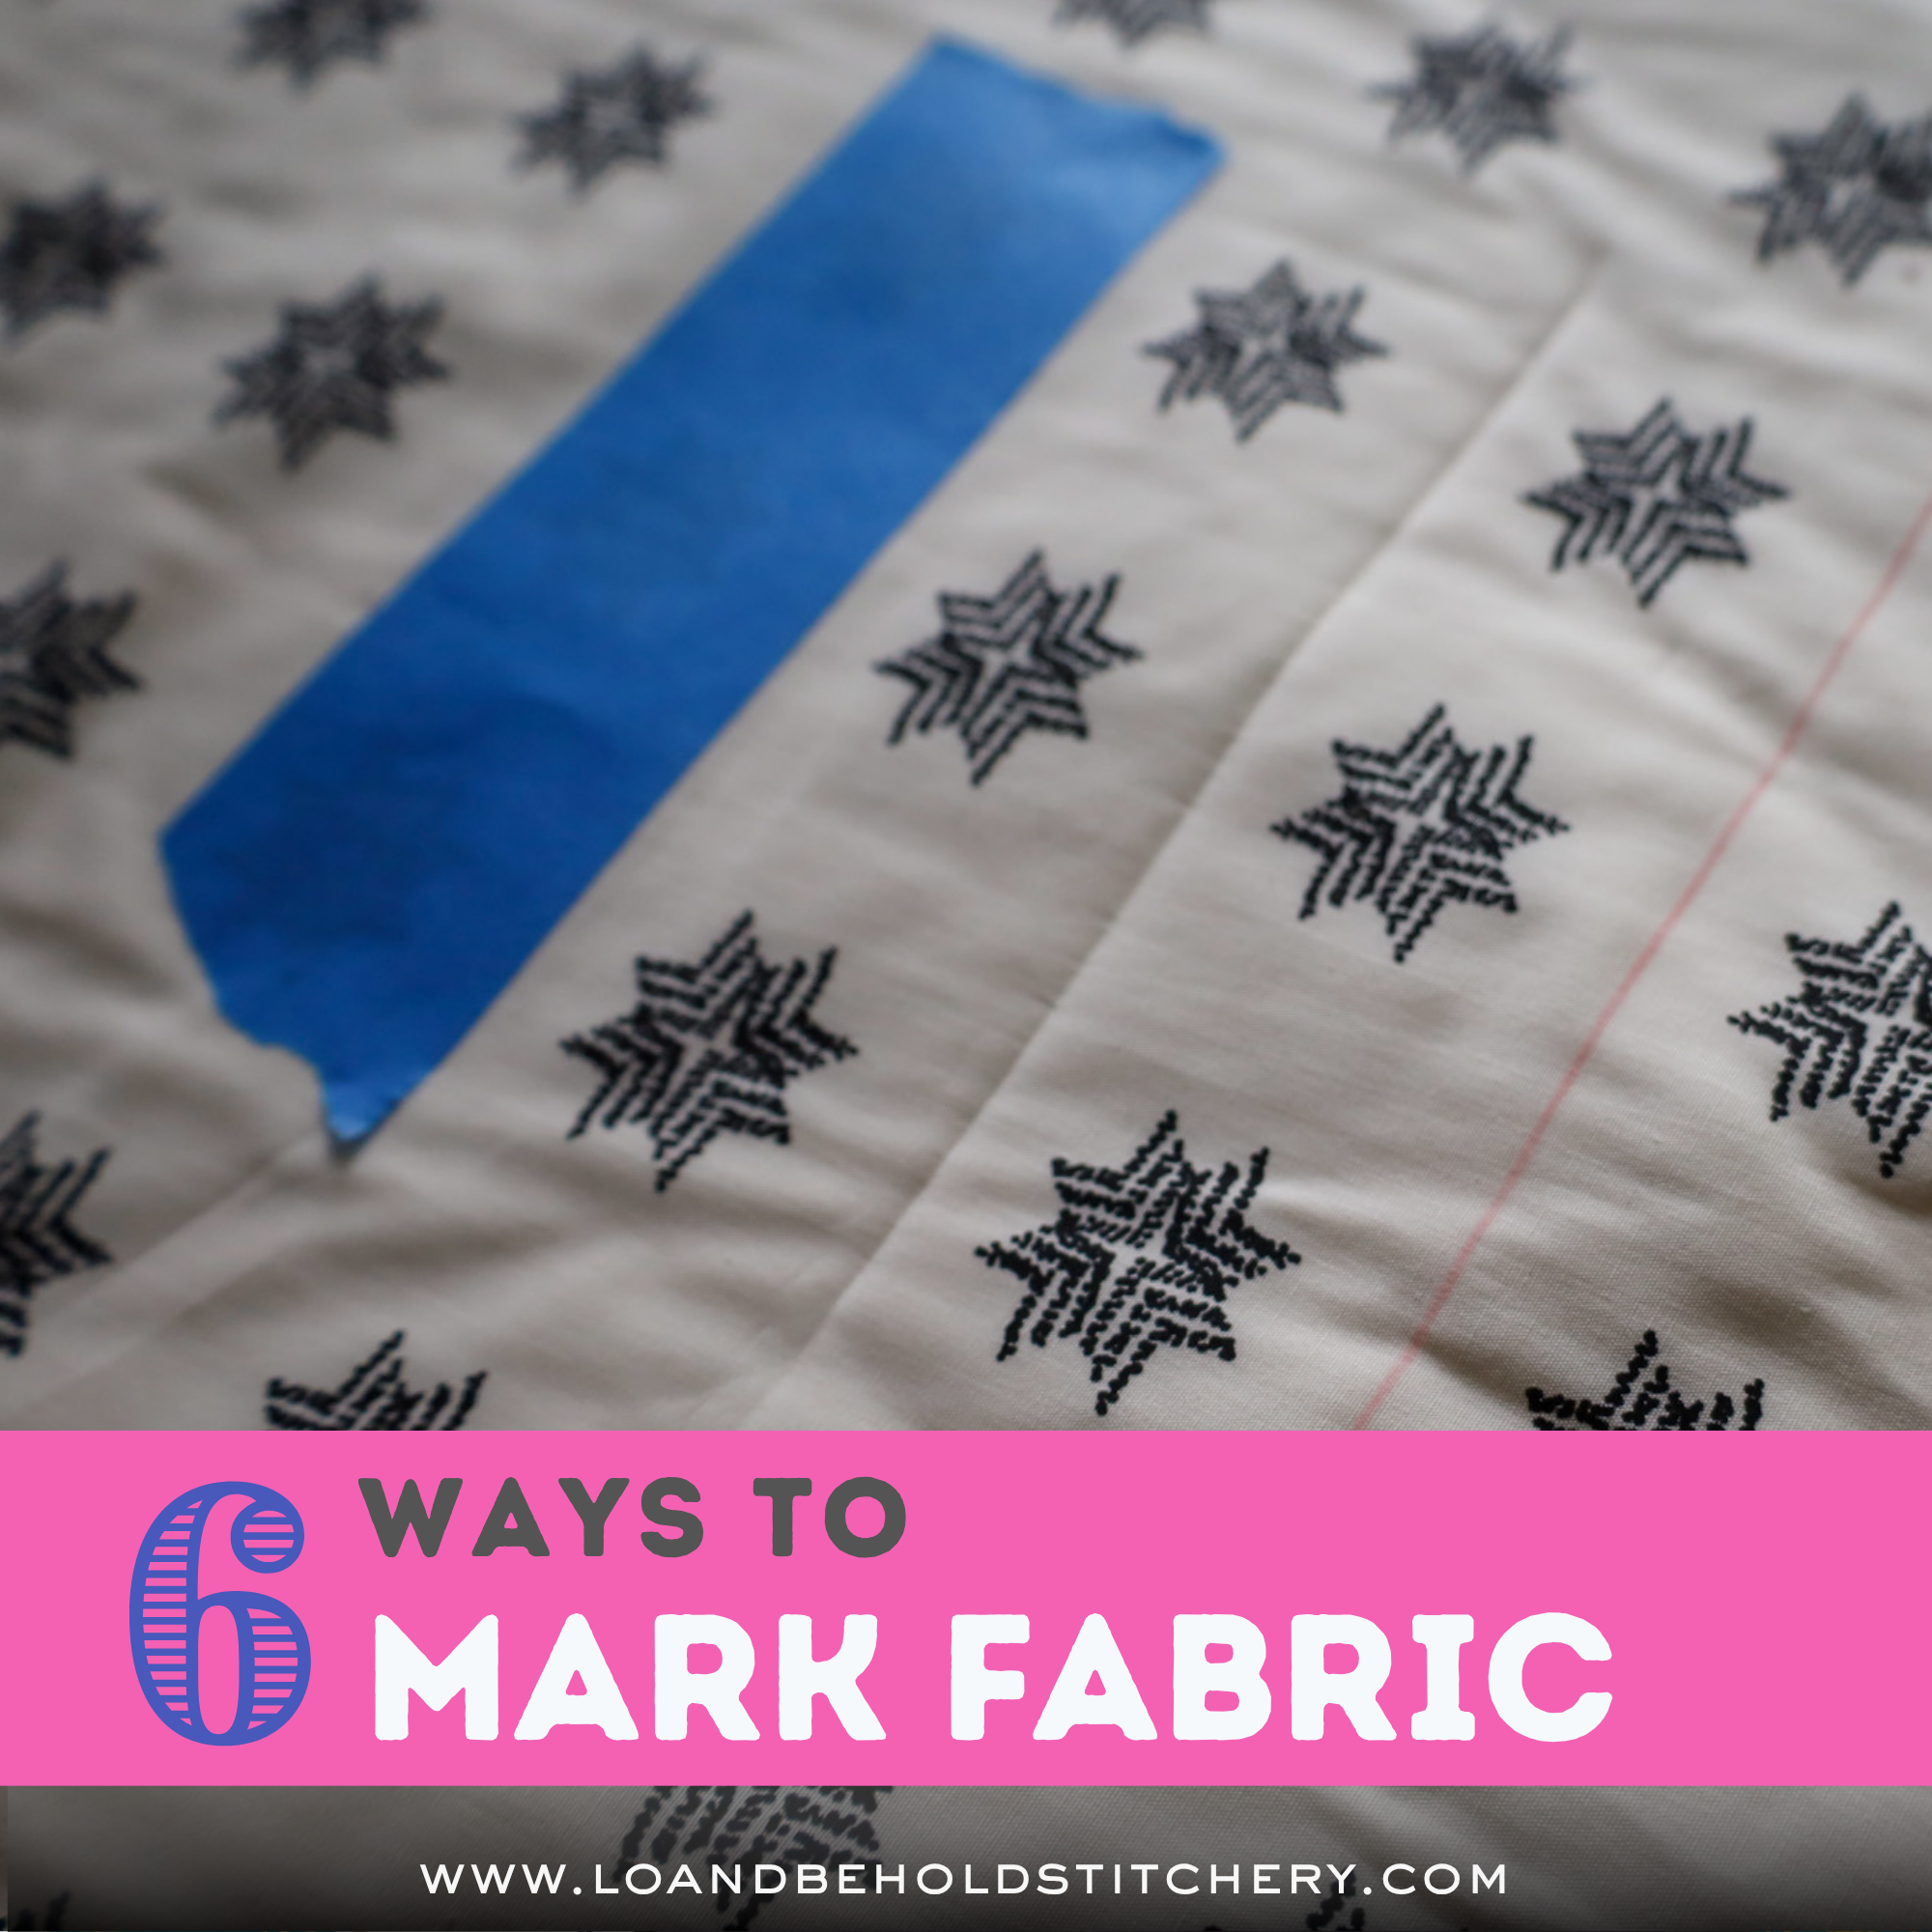
6 Ways to Mark Fabric (for Tracing, Cutting, Piecing, and Quilting!)
Not every quilt pattern requires you to mark up your fabric. If you’re making something with just squares and rectangles, like my free Patchwork Squares quilt pattern, you really don’t need to make any marks…except maybe when you get to the actual quilting stage.
As soon as you start playing with other shapes, though, marking becomes pretty darn important! Units like half square triangles (HSTs), half rectangle triangles, flying geese, snowballed corners, and more all require you draw lines on your fabric to guide your sewing…but how? What’s the best way to mark your fabric without leaving permanent marks on your finished quilt?
That’s what we’re exploring today! I have six different tried-and-true methods for marking fabric that can help you more accurately cut, sew, and quilt your projects.
💡 |
Tip: Different methods for different times
|

6 WAYS TO MARK FABRIC
- Hera marker: One of my favorite tools
- Butter knife: When you need a solution right now!
- Temporary pen: For maximum visibility
- Iron: Easy way to mark halves
- Diagonal seam tape: Great for HSTs
- Painter's tape: A handy alternative
1. Hera marker: One of my favorite tools
| Hera marker pros | Hera marker cons |
|
👍 Affordable and reusable 👍 Not going to leave lasting marks 👍 Usable on any kind of pieces |
👎 Difficult to see marks on some fabrics 👎 Not always easy to get a precise line |
If you only try one method from this list, I recommend picking this one: the Hera marker!
Chances are good you’ve already heard of a Hera marker, because it’s such a popular tool. However, I’ve discovered a lot of people don’t know what it actually is or how it works, though! So first of all, a Hera marker isn’t the kind of marker you color with…it’s an ink-free plastic tool that basically scores lines on your fabric.

Those lines stay visible while you work, but once you wash your quilt, they disappear!
That’s one of the best things about the Hera marker: there’s almost no chance it leaves permanent lines on your fabric. Plus, it’s super easy to use (and convenient to keep on hand). And unlike some of the other methods on this list, you can use a Hera marker to mark out your quilting lines just as easily as you can mark your HSTs.

So why don’t I only use a Hera marker? Well for starters, while Hera lines are visible enough, they’re not always the easiest to see (depending on your fabric). Sometimes, you need a super obvious line, and a pen works better for that. And if you’re chain piecing a bunch of HSTs, Diagonal Seam Tape is a lot faster.
Overall, though, I absolutely love my Hera marker, and it will always have a special place in my heart…and my in my sewing kit!
2. Butter knife: When you need a solution right now
| Butter knife pros | Butter knife cons |
|
👍 Likely already in your house 👍 Shouldn’t make lasting marks 👍 Good for most pieces or marking needs |
👎 Small possibility of fabric damage 👎 Sometimes hard to see while you sew 👎 Hard to get precise lines |
If you don’t have a Hera marker, you can try using a butter knife or the wrong side of a table knife instead. It should work basically the same way: scoring subtle lines into your fabric that turn invisible after washing.
On the one hand, a butter knife is super convenient! Even if you don’t have any of the other tools on this list, you probably have a knife.
I just suggest using a little extra caution when you mark your fabric or quilt with a butter knife. While a Hera marker is designed specifically for gently marking fabric, a butter knife…isn’t. There’s more of a chance of damaging your fabric (especially if your knife is serrated at all), and depending on the width of your knife, you probably won’t get super precise lines.
That’s why I don’t recommend a butter knife as a long-term solution. If you have pieces you need to mark right now, though, a visit to the silverware drawer might be all you need. 😉
3. Temporary pen: For maximum visibility
| Temporary pen pros | Temporary pen cons |
|
👍 Very visible, even while sewing 👍 Easy to work with 👍 Versatile enough for any marking |
👎 Possibility of fabric staining 👎 Another tool you have to buy |
The two methods above make kind of faint lines, which is good if you want to avoid any issues on your finished quilt…but not so good if you want to see your line really easily. If that’s the case, you’ll probably want some kind of temporary pen instead.

Pen-drawn lines are way more visible, which can be so nice while you’re sewing (especially if you don’t have the best lighting!). Plus, pens are one of the easiest tools to use, which makes them nice for everything from making straight diagonal marks to drawing curved lines (like tracing around templates).
You can find quite a few different kinds of temporary pens out there. I like using a chalk pen like this, but tons of quilters use air- or water-soluble pens (like the Dritz disappearing ink pen) or heat-erasable pens…and quite a few people swear by Crayola Ultra Washable markers (but NOT other kinds and brands) or even a #2 pencil. Personally, I prefer not to use anything with pigment on my quilt, and if I'm going to use something in a pen form, a chalk pen is the safest bet.

Whatever pen you choose, test it first on some scrap fabric to see how it works…and how effectively it disappears. I’ve heard more than one heartbreaking story about “invisible” lines showing up on a finished quilt. That may not be an issue if you’re just marking diagonal lines for HSTs, but it could be a huge problem if you’re marking quilting lines on your quilt top. Proceed with caution!
4. Iron: Easy way to mark halves
| Iron pros | Iron cons |
|
👍 Part of your sewing setup already 👍 Unlikely to leave permanent marks 👍 Good for straight lines |
👎 Not useful for actual quilting 👎 Slower than other marking options 👎 Not ideal ergonomically (a heavy iron and repeated marking can strain your wrist) |
These days I don’t use my iron too much to mark fabric, but it’s definitely a handy way to mark halfway points, like on HSTs. All you have to do is fold your fabric in half and press the fold briefly…no measuring, no tracing, no writing! And like a Hera marker, you don’t need to worry about your iron leaving any permanent marks.


The biggest downside to using an iron to mark fabric is that it’s really only useful for things you can fold in half. You definitely can’t use an iron to mark your quilting design, for example, or to trace around a template.
Still, it’s good to have an iron in your back pocket (not literally! 😱) for certain fabric-marking needs.
5. Diagonal Seam Tape: Great for HSTs and diagonal seams
| Diagonal Seam Tape pros | Diagonal Seam Tape cons |
|
👍 Good for on-the-fly usage 👍 Absolutely no marks only your actual fabric 👍 Usable with other marking methods |
👎 Only works for some kinds of piecing 👎 Have to buy in advance of your project 👎 Requires careful setup and placement |
Diagonal Seam Tape is another one of my favorites! It’s such a clever idea: You place the tape on your machine bed, and then you align your fabric pieces to the tape lines as you sew. So technically, you’re not marking the fabric at all…because you don’t have to!

That makes Diagonal Seam Tape a super fast method, because you don’t have to sit and mark any lines. It also means you don’t need to worry for even a second about leaving visible lines on your quilt, because again, no actual lines!
You do need to carefully set up your Diagonal Seam Tape before you use it. It’s not hard, but you will want to be exact when you place it so that you get accurate results when you sew. (But once you’ve put your tape down, you can just leave it in place, at least for a while.)

Also, as you’ve probably already realized, Diagonal Seam Tape is another limited-use method. If you’re sewing a bunch of HSTs or snowballed corners, it’s absolutely amazing! But you’ll probably want to keep some other tools handy for other fabric-marking purposes.
6. Painter’s tape: A handy alternative
| Painter's tape pros | Painter's tape cons |
|
👍 Common household item 👍 Not going to leave marks on fabric 👍 Compatible with other marking tools |
👎 Disposable instead of reusable 👎 Takes special placement and positioning 👎 Works best for certain kinds of blocks |
Just like you can use a butter knife instead of a Hera marker, you can use painter's tape instead of Diagonal Seam Tape…it’s just not quite as nice.

Painter's tape (or masking tape) has some of the same perks as diagonal seam tape, like being mark-free…plus you’re more likely to have it on hand already. As you can probably guess, though, painter's tape is a little less convenient to use, and I find it wears off your machine faster (not that you’d want to leave painter's tape there anyway). You’ll have all the downsides too, like limited use and setup time.
Still, painter's tape works in a pinch!
Painter’s tape can also be handy for marking register lines for quilting. You don’t want to actually sew over it (the adhesive can gum up your needle), but it’s great as a reference point for hand and domestic machine quilting!

💡 |
Tip: Eyeballing it
|
So there you have it: Six different ways to mark your quilting fabric. There’s not really a one-size-fits-all solution, but between these six methods, you should have a good way to make marks in just about any sewing situation.
Happy quilting!
You may also like…
- How to Prepare Fabrics for Quilting - Prewashing, Starching, & More
- How to Test and Adjust Your Scant ¼” Seam (The Mystery of the Scant ¼”, SOLVED!)
- Quilting Supply Checklist - Supplies for Beginners & Beyond
- How to Trim Half Square Triangles - My Three Top Methods

Frequently asked questions about marking fabric
What do you use to mark on fabric?
My overall favorite way to mark fabric is using a Hera marker, but it depends on the situation! Special disappearing pens, washable markers, and even a plain old iron can also be great ways to mark on fabric without leaving obvious marks.
Is a Sharpie good for marking fabric?
No, a Sharpie is not good for marking fabric. It won’t wash out, but it also won’t stay crisp and dark. So whether you want temporary or permanent marks, skip the Sharpie on your fabric.
What is the best marker for marking fabric?
The best marker for marking fabric really depends on your preferences, and even the kind of fabric you’re using. Chalk pens, a Dritz disappearing ink pen, and even Crayola ultra washable markers can be great for marking on fabric…but always test them on scrap fabric if your markings might be visible on your finished product!
This post may contain some affiliate links meaning I may receive a small commission from each sell. Rest assured, I only share my favorite items with you!