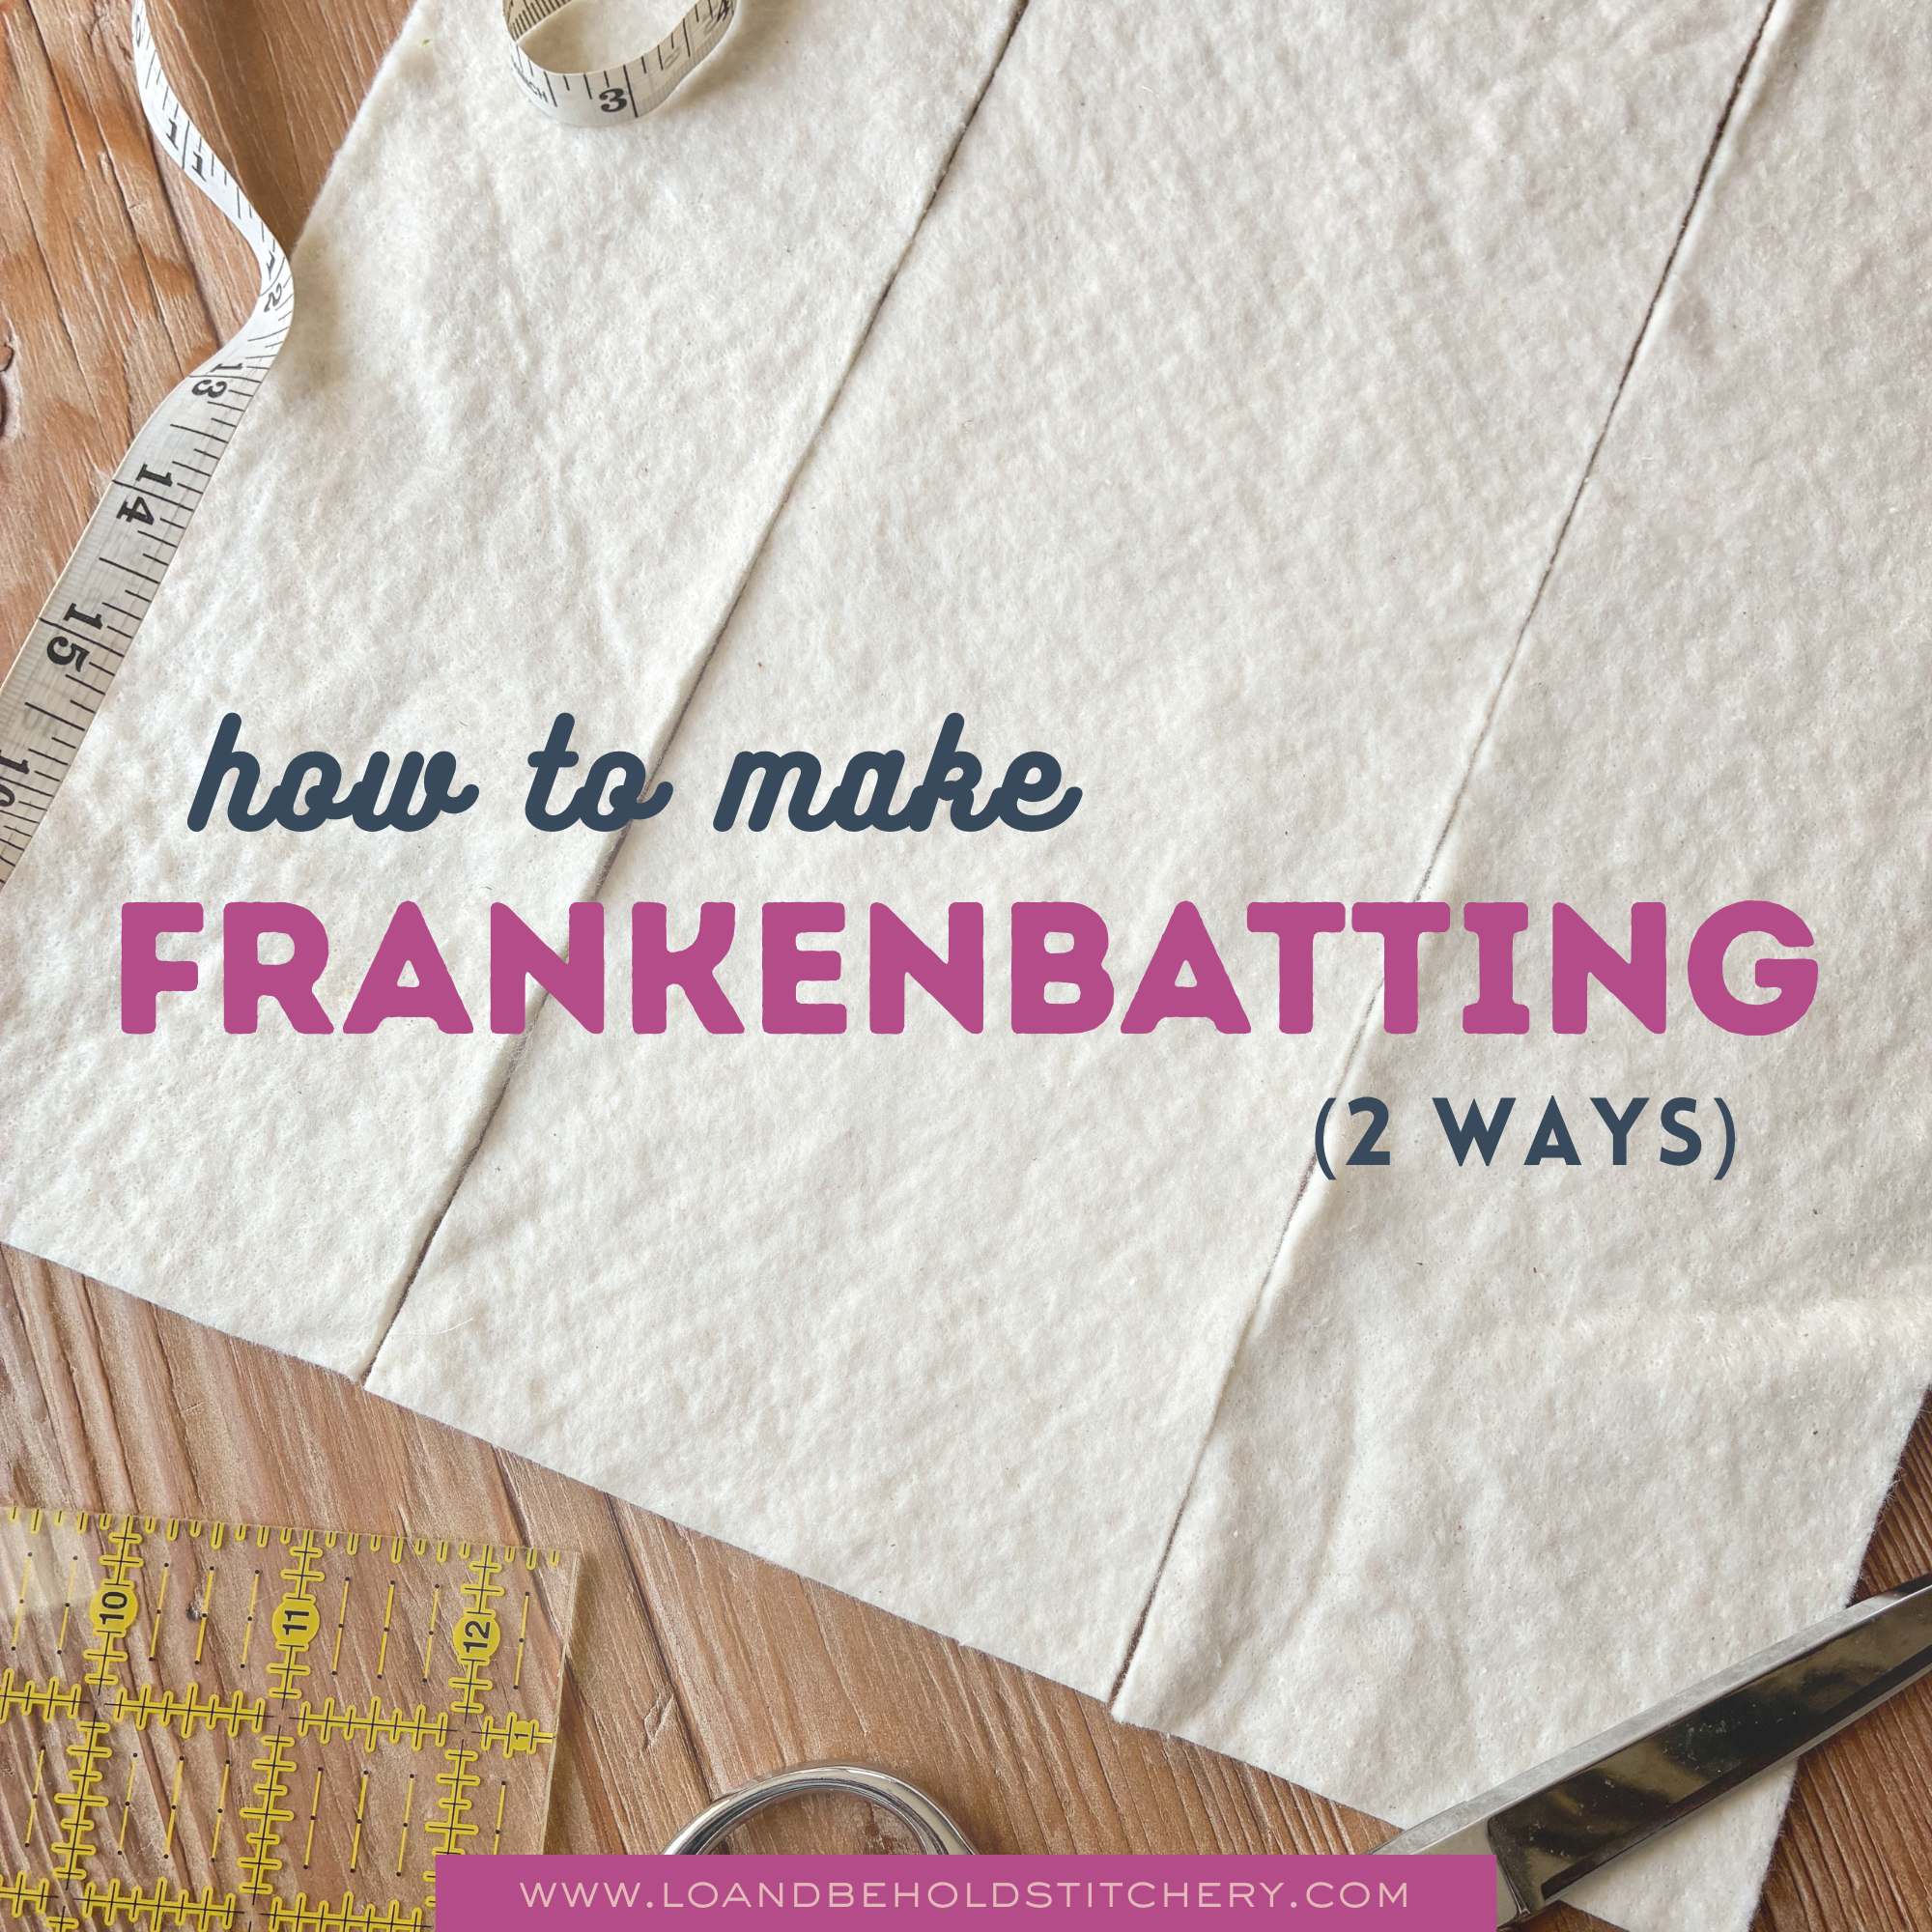
How to Piece Quilt Batting - 2 Ways to Make Frankenbatting from Scraps
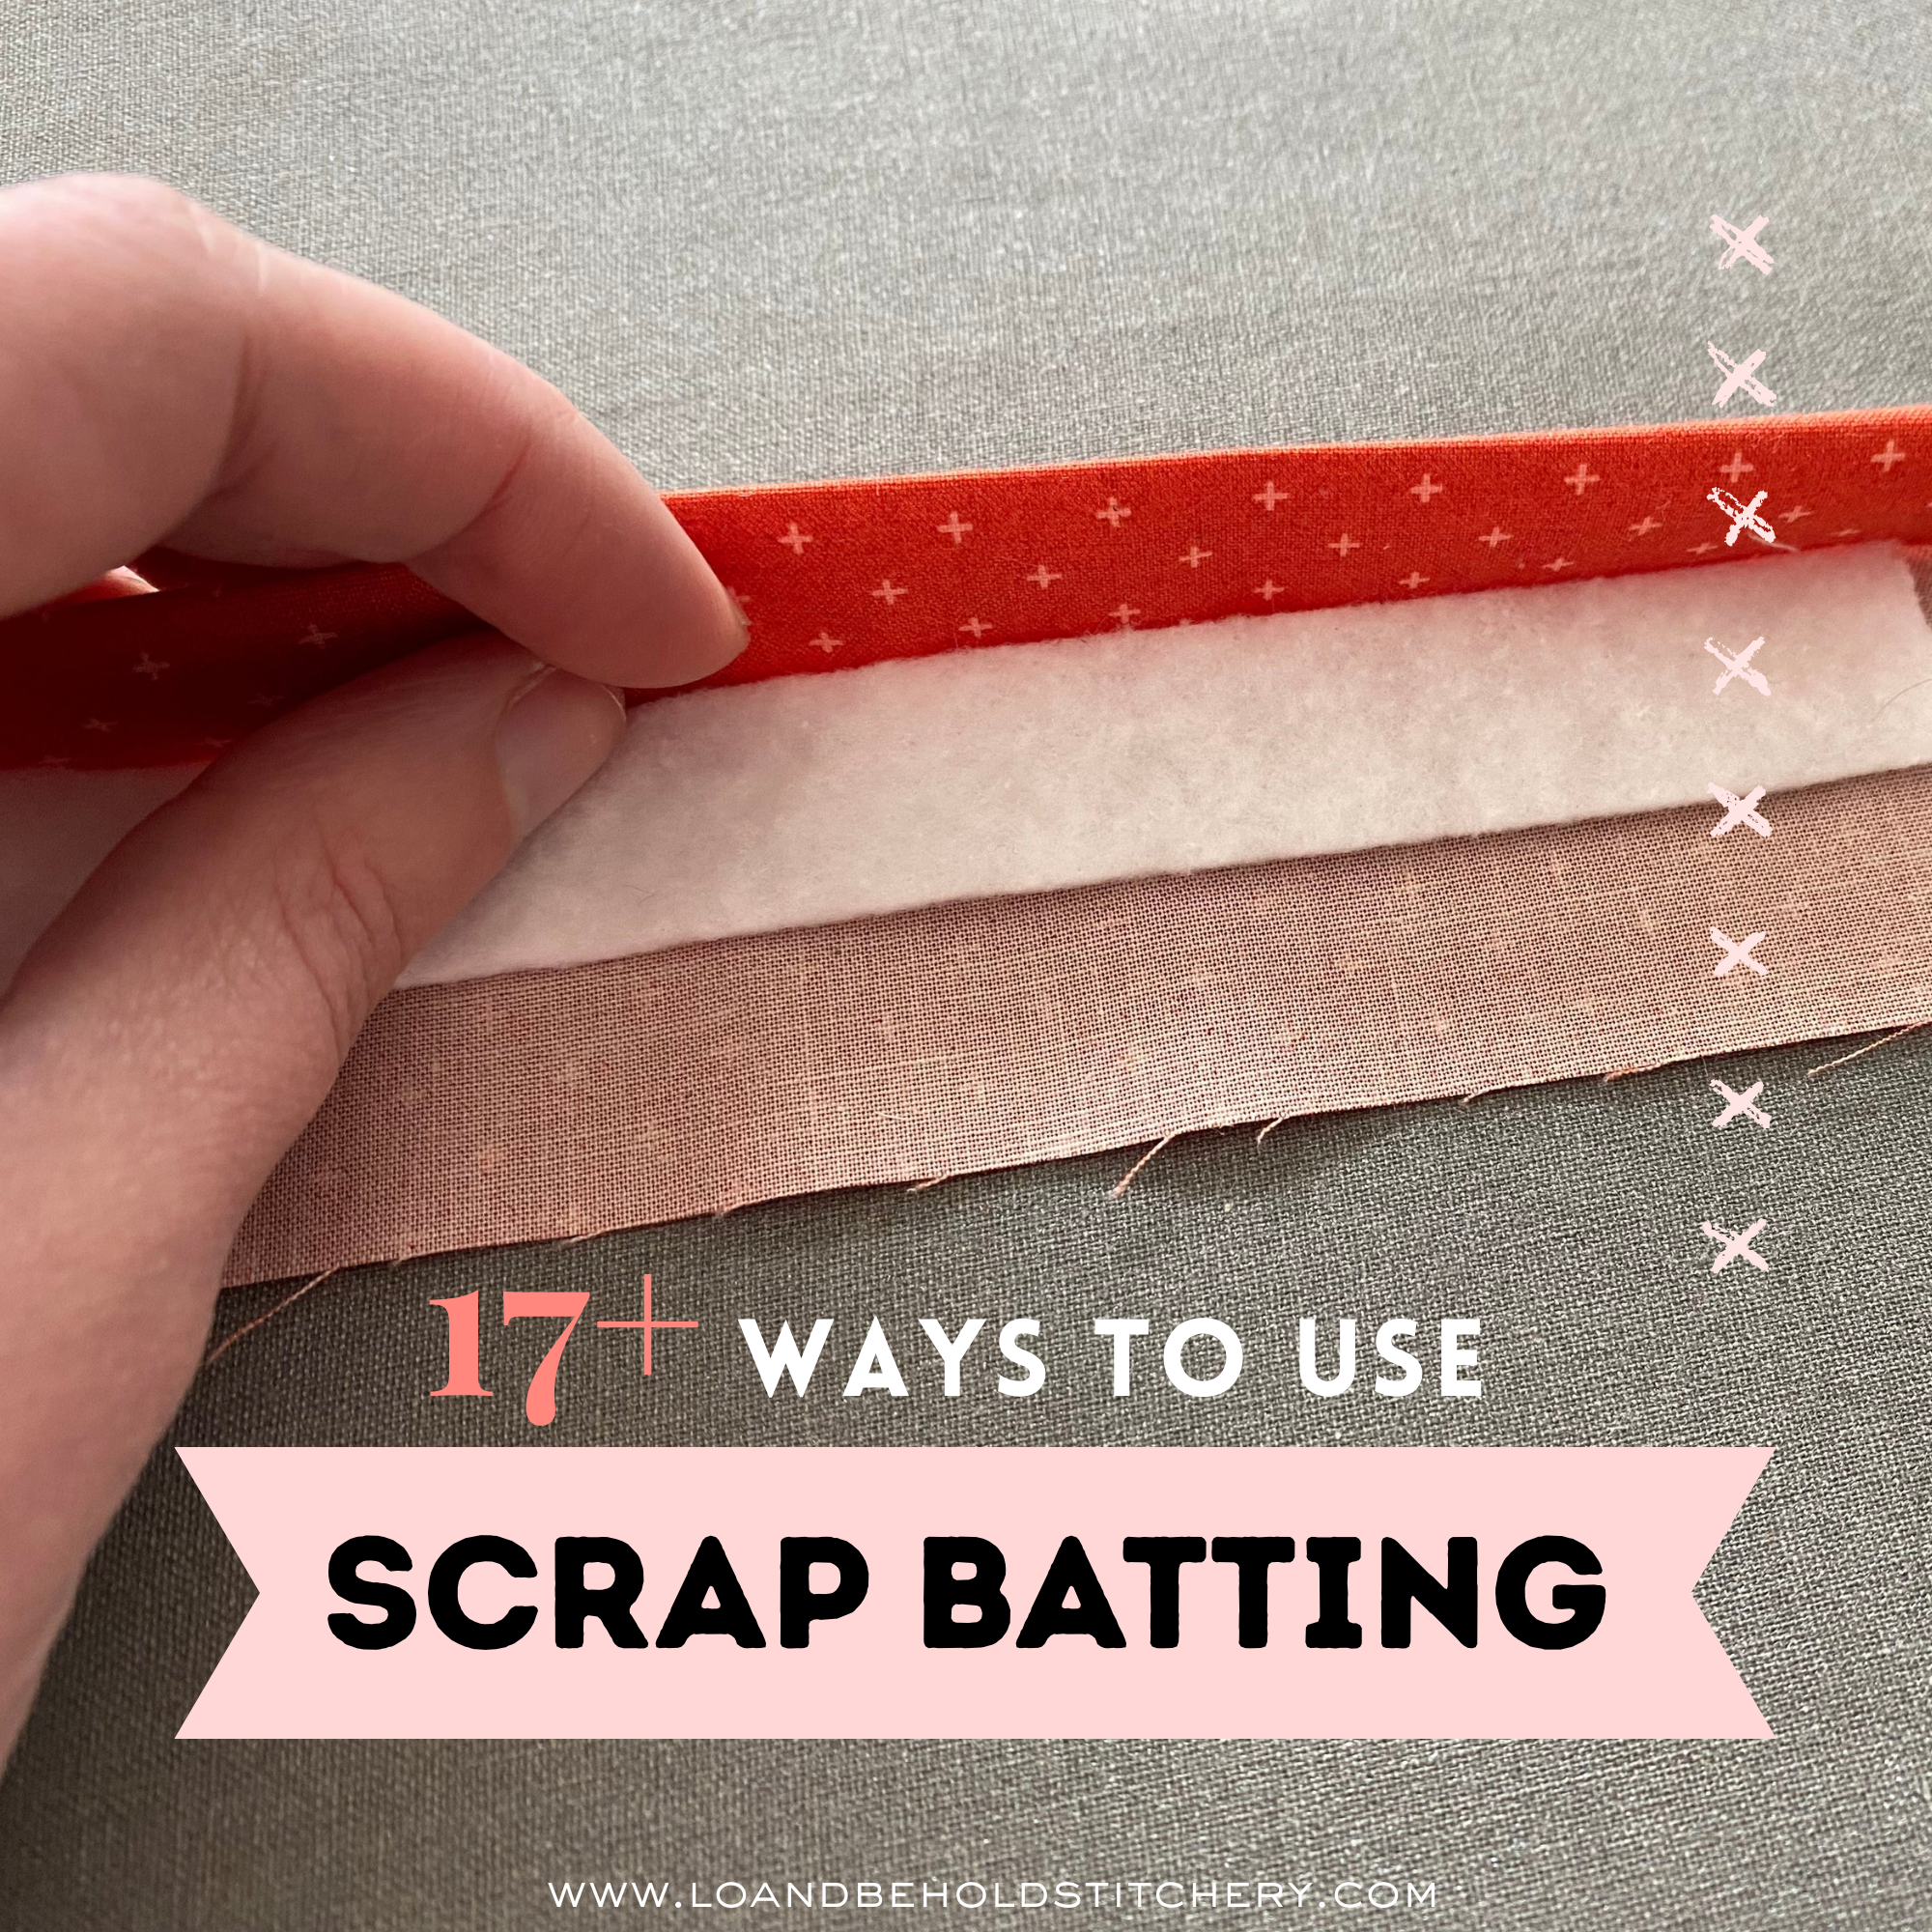
Last week, when I shared some of my favorite ways to use up scrap batting, I mentioned frankenbatting…and today I wanted to share a full tutorial on how to piece your batting scraps together!
TABLE OF CONTENTS
- What is frankenbatting?
- Method 1: Zigzag stitch
- Method 2: Batting tape
- Other methods
- Tips for piecing batting
- You may also like...
- Frankenbatting FAQ
What is frankenbatting?
Frankenbatting is when you piece smaller cuts of batting together to make one bigger piece of quilt batting.
It’s a great way to save money on your next quilt…and to keep leftover batting from taking over your sewing room. And while piecing together batting can sound a little intimidating at first, it’s actually really simple once you know how to do it!
There are two common ways for making frankenbatting: a zigzag stitch and batting tape. I’ll walk you through both of them.
💡 |
Will I see or feel the batting seams in my finished quilt?
|
Method 1: Zigzag stitch
From what I’ve seen, zigzag stitching is probably the most common way to piece batting together. It’s fast and easy, plus it doesn’t take any special supplies…as long as your sewing machine has a zigzag stitch.
If your sewing machine doesn’t have a zigzag stitch, you’ll want to skip to Method 2 (or one of the alternate methods below).
Here’s how to make frankenbatting with a zigzag stitch:

STEP 1: MAKE A CLEAN EDGE.
Before you start piecing your batting, make sure your pieces have nice, straight edges. Head over to your cutting mat, and use your rotary cutter and ruler to trim off just enough batting to give yourself a clean edge on each piece.
(This only matters for the edges you plan to sew together. The outer edges can stay messy for now. 🙂)

STEP 2: ARRANGE YOUR PIECES.
Once you’ve got nice, straight sides, you can plan how you’ll piece them.
If you have a bunch of strips, for example, you might simply put one on top of the other. Or if you have a big rectangle and two smaller rectangles, you may want to join the smaller pieces together and then sew them to the big piece. Play around until you’re happy with your placement.
(You can pin if you want to, but batting is forgiving enough that you don’t have to.)

STEP 3: TEST YOUR MACHINE SETTINGS.
Now you can head over to your sewing machine and set your machine to a zigzag stitch. You want the widest zigzag your machine can do, and at least a 4.0 mm stitch length.
Before you start on your frankenbatting, test your zigzag on some scraps…like the ones you trimmed off in Step 1. This will help make sure your stitches are wide enough to join your pieces, and it will help you feel more confident when you start on the real frankenbatting.
STEP 4: SEW YOUR BATTING TOGETHER.
If everything looks good, it’s time to sew! Bring your pieces over to your machine (but don’t forget your layout!). You don’t need any overlap, which could create extra bulk in your batting seam. Instead, butt the pieces up against each other, and let the zigzag stitch catch each piece and hold them together.
Piecing batting with a zigzag stitch feels pretty different from piecing a quilt top or from quilting a sandwich. Batting can be a little fiddly on its own (it loves to stretch and wrinkle), so take things slow, and use a walking foot if you have one (just double check that your walking foot can accommodate a zigzag stitch first!).

STEP 5: REPEAT AS NEEDED…AND USE YOUR BATTING!
Keep sewing your scrap batting together until you have one big piece of batting. Then you’re all ready to use it in your quilt sandwich!

Method 2: Batting tape
If you don’t have a zigzag stitch on your sewing machine (or you just don’t want to mess with sewing your batting together), then try batting tape instead!
⚠️ |
Warning: Melting batting
|
Batting tape is basically fusible interfacing designed specifically for piecing batting. It comes in convenient rolls that are just the right width for fusing your batting together.

I’ve seen batting tape in widths from ¾” to 2-½”, and they all work just fine for frankenbatting. If this is your first time piecing batting, though, I recommend getting tape that’s at least 1-½” wide. That way, you don’t have to be super precise with your tape placement.
Here’s how you use it:
STEP 1: CUT NEW EDGES.
Start by cutting some fresh edges on your batting pieces. You can just do a straight line, since that’s fast and easy.
However, lots of quilters like to do a big zigzag or wave cut here. These can help disguise the batting seam in your finished quilt, if you’re worried about that. If you want to do a zigzag or wave, start by overlapping your batting by a couple inches, and then make your cuts. Remove the excess batting you just cut off, and your batting pieces should fit together perfectly…like a jigsaw puzzle!


STEP 2: ARRANGE YOUR BATTING.
Now you need to figure out where you’re going to do your ironing.
Ideally, you’ll make your frankenbatting without moving it around a bunch. So if you have a big ironing board, that’s a great place to work! If you don’t, you might want to use a floor or large table instead. (Put some cotton towels beneath your batting if you’re worried about the heat…and probably don’t do this on your great-grandmother’s antique table or your new wood floors.)

Wherever you decide, lay your batting pieces out, and arrange them so they fit together as closely as possible without having them overlap. Make sure you’re happy with your arrangement…because once you use the batting tape, you won’t be able to remove it!
STEP 3: PLACE YOUR BATTING TAPE.
Once you like how your batting looks, you can start putting your seam tape on top. Center your batting tape as much as possible over your seams, so the tape will be securely on both pieces.
It’s best to cut many small pieces of batting tape instead of one long strip…even if you’re working with straight cuts on your batting. Small pieces will be much easier to handle, so you won’t end up with wrinkles or place the tape too far off center.
Make sure you place the batting tape bumpy side down on the batting. The bumps are the fusible adhesive, so they really need to face the correct way. Otherwise, you’ll have a messy iron…and your batting still won’t be joined together!
STEP 4: IRON THE TAPE IN PLACE.
When everything looks right, you can go ahead and whip out your iron. Press the batting tape in place, working in sections.

Different brands of batting tape have different instructions, so make sure you read your directions. Pay attention to details like:
- Recommended iron heat
- How long to press in place
- If you need to use a press cloth
You don’t want to overheat things and scorch your batting…but you also need to make sure you press long and hot enough to properly fuse everything. The batting tape instructions will help you find the right balance.
STEP 5: KEEP GOING...AND ENJOY YOUR FRANKENBATTING!
Keep pressing your batting tape on in sections. Try to let everything cool before you move your batting, to make sure everything stays in place.
Once you’re done, you should have one big piece of frankenbatting, all ready for quilting!

Other methods for frankenbatting
The methods I’ve already shown you are probably the most common ways to piece batting, and they’re what I recommend trying first. But it turns out quilters have come up with lots of ways to piece batting together…like these!
HAND STITCHING
Hand stitching your batting gives you more control over your piecing than a sewing machine does. You can use big basting stitches (an inch or two long) in a Z shape to piece everything together. Just handle it extra gently until you get it basted.
FUSIBLE INTERFACING
If you don’t want to buy batting tape, you can always make your own with fusible interfacing. Just cut it into strips, and then use the steps above to piece them together. Fusible interfacing costs less per square inch than batting tape, so it can be a great way to save money…if you don’t mind a little extra work!
SPRAY BASTE
If you already spray baste your quilts, you can use your basting spray to piece batting too! Just spray the edges of the batting where you want to join your pieces, making sure you have a decent overlap. Let it dry, and then make your quilt sandwich as usual.
WASHABLE GLUE
Other quilters swear by washable school glue for both sandwich basting and piecing batting. Again, you’ll want to overlap your pieces a bit, and then use small drops of glue to join them together. Make sure your glue is completely dry before you move the batting. You can even use your iron to make sure the glue is nicely set.
JUST GO FOR IT
Some quilters don’t bother piecing their batting at all. They just go right to making a quilt sandwich, overlapping their pieces of batting a bit…and then they baste as usual! This method definitely saves time, but there is more potential for your batting to come apart as you quilt, so make sure you baste carefully.
Tips for piecing quilt batting
Here’s a few more of my top tips for frankenbatting:
- Go for dense quilting. Denser quilting will make sure your batting doesn’t shift around in your finished quilt, and it will help to mask your frankenbatting seam lines.
- Use the same kind of batting in your frankenbatting. Mixing types, like wool and bamboo, will make it harder to join your batting…and it could give your finished quilt an uneven texture.
- Match your thread or interfacing to your batting. Dark thread might show up beneath light-colored fabrics, while matching will make things invisible.
- Try to make your batting pieces face the same way. Just like fabric, most batting has a grain, and some kinds have a right and wrong side. For best results, keep grainlines aligned as you piece.
- Watch out for warping. Batting can easily stretch out as you piece it together (which would destroy the lovely loft), so handle your frankenbatting gently.
💡 |
Other ways to use scrap batting
|
Happy quilting!
Brittany
You may also like…
-
Quilt Batting 101 - Your Ultimate Guide to Choosing Batting
- Pin Basting 101: How to Baste Your Quilt, No Spray Needed
- Free Scrappy Quilt Block Patterns
- How to Choose Pantographs
Frankenbatting FAQ
IS IT OKAY TO PIECE QUILT BATTING?
Yes, it’s absolutely okay to piece your quilt batting! Tons of quilters do it, with great results. Just make sure you’re piecing the same kind of batting, since mixing batting substrates can affect the look of your finished quilt.
HOW DO YOU JOIN FRANKENBATTING PIECES?
The easiest ways to join frankenbatting pieces are with a basic zigzag stitch on your sewing machine or with fusible interfacing.
WHAT SIZE SCRAP BATTING CAN I USE FOR FRANKENBATTING?
The bigger your batting scraps, the easier it is to make frankenbatting…but you can use smaller scraps too! There’s no true minimum size, so just think about your project. If you’re making a placemat, it might be reasonable to use those 5 x 5” scrap pieces…but for a bed-size quilt, you’ll probably want to stick with much bigger pieces.
If your pieces aren’t big enough for frankenbatting, I have a bunch of other ideas for using up scrap batting!