How to Make a Pet Bed from a Quilt - Tutorial + Ruby Sue's Dog Bed
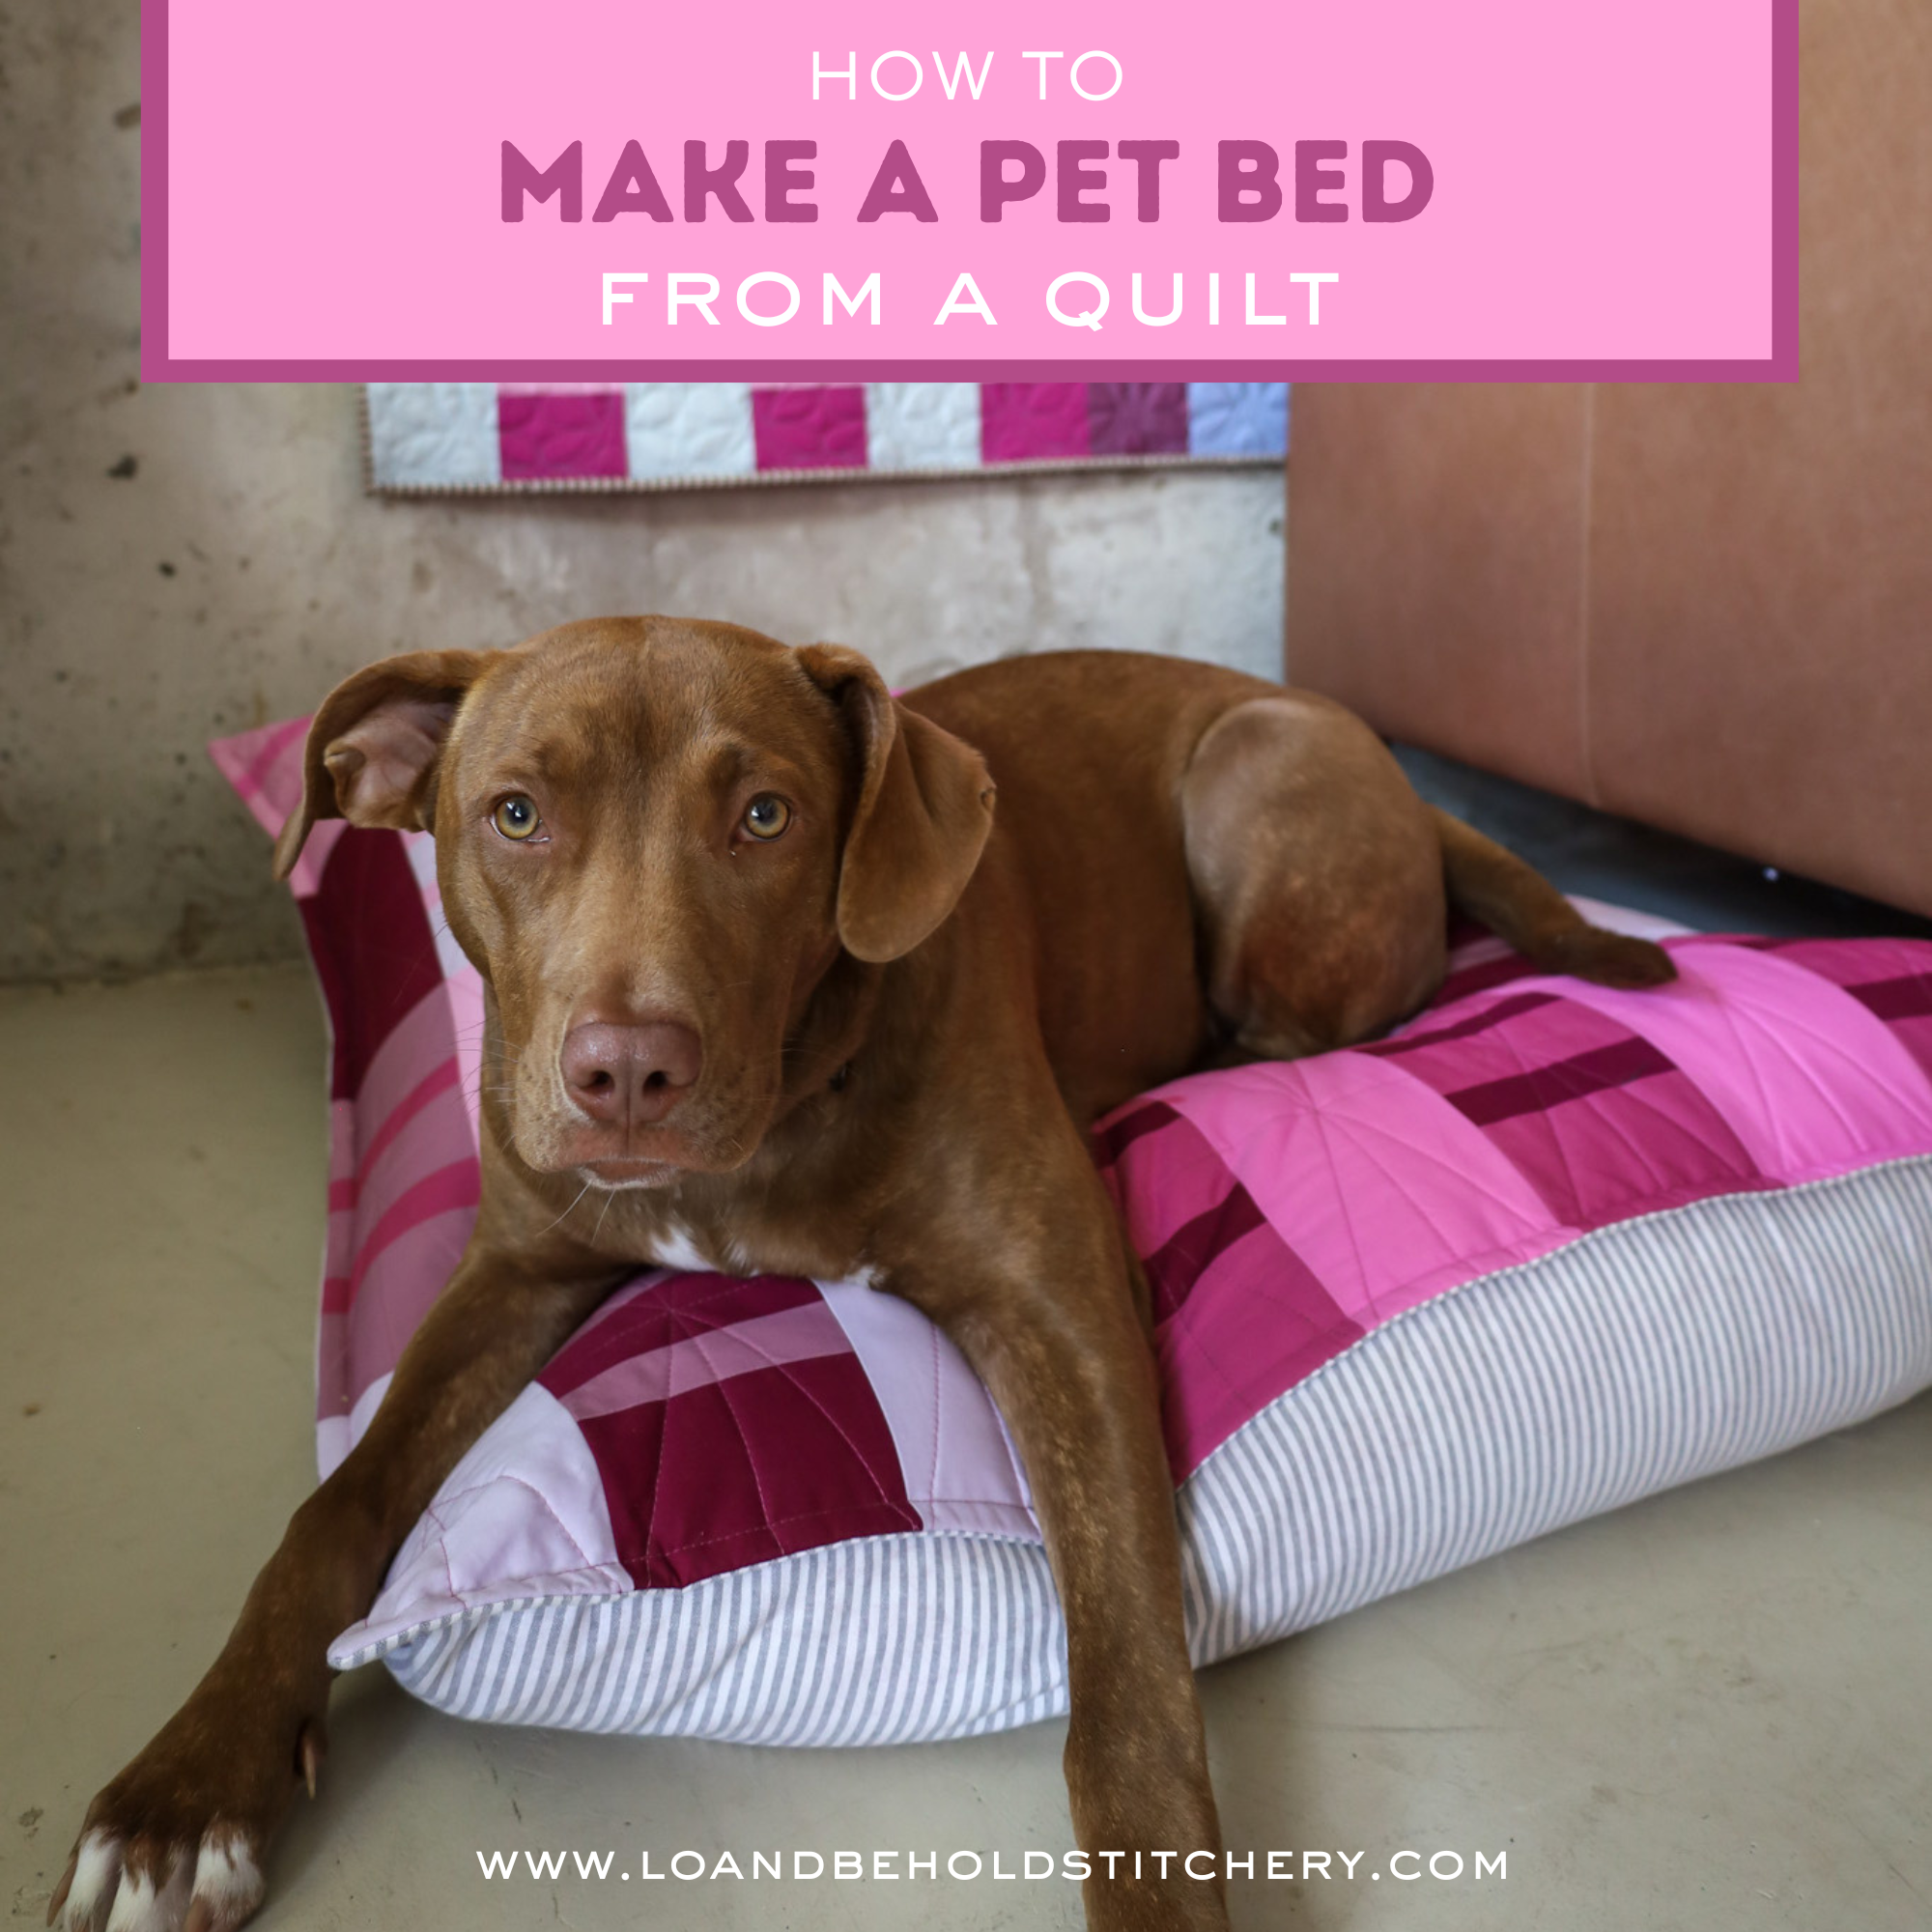
When I designed the Ruby Sue quilt pattern, I knew I wanted to also make our Ruby Sue her very own pet bed from her namesake quilt. And now I have! She loves her cozy new place to sleep, and I love having a pet bed that actually feels like part of our decor.

I have a feeling there are more quilted pet beds in my future…and hopefully in yours, too! So I created this tutorial to show you exactly how to turn a quilt into a pet bed.
While this tutorial features the Ruby Sue quilt pattern, you can use any quilt pattern to create a dog, cat, or even guinea pig bed for your furry friend.
Let me tell you how to make your own pet bed…and then I’ll show you how Ruby Sue’s dog bed turned out and give you some extra tips.
DOWNLOAD: Save this pet bed tutorial as a convenient PDF!

TABLE OF CONTENTS
- Tutorial: How to turn a pet bed into a quilt
- My Ruby Sue pet bed sample
- Planning your pet bed
- FAQ about quilted pet beds


Tutorial: How to turn a quilt into a pet bed
I’ll be using the Ruby Sue quilt as an example in this tutorial…but the tutorial includes instructions to make your own bed insert, so it is customizable for any quilt size. General guidelines to create the pet bed backing and insert are detailed under the cutting instructions. Alternatively, feel free to use a pet bed you purchased from your local pet store! Just make sure the quilt pattern and quilt size you select is large enough to accommodate the pet bed.
ADJUSTED FABRIC REQUIREMENTS AND ADDITIONAL SUPPLIES
In addition to the fabric requirements found in the Ruby Sue quilt pattern, you will need:

A few notes on materials:
- Quilt Top Backing and Bed Insert fabrics: These fabrics will not be seen, so feel free to use an inexpensive fabric like muslin or fabric from your stash!
- Binding: This is optional. The tutorial construction method yields a finished edge after turning right side out. You can add binding if desired!
- Bed Backing: Consider using canvas as the bed backing fabric, the envelope closure sewn to the quilt top to create the bed covering. Using canvas will provide extra durability! Just be sure to use a denim needle (100/16) if using canvas.
- Stuffing Your Bed: There are so many different options for stuffing the bed insert such as Fiber Fill, batting scraps or even fabric scraps! This is a great chance to recycle scraps in your stash, remnant pieces of batting, or even old clothing. I just recommend if using fabric or batting scraps that you cut your pieces into smaller squares or strips. You can even add these to the Fiber Fill for added fluff!
- Fiber Fill: This is the filling that will go inside of your insert. I have used two different types: Poly-Fil, which is a polyester filling and Eco-Friendly Fiberfill, made of 100% PLA, a new synthetic fiber made from corn (a renewable resource!). I have found the Eco-Friendly FiberFill is a bit more breathable than Poly-Fil, but really, the choice is yours! Both are machine washable.
CUTTING INSTRUCTIONS

Note: If you are not using the Ruby Sue quilt pattern to make your pet bed quilt top, you will need to adjust the sizes of the bed backing (envelope closure) and bed insert pieces. Refer to the instructions below to customize your pieces.
Bed Backing (Envelope Closure; cut two of these pieces)
-
Measurement 1 = Unfinished width of quilt
- Measurement 2 = Unfinished height of quilt + desired overlap (Usually 4-9" depending on the quilt size; use a larger overlap for larger quilts.), then divide by two.
Bed Insert
- Measurement 1 = Unfinished width of quilt + 2"
- Measurement 2 = Unfinished height of quilt + 2"
PET BED SEWING INSTRUCTIONS
Follow the Ruby Sue quilt pattern to make your quilt top. After assembling the quilt top, piece together your backing fabric (as needed), then layer your quilt top, batting and quilt backing. Baste and quilt as desired. Find free tutorials on our website via the links below:
• Pin Basting: https://bit.ly/3DGIGbK
• Straight Line Machine Quilting: https://bit.ly/3r314Xp
If using one of the Quilting Ideas found in the Ruby Sue quilt pattern, I recommend adding the traditional crosshatch so your pet bed quilt top has denser quilting for added durability. After quilting, square up your quilt by trimming away the excess backing and batting. Set your quilt top aside; do not bind at this time.
Using your (2) bed backing pieces, create a hem on each piece on the short side. Turn the fabric wrong sides together ½”, press, then fold another ½” and topstitch the fold.

Layer your quilt top and bed backing pieces with right sides together. Overlap the hemmed edges of the bed backing pieces at the center of the quilt top.

Using a ½” seam allowance, sew around all four sides. For extra durability, sew around the perimeter again, still using a ½” seam allowance. Clip the corners if desired to reduce bulk and turn right side out. Press.
Create your binding using your preferred method and bind as desired. A free machine binding tutorial is available on our website at https://bit.ly/3vaS3KO.
If you are not using binding, you can also stitch around the perimeter of your bed cover ½” from the edge as shown below. This will give the look of binding and adds extra durability to the seams. Set the quilted bed cover aside.


PET BED INSERT SEWING INSTRUCTIONS
Make your bed insert by layering the (2) insert pieces with right sides together. Using a ½” seam allowance, sew around all four sides, leaving a 3-4” opening on one short side for stuffing and turning. For extra durability, sew around the perimeter again, still using a ½” seam allowance. Clip the corners if desired and turn right side out. Stuff your pet bed using fiberfill, batting or fabric scraps to your desired fullness, then hand or machine stitch the opening closed.
Note: Your insert will be larger than your quilted pet bed cover on all sides. This allows the insert to fill out the cover nicely and creates a fuller finished look!
Place the insert inside your quilted dog bed cover and gift it to your furry friend!
DOWNLOAD: Get this pet bed tutorial as a downloadable PDF!
My Ruby Sue pet bed…for Ruby Sue!

MAKING THE QUILT
I wanted Ruby Sue’s pet bed to be in the sweet spot where it wasn’t too big for her…but also where she wouldn’t outgrow it in a month! With that in mind, I made a baby-sized Ruby Sue quilt for her bed, which means I started with a 36” x 40” quilt.
The bed finished at roughly 34” x 38” x 10”…so keep in mind you’ll lose a couple inches during assembly and after stuffing.
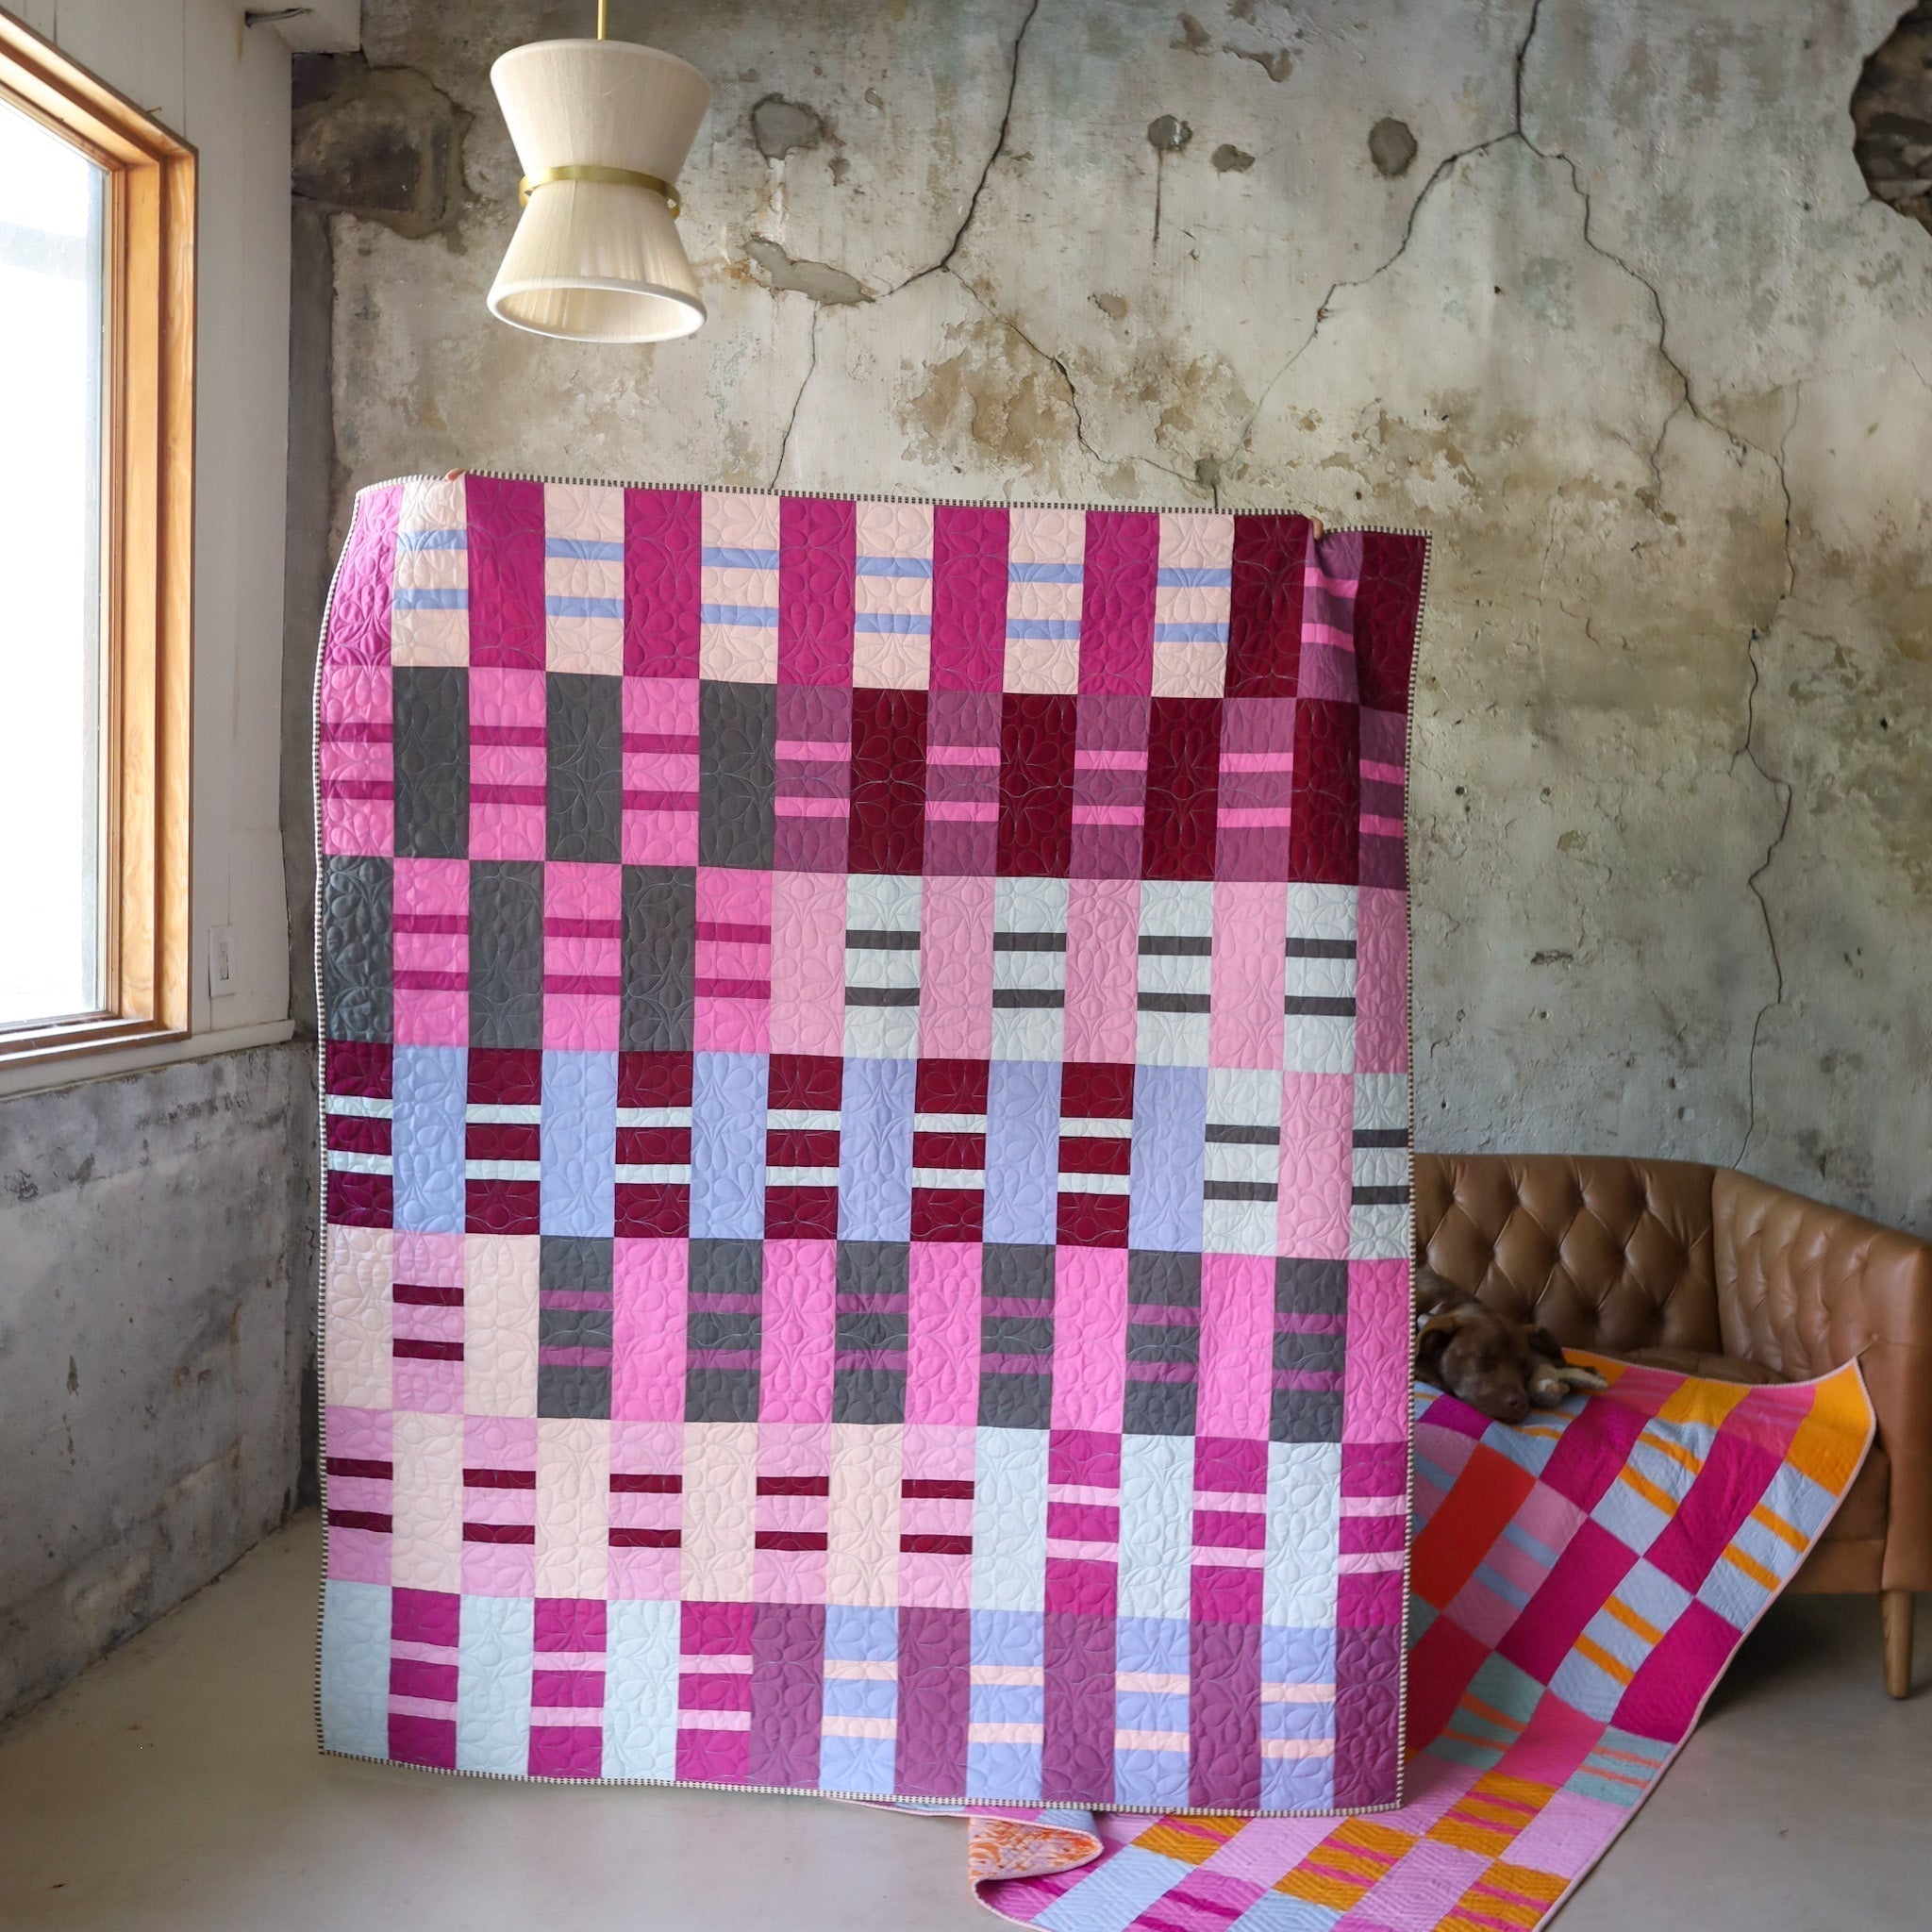
I decided to stick with my signature pinks and purples for this one, using the following fabrics:
- Bewitched (AGF Pure Solid)
- Bougainvillea (AGF Pure Solid)
- Cosmos (AGF Pure Solid)
- Rock Candy (AGF Pure Solid)
- Bordeaux (Kona Solid)
- Orchid (Kona Solid)
(We don’t have a kit for this one, but the Ruby Sue cover quilt kit uses some of the same colors.)
While I went with regular quilting cottons for the quilt top, I didn’t want to use those all over. I could just see Ruby Sue wearing through them too quickly! Instead, I used a tougher canvas from my stash to back the quilt and the actual bed. It made the bed much durable…and it made it feel like the kind of sturdy pet bed you’d get from a high-end store!

I didn’t have quite enough yardage to make a seamless backing, so I pieced it together with some contrasting strips. I like how it turned out, though…it looks like an intentional design choice, not just a thrifty solution!
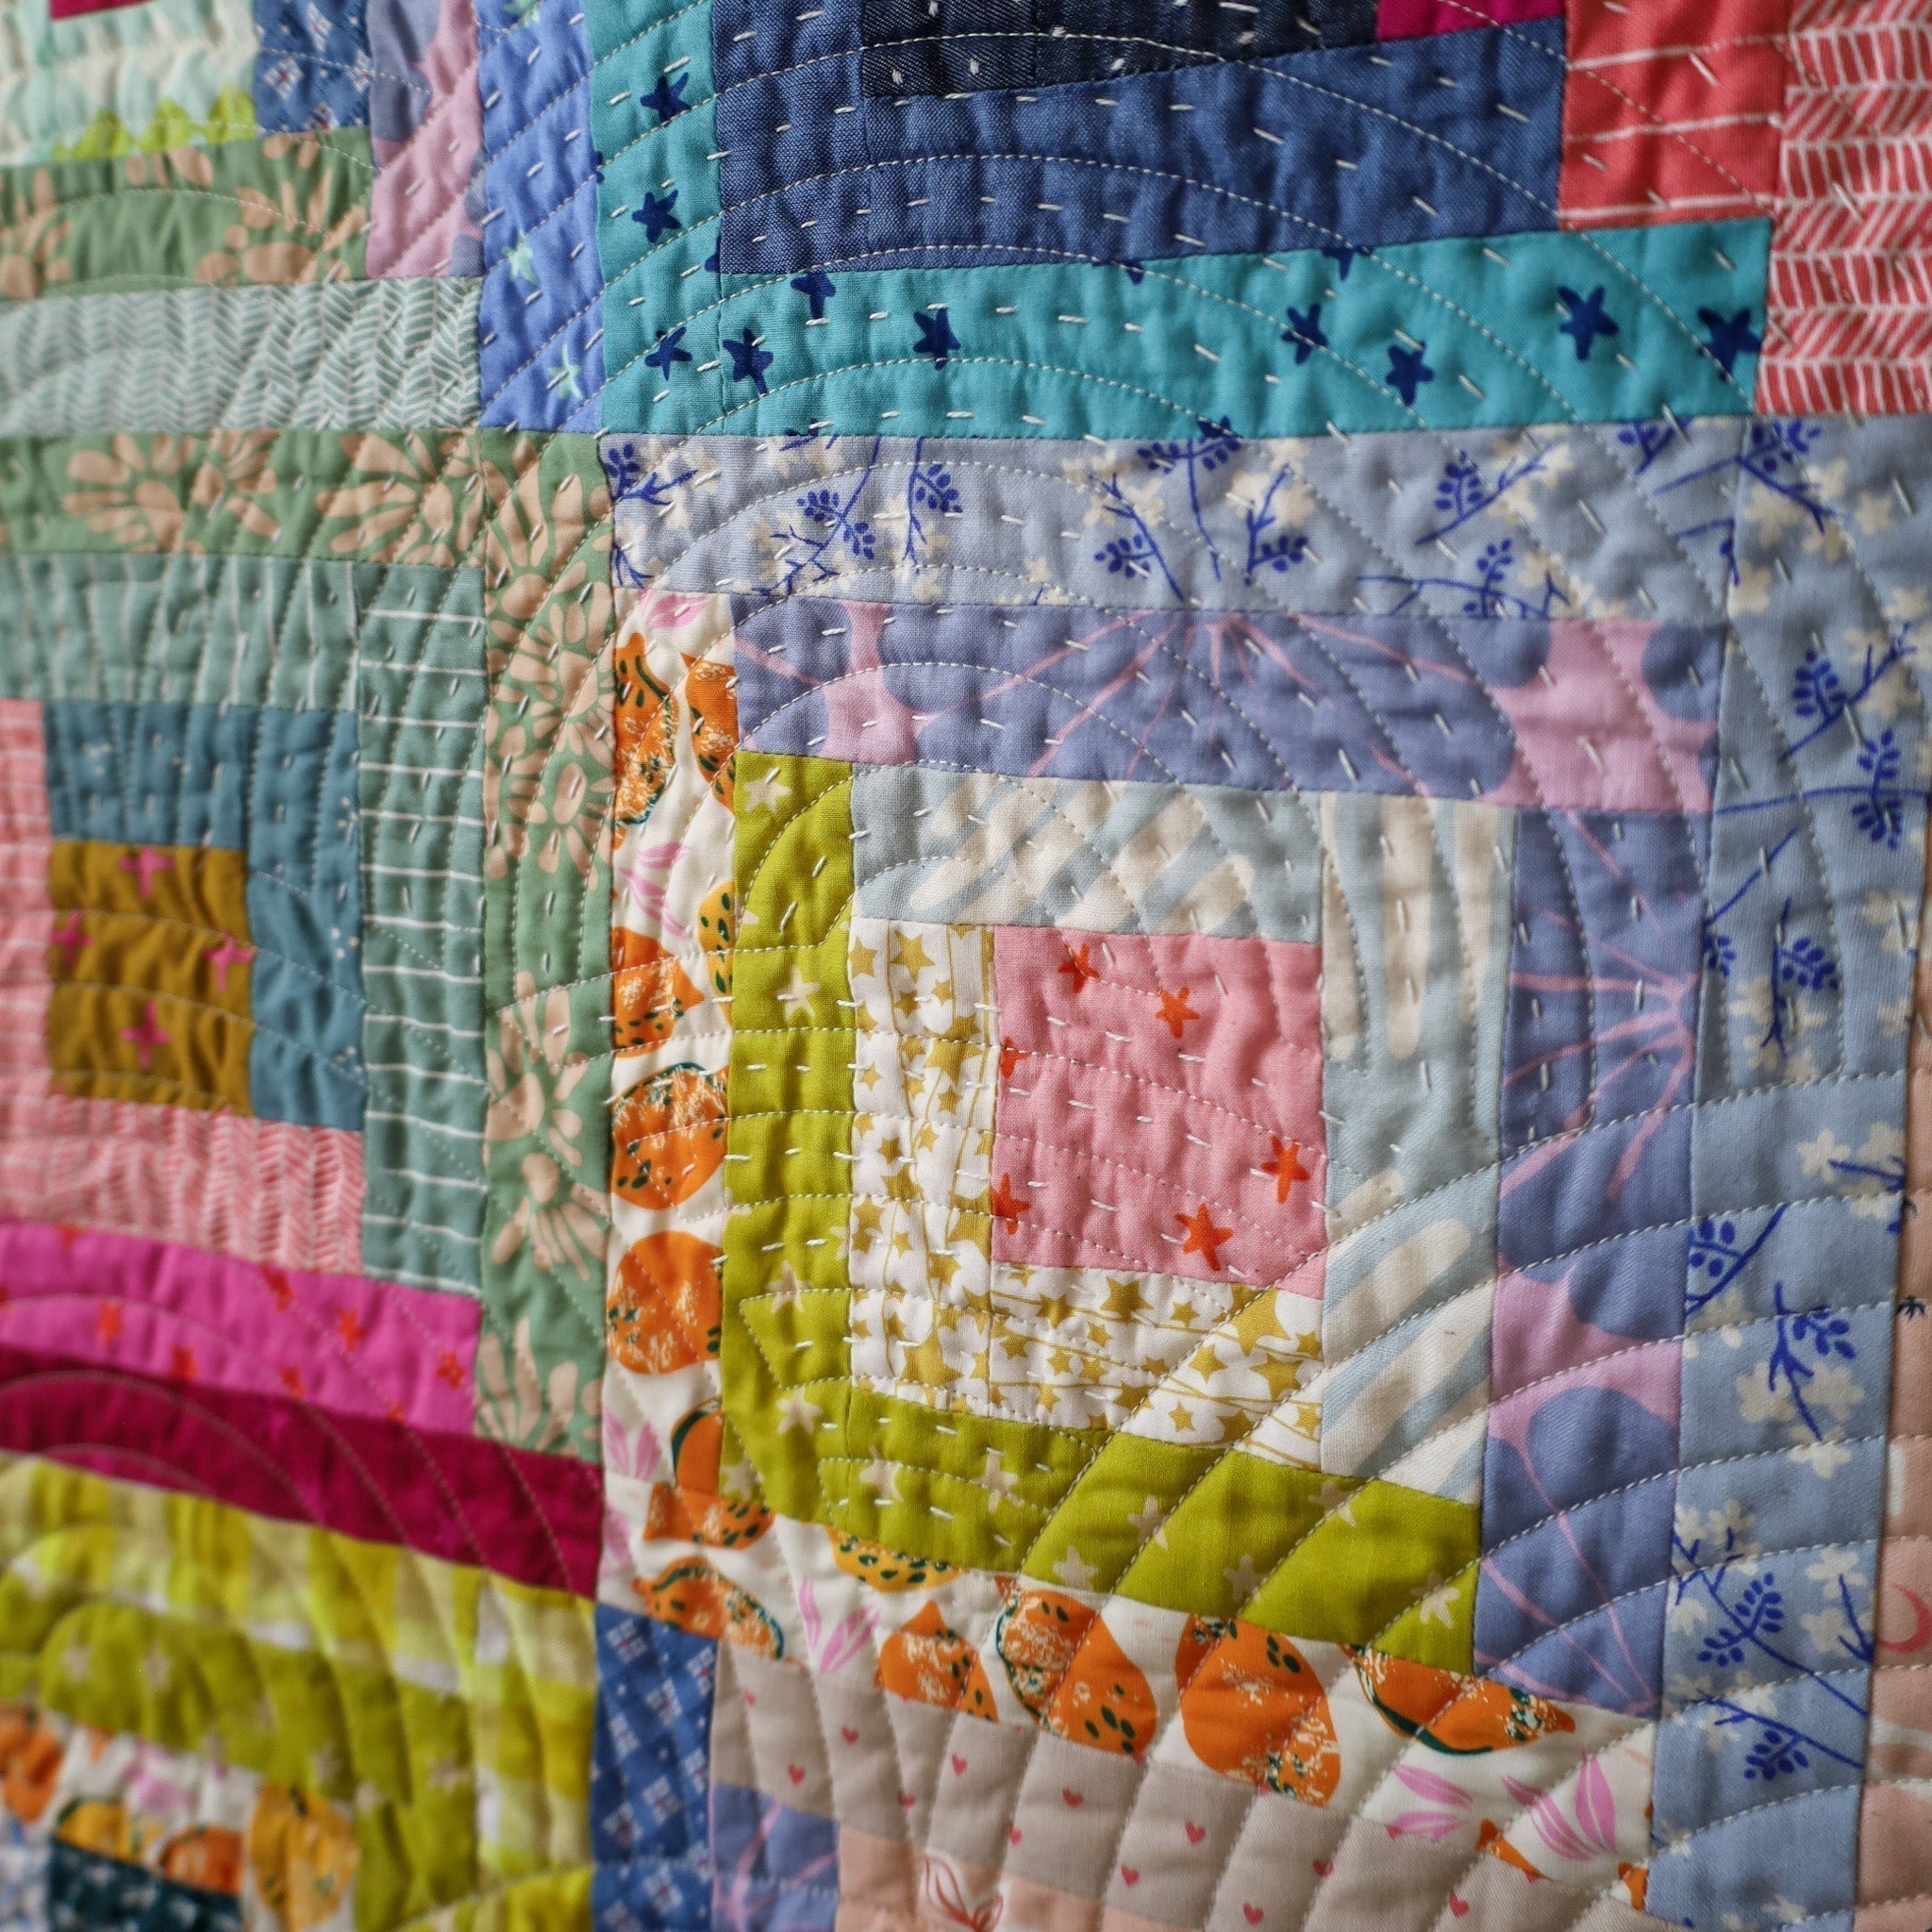
For the quilting, I used a diagonal crosshatch, as suggested by the pattern itself. Then I added the traditional crosshatch to make the quilt extra sturdy. I don’t want Ruby popping those stitches!
While I could have used binding on the pet bed, the tutorial also gives you the option to skip binding and top stitch instead. That’s what I did for this one (but I’ll have to experiment with binding on the next version!).
FILLING THE BED
I thought this project would be a great way to use up some scraps. So I used a mix of batting, fabric scraps and PolyFil to fill the bed insert. I have to say, this bed took a LOT more filling than I first expected! I ended up using around three pounds of scraps and five pounds of PolyFil. If you’ve got scraps, this project will use up a lot of them! Of course, I did go for a super-filled insert. You can use less, if you prefer.
All that filling also made the bed a bit heavier than a typical pet bed. I’m okay with that, though, because it will keep Ruby Sue from tossing her bed around. But it’s something to think about as you make your own bed! Other fillings, like mattress foam, will weigh less.
THE END RESULT
I’m so happy with the way this project turned out…and more importantly, so is Ruby Sue!
To be honest, at first I was a little intimidated by the idea of making a pet bed. But the whole process ended up being much easier than I expected, and faster too. So even if you’ve only ever made traditional quilts, I’m sure you can make a pet bed!

Planning your own pet bed
Before you get started, here are a few things to think about!
QUILT SIZE
You probably won’t want to cut up a larger quilt (unless you’re making several beds), so I recommend using a size that makes sense for your pet.
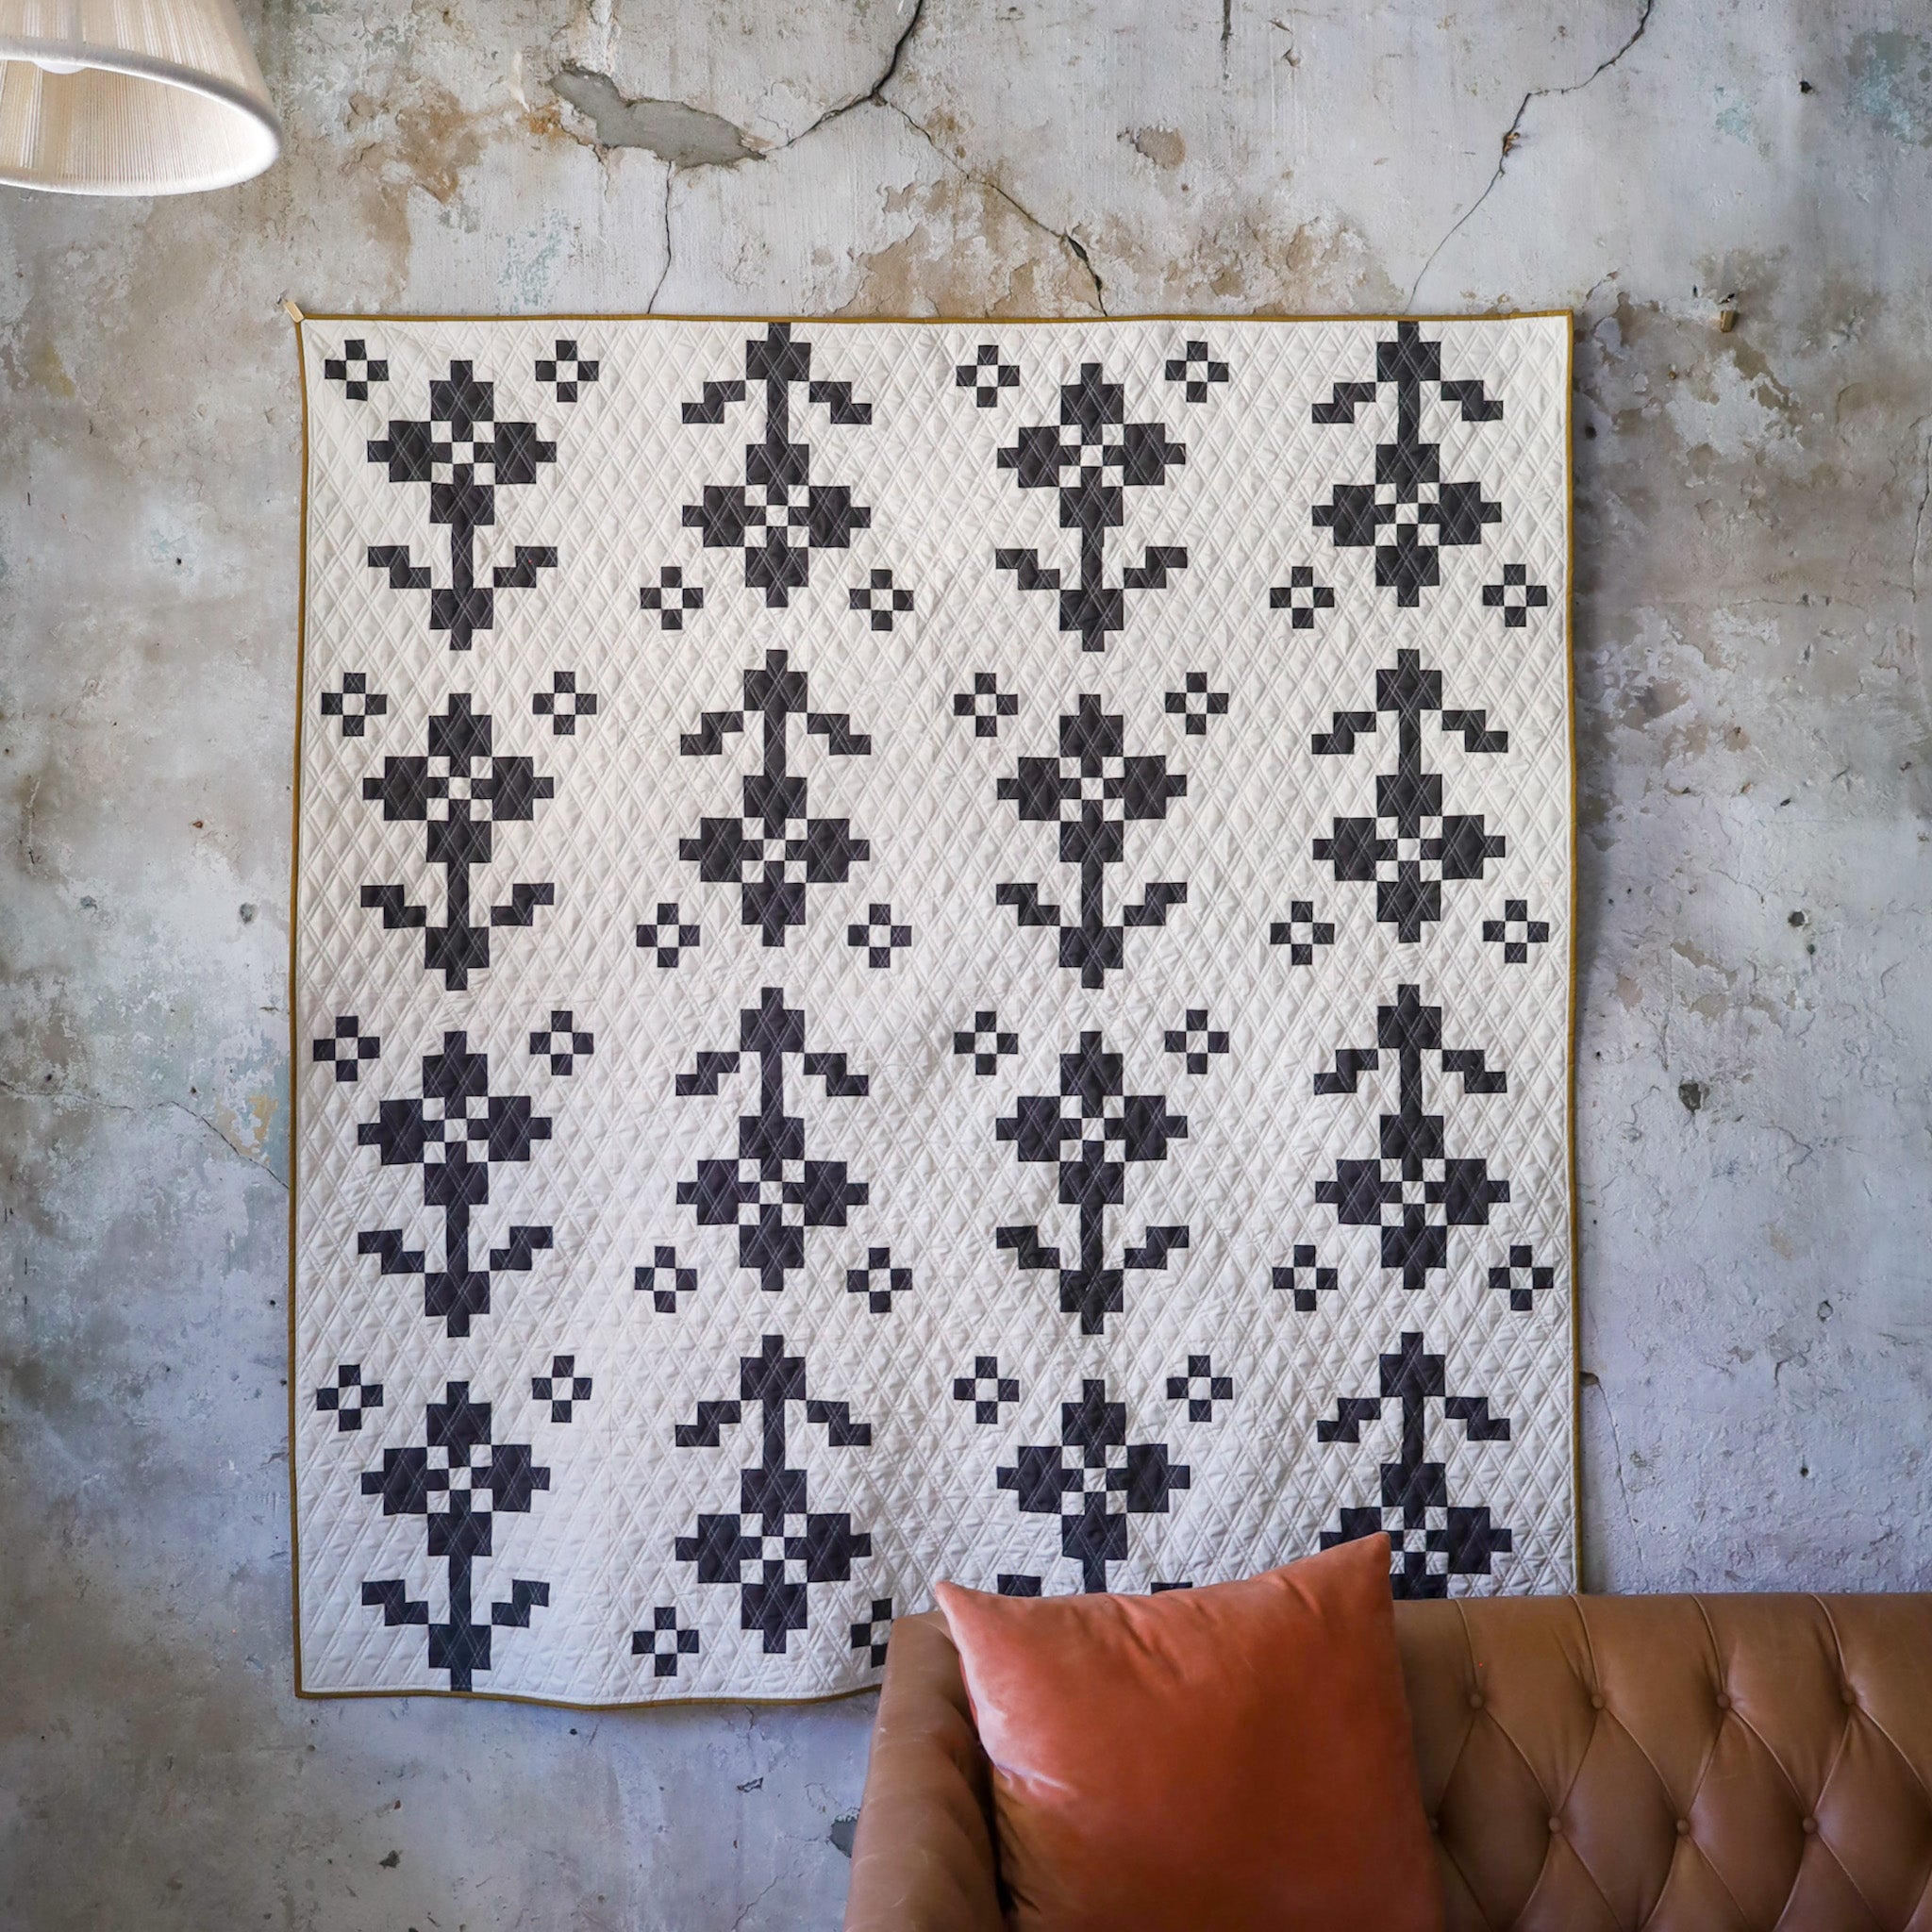
With the Ruby Sue pattern, we recommend using the wall hanging size for a small pet, the baby size for a medium pet and the crib size for a large pet.

QUILT PATTERNS
And don’t forget, you can use our tutorial to turn any quilt into a pet bed…though I have to say, the Ruby Sue sure makes a great looking bed! Several of our other Lo & Behold patterns would also make a lovely pet bed!
For instance, these patterns include a wall hanging size that would work well for small pets:
For medium-sized pets, you can use the baby size of these patterns:
Larger pets would do best with a baby or crib-sized quilt from one of these patterns:
BRANCH OUT
While this tutorial is for a pet bed, there’s no reason you can’t use it to make a couch pillow or a floor cushion instead. Get creative!


Whatever you end up making, I’d love to see it! Tag @loandbeholdstitchery and use the hashtag #loandbeholdpatterns in your social media photos so I can see it…and maybe even feature you in our newsletter!
In case you missed it…
FAQ about making a quilted pet bed
WHAT IS THE BEST FABRIC TO MAKE A DOG BED?
Quilting cotton makes great dog beds, but if you're worried about durability, you may want to use a heavier canvas fabric instead (at least for part of the dog bed).
WHAT FABRIC CAN DOGS NOT CHEW THROUGH?
Realistically, dogs can chew through most fabrics. Heavier duty fabrics, from canvas to some nylons, can last longer than quilting cottons or fleece....but they'll also be harder on your sewing machine. So if your dog is a real chewer, a quilted dog bed might not be the best project. (I suggest make yourself a quilt instead!)
WHAT IS THE BEST FILLING FOR A DOG BED?
You can fill a dog bed with all kinds of things, but Poly-fil and dense foam are two of the easiest (and best) options. Just keep in mind your dog's age and health. A young, active dog will probably nap on just about anything...but an older dog with arthritis probably needs firmer support with no hard lumps.
🔄 |
Post updated 1/2/2026
|
.