My Scrappy Log Cabin quilt ( + Free Quilt Block Pattern!)
Last summer we hosted our first Summer Scrap Bash, and it was so much fun that we’re doing it again this year! This Scrap Bash was essentially a glorified Sew Along where we shared tips for using up your scraps, along with inspiration and free scrappy block patterns for you to use. We’ve already started planning this year’s Scrap Bash, but that probably means that I should finish up last years scrappy quilt. 😅 Which, it's mostly finished, but not entirely because I’m doing something new with this quilt…something I’ve never done before, which means it'll be a WIP for a while! Keep reading to find out what it is and to get all the details about this wonderfully scrappy quilt!

The scrappy log cabin block pattern
A couple of years ago, I released a free log cabin quilt block pattern. I’ve always loved log cabin blocks, in part because I love how they represent home and hearth…but also because they’re great for using all those skinny remnants I always seem to have on hand!
Knowing that I wanted this block pattern to be useful for scraps, I decided to make the strips 1.5” wide, with the smallest pieces measuring 1.5” x 2.5” and the largest 1.5” x 8.5”. This makes it a great pattern for those tiny scraps that are hard to repurpose! Not to mention, I love working with small pieces, namely 1.5" stripes because there's just something about small pieced fabrics that feel so sweet and darling!
Lo & Behold Patterns that use 1.5" strips:
So when we decided to host the Summer Scrap Bash last year, we included 3 free scrappy block patterns for participants to choose from; this log cabin block being one of them, along with sawtooth stars for those larger cuts of fabric or the 16 patch block for leftover 2.5" strips. For the Scrap Bash, I opted to use the log cabin block so that I could use up a wide variety of my smallest scraps.
I ended up making 100 log cabin blocks, which put a massive dent in my scrap bins...but also created lots of new little scraps. 🤪 But that's the name of the game sometimes! So how did the quilt turn out?


My scrappy log cabin quilt
I had a few goals for my scrappy quilt:
- Use the full spectrum of color. 🌈
- Make something bright and lighthearted for summer. ☀️
- Not to worry about coordinating fabrics between blocks. 😉
Those became my guiding principles as I picked fabrics, planned blocks, and sewed everything up.
FABRICS
I mostly used leftover scraps from my stash, but I did throw in some fat quarters I had on hand too. My stash included lots of Art Gallery Fabrics, Cotton + Steel, Ruby Star Society, and Moda fabrics. I’m sure some of you are eagle-eyed enough to name every fabric in this quilt, but I didn’t keep track of exactly what I used.
I played around with making the two halves of my log cabin with the same fabric, so that there'd be 3 different fabrics in each block, but that didn't quite feel scrappy enough, and that took way more strips of each fabric and since many of my fabric scraps were so small, at minimum, I was lucky if I got two strips from each fabric. So I decided to split up the block into two different Color Groups so that they still looked cohesive, but the fabrics within the Color Group are all different. This is explained in the PDF if you want to do something similar!


To do that, I started out but cutting all of my scraps into 1.5" strips and 2.5" squares (for the centers). Then I went through and cut all of my strips into the size pieces that I needed and mixed and matched the blocks to create my Colors A-F.


This created piles of fabric that each represented 1 block. Then I went through and made my blocks one at a time.

You can definitely spot different colors of Ruby Star Society’s Starry collection, some Evolve fat quarters by Suzy Quilts, and some other fabrics we still have in the shop (like Mango Lemonade and Rambling Rose Briar from Art Gallery Fabrics or Nadine from Cloud 9). But for the most part? It's a nice even mixture of several different prints and textures which make for such a fun "I spy" quilt of sorts. Which I think is why I love this quilt so much. I feel like I discover something new every time I look at it. And it’s totally one of a kind, which is one of the beautiful things about scrappy quilts. (So, sorry, no kits for this one!)


Making the individual blocks were SO satisfying. I worked out a system where I was chain piecing, but I kept coming back to working on one block at a time.

Once all of the blocks were made, it was time to lay them all out to decide on final color placement. I toyed with the idea of creating low volume diagonal "rows" across the quilt, but in the end, it felt a little too structured for this quilt. So I tried not to overthink the layout and create something as random as possible.


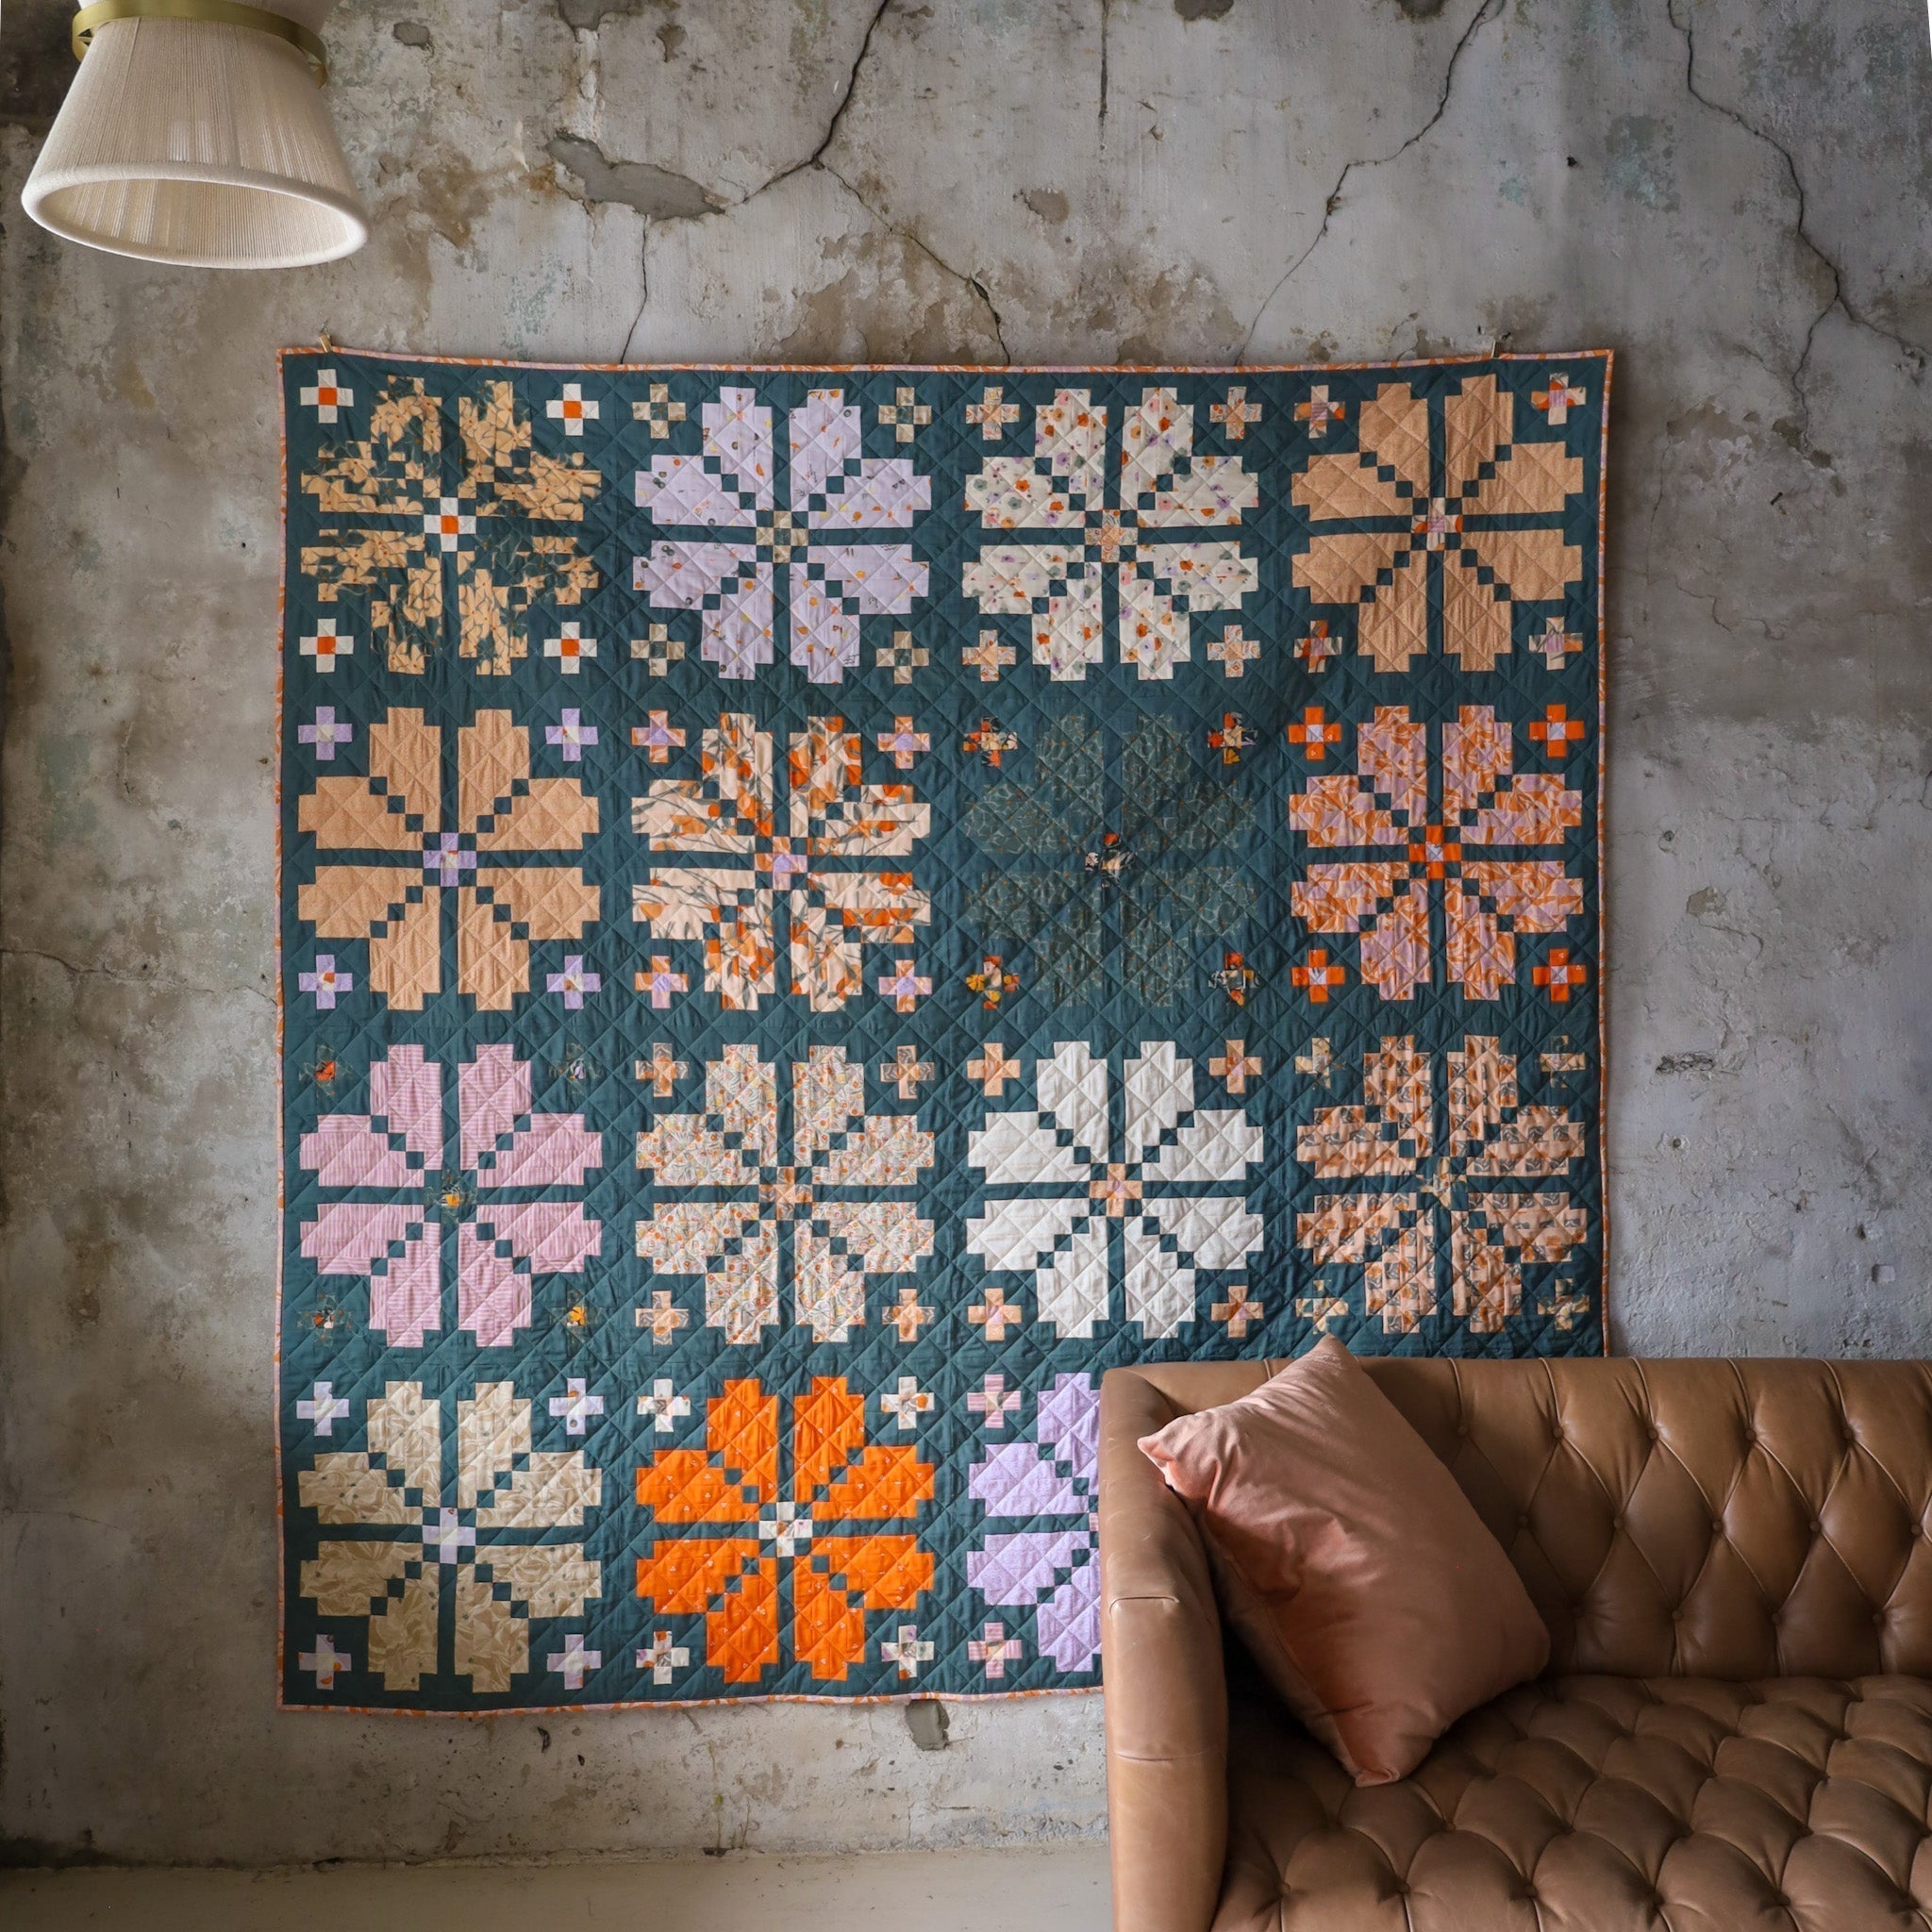
Watching these blocks come together was kind of magical! If you can't tell by the look on my face, I'm completely smitten! It was so big that it was impossible to hold up by myself, so I kept fluffing it out so that Peter could try to capture a shot where you can see all of the blocks. It wasn't successful, but we tried, haha!


I backed the quilt with Starry in Natural…a fun print that would have the same whimsical feel as the front without clashing with any of the many colors.
QUILTING
I had the finished top sitting around for several months because I wasn’t sure how I wanted to finish it off. All the scraps meant this quilt top had a LOT going on, and I didn’t want the quilting to get lost in all the color…or to compete with it either.
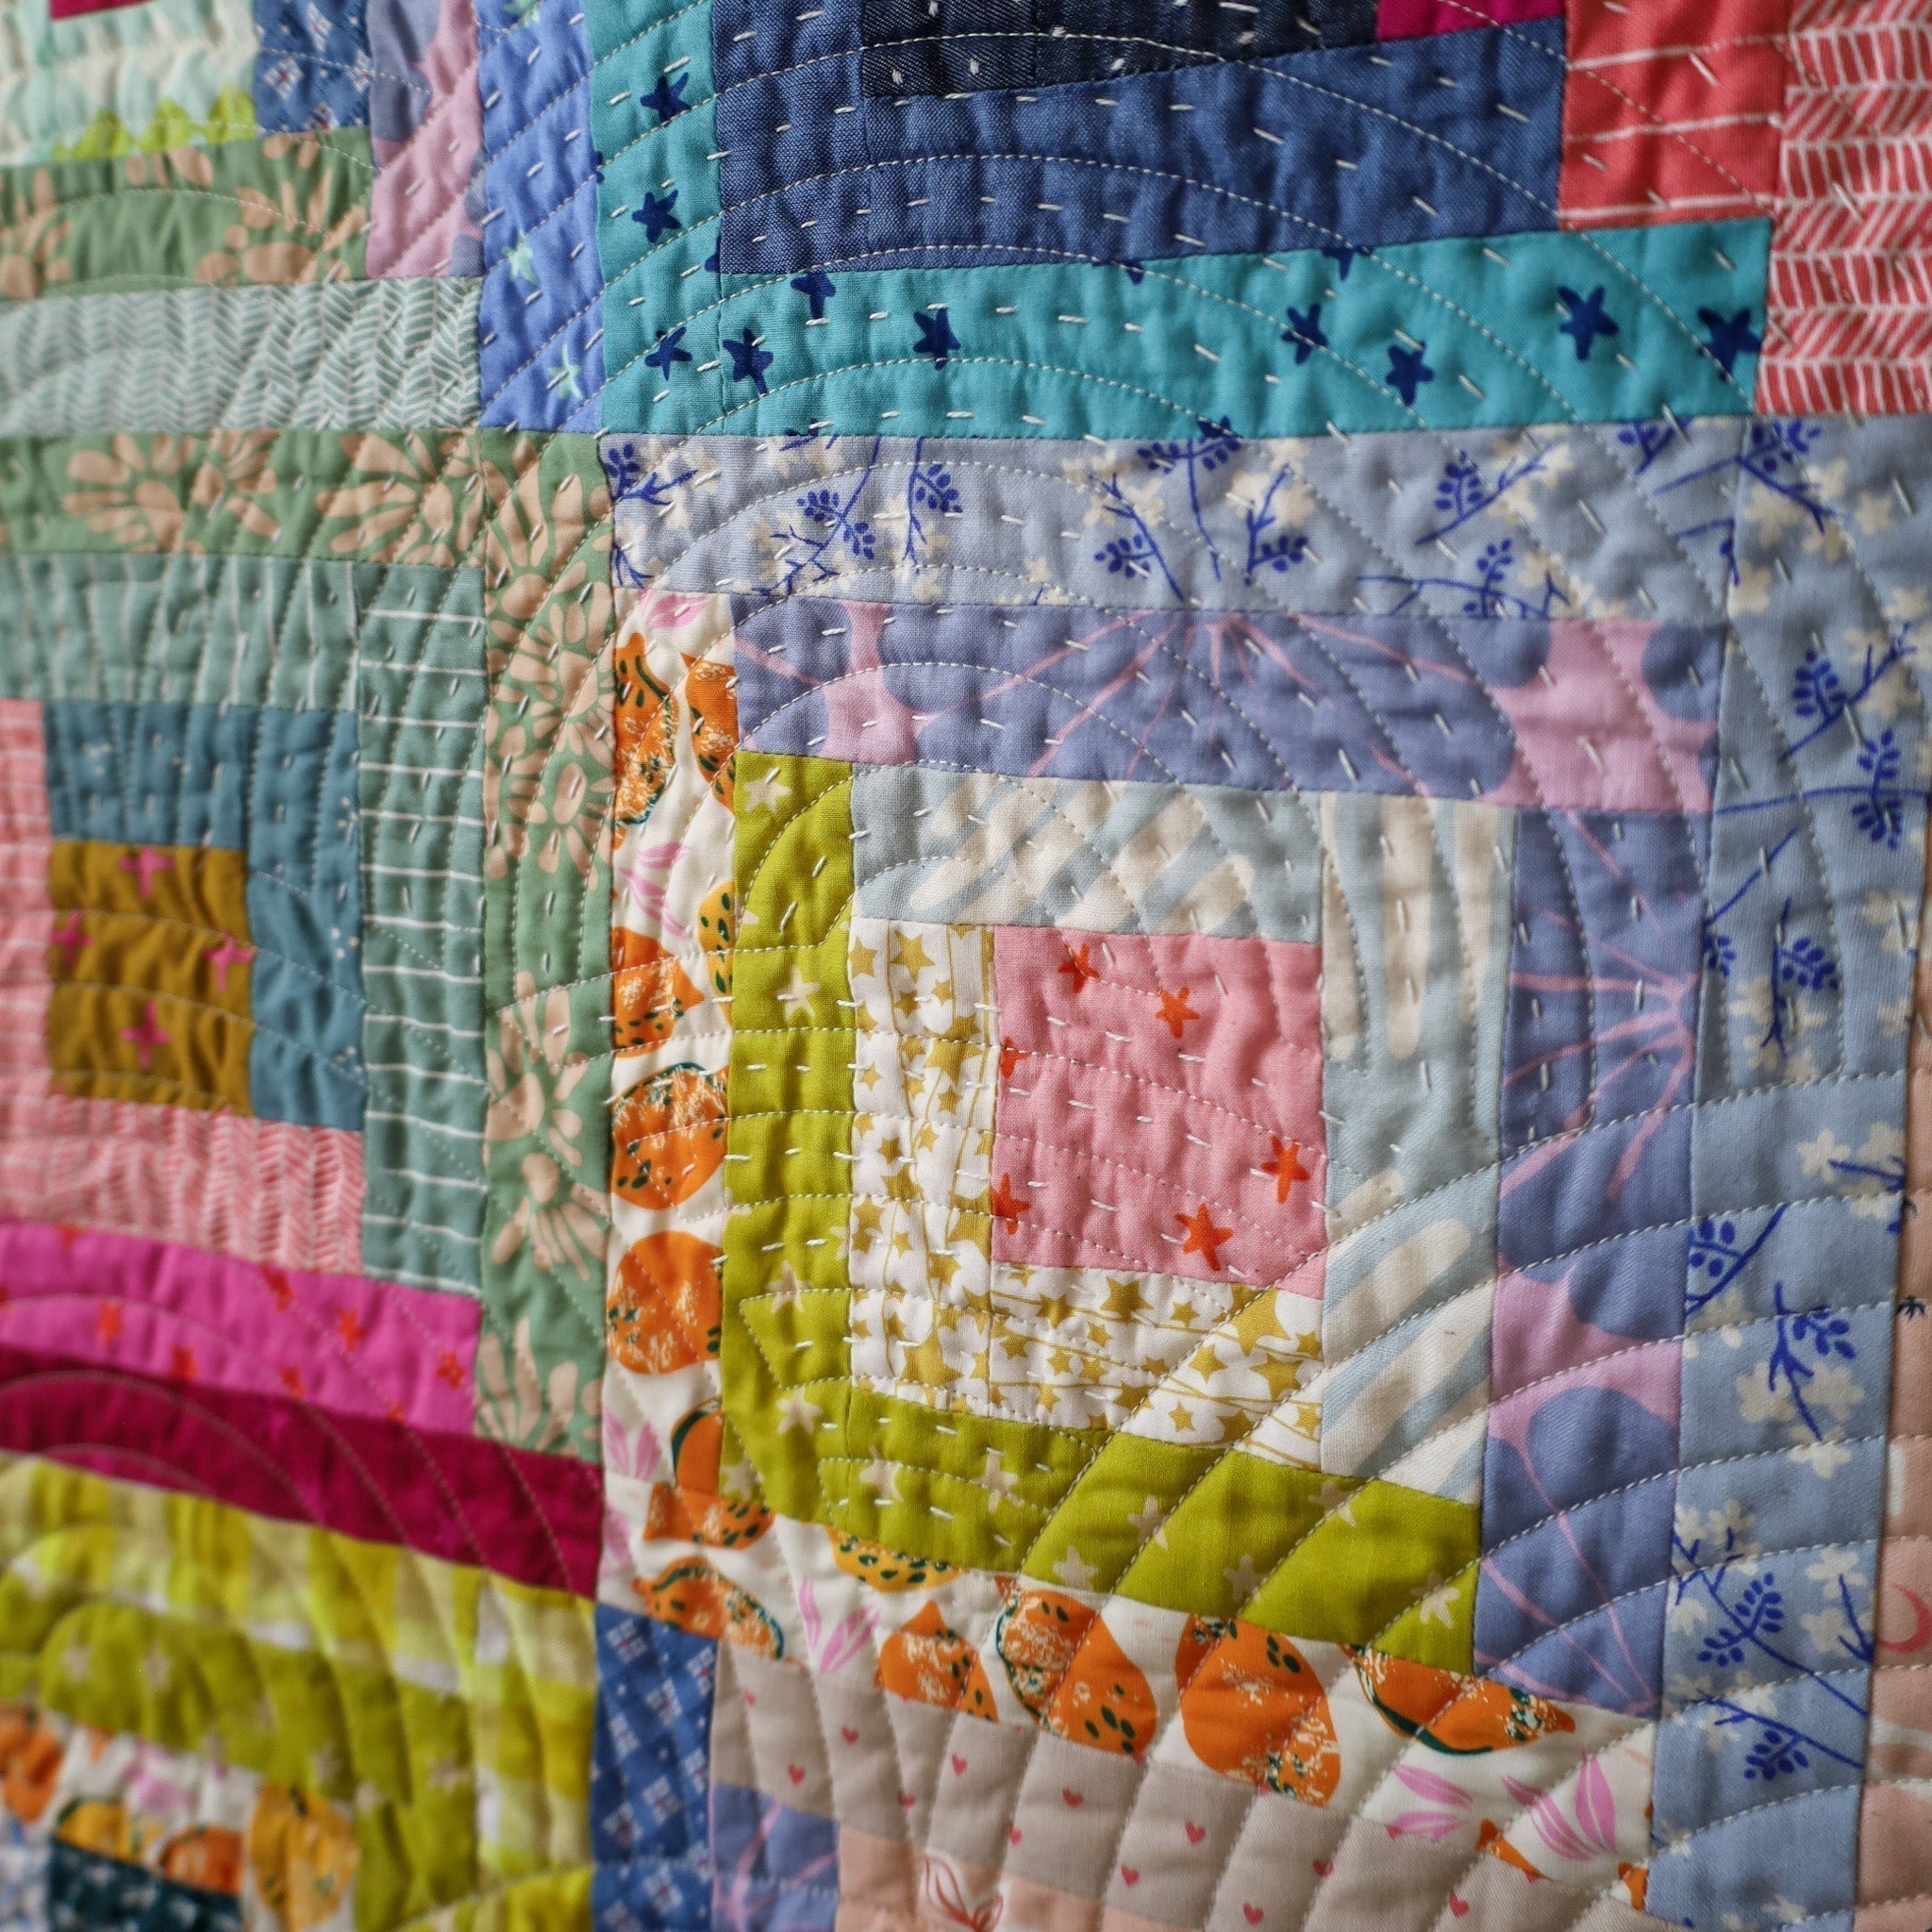
I finally decided to go with longarm quilting by Sara of Stitch Lab Quilting. She used the Ananda Fan panto by Melissa Kelley of Sew Shabby Quilting, and I just love how it turned out! The fans curve across several blocks and make these super scrappy blocks feel connected…like they belong together.


Remember how I said this quilt isn’t done? That’s because I’m going back in and adding hand quilting in between the pantograph lines! 🪡 I’ve never combined long-arm quilting and hand quilting before, but I loveeee how it’s turning out. The finished quilting will be super dense with a beautiful variety of texture.


I’m using light-colored threads for the hand quilting, like light pink, light blue, and cream. And just like the quilt top is scrappy, so is the hand quilting! 🧵 I’m using up the thread I have on hand.
I’m not a super fast hand quilter, but that’s okay. I’ll keep working on this all summer whenever I have a few minutes. Since it’s already been longarm quilted, I even went ahead and bound the quilt. And, well, that’s where I ran into problems. But first, here's a look at my scrappy binding that I made for this quilt.


It's crazy to think that I started this quilt before we adopted Ruby Sue. Considering that the couch at the studio is "her couch", she (of course) made an appearance in our little photoshoot for this quilt. 🥹


LESSONS LEARNED
Remember how I said that I made 100 blocks during the 2024 Summer Scrap Bash. When I sewed them all together, this quilt measured about 80” x 80”. That’s one of the largest quilts I’ve made, and I was so excited to have a big quilt to throw on our guest bed.
But as you might be able to tell, my finished quilt is quite a bit smaller…about 64” x 64”.
I had this idea to do scalloped edges, so after the longarm quilting, I got to cutting. Unfortunately…I really didn’t love how the curved edges looked with the log cabin blocks. 😕 It was hard to get the curves lined up with the blocks in a way that looked pleasing, symmetrical and on-purpose. I tried to like it but it just wasn't sitting right with me. Even worse, in order to fix my edges, I had to cut away an ENTIRE ROW from each side. 😢 I was so sad! I did learn something from the experience! If I’m going to try something new…try it on a practice quilt sandwich!

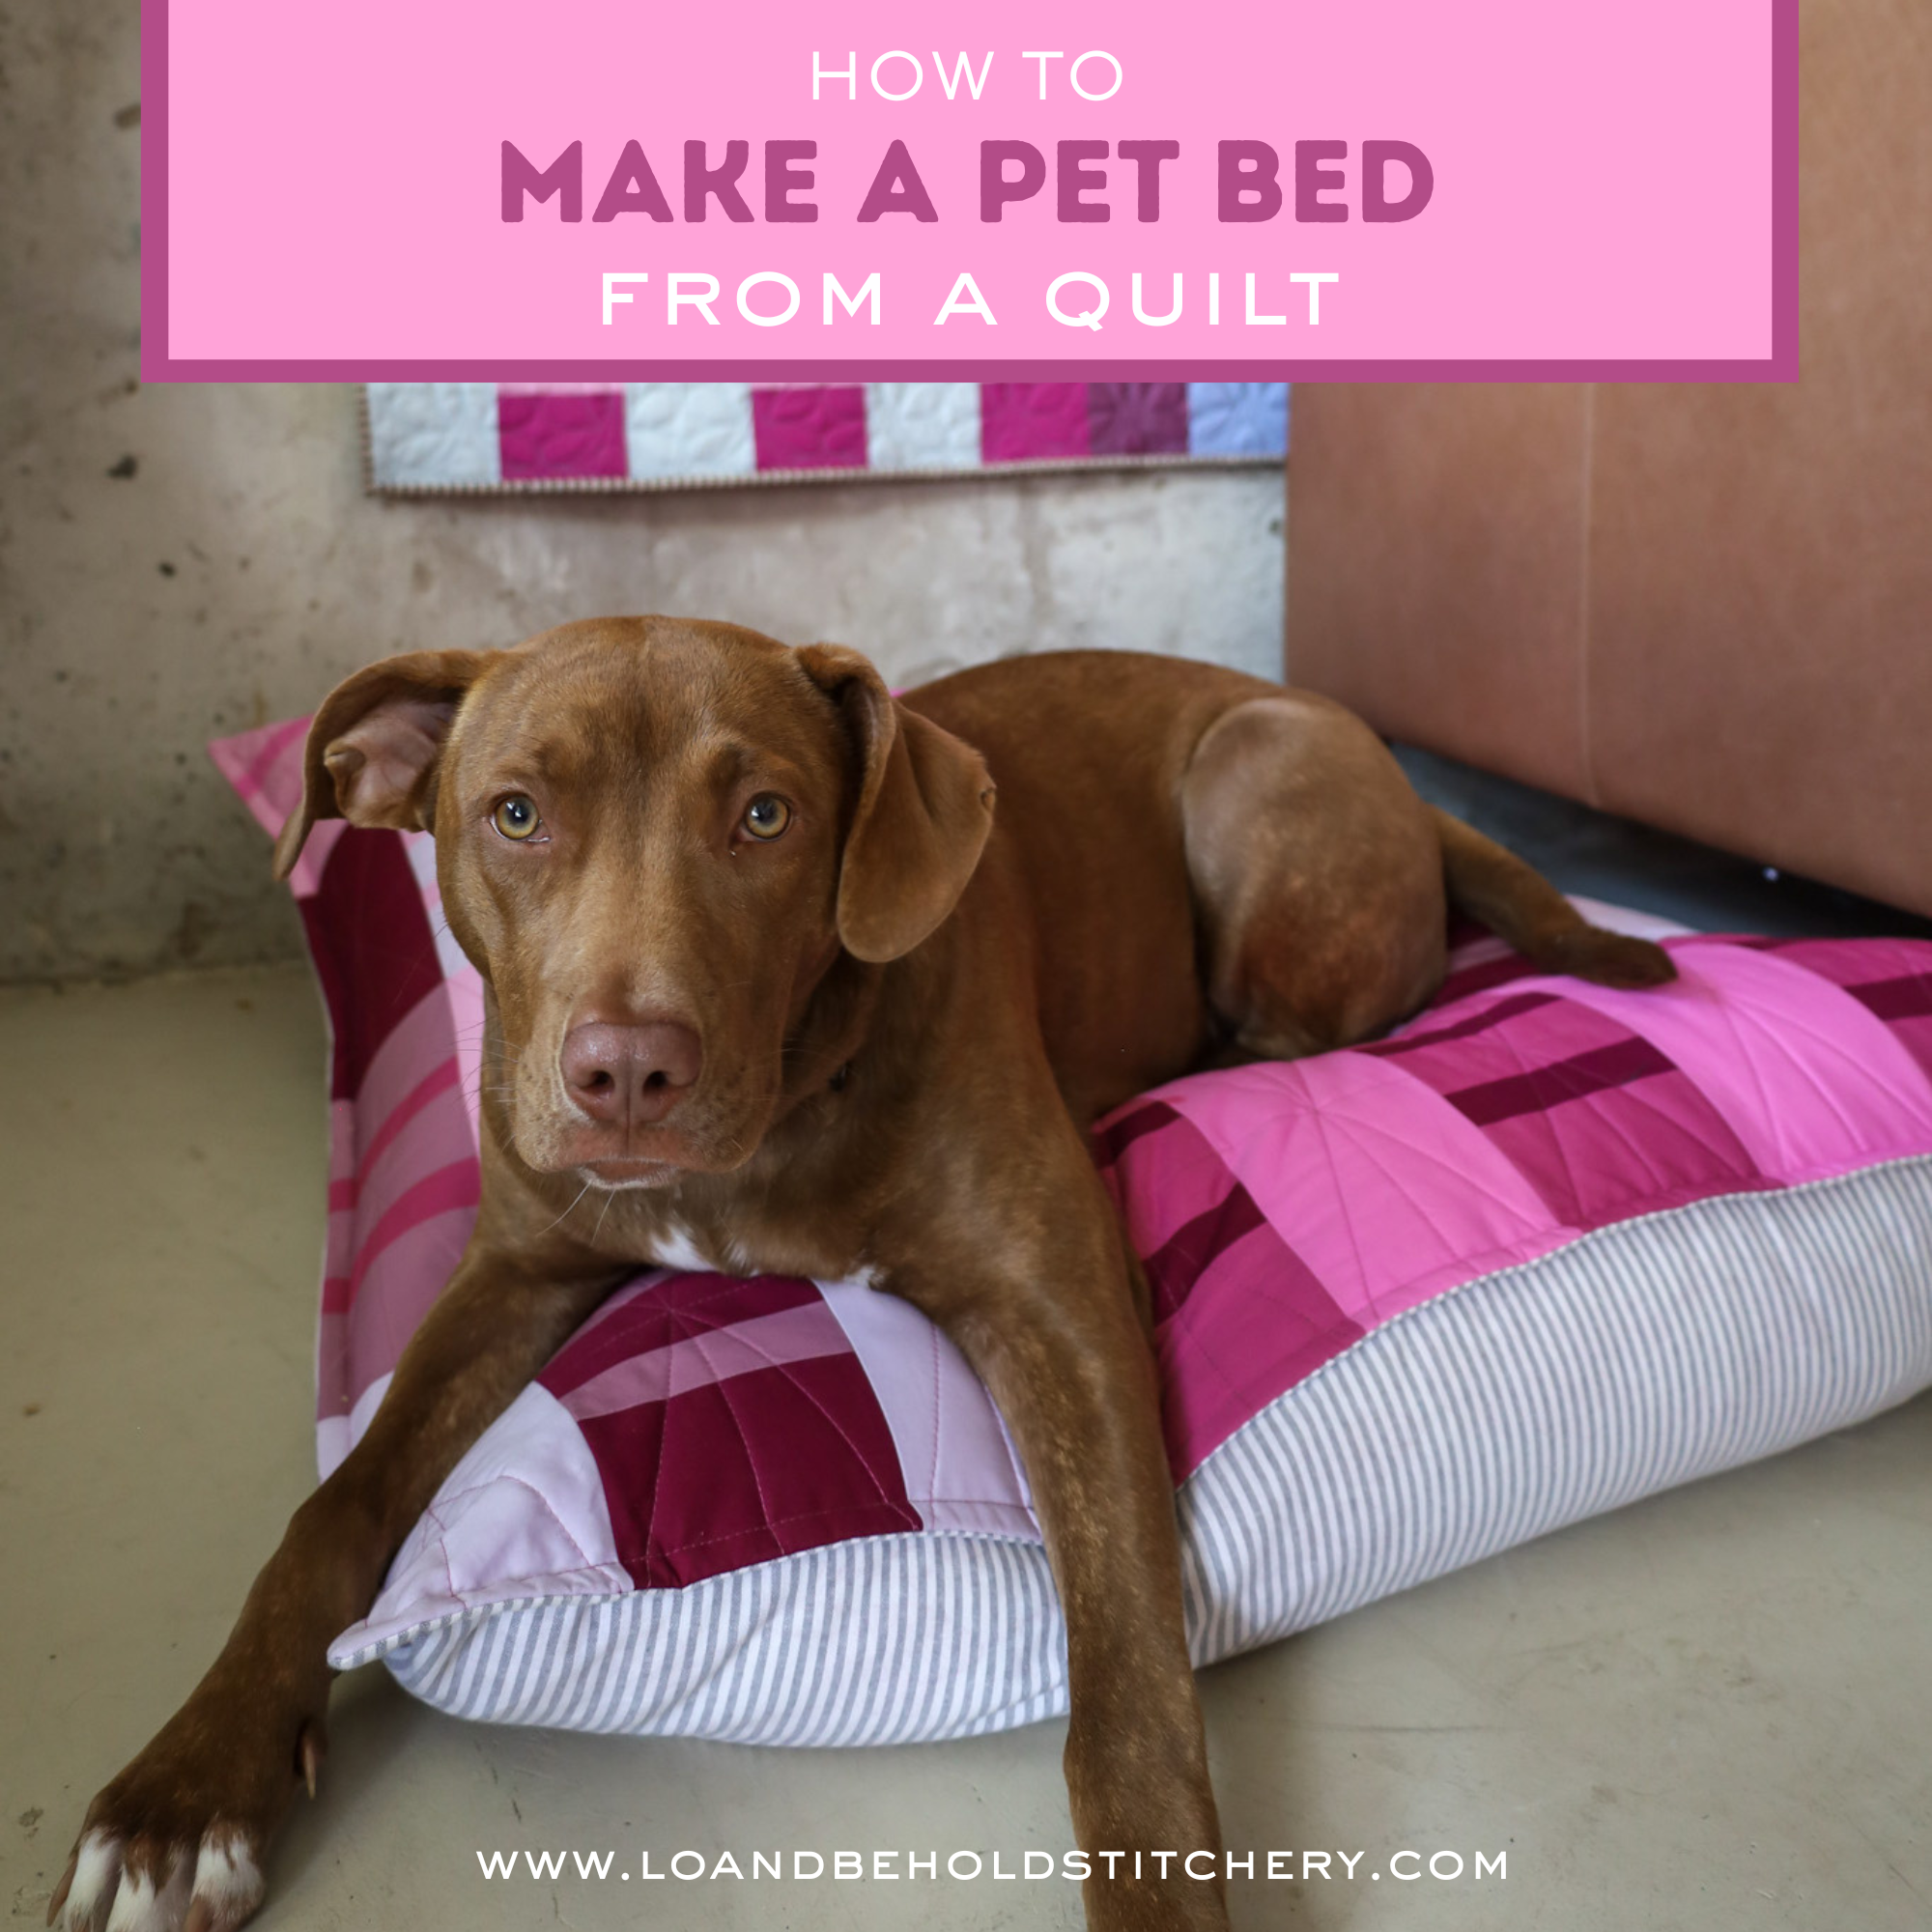
That said, I'm going to save the bits of quilt that I had to "waste" and I plan turn them into something useful. Maybe coasters?
In the end, though, I still love the way this quilt turned out. I had a blast making it, and I’m excited to make another scrappy quilt this summer…maybe with all solids this time? Speaking of which…

Make your own scrappy quilt
Our second annual Summer Scrap Bash starts later this month! It’s a FREE, chill, seven-week sew-along to help you use up your scrap stash. We’ll share our three free block patterns…plus a fourth scrappy block, new this year!
You’ll also get my best tips for scrappy sewing, the support of thousands of other quilters around the world…and maybe even some prizes!
I still have tons of scraps on hand (even after last year’s scrap busting!), but don’t worry if you have a smaller stash. You can always fill out your stash with some fabric bundles or individual 1 yard cuts to keep that scrappy look!
I can’t wait to see your one-of-a-kind scrappy creations…and to make my next one! See you at the Scrap Bash!