Working with Templates

Types of quilt templates
Printed templates for quilting

Acrylic templates for quilting


How to prepare paper templates
Printing your templates

Once you have your templates printed, double check your measurements with a ruler. Lo & Behold patterns list the correct measurements on the templates themselves. Make sure all edges of the templates measure exactly what the pattern says they should. If your measurements look off, adjust your printer settings and print again.
Note: Lo & Behold patterns also include a test square (that ranges from 1” to 2”), and some patterns from other companies only use a test square instead of template measurements. If your test square measures exactly the stated size (like 1” x 1” or 2” x 2”), you know your templates printed fine. But just to be safe, double check the other measurements on your printed template to ensure that it printed correctly.
Transferring your templates
Once you make sure your templates are printed correctly, you'll need to transfer them onto a more sturdy surface. (Printer paper won’t hold up to cutting over and over…which is what most quilt patterns require!) You can trace them or glue them onto your sturdier surface. Then cut them out, and they’ll be ready to use!
I like using clear, gridded template pages to make my templates more durable. It’s as close as you can get to acrylic templates. However, if you want to use something around the house, I'm all about recycling! Use the back of a cereal box or a piece of sturdy card stock.
Whatever you use, remember not to use your fabric shears to cut your paper/templates. We want to keep those guys nice and sharp!

How to use your quilt pattern templates
Whether you printed your templates or bought an acrylic set, you use them the same way!
First, trace your templates onto your fabric using a temporary marking tool. There are a few different routes that you can go with this. There's something like this Dritz marking pen with air- and water-soluble ink. You can also use a hera marker, which creates a crease in the fabric (the wrong side of a table knife does the same thing). Or my new favorite: mechanical chalk pencils.

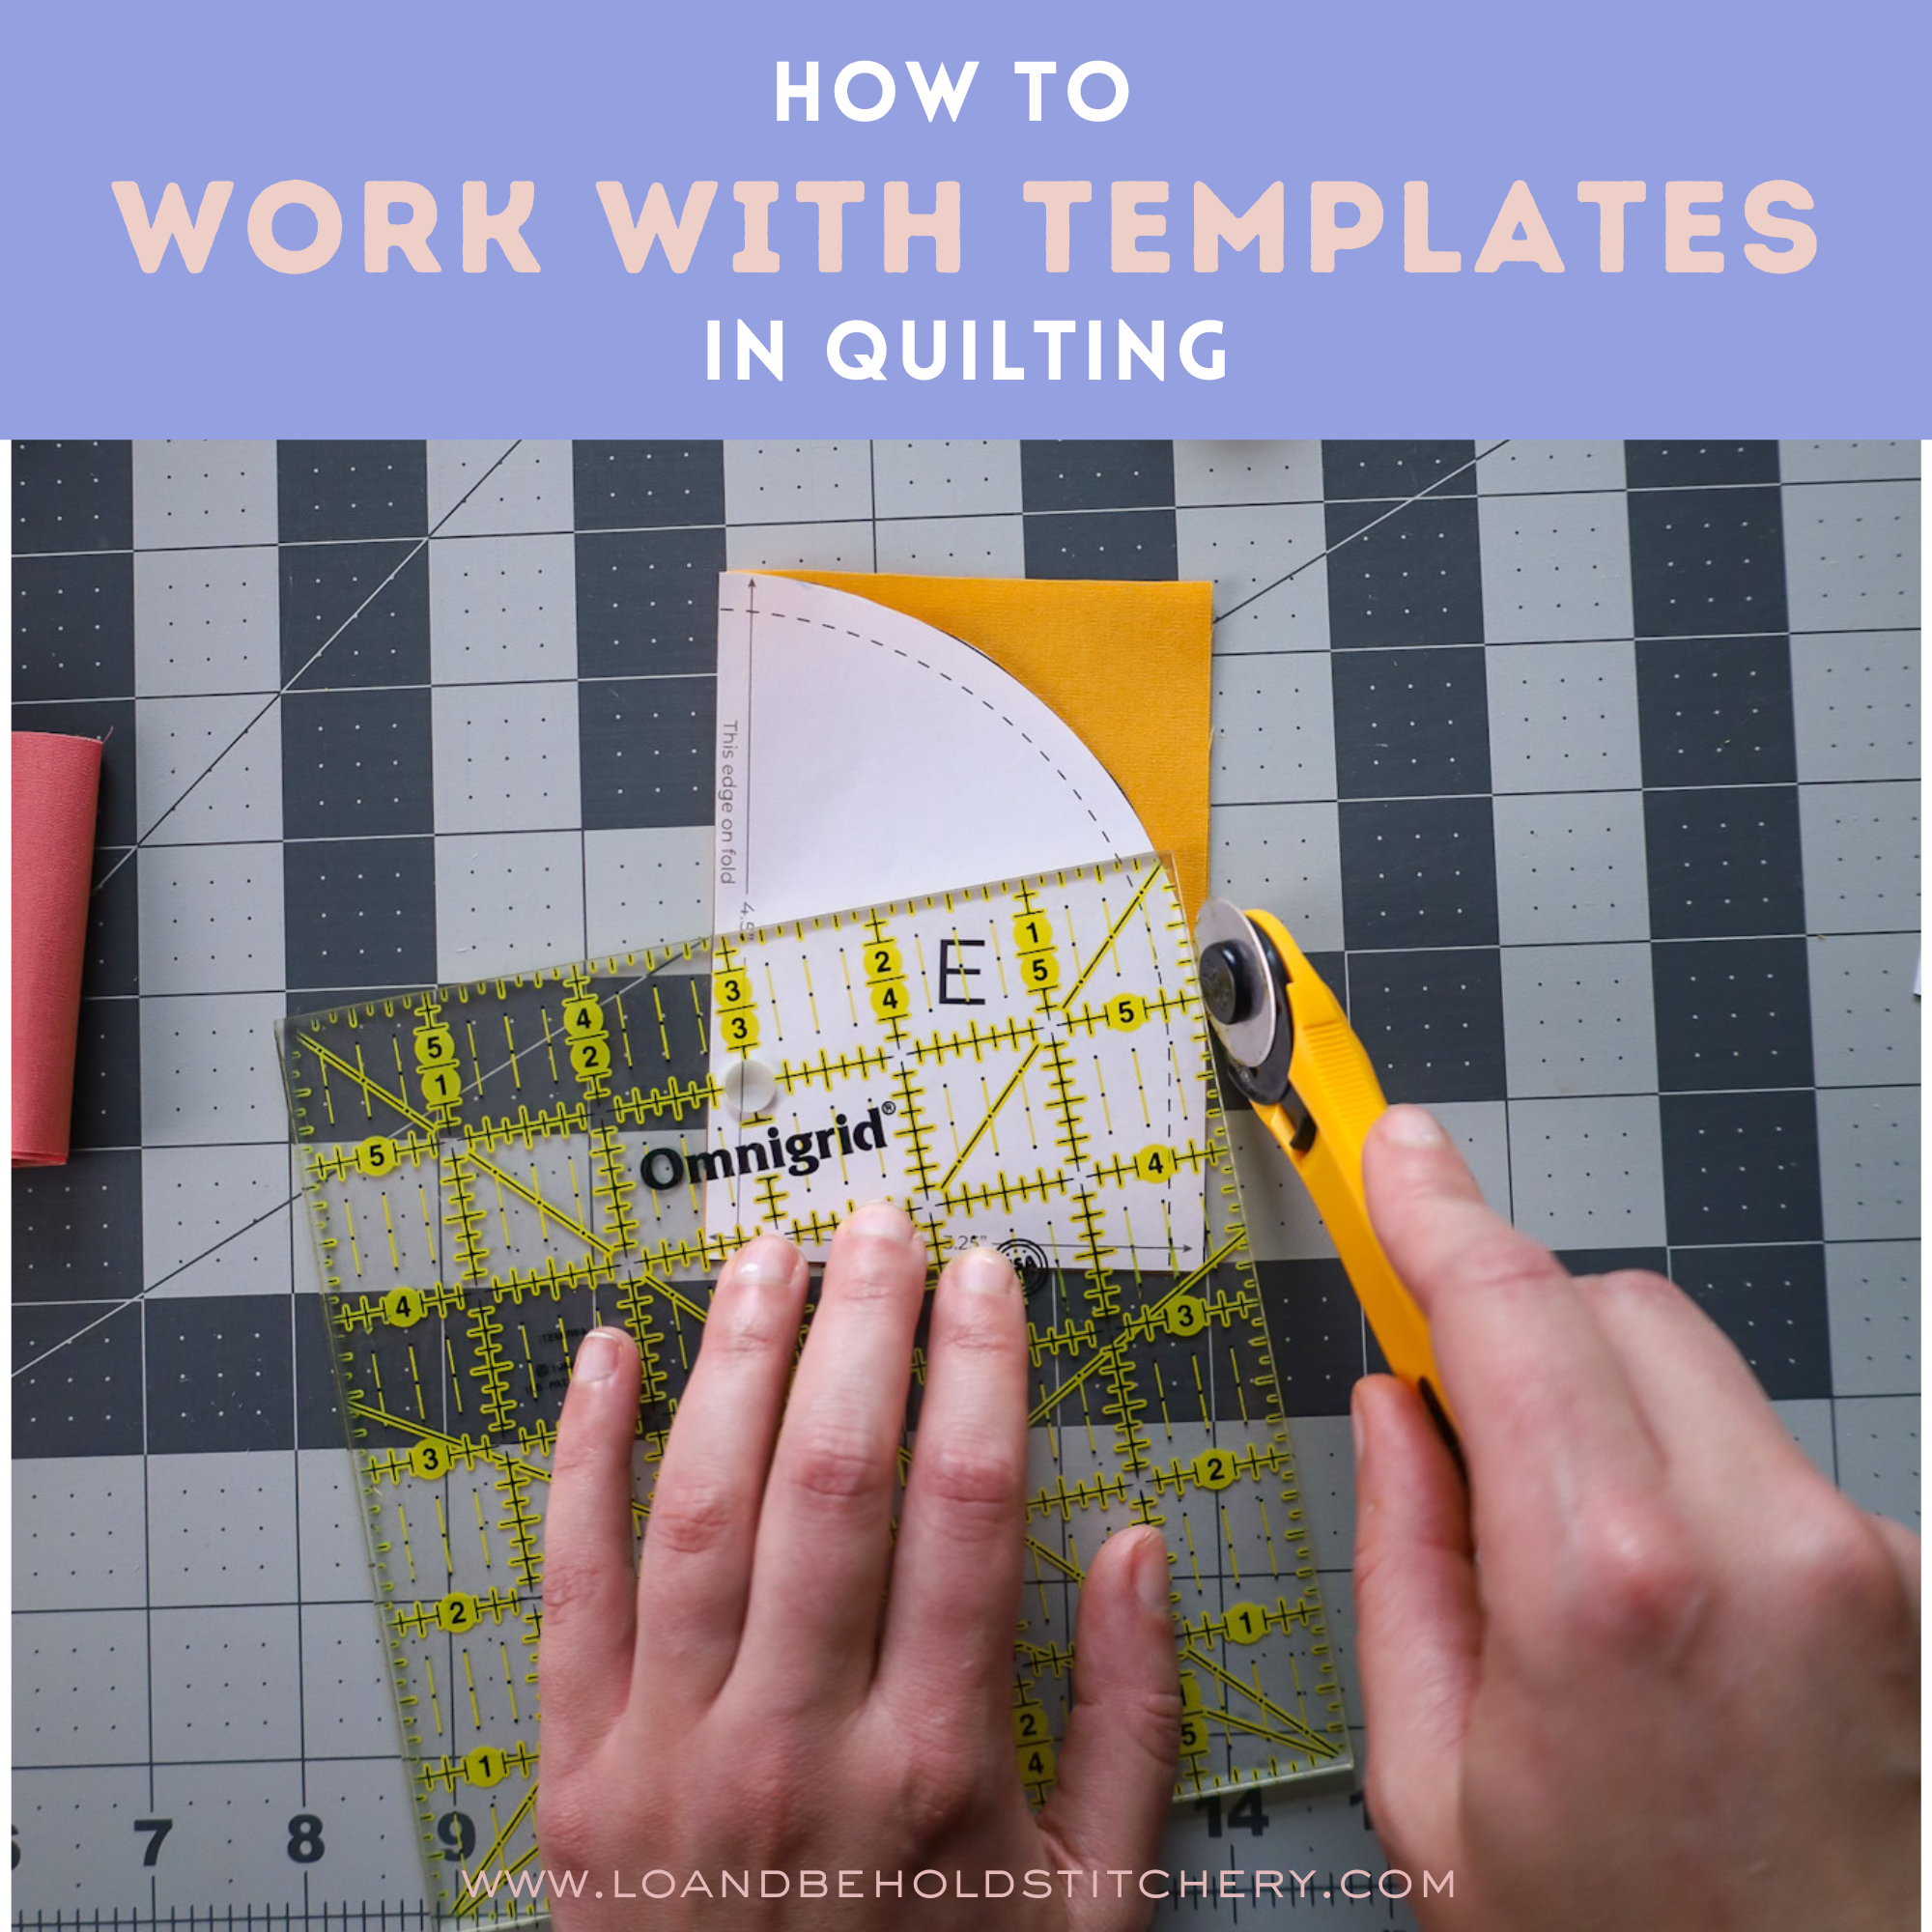
Then you can cut! For efficiency, when you have straight edges on a template, cut those edges with a rotary cutter. I like to cut my curves with my rotary cutter too, but tracing and hand-cutting is also an option.

Tips for cutting fabric with templates
- Trace your templates so that you are cutting along the length and width of your fabric. Cutting along the diagonal, or bias edge, will make your fabric prone to stretch. Sometimes this is inevitable, like with my Shades of Citrus Pattern. In this case, starch is a good idea!
- Pay attention to directional fabrics and whether or not you'll need to flip your templates.
- If you choose to cut your curves using a rotary cutter, consider using a ruler to brace your rotary cutter against, like I demonstrate in this video:

Bottom line
Templates are a great way to easily create unique shapes within a quilt design…once you know how to use them!

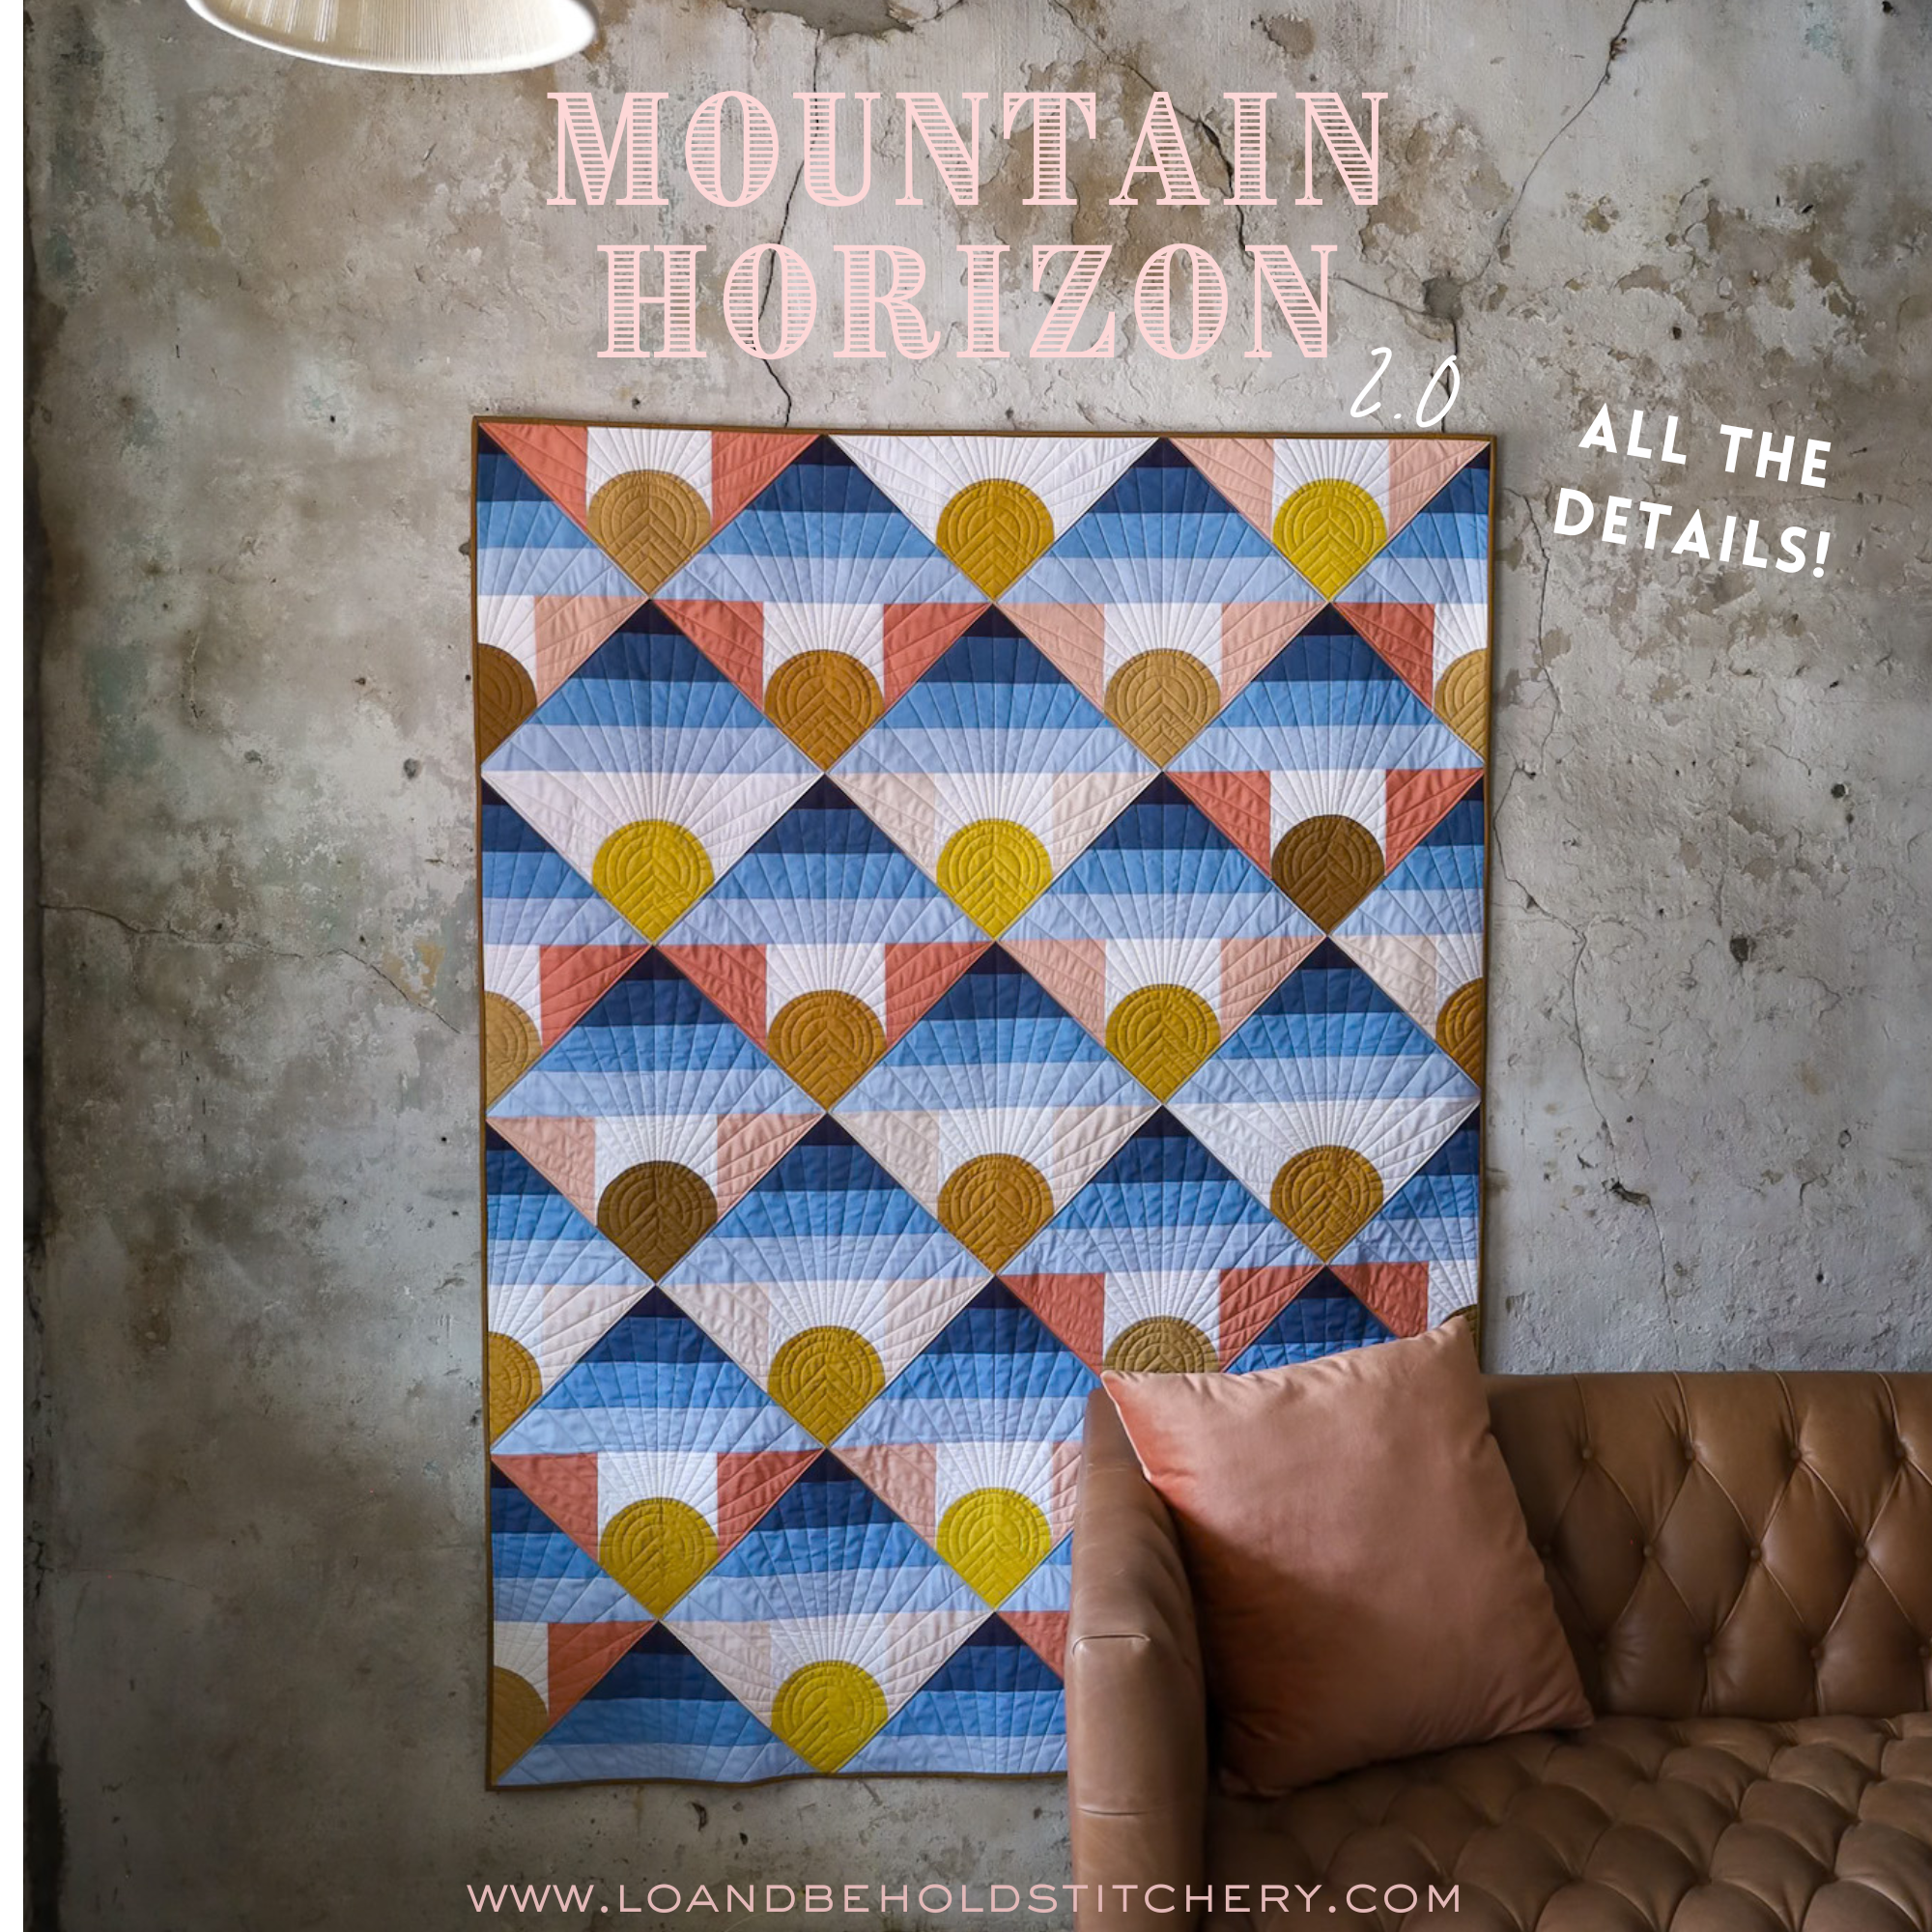
Pattern: Mountain Horizon 2.0
These tips should make it easier to work with templates. If you want even more guidance, sign up for our Curve College course! It includes step-by-step instructions on using templates (including several detailed videos of templates in action) and sewing multiple types of curved blocks.
 I hope you found this helpful!
Happy quilting!
-Brittany
FAQs about templates for quilting
How do I keep my templates from slipping?
Acrylic templates can be slippery on your fabric! To keep your templates from slipping, I recommend adding some grip tape to the bottom, like this cut-to-size grip roll.
Are there different types of quilting templates?
Talking about quilt templates can get confusing, because there are two kinds of templates used in quilting! First, you’ve got the shapes you trace onto fabric and cut (the kind we’re talking about in this post). But quilting templates can also refer to stencils used to mark quilting designs on your fabric.
They’re very different things…but they’re both great!
Where do I cut templates–on the solid line or dotted line?
When you cut out your printed templates, cut on the solid line. The dotted line represents your stitched line and includes the seam allowance, so everything lines up just right! Once you cut out your template, double check the measurement to make sure that you cut correctly.
What Lo & Behold Stitchery patterns use templates?
Lo & Behold has seven patterns that use templates:
- Mountain Horizon 2.0
- Shades of Citrus 2.0
- Retro Blossoms
- Metamorphosis
- Retro Ornaments
- Triangle Fade
- Southwest Diamonds
Mountain Horizon 2.0, Retro Blossoms, and Shades of Citrus 2.0 are all compatible with our acrylic template set.