Ombre Puff QAL - Week 7

.

.
Week 7
This week we are doing our final step in this puff quilt process...adding the binding! Cue the confetti! Complete everything on page 11 and 12 of the Ombre Puff Quilt Pattern. This is also minute mark 9:06 of the Ombre Puff Video Tutorial.
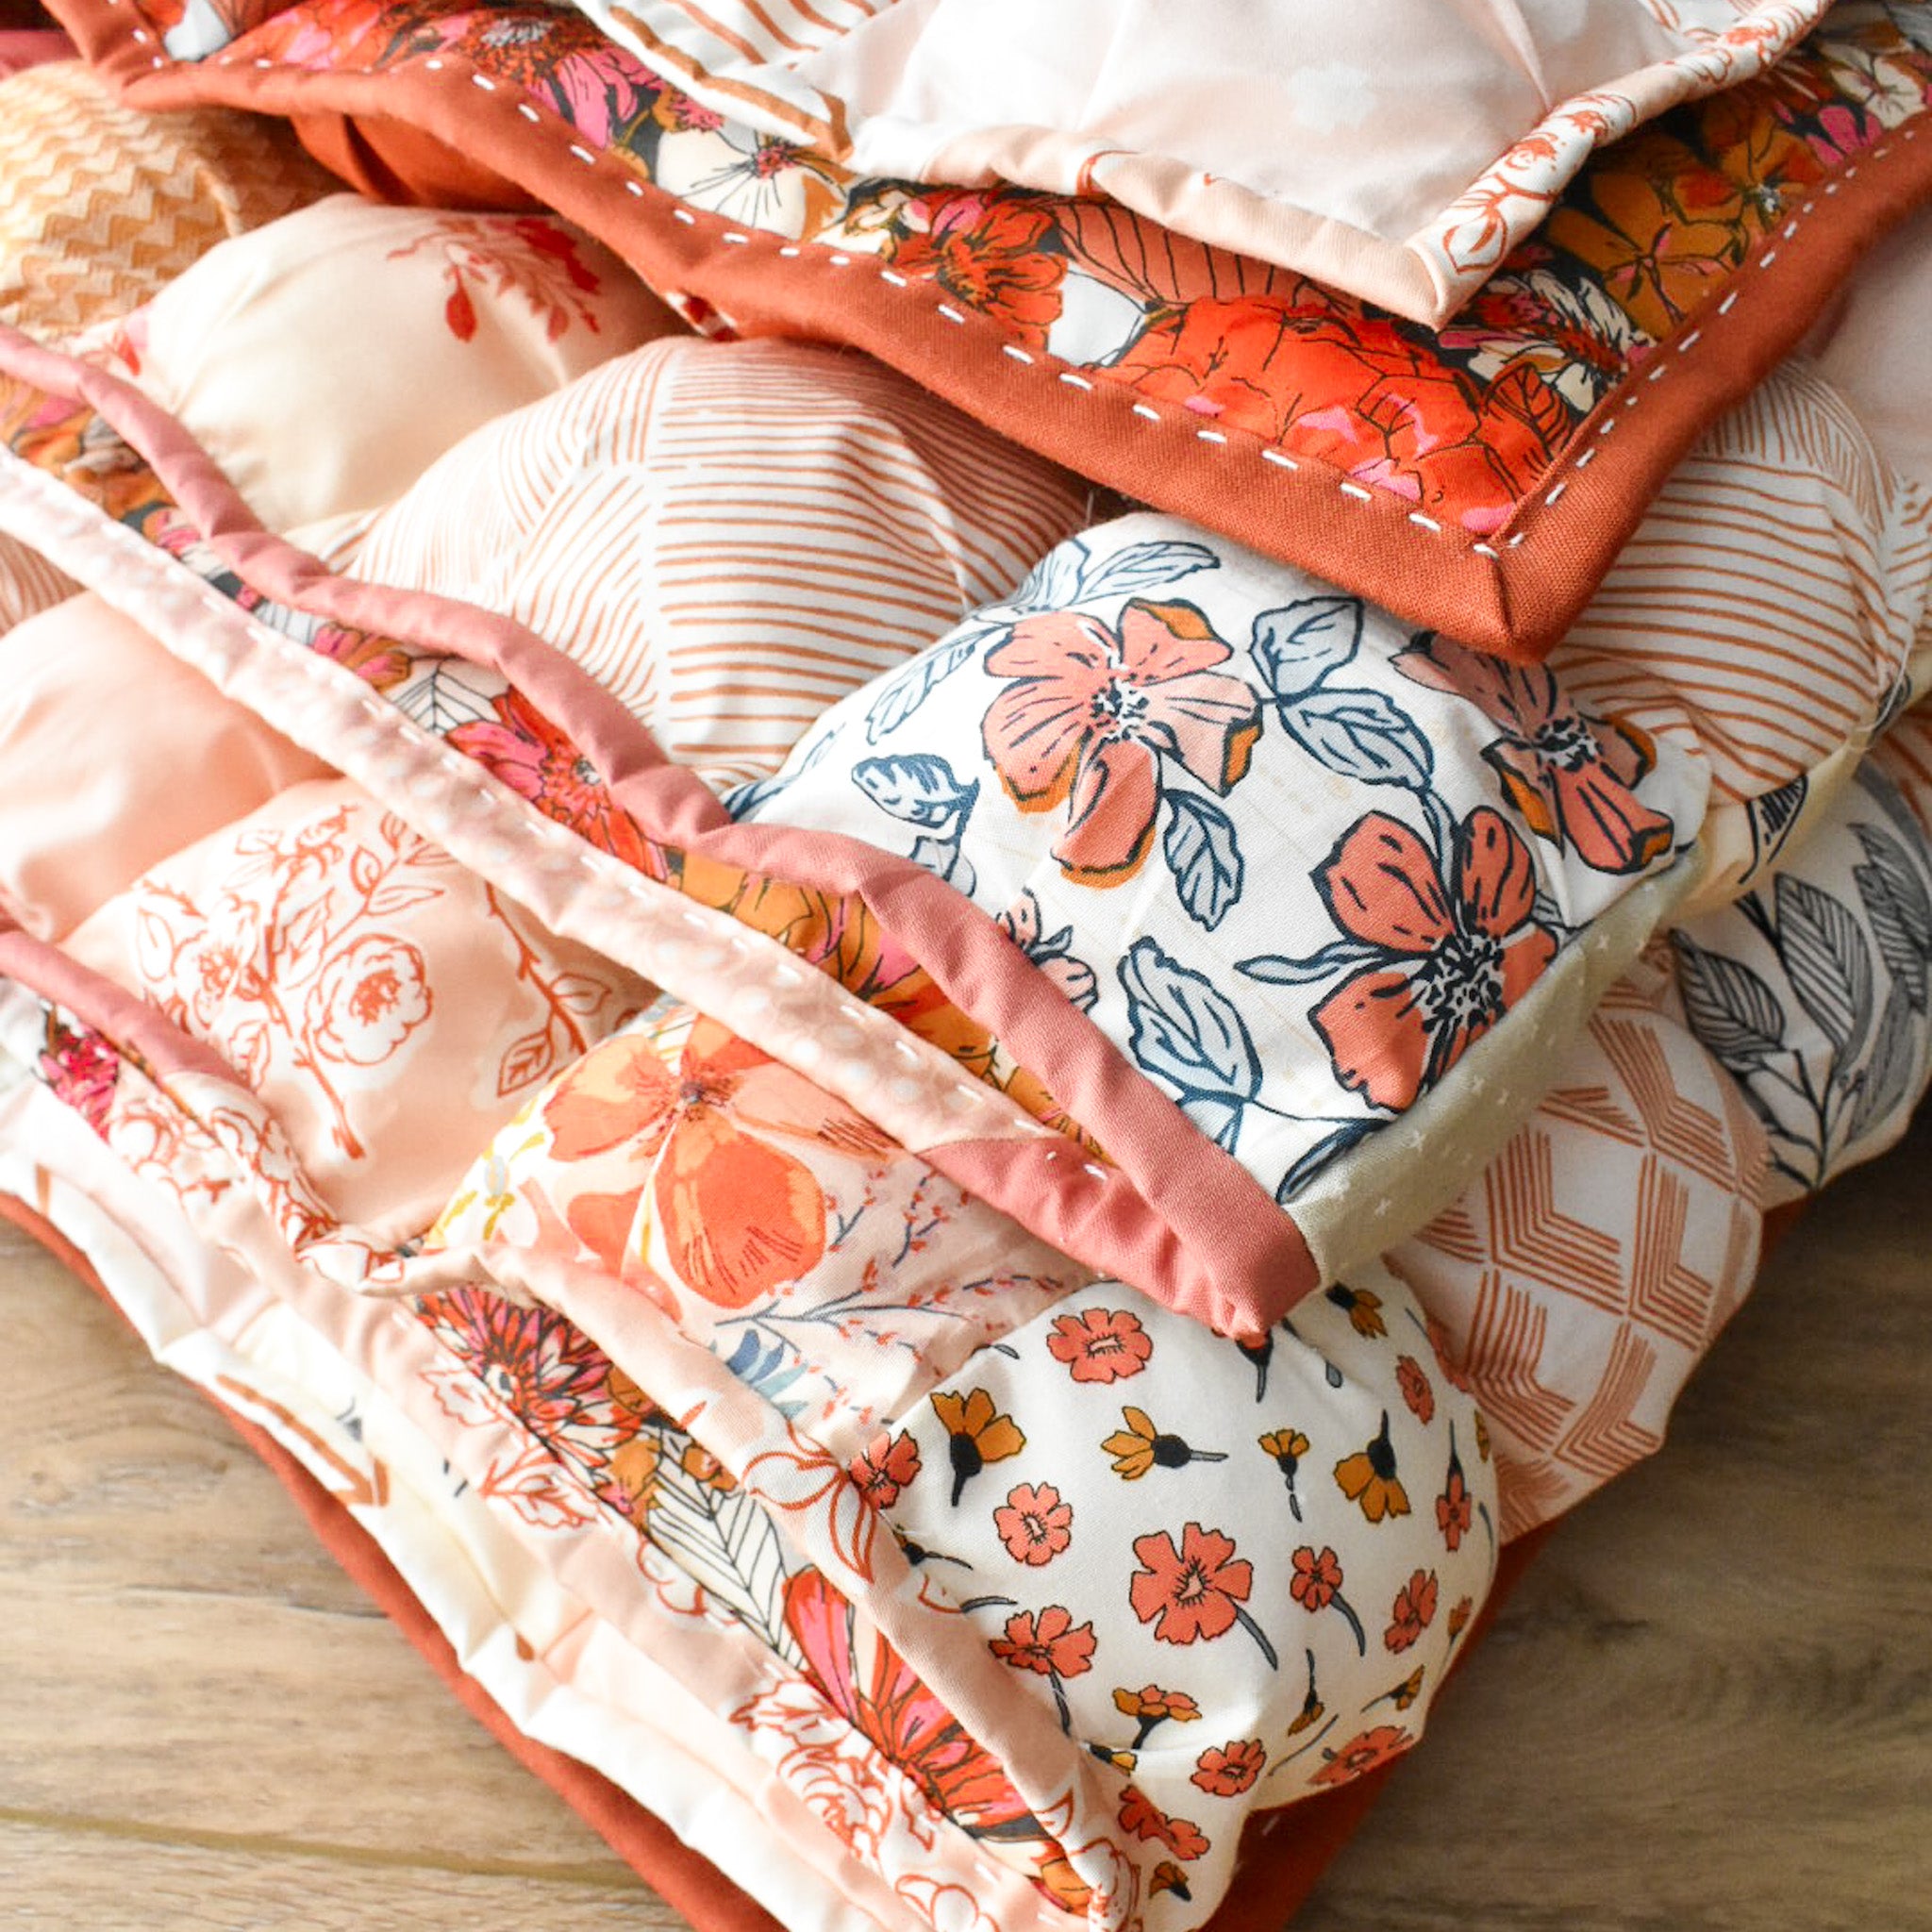
For my original puff quilt, I wanted to try this "fold over" method because that's what my grandmother did. Honestly, it was really quick and easy and I enjoyed the process! Over the last year, I've gotten question from people wondering if they can bind their puff quilt in the traditional way and the answer is absolutely! In fact, I wanted to bind this puff quilt traditionally just so that I could see what the process was like. I also wanted to create a matching ombre binding instead of using the same binding all the way around. Here are a few things to consider this week:
Fold-Over Method:
- Sewing 1/4" around the perimeter isn't required but I like making sure that everything is held in place before I create the binding. If you are using the fold-over method, remember that the bobbin thread will be visible on the back of the quilt.
- Once the fabric is folded over, you can either machine stitch or hand stitch it to the front of the quilt. I prefer hand stitching using this "big stitch" technique. If you plan to machine stitch the binding down, then I would skip the previous bullet point.
- For this method, since you will have some machine stitching that is visible, I always like to bury my threads. This involves tying a simple knot with the needle thread and the bobbin thread. I explain the process further in my Machine Binding tutorial.
Traditional Binding Method:
- Again, sewing 1/4" around the perimeter before you add the binding isn't required, but I found it helpful.
- I used leftover fabric pieces from the front of my quilt to create my binding strips. I've always liked skinny bindings, so I use 2.25" pieces.
- I sewed the binding onto the front of the quilt using a 1/4" seam as described in my binding tutorial, (it honestly might've been slightly larger than 1/4"). I recommend using the skinniest presser foot that you have. A walking foot may help, but if your puffs are overstuffed, it might be too much bulk for the walking foot. Then I hand-stitched the binding onto the back using this "big stitch" technique.
Note that it's normal for both binding methods to look "wavy" on the edge. This is just the nature of how the seams are for the quilt.

.
Creating an Ombre Binding
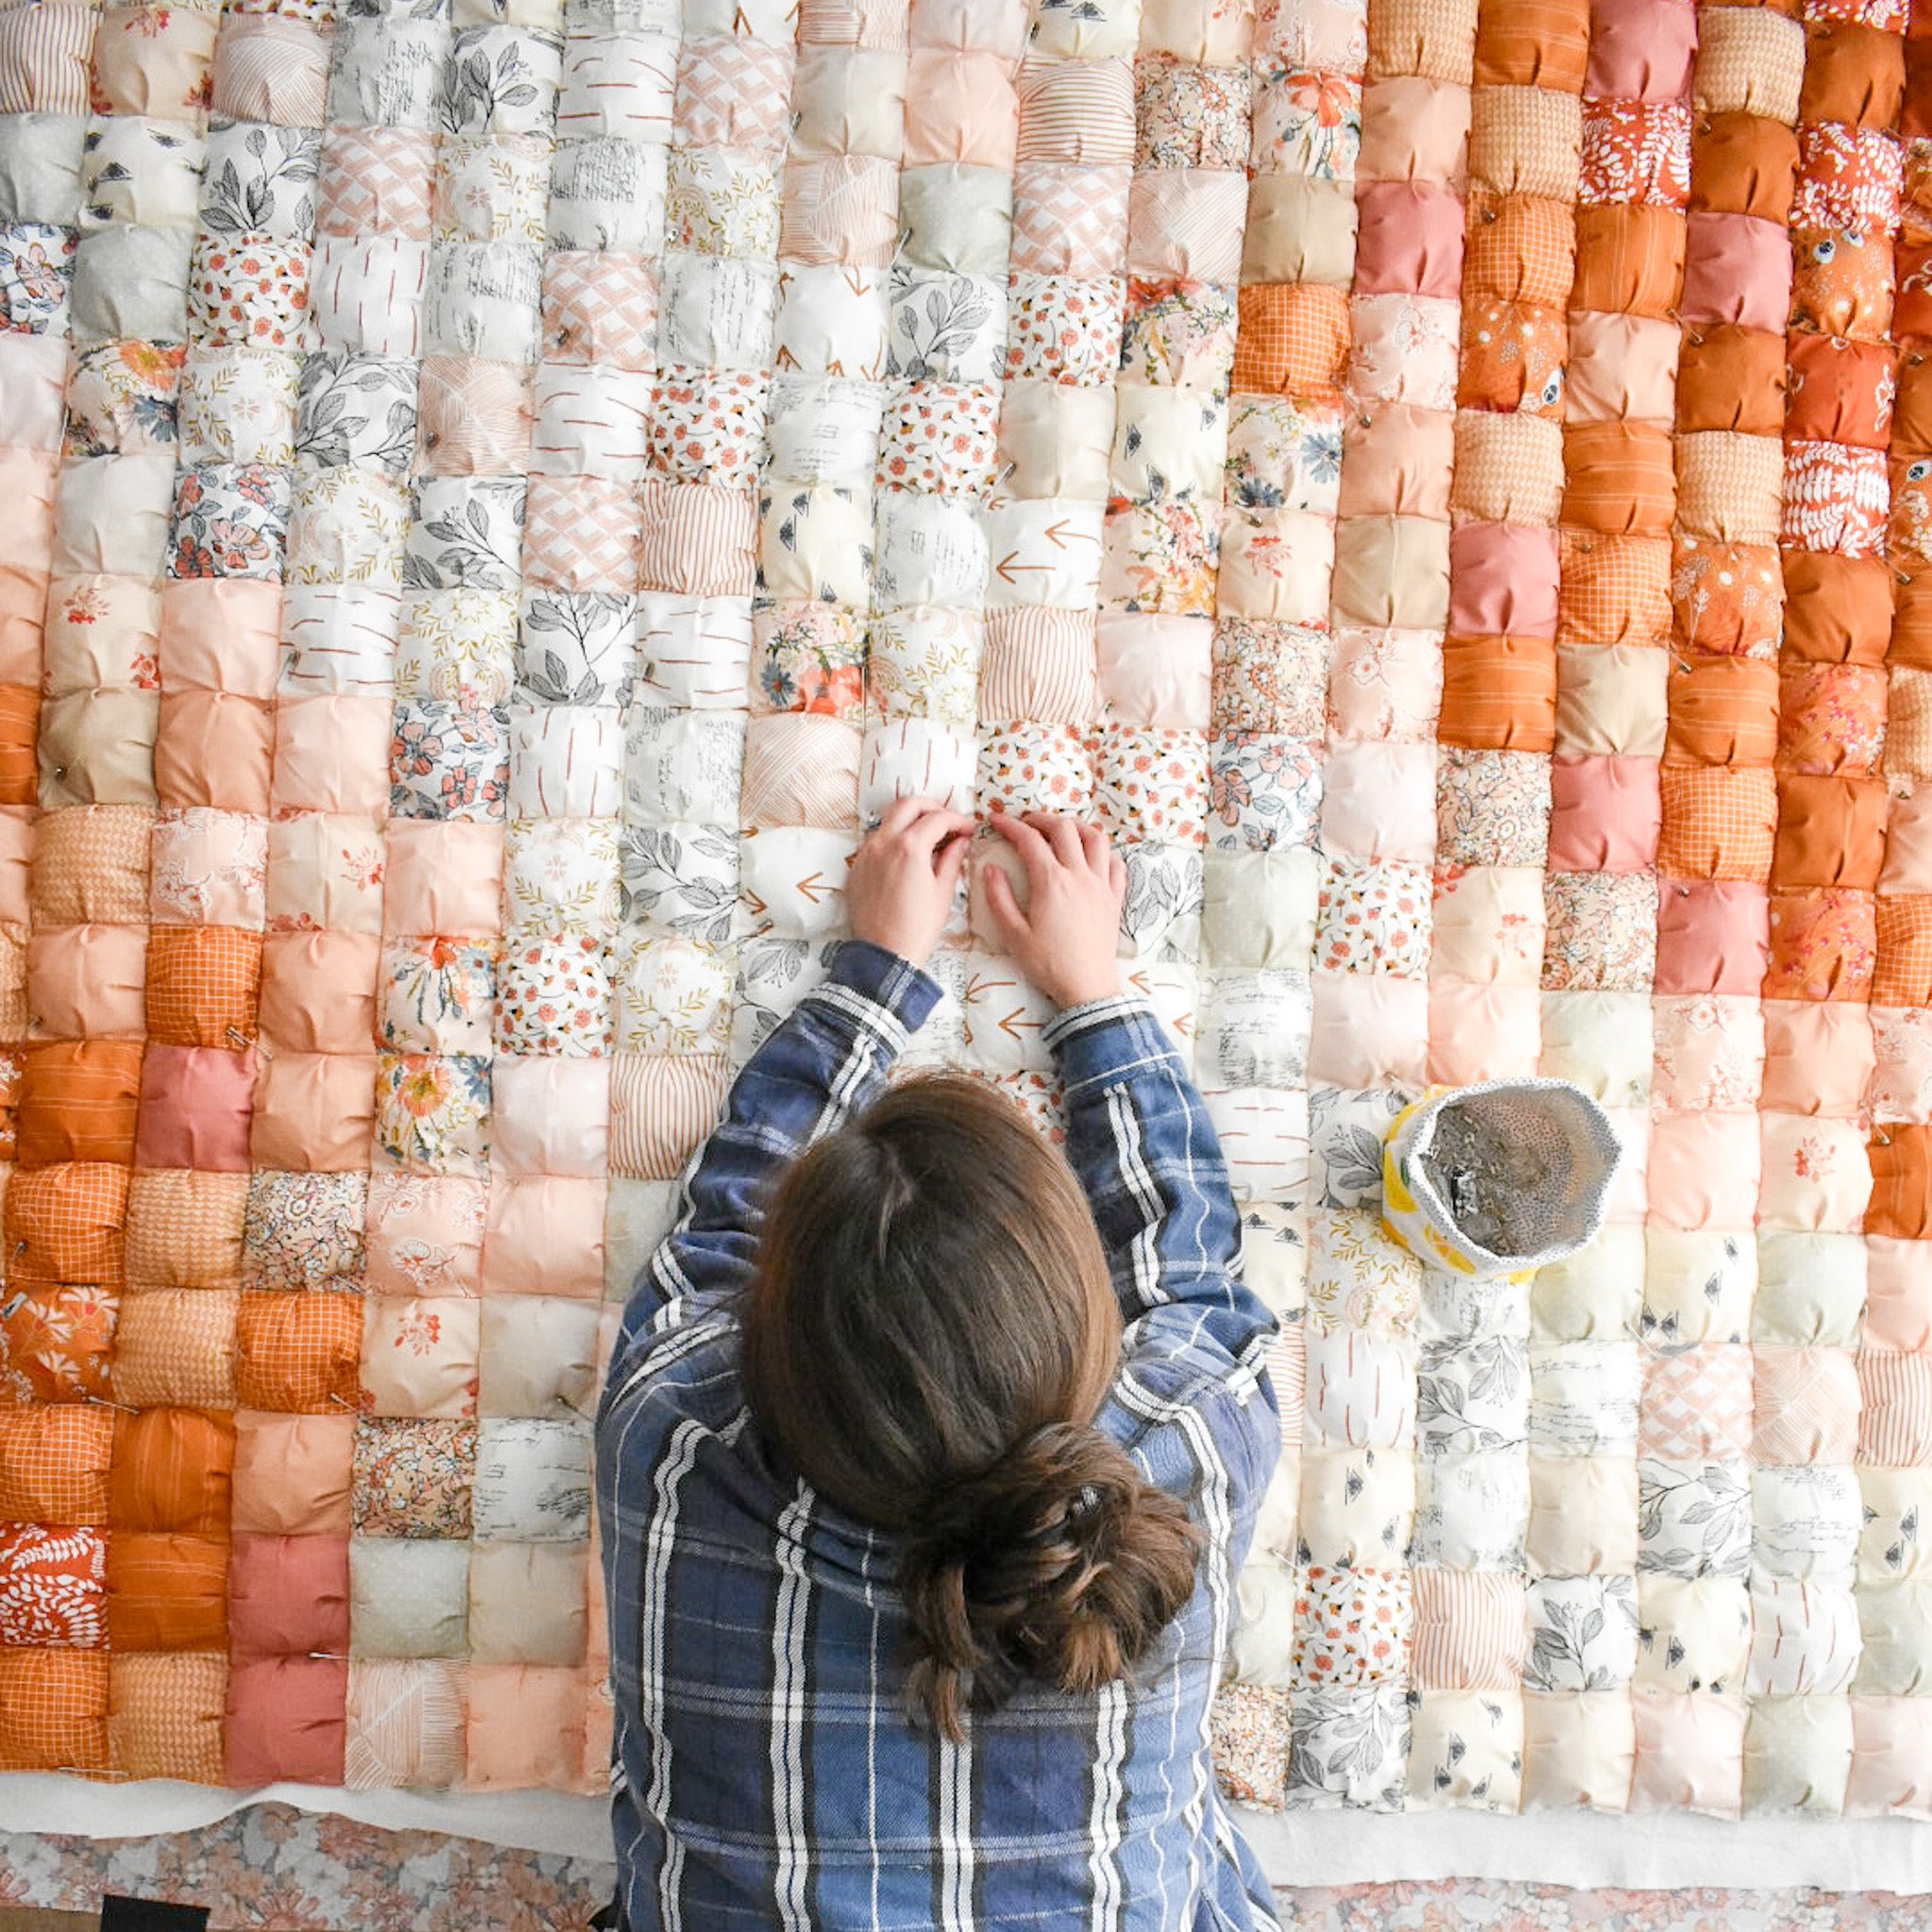
This was the main reason why I wanted to use a traditional binding method for this quilt. I was honestly feeling a little bit indecisive about my binding and I wasn't sure how a darker binding would look with lighter puffs and vice versa. I've created scrappy bindings before, but never intentional ombre bindings. To do this, I laid out my quilt and placed binding strips where I wanted them to go. Then I sewed them together in that order, clipped the binding to my quilt and proceeded as usual. I love how it turned out!

.

.

.

COMMUNITY PROGRESS
Here are some Week 6 progress shots from the #ombrepuffQAL hashtag!
- @kaitlinsmithsews is hand quilting her puff quilt. See those adorable tiny blue stitches?

.

.

.

.

.

.
That's a wrap, friends!


