Ombre Puff QAL - Week 5

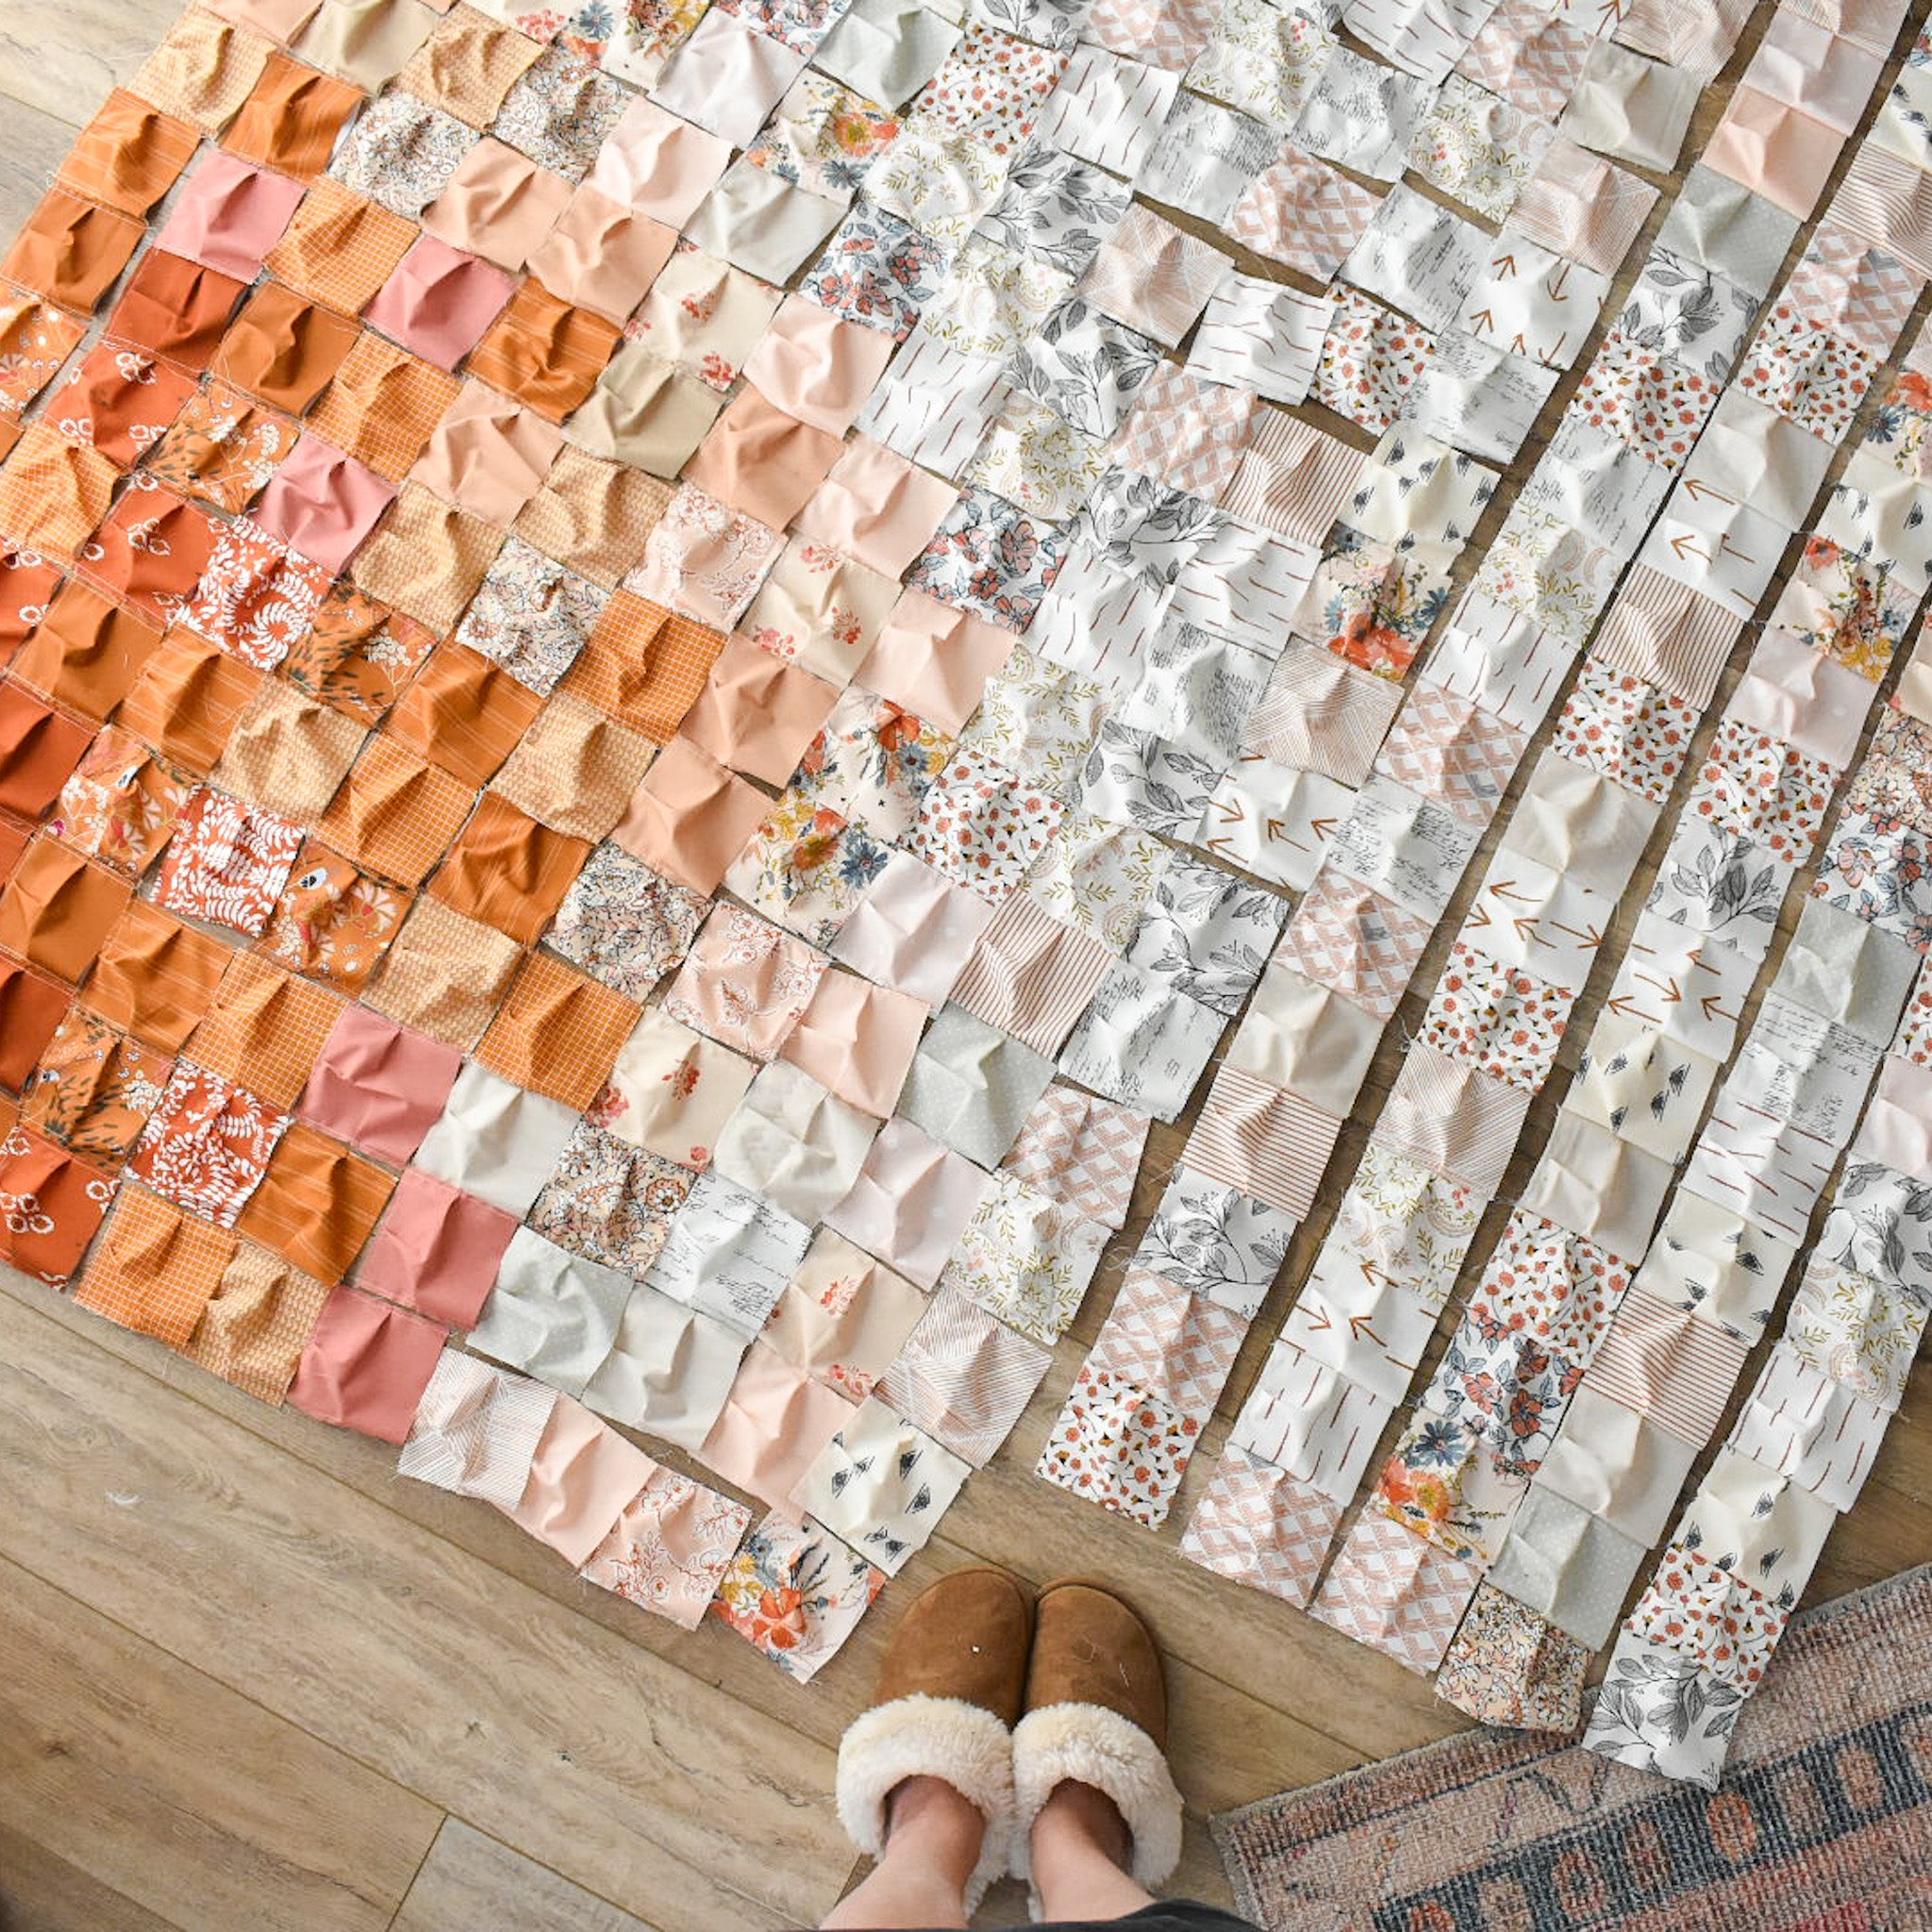
Welcome back puff quilters! It's Week 5! Here's a look at where we've been and where we are going:
.
Week 5
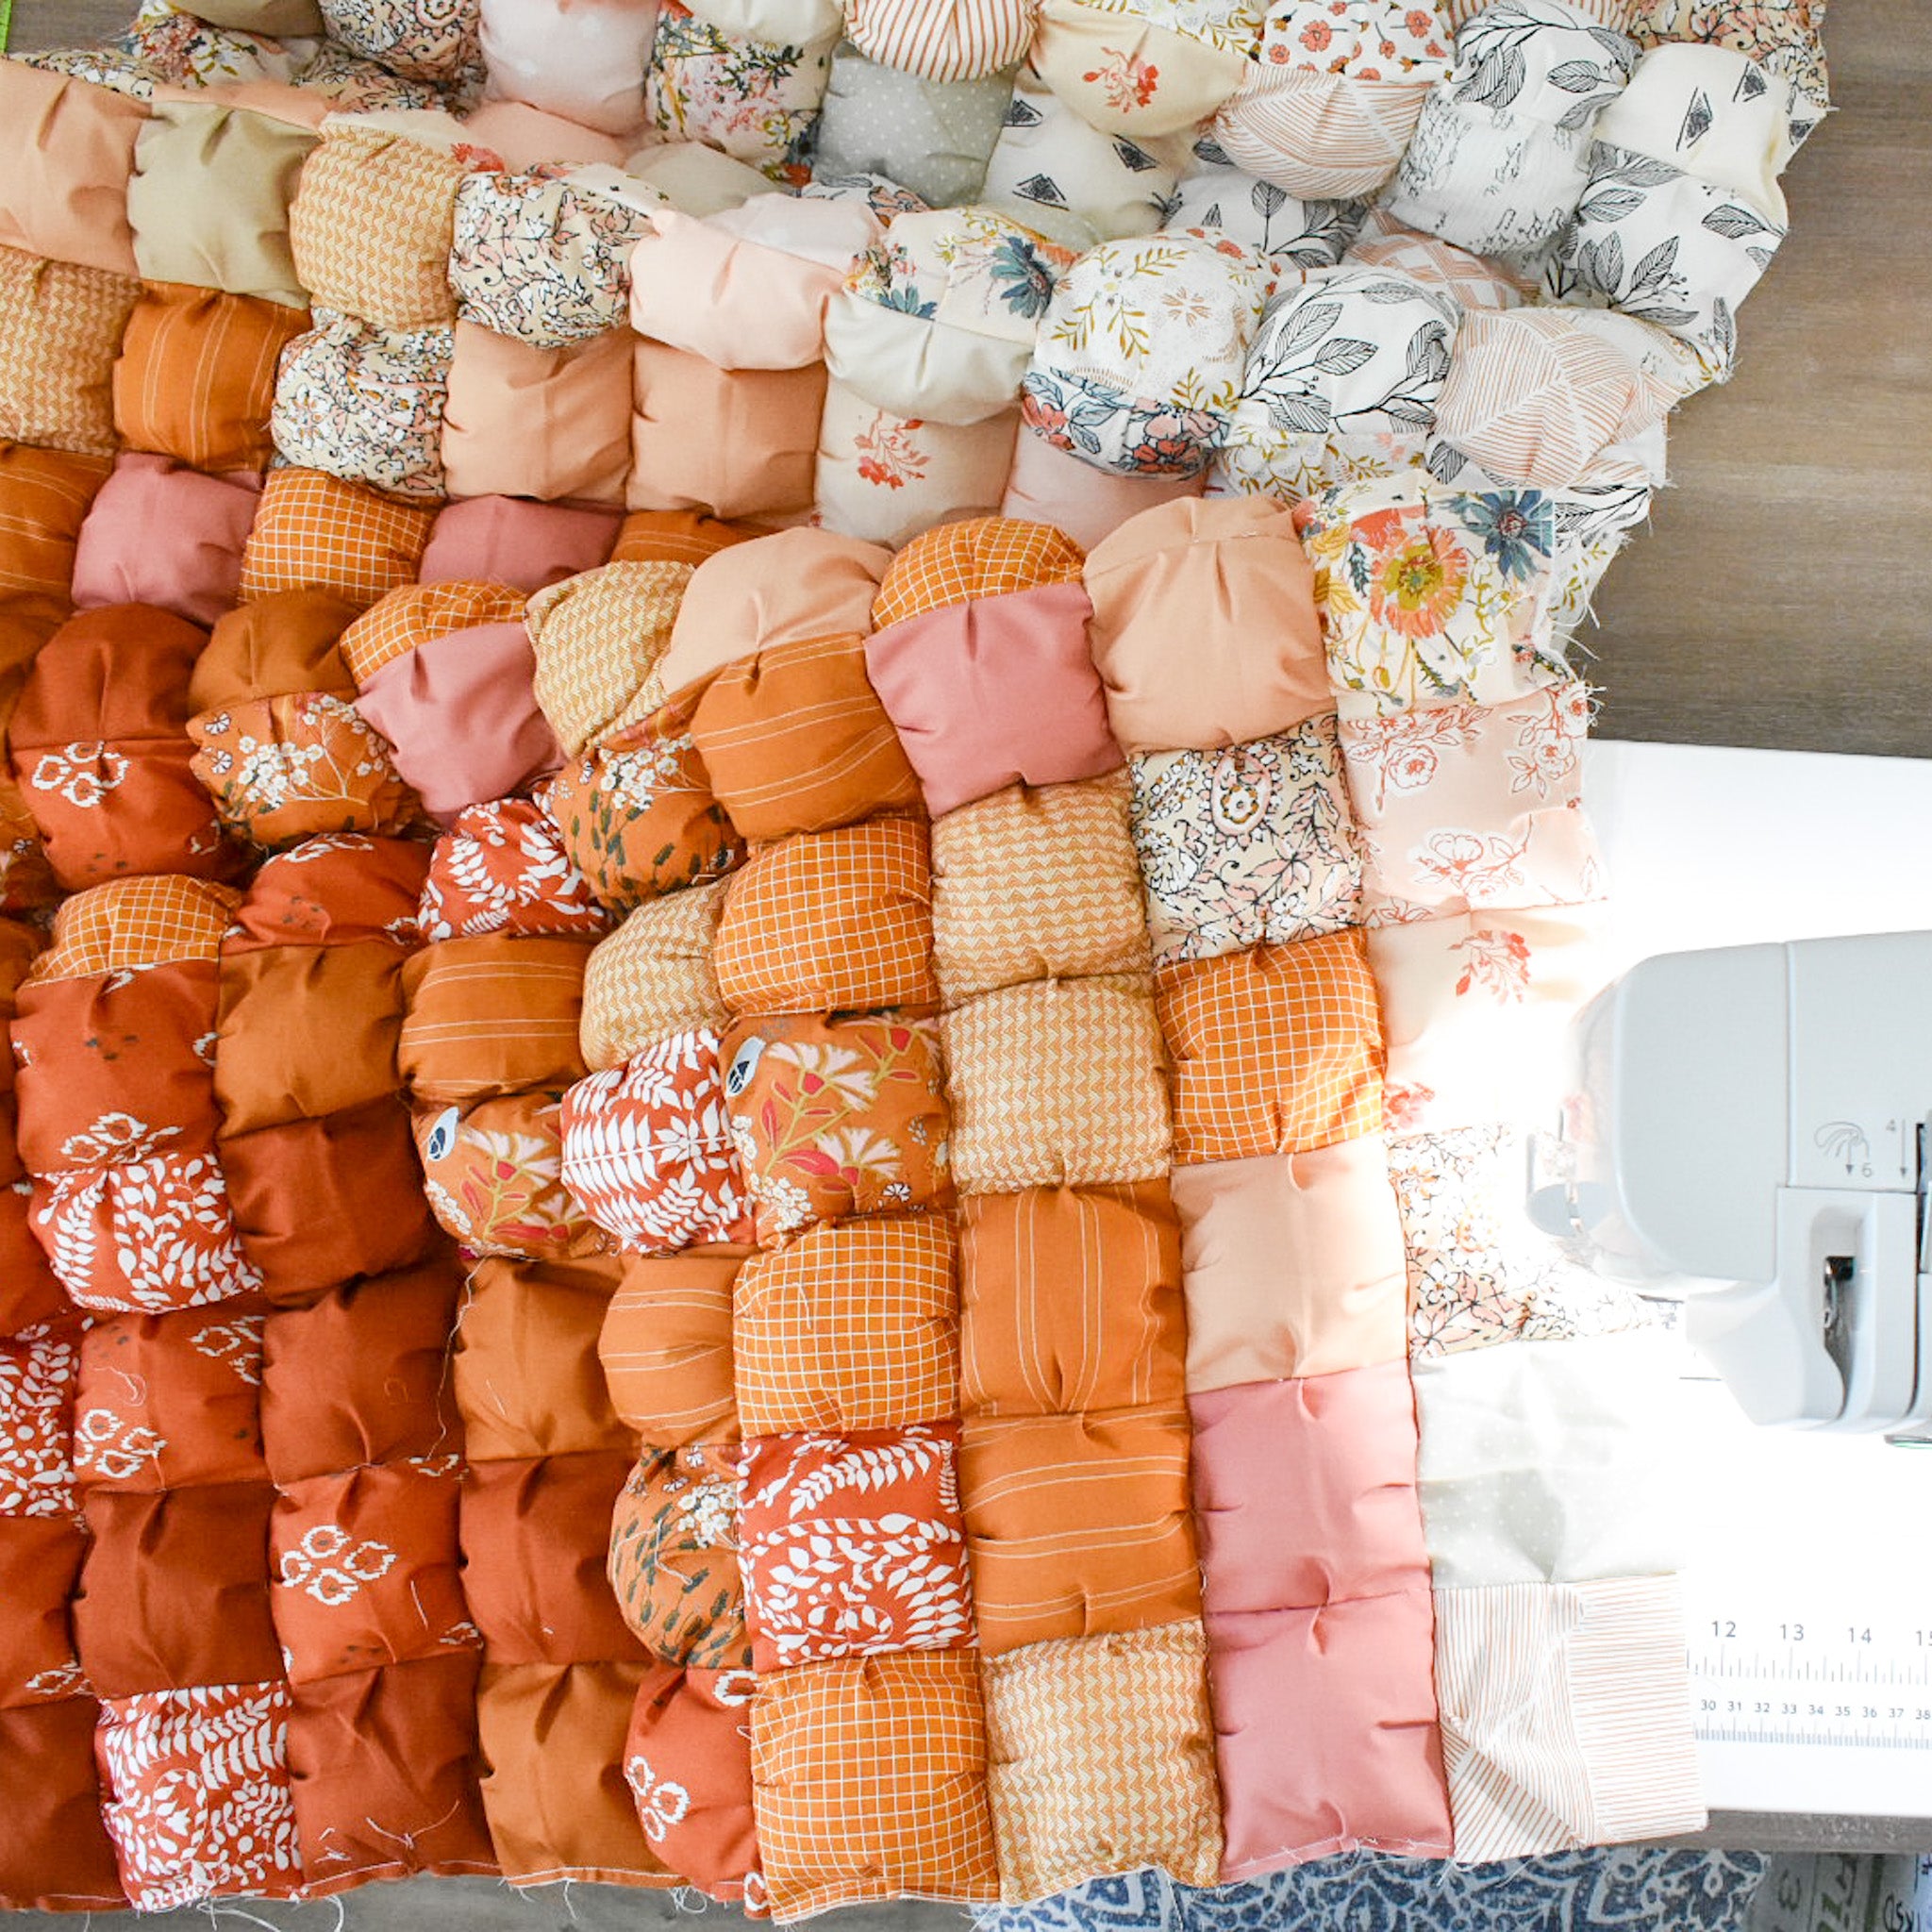
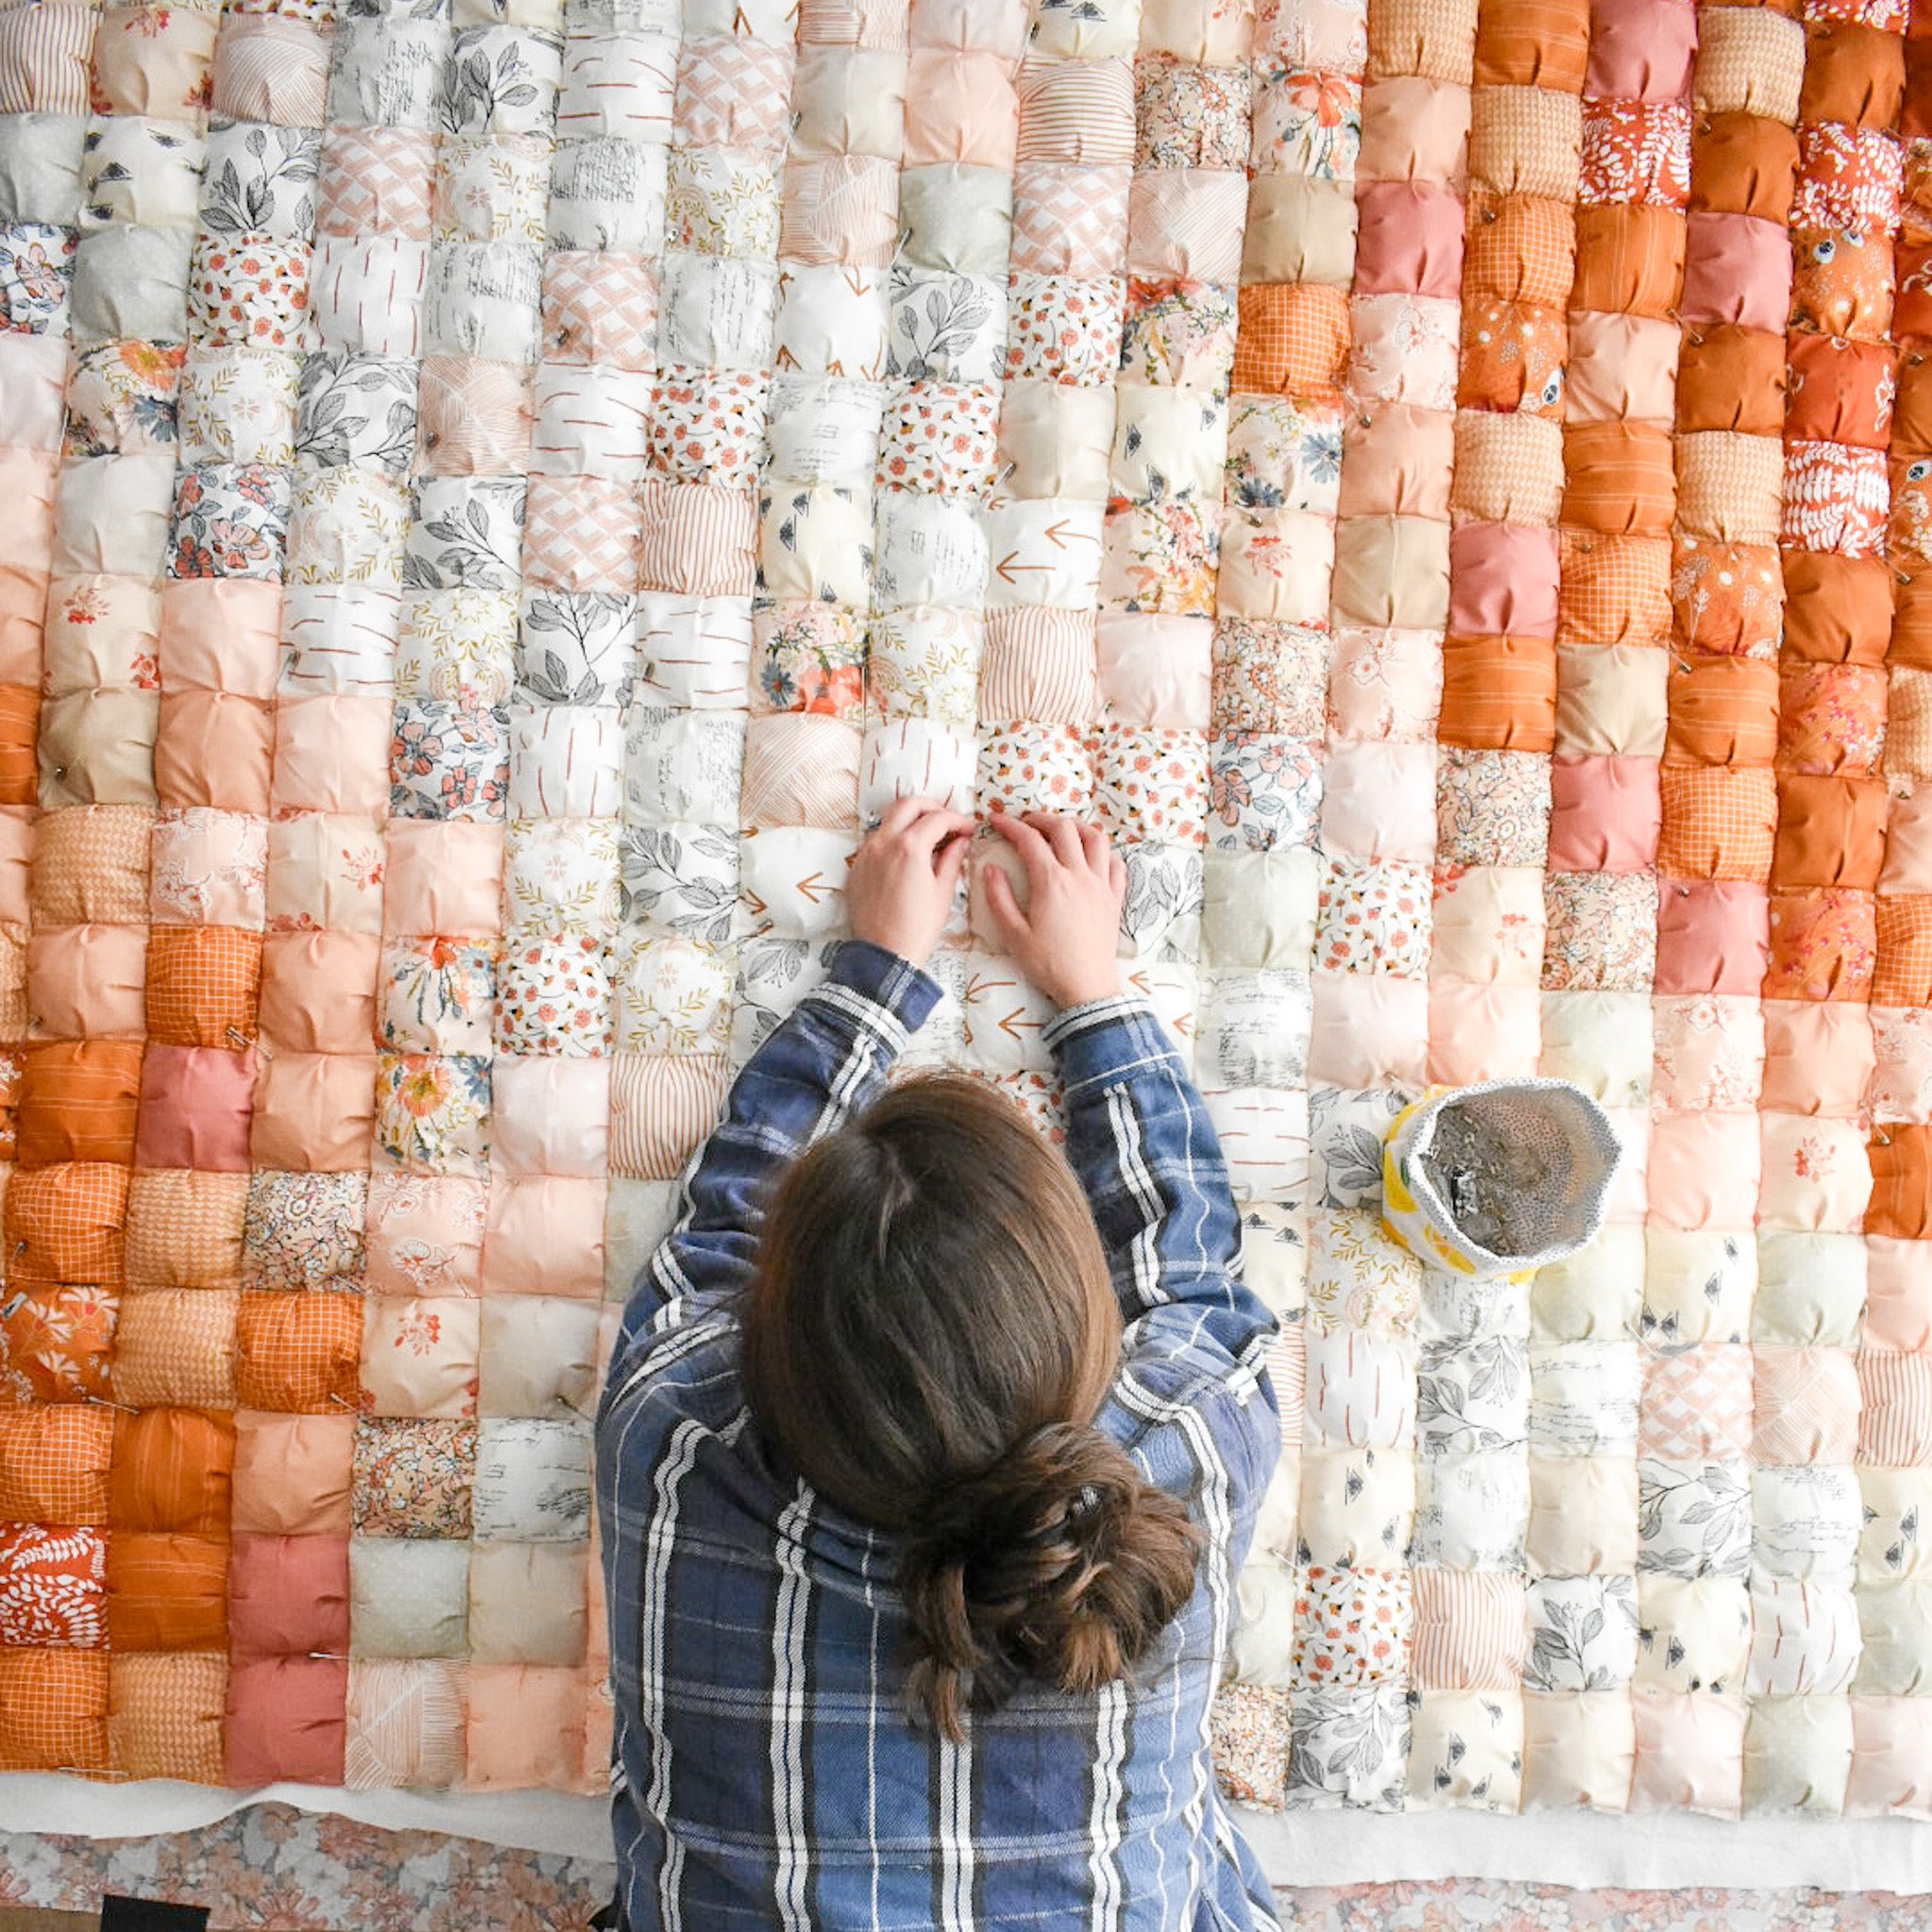
This week we are making our quilts puffy! Wahoo! This is when the magic happens. Complete everything on page 8 of the Ombre Puff Quilt Pattern. This is also minute mark 5:03 of the Ombre Puff Video Tutorial. Here are a few tips for this week:
Stuffing Amounts:
- There's no right or wrong amount of stuffing. I generally do just a hand full. I've noticed that over-stuffing the puffs makes the quilt more rigid. You'll want the puff fabric to be smooth, but not *tight* over the stuffing.
- It's normal for the stuffing in each puff to vary slightly. Try your best to use the same amount for each puff, but know that it's hard to notice any discrepancies once it's finished!

.
Closing up the Puffs after Stuffing is Added:
- Remember to use a scant 1/4" (or 1/8th) seam for this step. It'll be hidden when you attach the following row.
- Use the most narrow presser foot that you have. For my machine (Janome M7), the HP2 foot is perfect for this step! It's narrow and it has an even feed system, which helps me feed all of the material through the machine. I've heard that some people like to use a zipper foot because it's narrow and you don't have to "squish" the puff as much to fit it underneath the presser foot.

.
Adding an Empty Row to the Quilt Top
- Remember to use a regular 1/4" seam for this step. Or at least a seam that is wider than the previous step.
- Pay attention to the horizontal seams! If the row on the bottom has a seam that is facing away from you, position the row on the top so that the seam is facing towards you. This will create what's called "nesting seams," which is basically when seams lock in place and help distribute some of the bulk. Nesting seams also ensure that the puff corners line up. It's not a huge deal if these are off a little bit, but I try to get them as perfect as I can.
- If the seams do get off and the corners of some puffs aren't touching, then you can create an extra pleat in the one of the puffs to help ensure that the corners will align. There are so many pleats in this quilt that adding extra pleats here and there will hardly be noticeable!
- The row that's on the bottom will have the tendency to curve a little bit due to the stuffing. Make sure that the raw edges of the top row and the raw edges of the bottom row are aligned when you are sewing this seam.
- Find a video for this step here.

Managing the Weight of the Quilt
- Always stop sewing with your needle down. Especially when your quilt gets to be really heavy, this will help keep your quilt in place as you are making any necessary adjustments. My machine can be programmed to do this automatically (which is fabulous!) but if yours doesn't do that, simply turn the hand-wheel to manually put the needle down.
- Position your sewing machine so that there is table space to the left of your machine and behind your machine. Before I had my big sewing table, I would sometimes sew on the dining room table to take advantage of all of its surface area.
- It's also helpful if you can position the table against a wall so that the weight of the quilt doesn't fall over the edge of the table.
- Once you get about halfway through making the quilt top, you might notice that the quilt wants to pull away from the sewing machine, especially as you are starting the row seam. I found it helpful to position an empty chair beside my own chair, so that the weight of the quilt has a place to rest.
- If you find that you are having trouble gripping the quilt top during this process, consider using quilting gloves. To be honest, I don't even own a pair of quilting gloves. Normally for this step (and for machine quilting my quilts), I just like to wear long sleeve sweatshirts and that helps grip the fabric for me. :)
.

.

.
COMMUNITY PROGRESS
Here are some Week 4 progress shots from the #ombrepuffQAL hashtag!
.

,.

.

.

.

.
See ya'll in 2 weeks!
-Brittany


