2022 Puff Quilt Along - Week 1: Plan

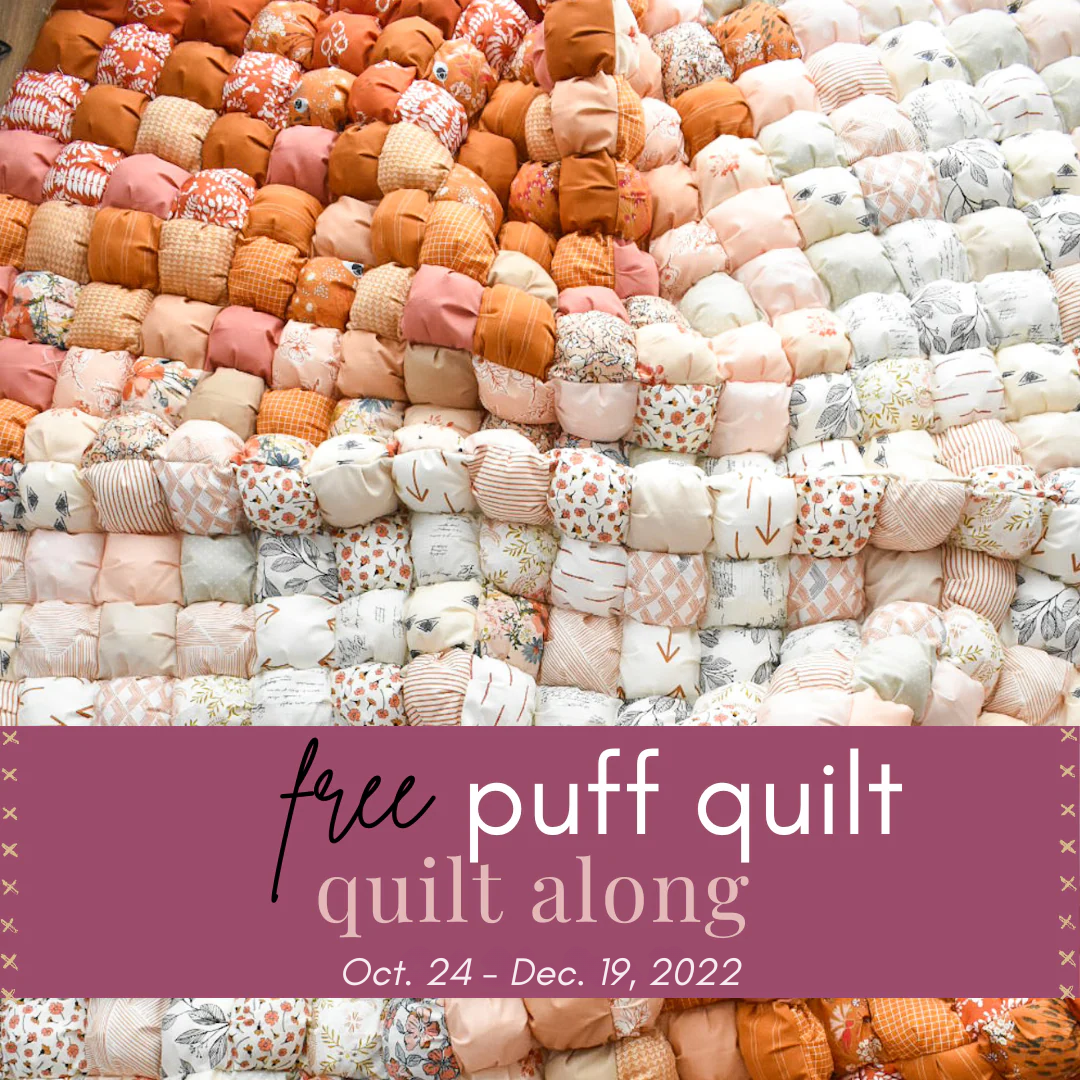
Welcome to the Ombre Puff Quilt Along! I'm so excited that you're here!
.

.
A little about me....
If we haven't "met", I'd like to introduce myself! I'm Brittany...the quilter and designer behind Lo & Behold Stitchery. I started quilting in my grandmother's memory and it's turned into an enormous passion of mine! I love connecting with fellow quilters via the internet, and I'm so excited to get started!

.
A little about this quilt....
Ombre Puff was inspired by my puff quilt that granny made for me using scrap fabrics and clothing. This quilt is a part of a series called the Lois Quilt Collection, which is a group of quilts that I am creating based off of the quilts that my grandmother made. You can see her original quilt below. Read more about the Lois Quilt Collection here.
.

.

.
Schedule
Here's what the next several weeks will look like:

.
Week 1
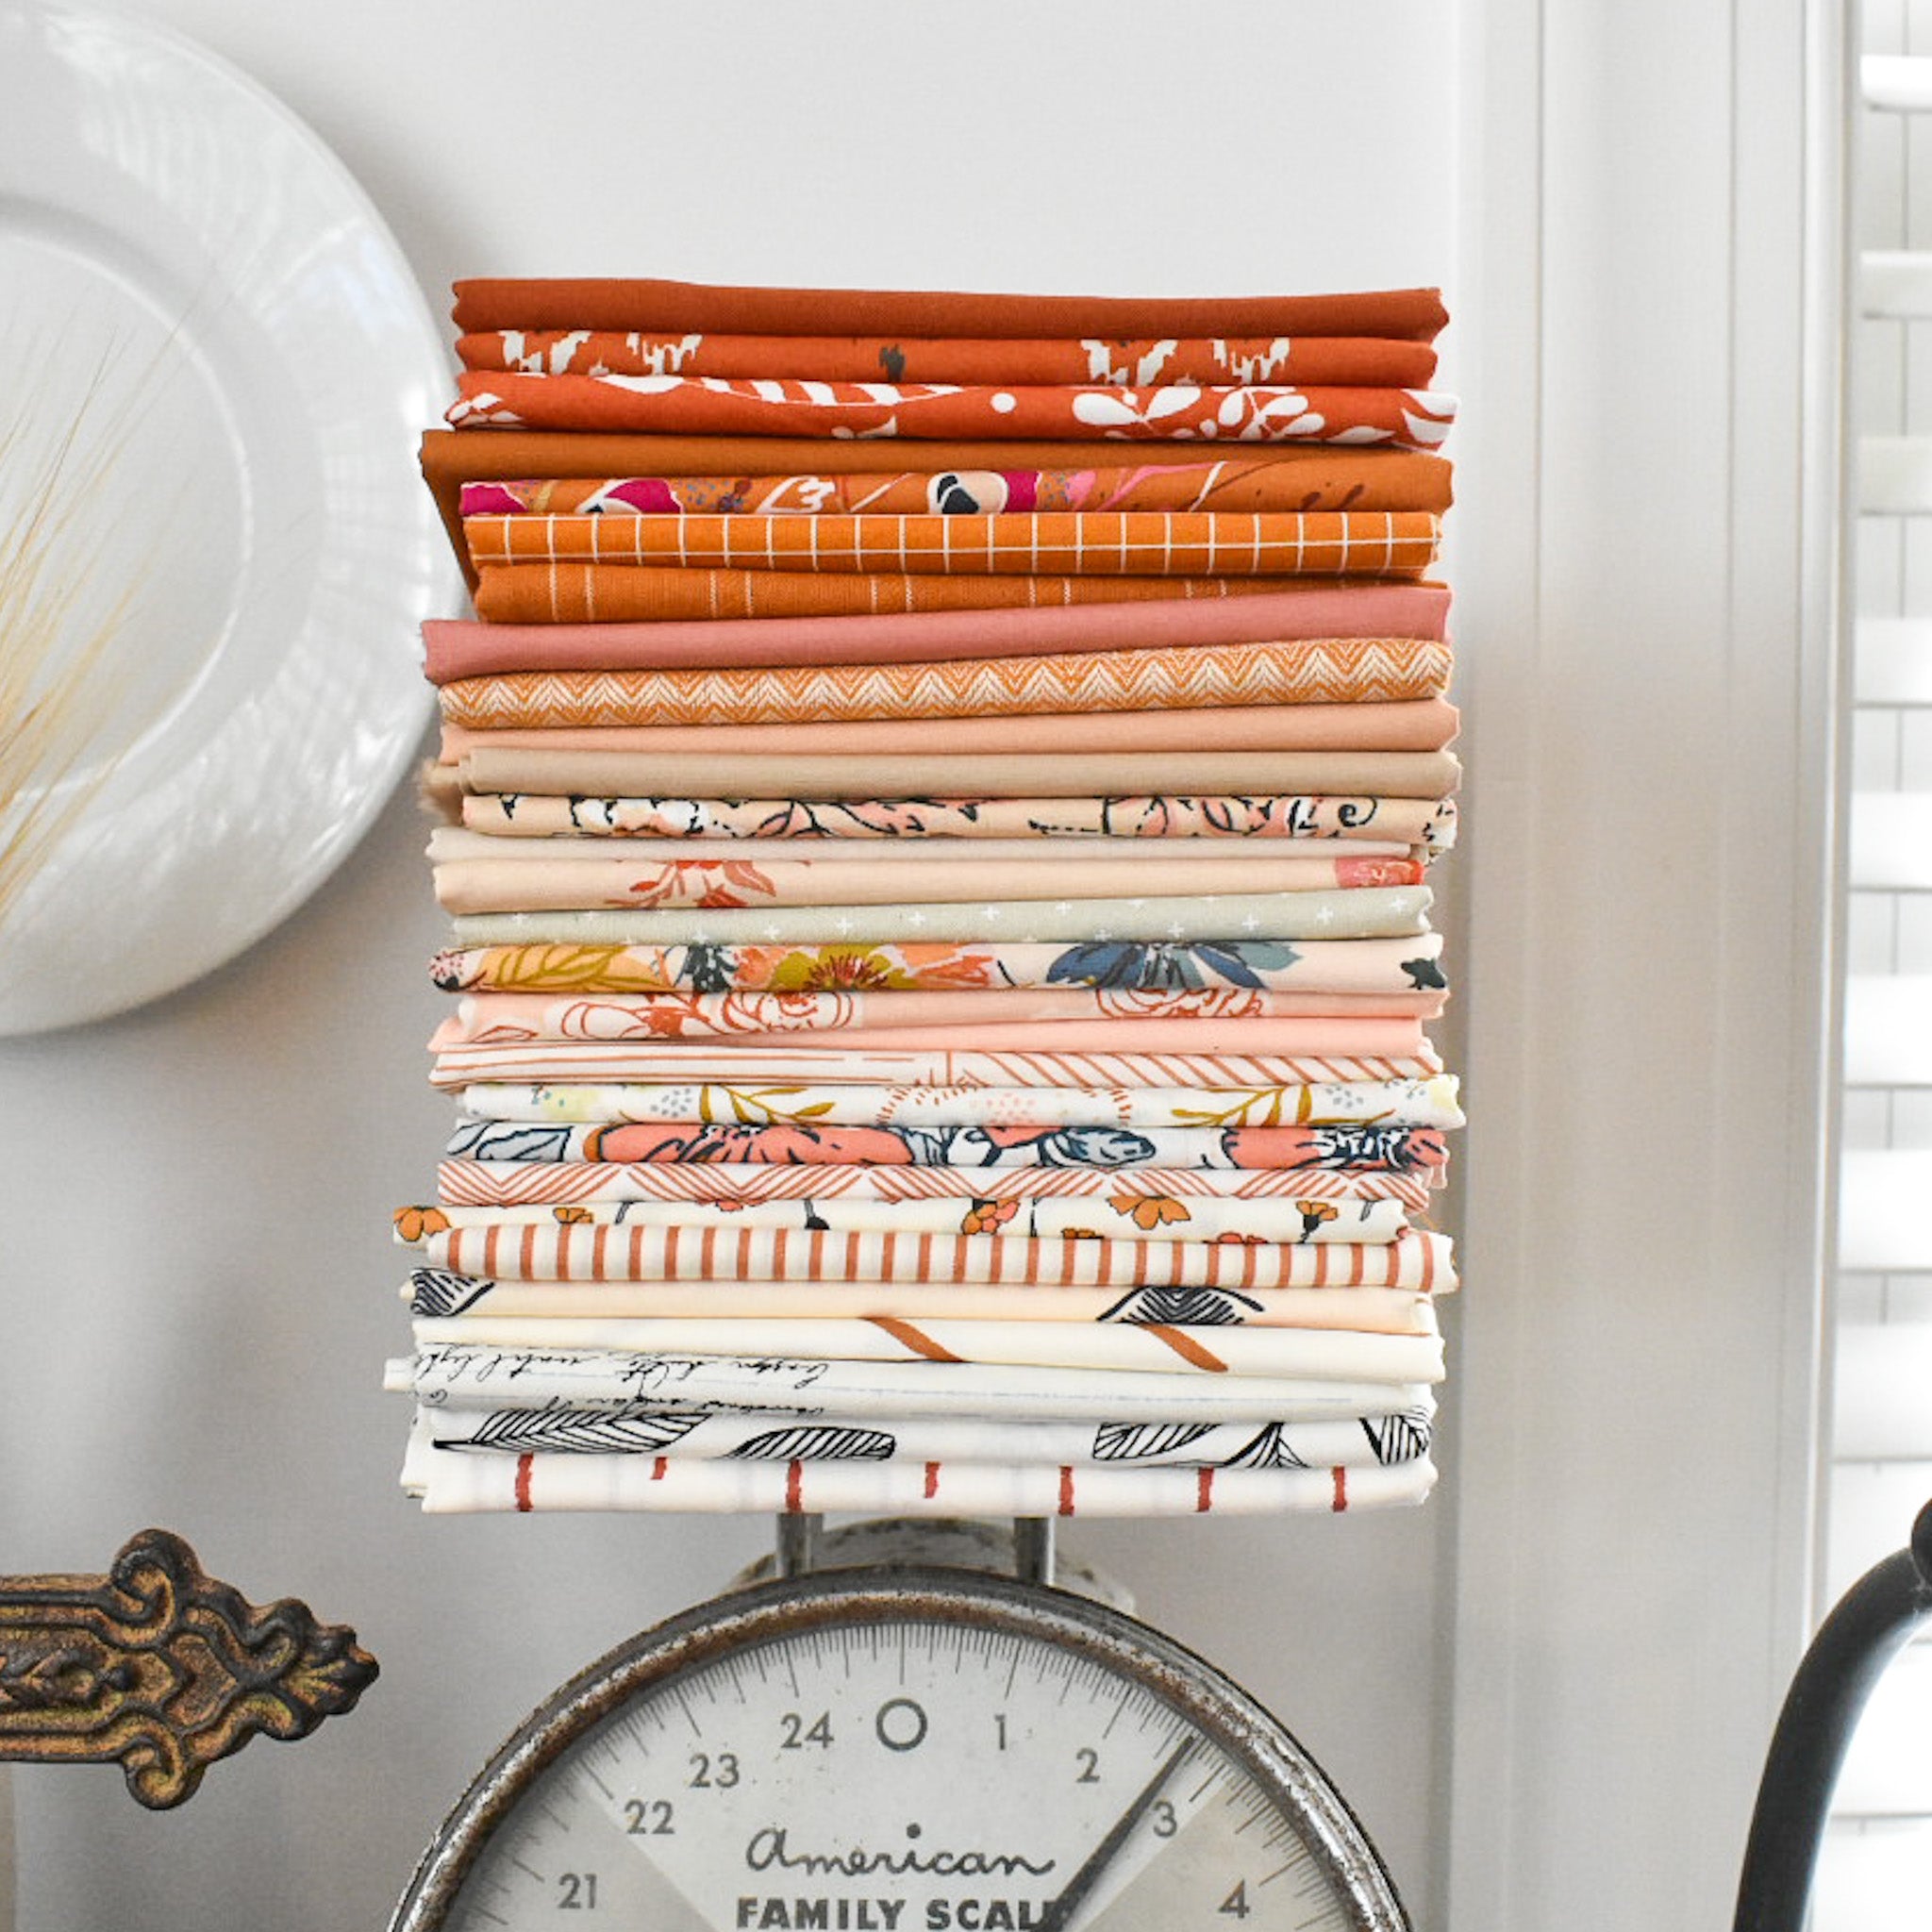
This week we are choosing our fabrics! If you are looking for some inspiration, check out these bundles we have had available in the past!
- Original Ombre Puff - Large Throw - This bundle is based off my original Ombre Puff quilt. Some of the fabrics are slightly different but it has the same color story.

.
- Second Ombre Puff - Small Throw - This bundle is based off the second Ombre Puff Quilt that I made. It has similar fabrics and a similar color-story with a few more pinks/reds.

.
- Retro Tidings- Small Throw

- Blossoming - Large Throw by yours truly!

- Crystallizing - Small Throw by yours truly!

- Harvesting - Small Throw by yours truly!

.
Knitted Star x Puff Quilt
Since we're so close to the holidays and the QAL will be wrapping up in December, we thought it'd be fun to turn my best selling quilt pattern, Knitted Star, into a puff quilt. Aren't these fun?? They are 19 by 19 puffs, so a little larger than the Small Throw size in the pattern.


Non- Ombre Ideas
On that same theme, here are some ideas that do not involve doing an "ombre" layout. Think about any sort of pattern that uses squares and substitute those squares for puffs. You can also do just a scrappy, random layout like my grandmother did. :) I love that look too!

.
Choosing Fabrics
If you are looking to use fabrics from your stash, check out this blog post about how to create an ombre quilt. Here, you'll find my top tips for choosing fabrics for ombre color palettes. I have a few different approaches that I like to use, so if you're feeling stuck, start here!
You can also browse the #ombrepuffquilt hashtag on Instagram to see what others have done. There are some really unique ideas out there!
.
Material Requirements
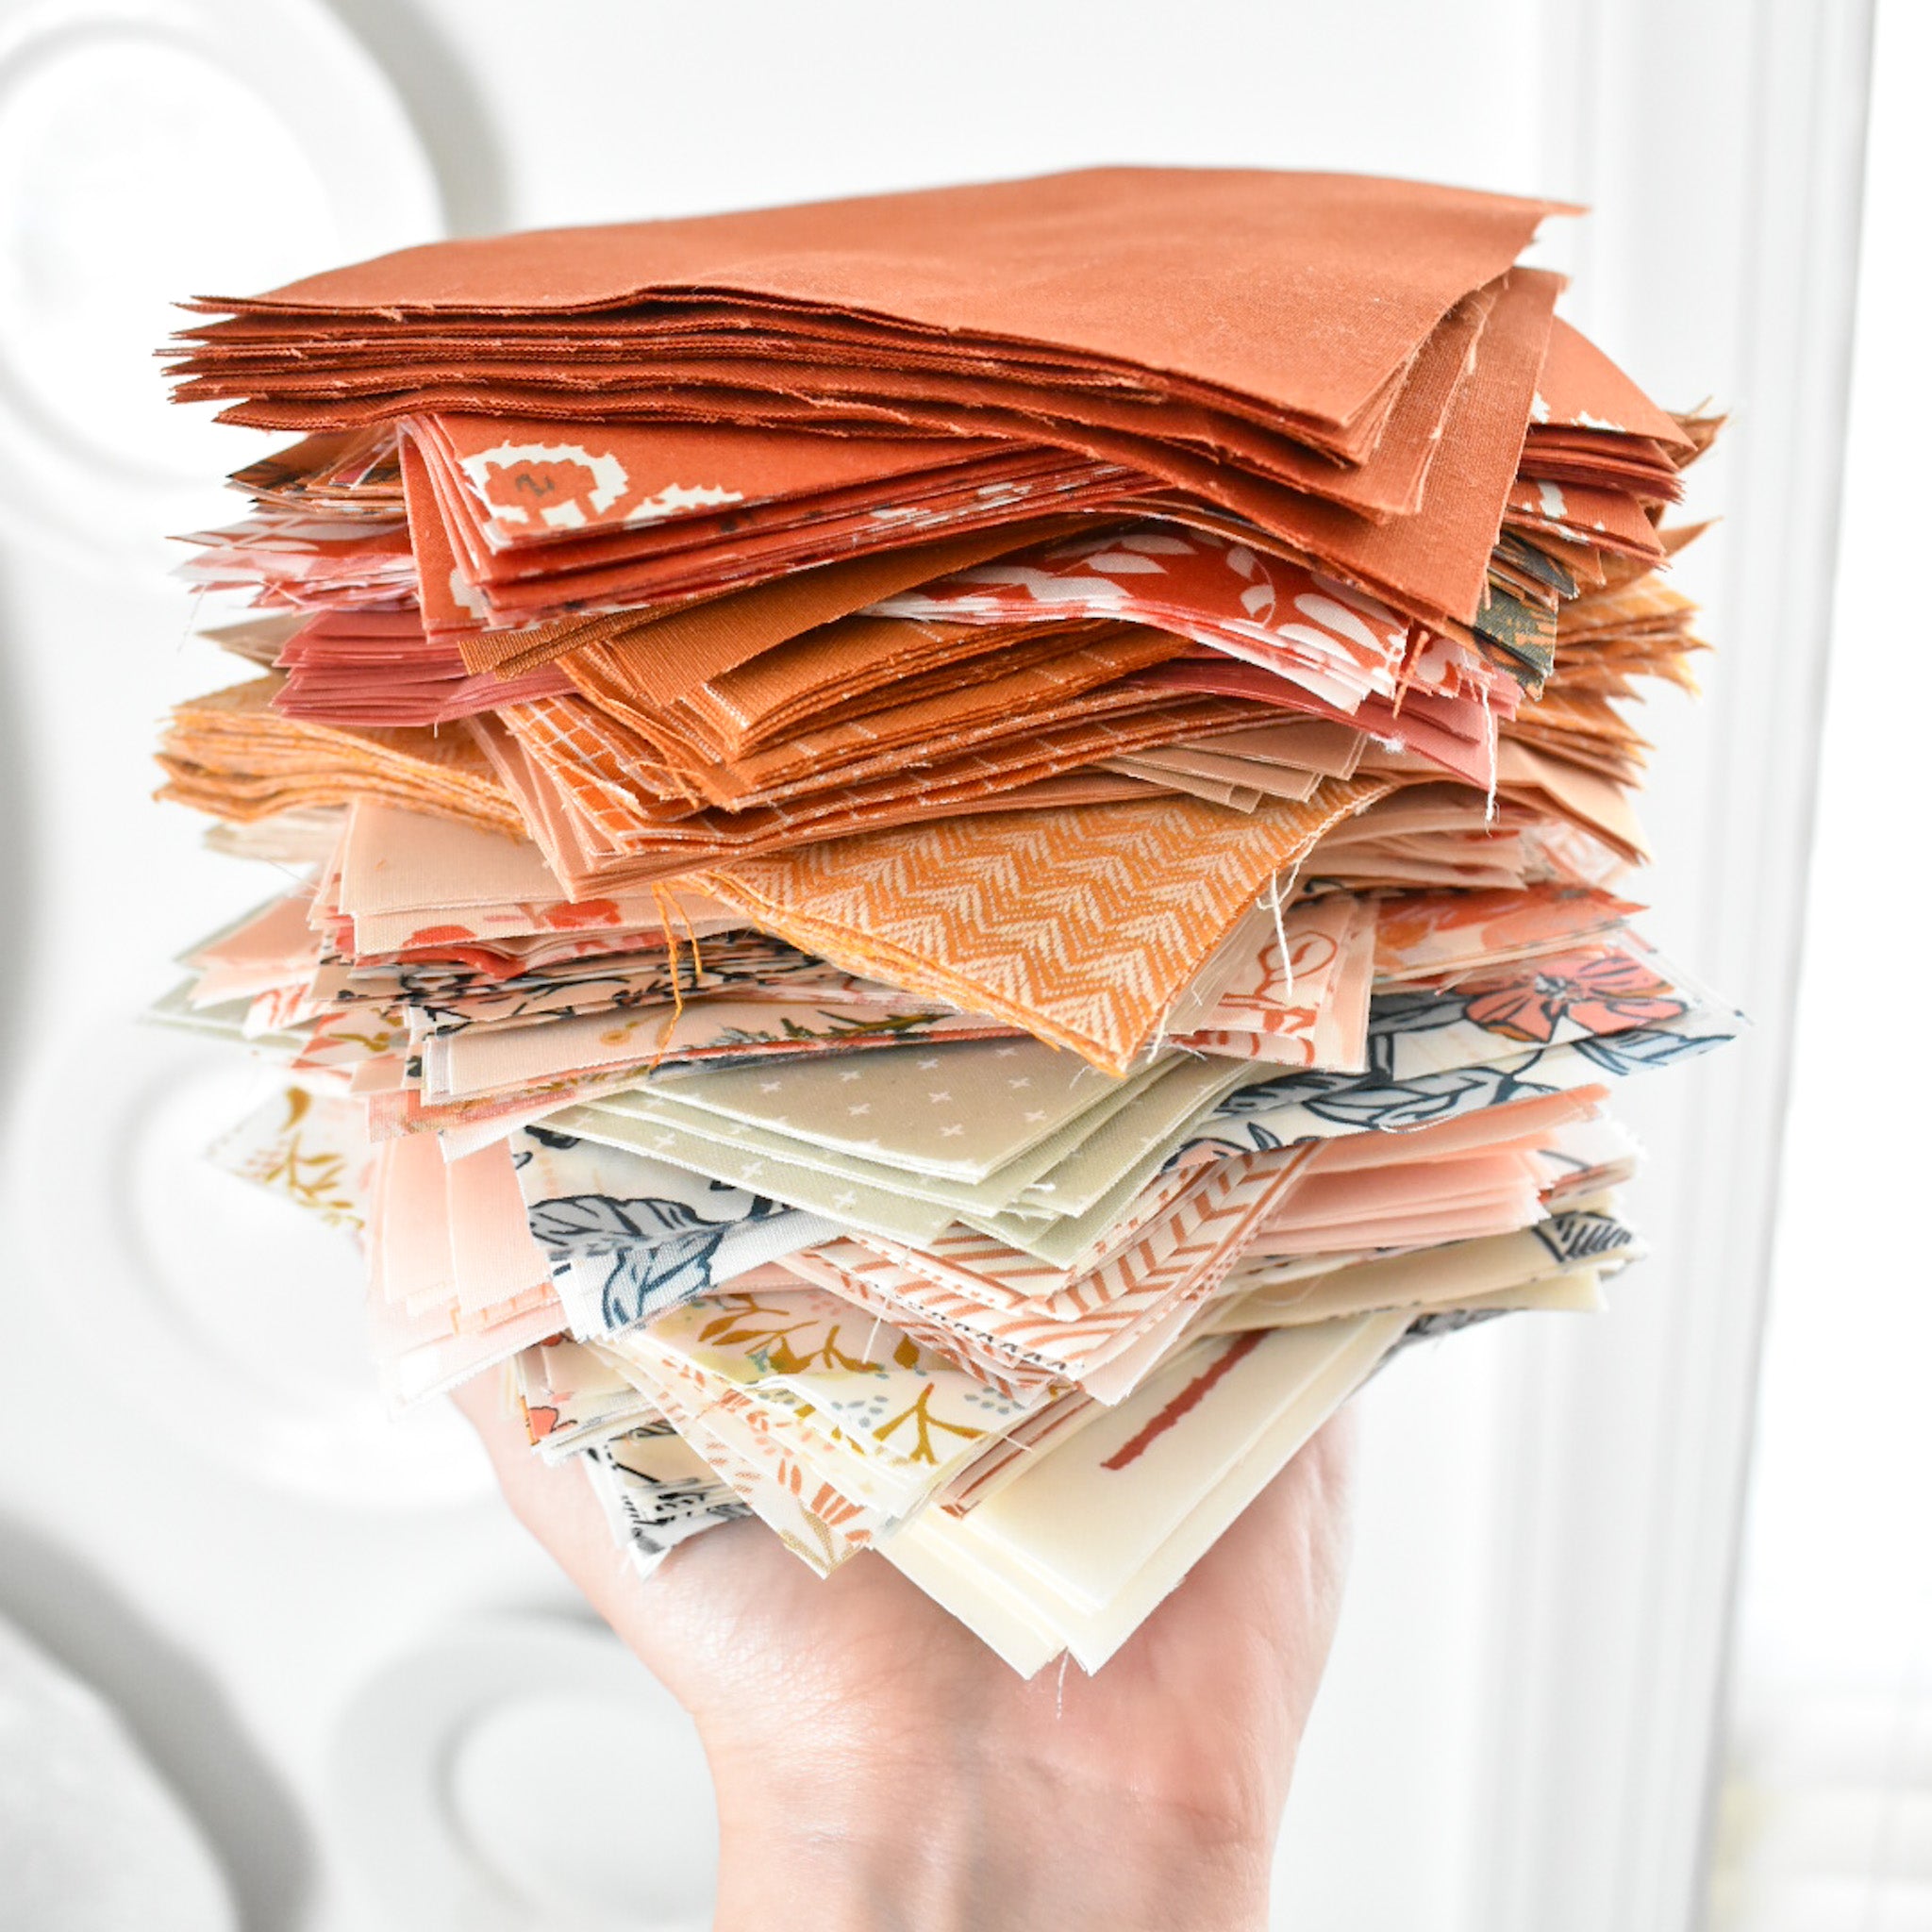
Refer to page 4 of the pattern.- Puff Fabric - Note that there are 5 different sizes, so be sure that you are looking at the correct column. The Puff requirement refers to the fabric that you see on your quilt top. Also, feel free to use precut 5" squares (or any size square for that matter), just make sure that the back of the puff is 1/2" smaller.
- Scrap Fabric - The Scrap requirement refers to the back of the puff, so this fabric will be hidden within the quilt. Since you will not see this fabric, feel free to use any scraps that you have on hand. With my original puff quilt, I used all kinds of random fabrics for the back of my puffs. If you have any "ugly" fabric that you regret purchasing.....this is a good time to pull that out and put it to good use! ;)
- Backing - For the Crib, Small Throw, Large Throw and Bed sizes, you'll be piecing your backing together (if your WOF is the traditional 42"). Feel free to use a Wide fabric to avoid having to piece the backing. This pattern assumes that you have 4" of overage on all four sides and that all seams are parallel to the selvedge. You can find diagrams for this on page 9 of the pattern! Note that you can conserve fabric by piecing your backing together using multiple seams. I wouldn't worry about this step until Week 6. ;)
- Batting is optional. Since this quilt is already pretty heavy, I recommend using something lightweight. I know some people have also use flannel instead of batting. If you want you quilt to be extra light-weight, you can skip the batting layer and still stuff the puffs to keep the quilt puffy. I did a poll on Instagram to see what percentage of people skipped batting with their puff quilt. 60% said that they used batting with their quilt, 30% said that they skipped it. You can always wait and see how heavy your quilt top is, then decide if you want to use batting from there.
- Fiber Fill - This is the filling that will go inside of your puffs to make them "puffy." My grandmother used a brand called Poly-Fil, which is a polyester filling. I've had questions about if you can use any other sort of filling and the answer is: absolutely! I will say, Poly-Fil will likely stay more fluffy for longer, where as other materials may "ball up" over time. But I definitely think it's worth a try. If you are looking to recycle Poly-Fil, you can remove the stuffing from any sort of couch pillow and use that. I've also read a few comments on Instagram where people used balled up panty hoses back in the day. You can also use something like that. Whatever works! Note that the Fiber Fill estimate in the pattern is merely an estimate. You might need slightly more or slightly less depending on how much you stuff your puffs. My first Ombre Puff quilt was a Small Throw and I used about 2.5 twelve ounce bags.
- Organic Options - I've also had some questions about using an organic filling for the puffs. Again, I'm unsure about the longevity of the puffs staying bouncy and puffy, but these would definitely be worth checking into!
- Eco-Friendly FiberFill - This Fiber-fill is made of 100% PLA which is a new synthetic fiber made from the annually renewable resource corn. I used this in my second puff quilt and I found that it's a little more breathable than my puff quilt with PolyFill. I'll be using this for my new puff quilt, because of that!
- Wool - I don't have a lot of experience with wool, but I'm wondering if it wouldn't stay quite as fluffy as the PolyFil. Again, I'm unsure, so I might make a test pillow and see!
- Optional Beads - I've gotten a number of questions turning this quilt into a weighted blanket. The quilt already acts as a sort of "weighted blanket" as it's much much heavier than a normal quilt. But if you are looking to turn this into a true weighted blanket, you can definitely do that with this quilt. I noticed that @thislambquilts on Instagram did this, so I reached out to her and asked for details. She was very generous to give us insight for her process. I'll share it below!
Supplies
You can find supplies on page 3 of the Ombre Puff pattern.
..
Pre-Washing
Everyone has different opinion about pre-washing. Pre-washing simply means to wash your fabric before you cut into them and start sewing. The benefit of pre-washing is that you will wash away excess dye to reduce possible color bleeding. Reds, blues and purple fabrics are notorious for bleeding, so I sometimes pre-wash when I have high contrast colors such as red and white. While I acknowledge that not pre-washing these fabrics is a "risk," often times, I skip pre-washing and use Shout Color Catchers when I wash my quilt for the first time. Typically, these Color Catchers do the trick, but if I ever find bleeding in my quilt after the first wash, I would rather deal with the aftermath than take the time to prewash. This comes down to personal preference and how much you want to be adventurous with it (or not).
Most fabric manufacturers use starch and stabilizers on their fabrics to keep the fibers stiff while they're on the bolt. When you wash your fabric, either before it's in the quilt or after, you wash away that starch. Personally, I like the added stiffness, as it makes for cutting and sewing to be easier. But if you choose to prewash you may decide that you want to add some starch back to the fabric to make it easier to work with.
Some quilters also choose to pre-wash so that they "pre-shrink" their fabric. This makes a difference if you are using various fabric types within your quilt. For example, linen shrinks at a different rate than cotton does. If you use both types of fabric within your quilt, once they shrink they could cause areas of pulling on your seams. If you go ahead and pre-wash/pre-shrink everything, then the fabrics in your quilt will all behave similarly, which will in turn give you a more stable quilt. That being said, I can probably count on one hand the amount of times that I've pre-washed my fabric. I did not prewash my original Ombre Puff quilt fabrics and I do not plan to pre-wash fabrics for this quilt either.
How to Prewash:
Wash fabrics in cool water with a mild detergent. Feel free to use a mesh bag to prevent fabric from stretching or twisting. Dry on low heat and remove the fabrics from the dryer immediately once it's dry. For yardage, re-align selvedges and press the fabric to create a new fold. Most people do not pre-wash pre-cuts (nor fat quarters) because if the fabric frays too much, you might not have the designated amount that you need for your project. Some people also “stay-stitch” about 1/8" away from the perimeter of the edges to help prevent the fabric from unraveling too much.
Again, pre-washing is one of those a highly debated topic in the quilting world, so don't feel like there's a right or wrong answer. Follow your heart. :)
.
Starching
To be honest, I don't really use starch that much. However, I've found that if I am working with smaller pieces or bias edges, it really does help with accuracy. Starch makes your fabric more stiff, which makes it easier to sew and work with. Since this quilt does not have any bias edges, I don't really see a need for starching. You'll also want your fabric to be somewhat pliable to create the pleats. That being said, if you would prefer to starch, be my guest!
Remember that you'll want to starch your fabric before you cut them, so if you decide to use it, I recommend going ahead and doing that this week. For yardage, assess how your WOF is folded. You'll want the two selvedge ends to be right on top of each other. This may mean ironing a new crease in your fabric. When I starch, I spray the entire piece of fabric to get it pretty saturated, then use my iron to press out any wrinkles or creases. This is the starch that I use. Once you starch your fabrics, lay them on a flat surface until we cut into them next week.
.
Facebook Group
If you have any burning questions, or if you're just looking for community and support, join the Lo & Behold Patterns Facebook group! It is not required- all of the information for the QAL will be delivered via email/blog. That being said, if you are looking for advice with fabrics or anything else, the FB group is a great place to look!
Let me know if you have any questions. Otherwise, I'll see you next week!
Brittany


