Ombre Puff QAL - Week 6

WEEK 6
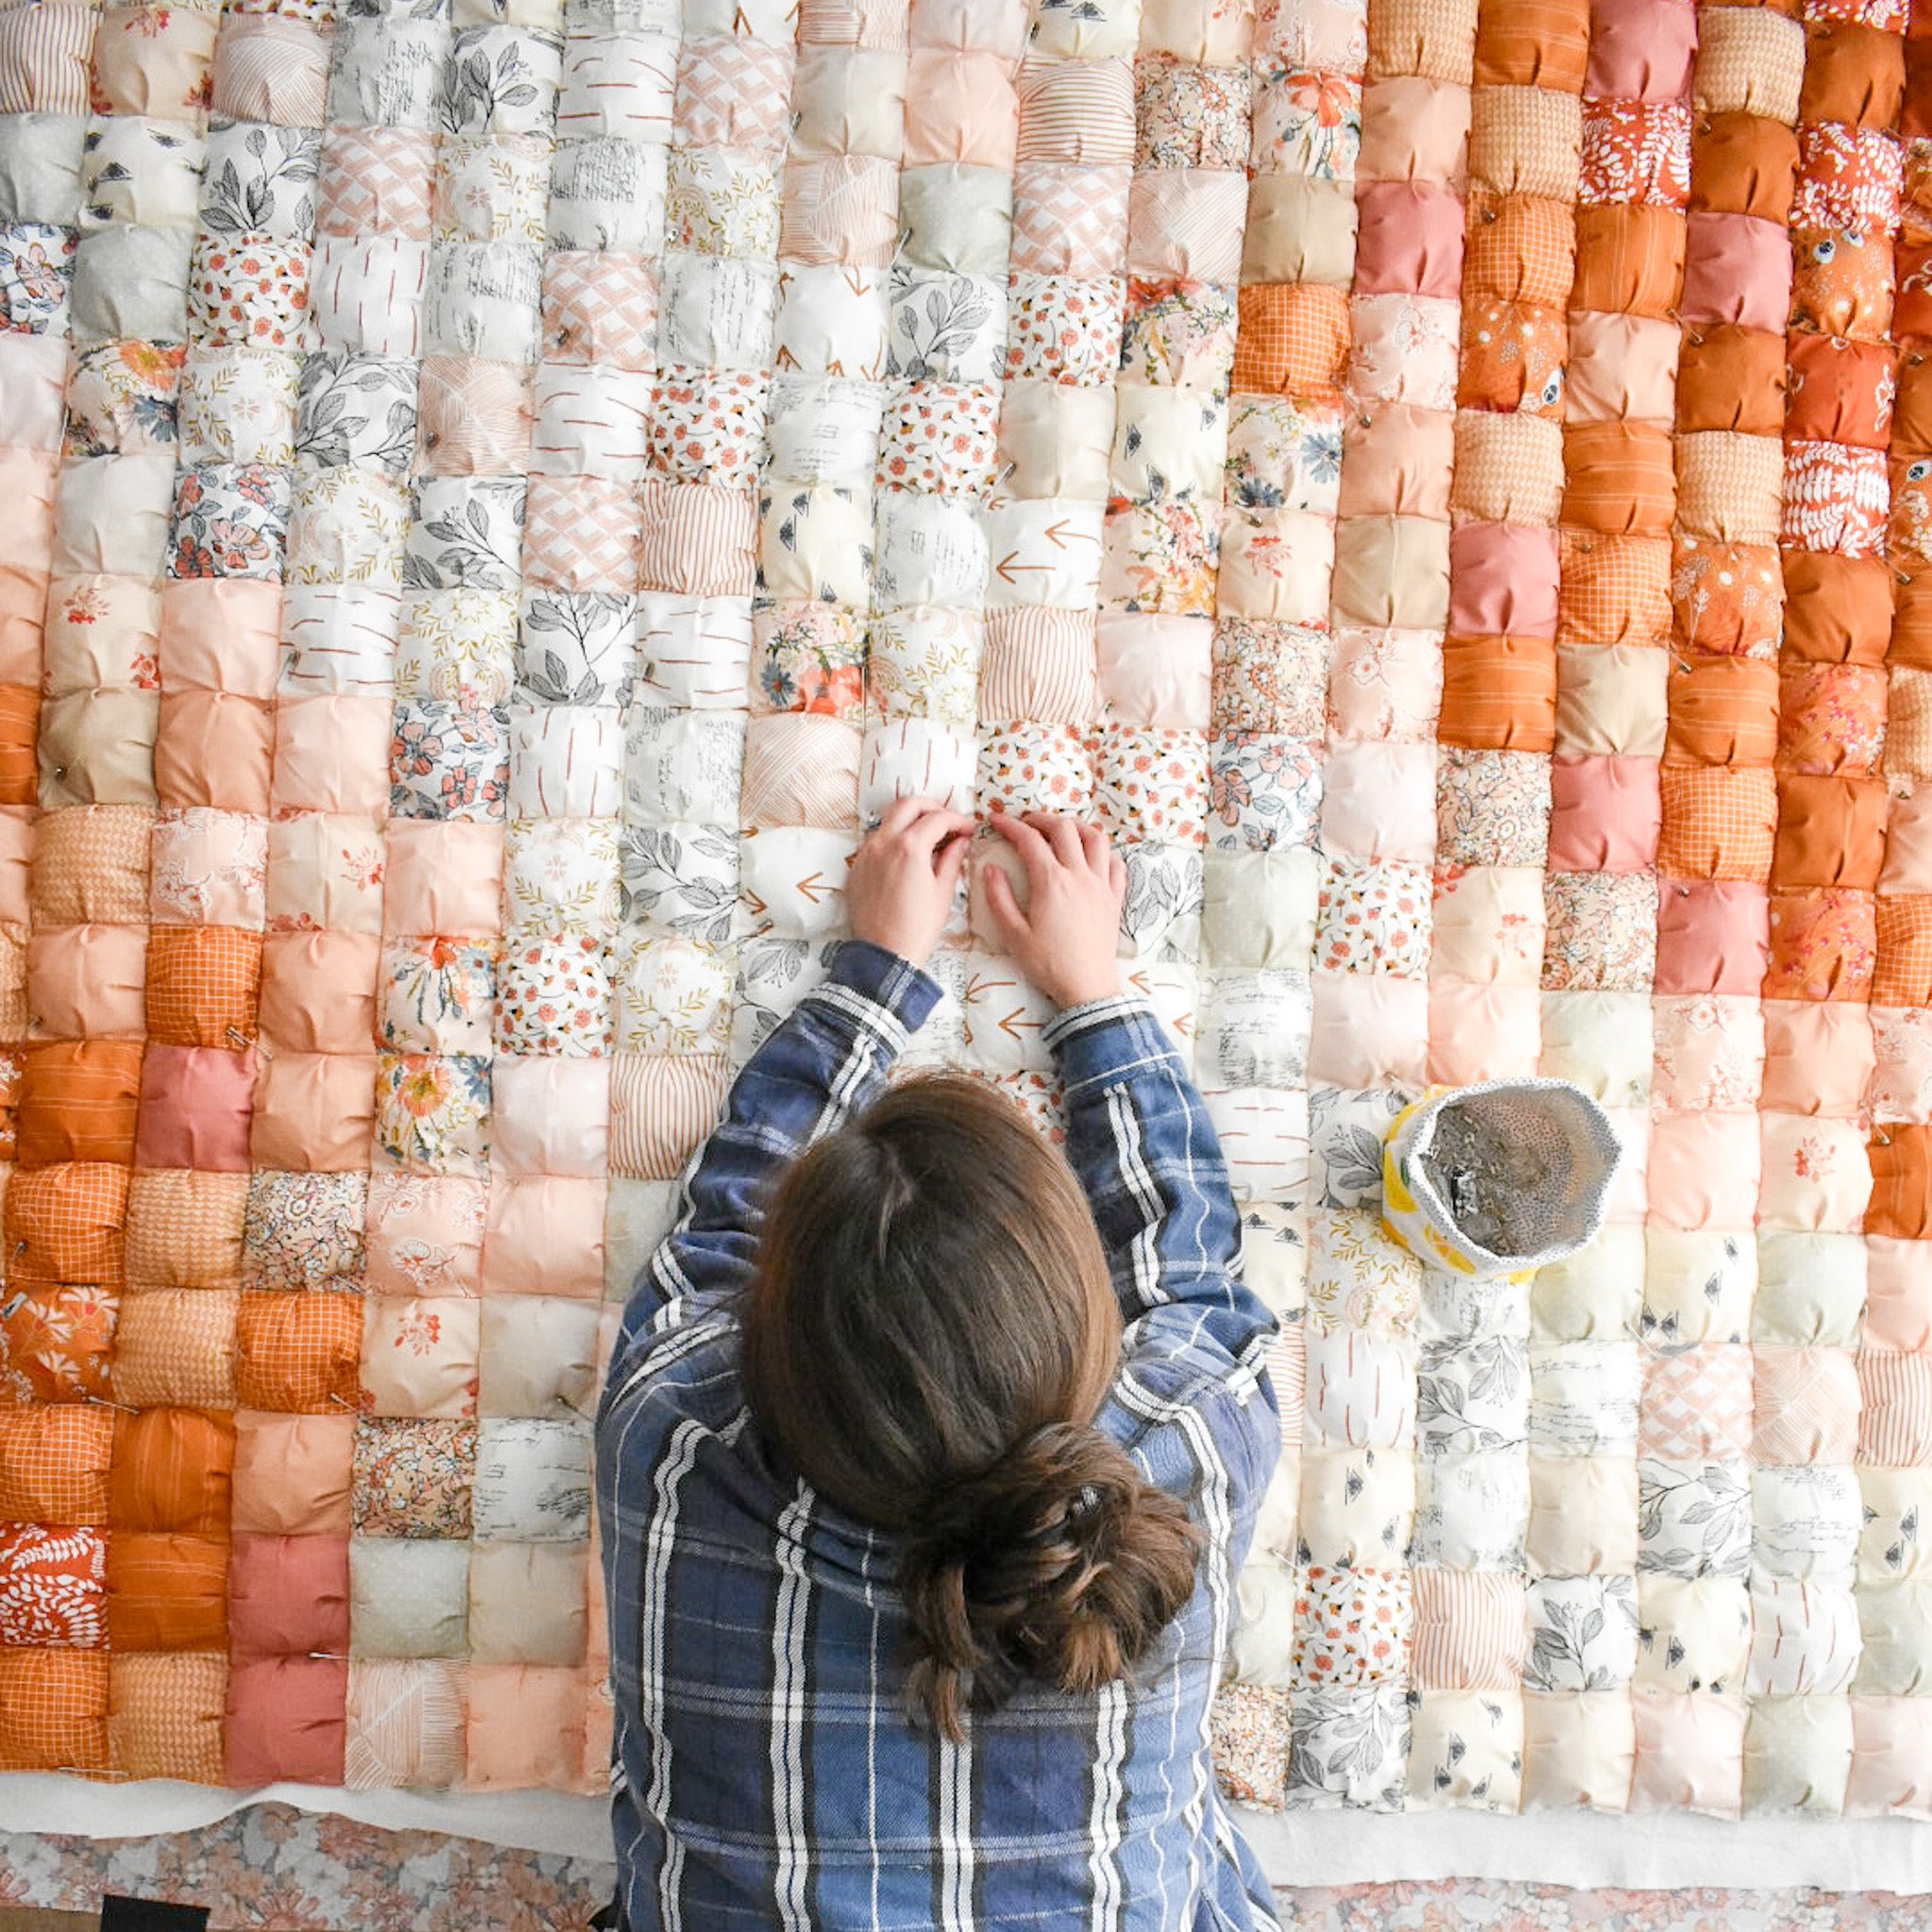
This week we are starting to wrap things up! We will be basting AND quilting our puff quilts! Complete everything on page 9 and 10 of the Ombre Puff Quilt Pattern. This is also minute mark 7:34 of the Ombre Puff Video Tutorial. Here are a few tips for this week:
.
BattingFor both puff quilt that I've made, I used Quilter's Dream Request batting. This is the thinnest love that Quilter's Dream makes and I think it's perfect. If you're wanting something even thinner, you could use a single layer of flannel. Remember that you want your batting piece to be about 2" larger than the quilt top on all four sides.
.Backing
Depending on what size quilt you are making, you may need to piece your backing. Refer to page 9 for a piecing diagram. Note that I typically use a 1/2" seam allowance when piecing my backing and I press the seams to one side.
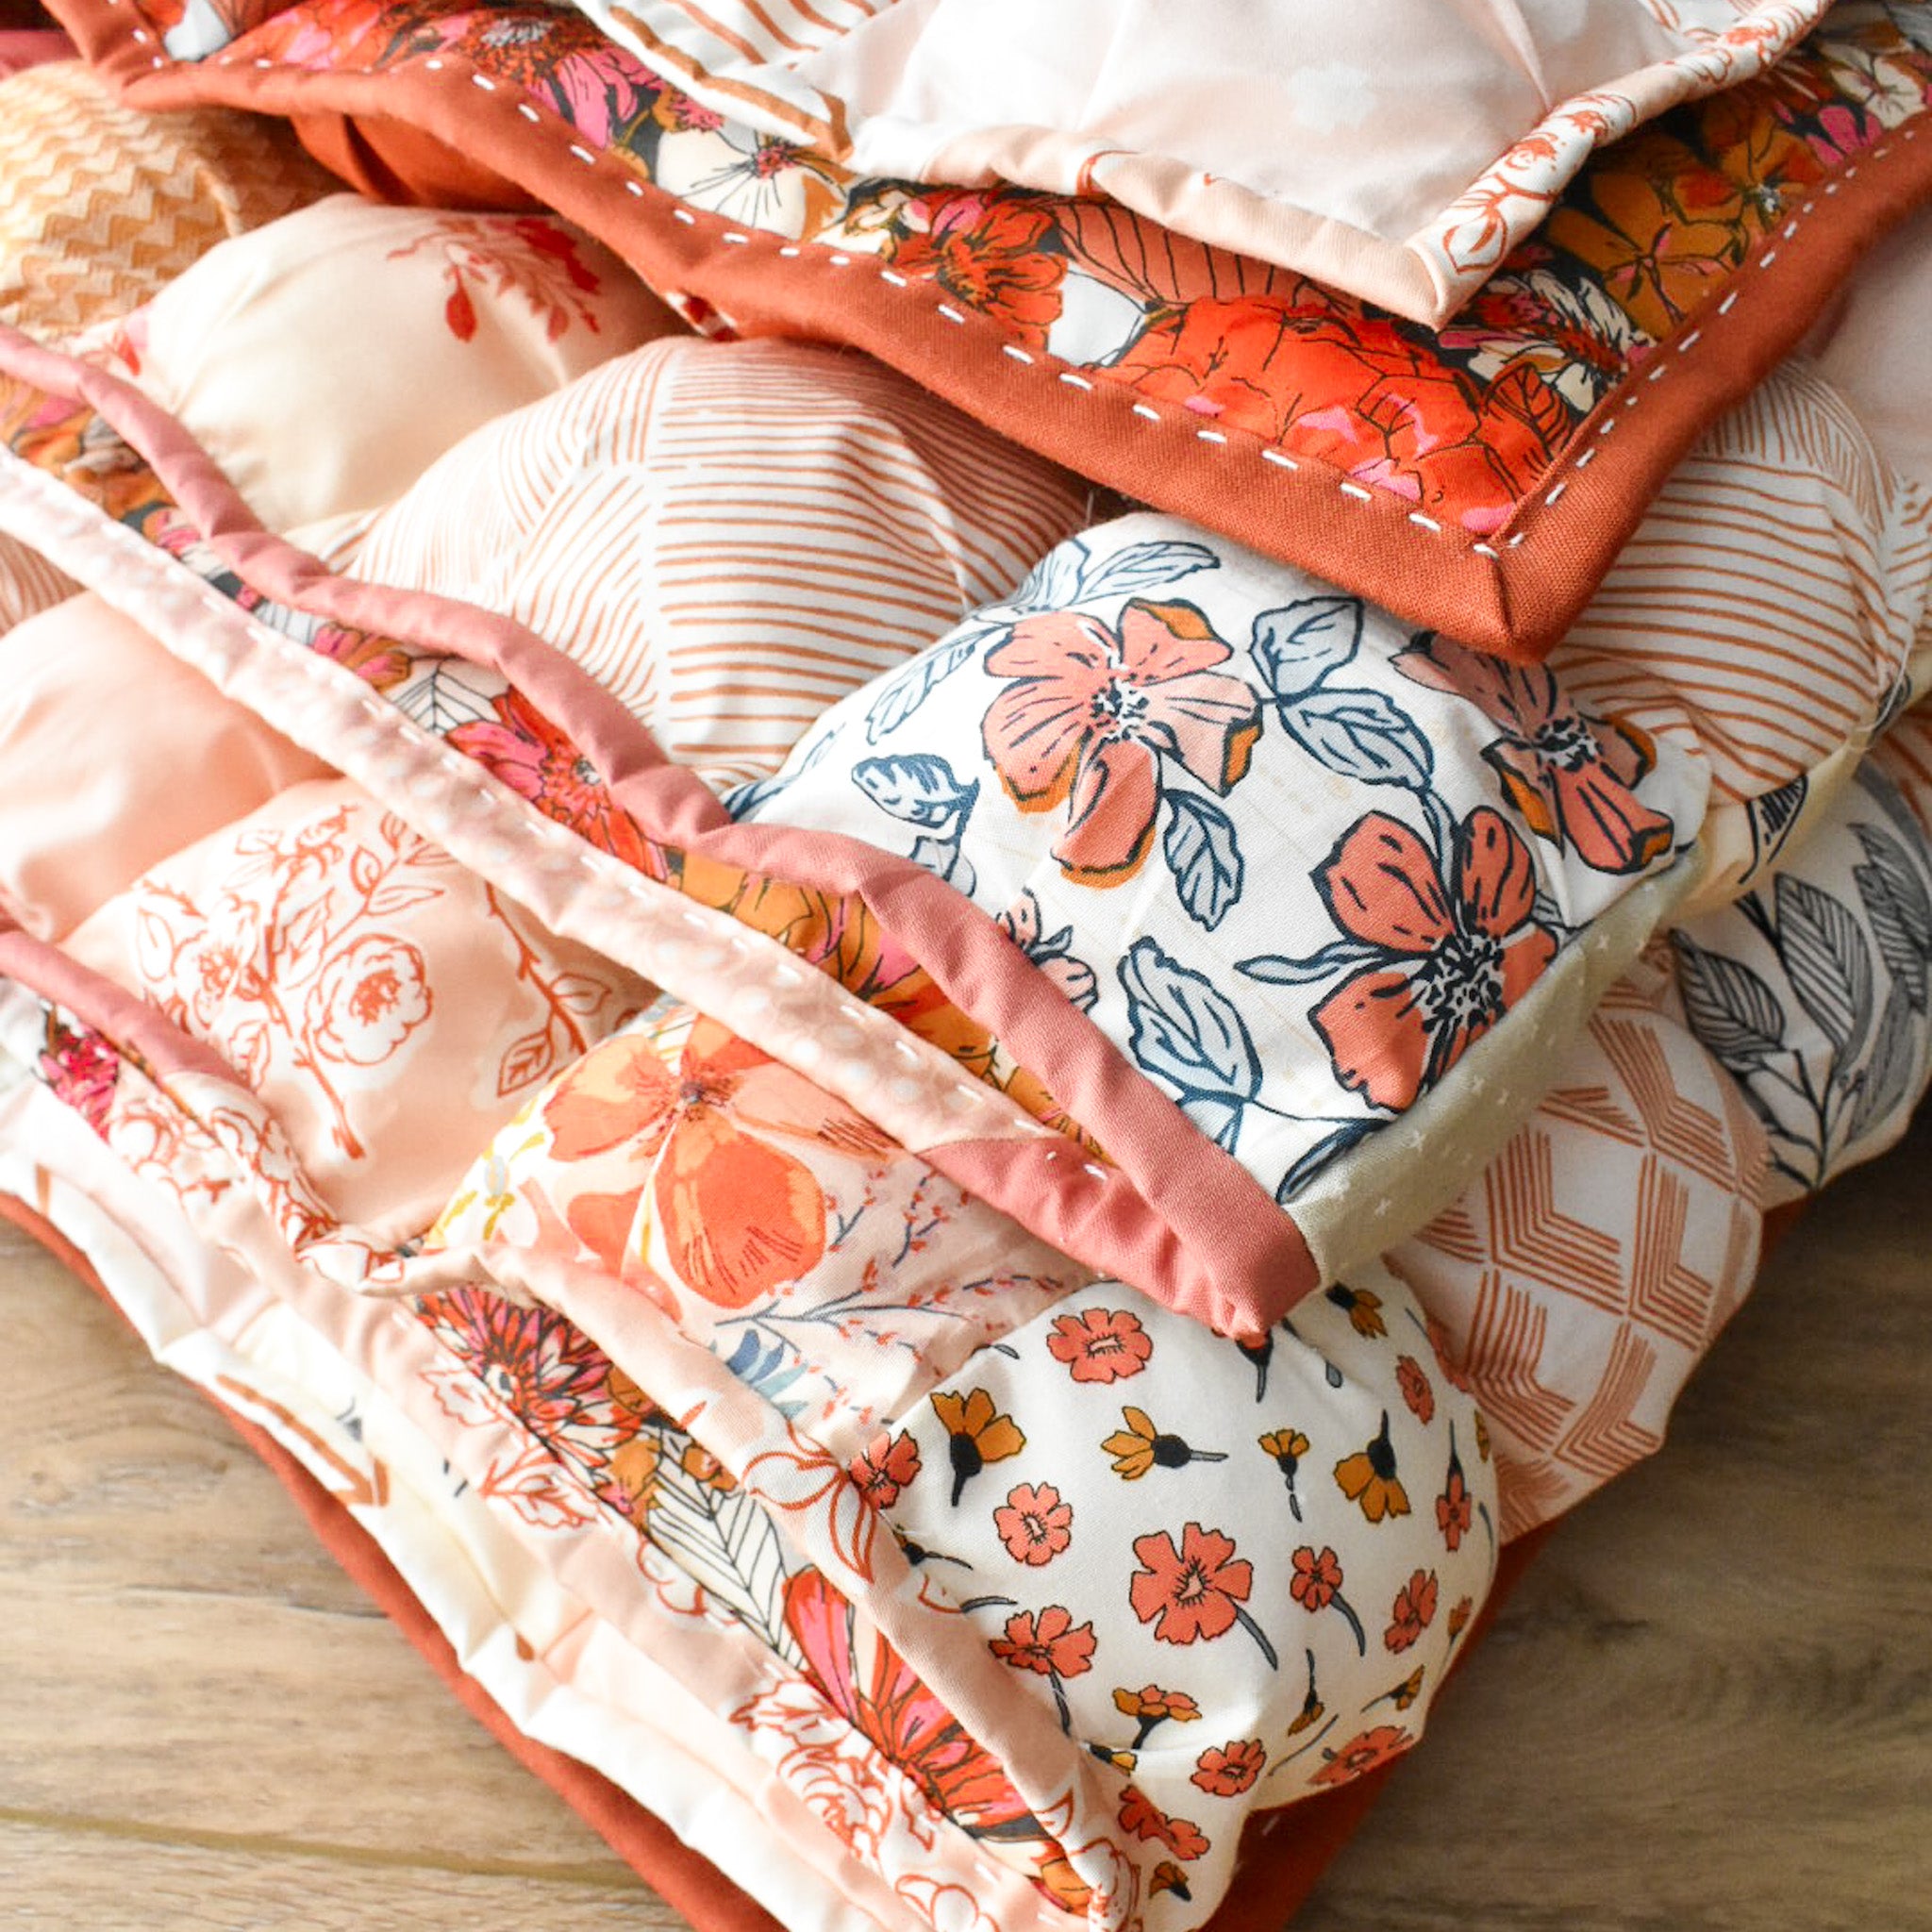
Also keep in mind, if you plan to use the "fold-over" binding method that I used for my first puff quilt, then your backing fabric will also be your binding. So be sure to choose something that also goes with the front of the quilt. You can also bind your quilt the traditional way, which is what I'll be doing next week. :)
.Basting
I recommend pin basting your puff quilt sandwich. Everything is already so heavy, I just think pins will give you the best results. You can find my pin basting tutorial here. That being said, I've had a few questions about spray basting. I used pins for both of my puff quilts, so I cannot speak from experience, but you could certainly try to use spray. My concern is the weight of the quilt and how bulky some of the seams are, I'm not sure how well all of the layers will stick together. But it's definitely worth a try. Worst case, if you spray baste and it isn't holding all three layers of the quilt sandwich together well, then you can add some pins to keep things more secure.
TIP: Don't stretch out the quilt top as you are basting. Let the puffs lay naturally on the batting while you pin, even though they have the tendency to bunch up. If you stretch them out, that can cause some pulling/puckering on the back once your quilt is quilted....which isn't a big deal, you just might want to try to avoid it. :)
.

.
Quilting - Ties
As recommended in the Ombre Puff Pattern and in the video tutorial, I hand tied my puff quilt. We use our puff quilt pretty consistently this last year and it has held up well. A few ties have come undone, but i think that's because I cut the tails too short. So if I had to go back and do my first puff quilt over again, I would definitely cut the tails a little longer.... probably 1.5"-2" or so!
.
Quilting - Hand Quilting
I knew that I wanted to try a different method of quilting for this quilt, just to experiment for ya'll... and my original plan was to do some hand quilting. This is the same concept as hand-tying except it'd be running stitches of the same kind fo thread. I definitely think this is a viable option, if you don't want to stop and hand tie each individual strand. If you try this, report back and let me know how it goes!
.
Quilting - Machine Tacking
In the end, I decided to go a different route. @missmakes shared about how she was "bar tacking" her puff quilt and after I re-shared her stories, many previous puff quilters reached out and said that they did the same thing for their quilt! I was immediately intrigued!
If you want to try something like this, I recommend making a scrap practice quilt sandwich to practice various stitches before you get started. You can see a few different ones that I tried below. I REALLY loved the star stitches and I actually started out doing those. But as I got closer to the middle of my quilt, my machine's feed dogs were having a hard time moving the quilt like it needed to in order to stitch properly. This made me realize that I need to choose a stitching option that relies on the needle moving, NOT the feed dogs.
.

.
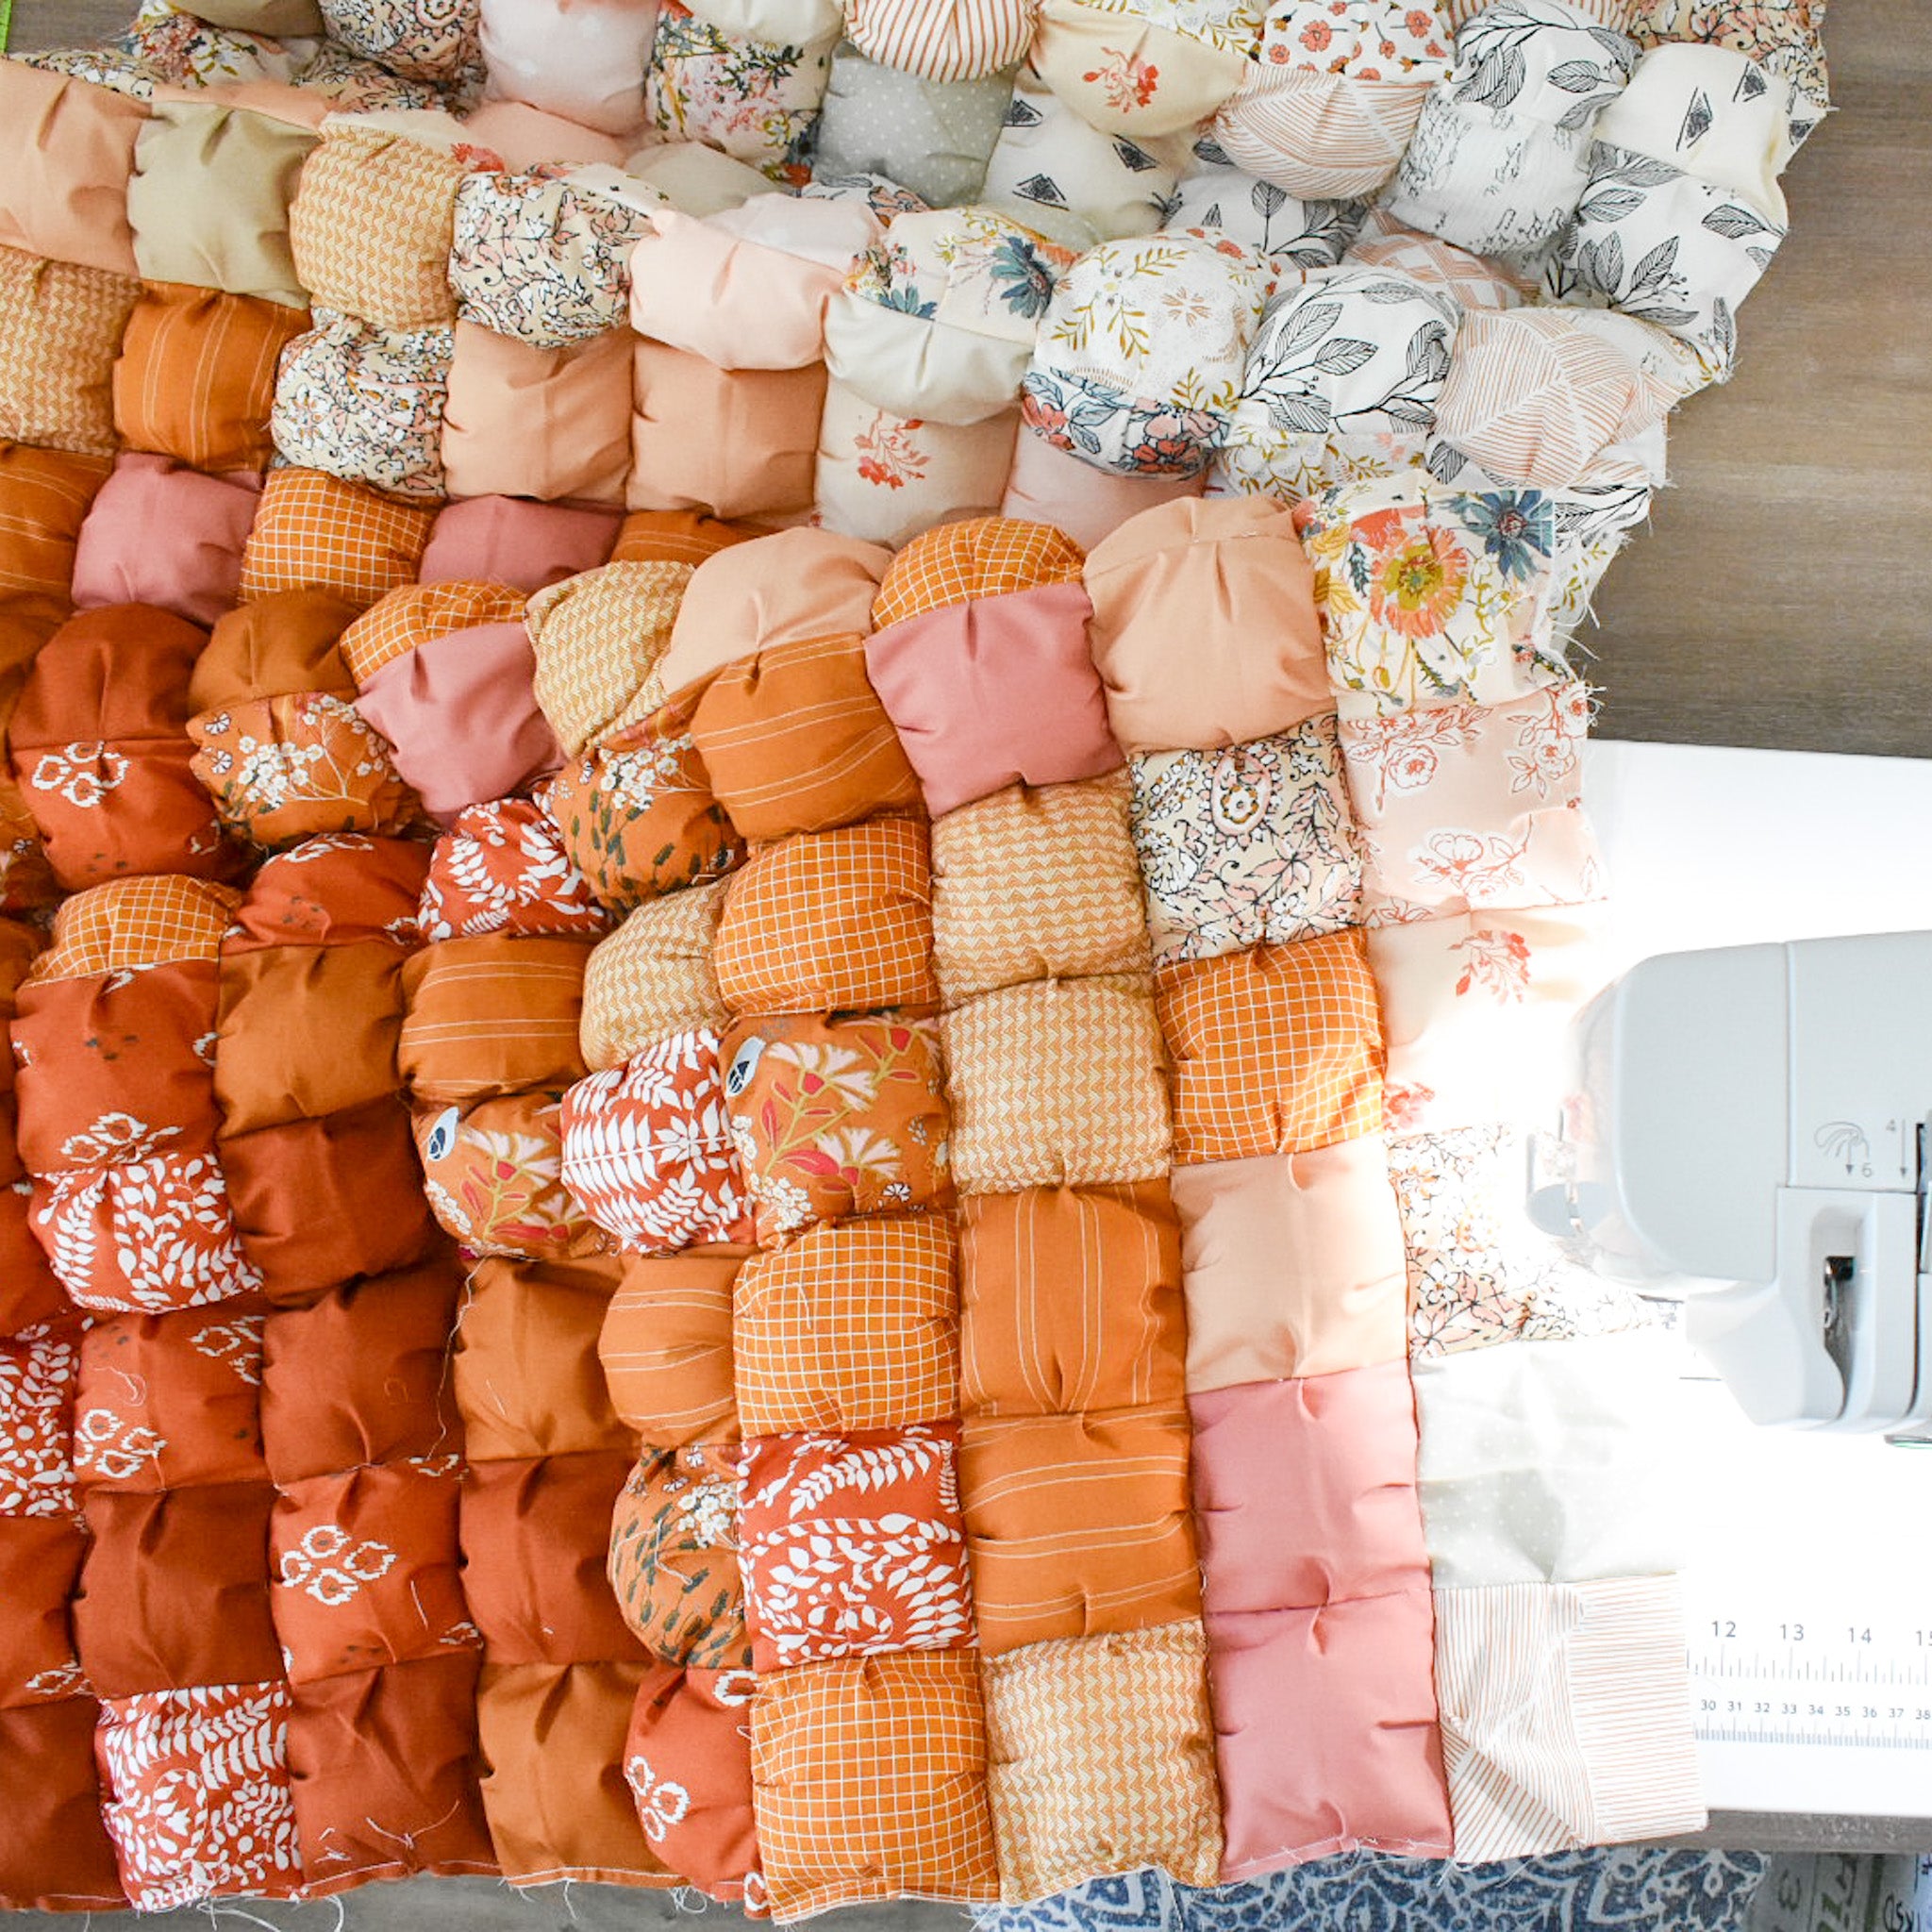
Again, I use a Janome Continental M7, which has an enormous throat space which was really helpful for this quilt. I ended up doing a Clasp Stitch #3 in the corner of every other puff and it turned out really great! Once the stitch was complete, I trimmed the tails and I was good to go. All in all, it took me several hours over 2 days to finish.... as opposed to over a week with the hand-tying.
.

.
Here are a few things to keep in mind if you plan to use this method.
- Test out some stitches on scraps before you get started.
- Choose a stitch that moves the needle, NOT the feed dogs.
- If the machine ties a knot for you, you can either trim the tails or bury them. My machine started and stopped each stitch by tying a knot and I just trimmed the tails. If you are concerned about the stitches coming undone, test your practice quilt sandwich and see what you think.
- I recommend stitching in the corner of at least every other puff.
- Start in the middle of the quilt and work your way out.
- My machine has a Stop/Start button that you can use instead of the foot pedal. I found this super helpful to use because at some points during this process, almost the entire quilt would be resting on my lap. I would have a hard time reaching around it, so I discovered that standing beside the table and letting the weight of the quilt be supported by my quilting chair was the way to go! It was really nice to just push a button and let the machine do it's thing while I was standing beside it, not sitting in front of it.
- *IMPORTANT* this made such a huge difference for me.....position your machine so that there is as much table space behind your machine as possible. The more support the better.
- To see a quick video of my process for this, click here.
.

.

.
COMMUNITY PROGRESS
Here are some Week 5 progress shots from the #puffQAL2022 hashtag!

..

.

.
Next week, we will bind our quilts. It'll the final week of the QAL (I can't believe it!) but let's finish strong, my friends! I'll see you then!
-Brittany


