Upscale Plaid QAL - Week 2 - Strip Piecing

Hello and welcome back!
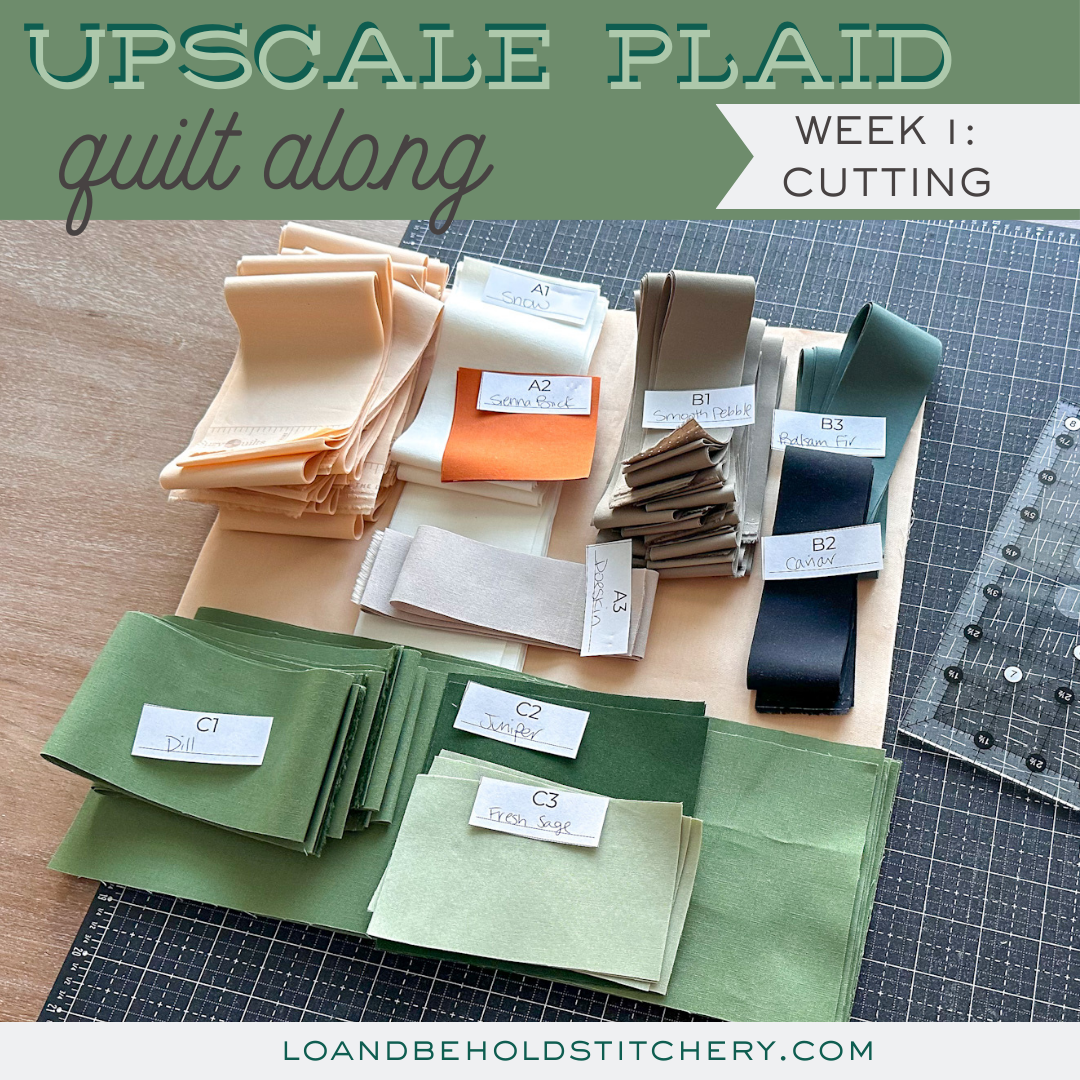
It's Week 2 (of 4) of the Upscale Plaid Quilt Along. By this week, you should have all of your fabrics cut and ready to go. Now it's time to start sewing! Before we get started, here are some helpful links that you might find handy:
- Week 1 Blog Post (including video)
- Upscale Plaid Quilt Along Details
- PDF - Upscale Plaid quilt pattern
- Paper - Upscale Plaid quilt pattern
.
Week 2:
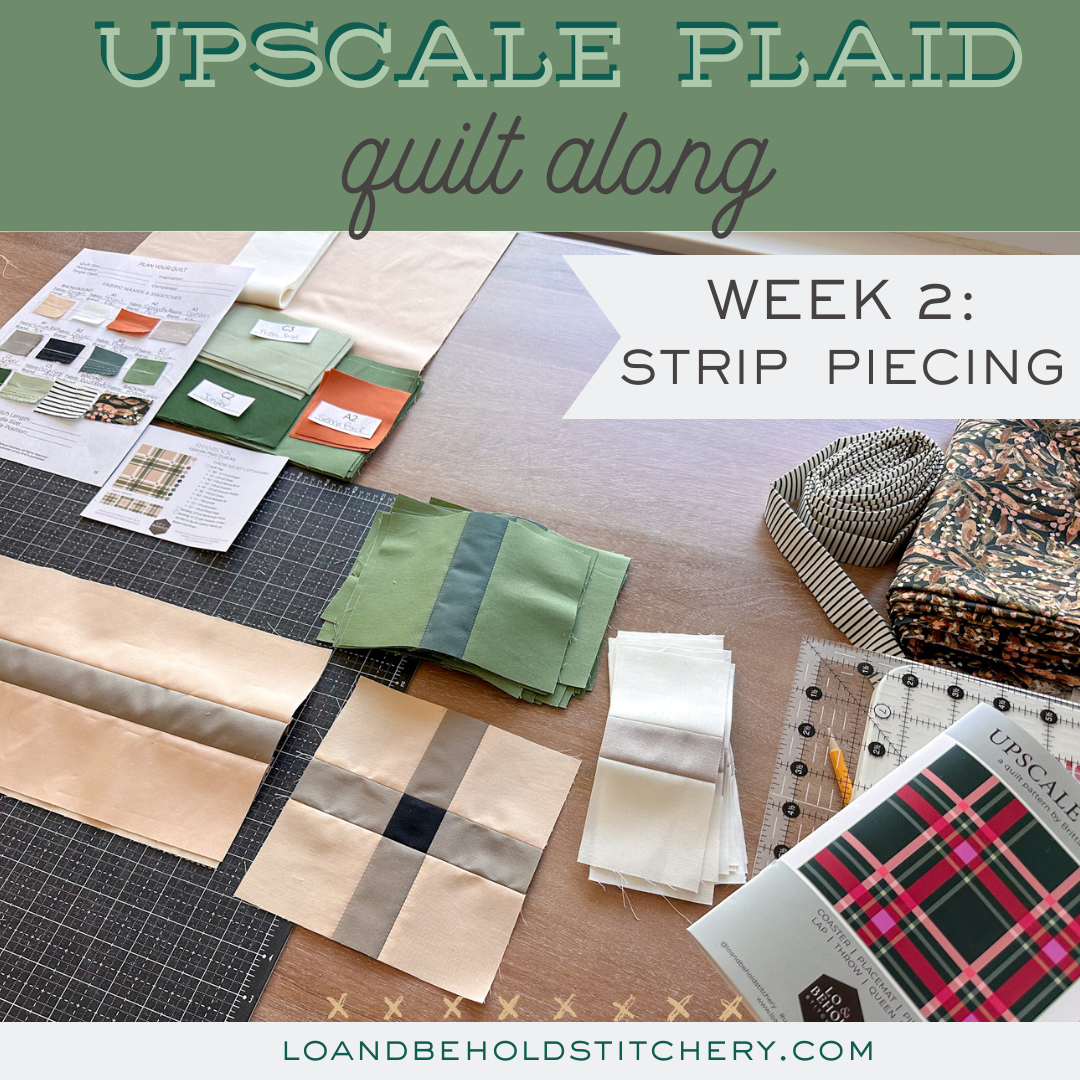
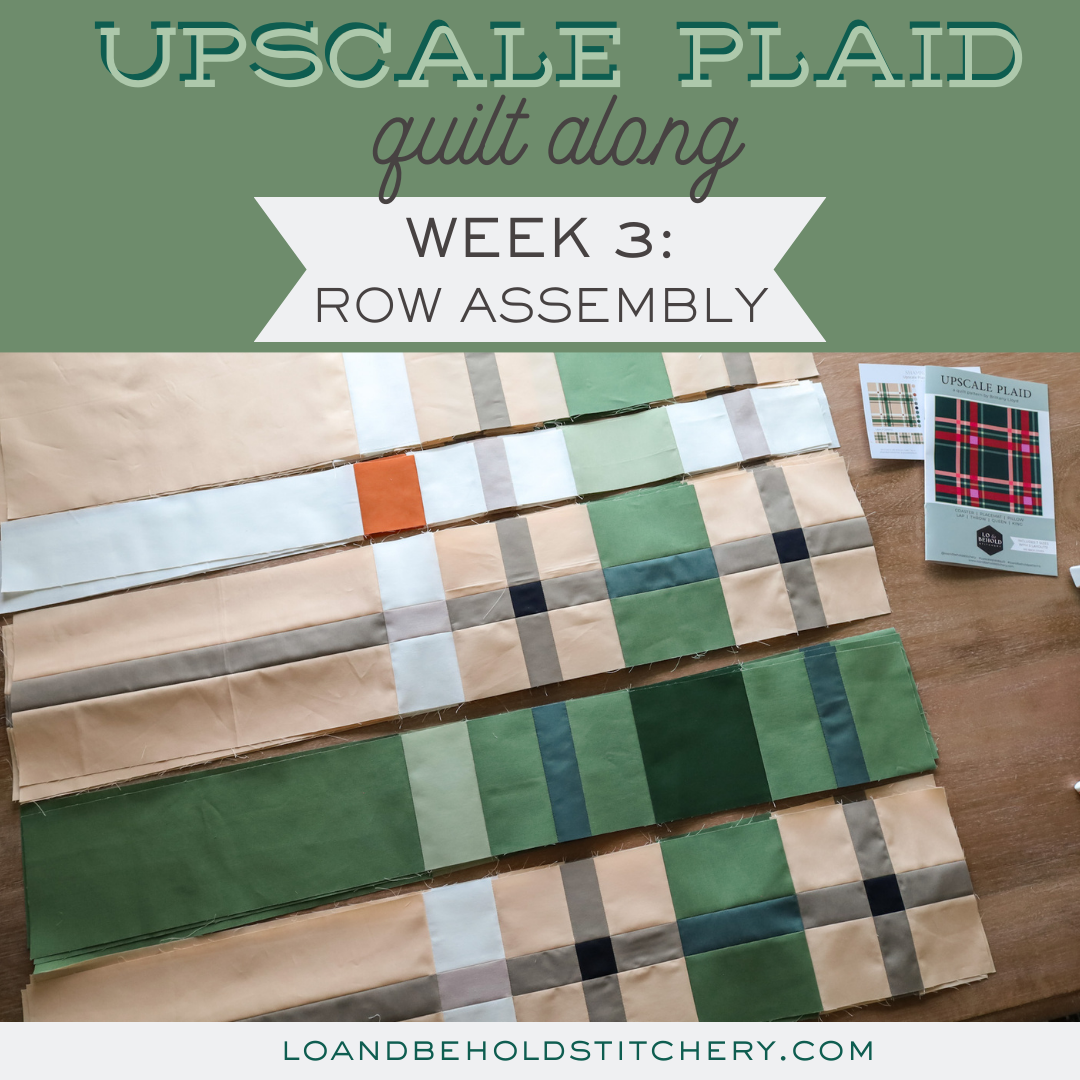
This week, we'll be strip piecing to create our blocks. There are 4 different blocks: A, B, C and D. By the end of this week, you should have all of your blocks created, which will lead us to Quilt Top Assembly next week in Week 3.
If you've never done "strip piecing" or "strip sewing" before, you'll definitely want to check out the Week 2 video. In a nutshell, it involves sewing longs strips of fabric together, then cutting it all up to create smaller pieces. It's quick, efficient and a lot of fun. :)

Again, be sure to check out the video above. Here are some tips for this process:
- Pay close attention to the instructions regarding how to press seams. If you are making a Coaster, Placemat and Pillow size, you'll be pressing your Strip Set seams to one side. If you're making the Lap, Throw, Queen or King size, you'll be pressing your strips open.
- Highlight or circle what size you are making within the Sewing Instruction charts. You want to make sure you're looking at the correct row. (Ask me how I know.)
- If your strip set measures larger than what it's supposed to, your seam allowance was a little too small. If your strip set is smaller than what it needs to be, your seam allowance was a little too big. Refer to this blog post for tips on how to check your seam allowance.
- Be sure not to trim off too much fabric when you trim away your selvedge ends. We've worked in a little wiggle room to these strips sets but you'll still only want to trim away just enough to give you a fresh edge.
- Remember to use the lines on your ruler instead of your cutting mat. (Refer to video for demo.)

- If you are using Kona solids or a fabric that is larger than 42", you might be able to cut a little differently than what the pattern depicts.
- Keep blocks labeled once they're cut.
- For Block D, you'll want to align your seams in between Row D1 and D2. You can do this by either using pins or a washable glue like Elmer's Glue Stick or Sewline.

.
Week 1 Winner:
The winner of both the full AND mini size Oliso irons is Sara @choose_joy_quilt_co ! Congratulations! Send us an email and we'll coordinate from there. :)
Week 2 Prize:
This week, our prize is my next curated fat quarter bundle with Robert Kaufman, "Heirloom" AND my new matching thread collection with Aurifil! One lucky winner will receive both of these prizes. Note that the FQ bundle is currently for "Preorder" in our shop and is expecting to ship in April 2024. You can find the thread and FQ bundle here.

To enter:
- Only public Instagram accounts are eligible for entry.
- Take a progress photo of this week's progress. Please make sure that your photo does not include any part of the pattern material. That is for your eyes only!
- Share the photo to Instagram.
- Use the hashtags #UpscalePlaidQuilt, #LoAndBeholdPatterns, and #UpscalePlaidQAL in the caption.
- Tag @LoAndBeholdStitchery in the photo.
The winner will be shared in the following week's blog post!
That's all for now! Thanks for joining along. I'll see you next week for Week 3. :)

.
.
.
.
.
This post contains affiliate links. If you purchase that item through my link, I may receive a small commission from your purchase at no cost to you. I only recommend products that I know and love!


