Upscale Plaid QAL - Week 1 - Cutting Fabrics

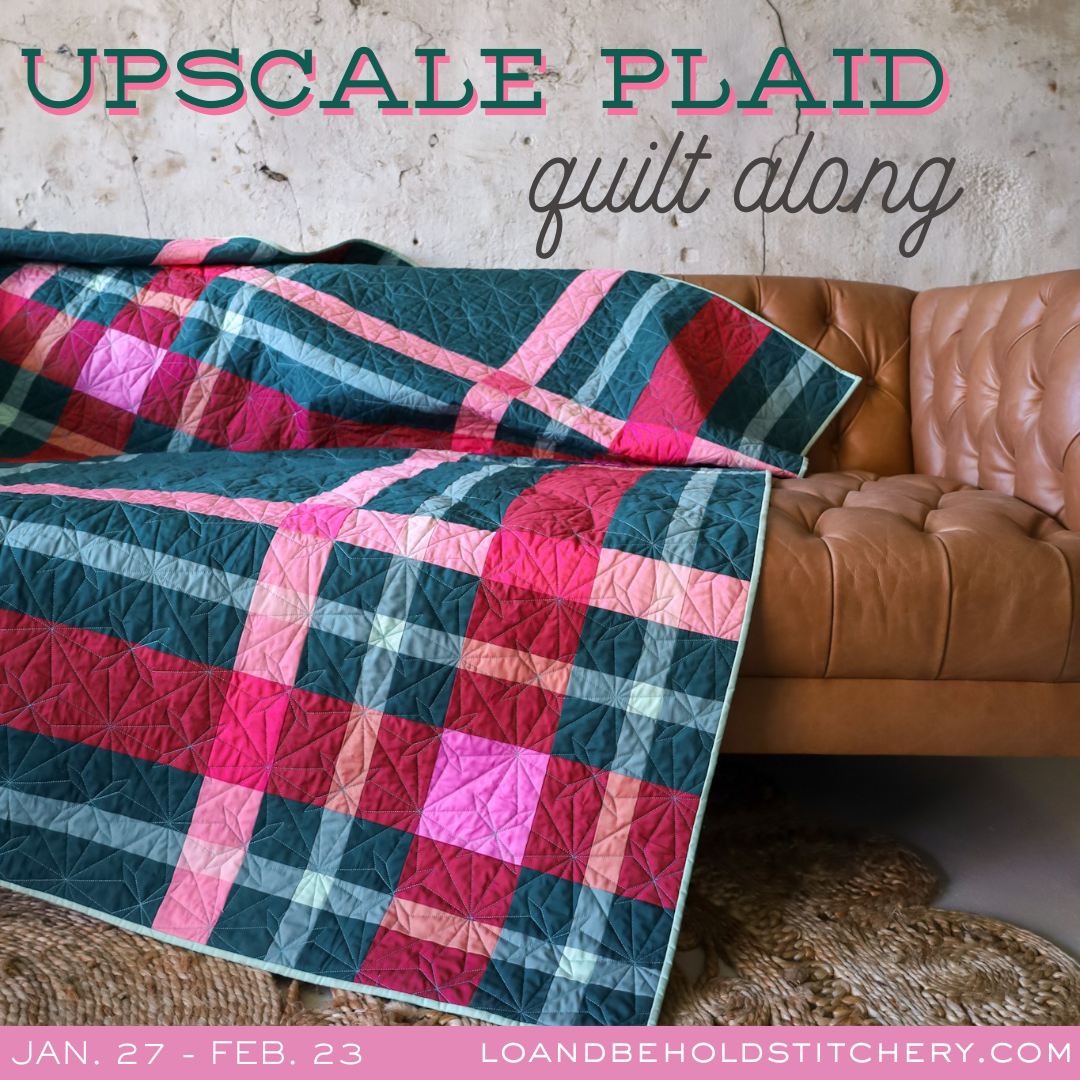
Hello there and welcome to the Upscale Plaid Quilt Along!
I'm so glad that you found our little corner of the internet and I'm SO excited to make this quilt with you!
Be sure you have a copy of the Upscale Plaid quilt pattern (either a Paper copy or PDF) and let's get started!
.
ABOUT THE QUILT ALONG
If you're new to this Quilt Along and you haven't read through our Quilt Along Details page, be sure to do that first. There, you'll find information about choosing fabrics, available quilt kits, information about other Upscale Plaid samples that I've made and more.
We'll be creating an Upscale Plaid quilt top together over the next 4 weeks. Here's a look at our schedule:

Let's do this!
.
A LITTLE ABOUT ME...
If we haven't "met", I'm Brittany...the quilter, pattern designer and online educator behind Lo & Behold Stitchery. I started quilting in my grandmother's memory and it's turned into an enormous passion of mine! I love connecting with fellow quilters via the internet via quilt patterns, tutorials and online courses. You can read more about Lo & Behold Stitchery here.

Ready to dive in?
This quilt along will live under the "Quilt Alongs" section of our website. Information will be both in a blog post form as well as a video form. You'll find the videos on our You-Tube channel, which will also be linked within the blog posts. I recommend watching the video AND reading the blog post, as there will be helpful information in both. So with that said, here we go!
.
WEEK 1
Here's what I cover in the video:
.
BEFORE YOU GET STARTED
Video Minutes 01:58- 07:42
- Quilt Sizes - Upscale Plaid includes 7 different sizes!
- Quilt Layouts - There are 5 different quilt layouts to choose from. All of the layouts have the same cutting instructions, so you do not need to decide on a layout quite yet. But maybe start thinking about it!
- Choosing Fabrics
- Lo & Behold Quilt Kits
- Other Shops carrying kits:
- Lamb & Loom
- Pasadena Quilt Co.
- Punkinhead Fabrics
- Going Coastal Fabrics
- Cherrywood Hand-dyed Fabrics
- Golden Girls Fabric Co.
- Tree House Quilting Co.
- We Do Quilts
- Floyd the Fox (Germany)
- Piece Fabric Co. (Canada)
- The Hackney Quilter (UK)
- PreQuilt - We’re happy to share that we’ve again partnered with PreQuilt to bring you free online interactive coloring pages. These make it really easy to test out many different fabric color combinations quickly! Digitally plan this quilt and a few other Lo & Behold designs (we're working on getting more uploaded!) with the click of a button. They have a really great free option that allows you to use different brands of solids; or you can upgrade your plan to use prints, save your designs and more! Use the code LOANDBEHOLD for 20% off your annual subscription (either Basic or Market)!
- "Choosing Fabrics" Blog Post
.
FABRIC PREP
Video Minutes 07:43 - 16:02
-
Pre-washing - Pre-washing simply means to wash your fabric before you cut into them and start sewing. The benefit of pre-washing is that you will wash away excess dye to reduce possible color bleeding. Reds, blues and purple fabrics are notorious for bleeding, so I sometimes pre-wash when I have high contrast colors such as red and white. While I acknowledge that not pre-washing these fabrics is a "risk," often times, I skip pre-washing and use Shout Color Catchers when I wash my quilt for the first time. Typically, these Color Catchers do the trick, but if I ever find bleeding in my quilt after the first wash, I would rather deal with the aftermath than take the time to prewash. This comes down to personal preference and how much you want to be adventurous with it (or not).
Most fabric manufacturers use starch and stabilizers on their fabrics to keep the fibers stiff while they're on the bolt. When you wash your fabric, either before it's in the quilt or after, you wash away that starch. Personally, I like the added stiffness, as it makes for cutting and sewing to be easier. But if you choose to prewash you may decide that you want to add some starch back to the fabric to make it easier to work with.
Some quilters also choose to pre-wash so that they "pre-shrink" their fabric. This makes a difference if you are using various fabric types within your quilt. For example, linen shrinks at a different rate than cotton does. If you use both types of fabric within your quilt, once they shrink they could cause areas of pulling on your seams. If you go ahead and pre-wash/pre-shrink everything, then the fabrics in your quilt will all behave similarly, which will in turn give you a more stable quilt. That being said, I can probably count on one hand the amount of times that I've pre-washed my fabric.
How to Prewash:
Wash fabrics in cool water with a mild detergent. Feel free to use a mesh bag to prevent fabric from stretching or twisting. Dry on low heat and remove the fabrics from the dryer immediately once it's dry. For yardage, re-align selvedges and press the fabric to create a new fold. Most people do not pre-wash pre-cuts (nor fat quarters) because if the fabric frays too much, you might not have the designated amount that you need for your project. Some people also “stay-stitch” about 1/8" away from the perimeter of the edges to help prevent the fabric from unraveling too much.
Again, pre-washing is one of those a highly debated topic in the quilting world, so don't feel like there's a right or wrong answer. Follow your heart. :)
- Starching - To be honest, I don't really use starch that much. However, I've found that if I am working with smaller pieces or bias edges, it really does help with accuracy. Starch makes your fabric more stiff, which makes it easier to sew and work with. If you do decide to starch, you'll want to starch your fabric before you cut them. For yardage, assess how your WOF is folded. You'll want the two selvedge ends to be right on top of each other. This may mean ironing a new crease in your fabric. When I starch, I spray the entire piece of fabric to get it pretty saturated, then use my iron to press out any wrinkles or creases. This is the starch that I use.
- Pressing - You'll want to press your fabrics to get out all of the harsh creases and wrinkles.
- Refolding Fabric - This only applies to yardage, but it is super important to refold your fabric so that your strips are straight. Be sure to refer to the video to see how I do this, especially with yardage.
- Fabric Labels / Planning Worksheet - These tools are included in the pattern and highly recommended for organization!

.
CUTTING SUPPLIES
Video Minutes 16:03 - 18:52
- Favorite Cutting Supplies:
- 8.5" Creative Grids Ruler - This is my favorite and most-used ruler
- 6" x 24" or 8.5" x 24" Ruler - What I use to cut WOF strips.
- 18" x 24" - If you don't already have a larger cutting mat, 18" x 24" is great, or 24" x 36" is even better!
- Rotary Cutter
- Replacement Rotary Blades (if needed)
- Iron - I recently purchased this iron off Amazon and it does a great job for the price. I'm also to try my new Oliso iron, which just so happens to be the prize for this week. Keep reading for more details!

.
PATTERN NOTES
Video Minutes 18:53 - 27:07
- Read through all pattern instructions.
- WOF: This pattern assumes your WOF (width of fabric) is at least 42". This is important because if your fabric is less than 42" you might not be able to do exactly as the pattern says and *may* need some extra fabric. The fabric requirements all have some overage, so odds are, you'll have enough, but it's just something to keep in mind.
- Similarly, if your fabric is greater than 42", you might be able to cut your fabric slightly differently than what the pattern calls for. I notice this when I work with Kona solids, which is usually around 44"45".
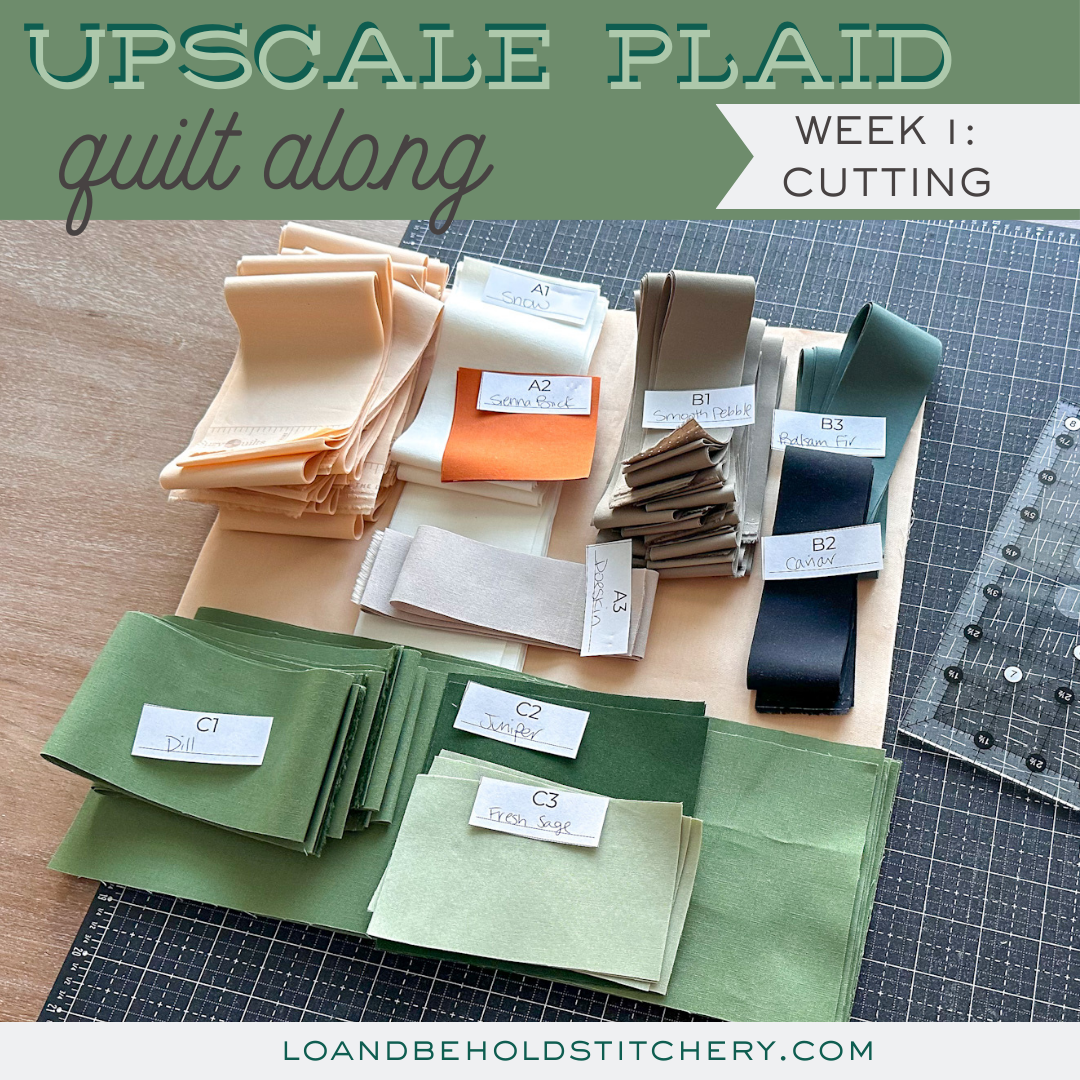
- Sub-cuts: Within the Cutting Instructions table, bolded text is a WOF strip. Bullet points listed underneath WOF cuts are "sub-cuts". Here's an example:

This means that you will:
- Cut (2) 2.5" x WOF strips first. Set those strips aside.
- Cut (3) 2.5" x WOF strips.
- From those (3) strips, cut (8) 2.5" x 11.5" pieces.
- Diamonds: Any time you see the diamond symbol (seen below), that indicates that you will sew remnant pieces together, then sub-cut from there. For example:

This means that you will:
- Cut (2) 2.5" x WOF strips first.
- From each strip, cut (2) 2.5" x 25" pieces (since you cannot cut two 25" pieces from one strip, assuming that your WOF is 42".
- Sew the two remnant (leftover) pieces from both strips using a straight seam to create a larger piece.
- Cut a 1.5" x 28.5" piece from the larger piece.
You will have a seam within that cut piece, but this is in effort to save fabric and decrease waste. This is especially handy with the King size where the pieces are SO large, it really makes a huge difference in how you are able to use your fabric.
Also of note: if you do not want to sew remnant pieces together, you might have enough overage with your yardage that you can cut what you need without needing to sew remnant pieces together.
Additionally, if your WOF is larger than 42", you might not need to sew remnant pieces together. I ran into this using Kona solids with the Throw size. I was able to get all of my pieces from my WOF strips without following the Diamond instructions. Just FYI!

.
CUTTING TIPS
Video Minutes 27:08 - 34:12
- "How to Cut WOF" tutorial - This covers things like refolding fabric and how to make subcuts.
- Cutting pieces that are larger than ruler -
- Cut piece in sections (demonstrated in video).
- Fold fabric in half and align the fold with the midway point of the fabric. For example, if you need to cut a piece that is 28.5", you'll fold the the strip in half and align the fold with 14.25", then cut your edges (2 layers) from there.
- Slow down and take your time. Cutting your pieces accurately will set you up for success in the following weeks.
- How's your rotary cutter blade? If you need a new one, go ahead and change it out.
- Whenever possible, it's best to cover your desired measurement with your ruler and use the lines on your ruler vs. the lines on your cutting mat. This will generally give you a more accurate cut. See below for an example:
- Place the strip horizontally so that the selvedge end is on the right and the fold is on the left. Place a ruler over the strip and align the edge of the strip with a horizontal line in the ruler.
- Trim off the selvedge. Remember to look at your usable WOF... you don't want to trim off too much! Some fabrics are notorious for having extra wide selvedges.
- Flip the strip around (or rotate the cutting mat around) 180 degrees. I like to cut two pieces at a time. You could also unfold the WOF strip and cut one piece at a time. Align the fresh edge with the vertical desired measurement in the ruler. In this case, it's 10.5".
- Align the perpendicular edge with a horizontal line in the ruler.
- Cut the desired measurement to the right of the ruler.

WEEK 1 PRIZE:
Video Minutes 34:50 - 38:21
There are prizes for each week of the Quilt Along! This week, we have teamed up with Oliso (affiliate link) to give away a full size Smart iron AND a mini M3 Pro iron to one lucky winner!
To enter:
- Only public Instagram accounts are eligible for entry.
- Take a progress photo of this week's progress (ex. your fabrics on the "Plan your Quilt" worksheet, etc). Please make sure that your photo does not include any part of the pattern material. That is for your eyes only!
- Share the photo to Instagram.
- Use the hashtags #UpscalePlaidQuilt, #LoAndBeholdPatterns, and #UpscalePlaidQAL in the caption.
- Tag @LoAndBeholdStitchery in the photo.
The winner will be shared in the following week's blog post!
.
"I'm In" Prize:
If you participated in sharing the "I'm In" graphic prior to the QAL starting, it's time to pick a winner for the $75 gift card to our shop! And the winner is......
@mmd62 ! Congrats! Please send us a DM on Instagram and we'll get you the details!
.

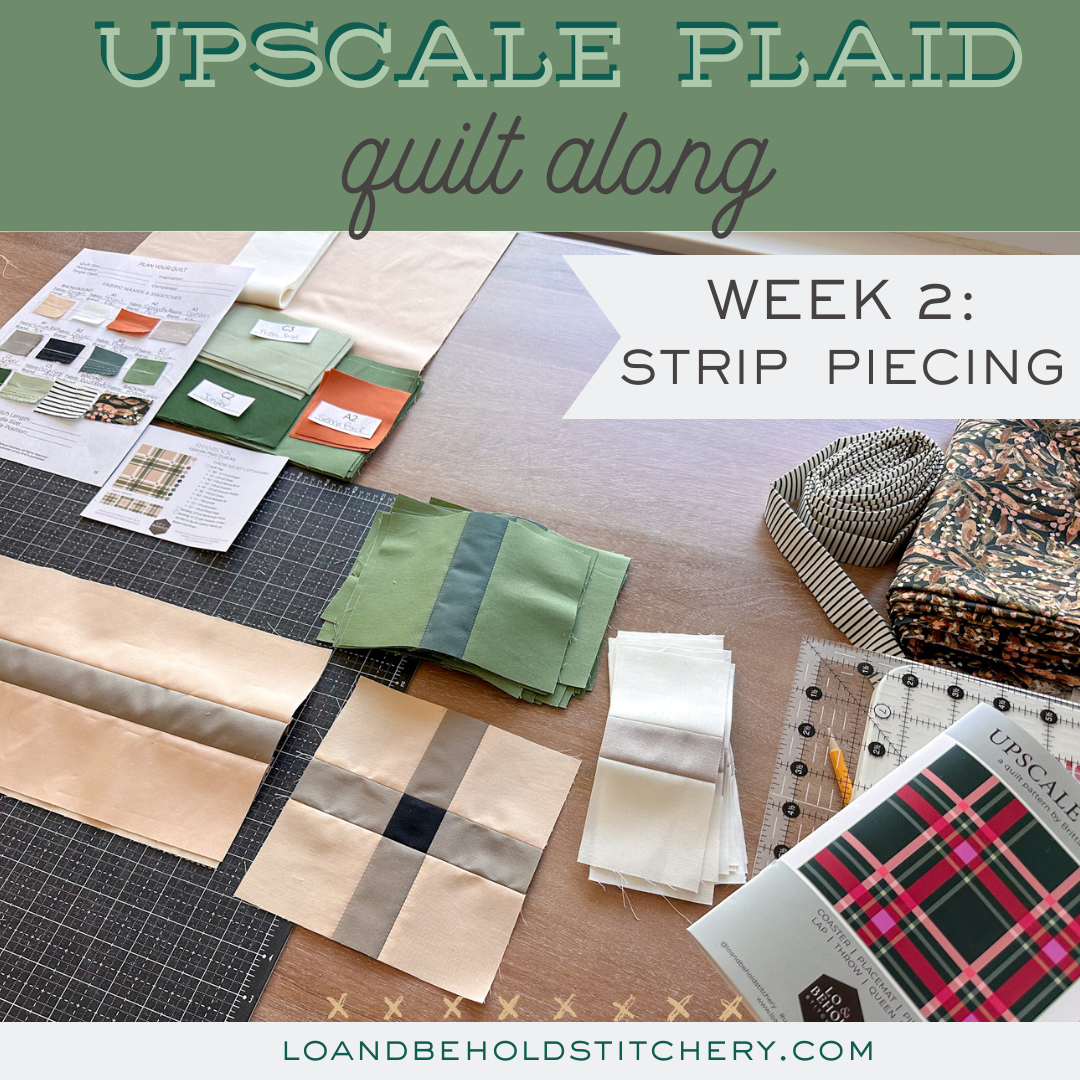
That's all for this week. I'll see you next week for Week 2!
- Brittany
.
.
.
This post contains affiliate links. If you purchase that item through my link, I may receive a small commission from your purchase at no cost to you. I only recommend products that I know and love!


