Scrappy Windows QAL - Week 1 - Cutting

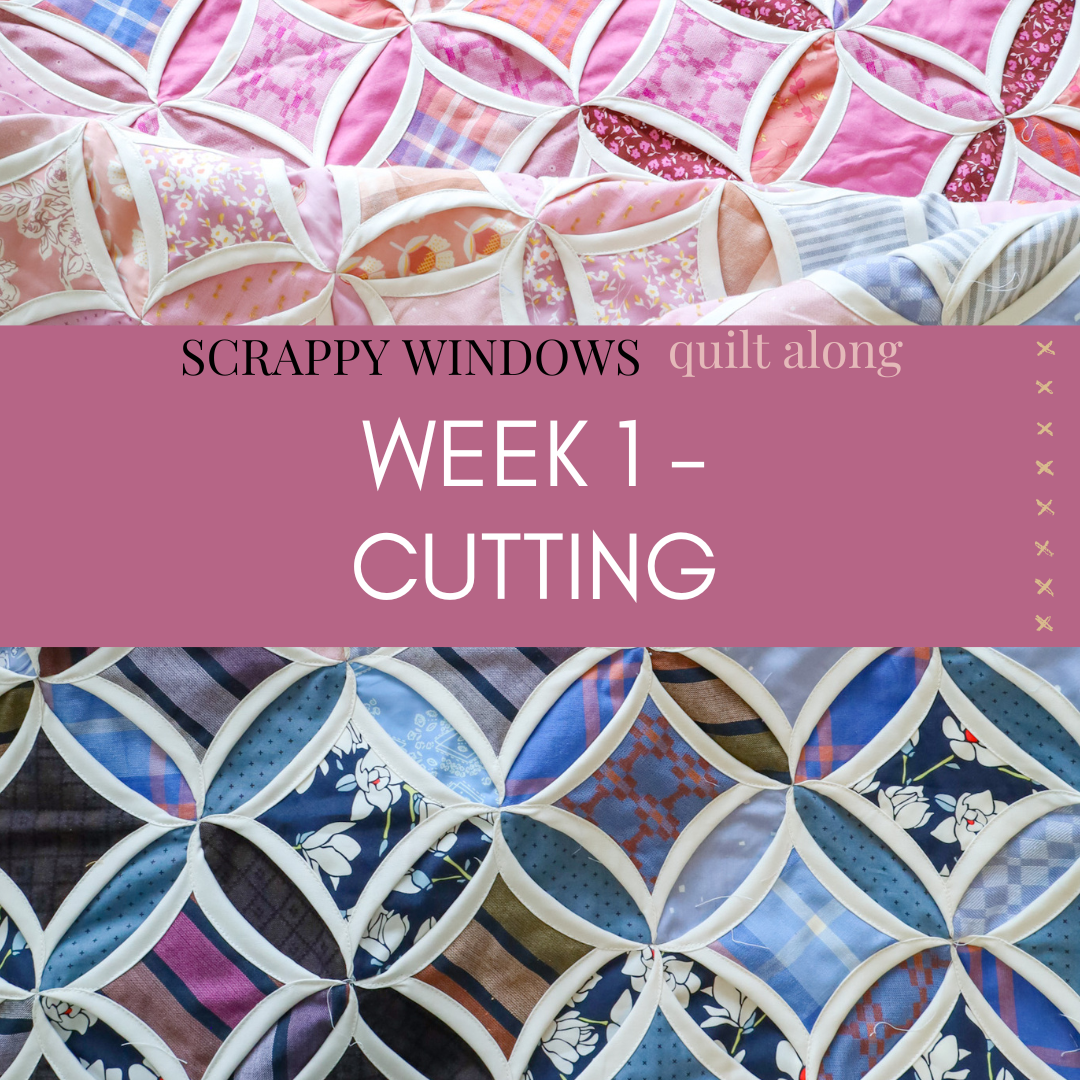
Hello there and welcome to the Scrappy Windows Quilt Along!
If you're looking for the original Scrappy Windows blog post, you can find that here. You can find the FREE Scrappy Windows pattern here.
I'm so glad that you found our little corner of the internet and I'm SO excited to make this quilt with you!
A little about me...
If we haven't "met", I'd like to introduce myself! I'm Brittany...the quilter, pattern designer and online educator behind Lo & Behold Stitchery. I started quilting in my grandmother's memory and it's turned into an enormous passion of mine! I love connecting with fellow quilters via the internet via quilt patterns, tutorials and online courses. You can read more about Lo & Behold Stitchery here.

A little about this quilt...
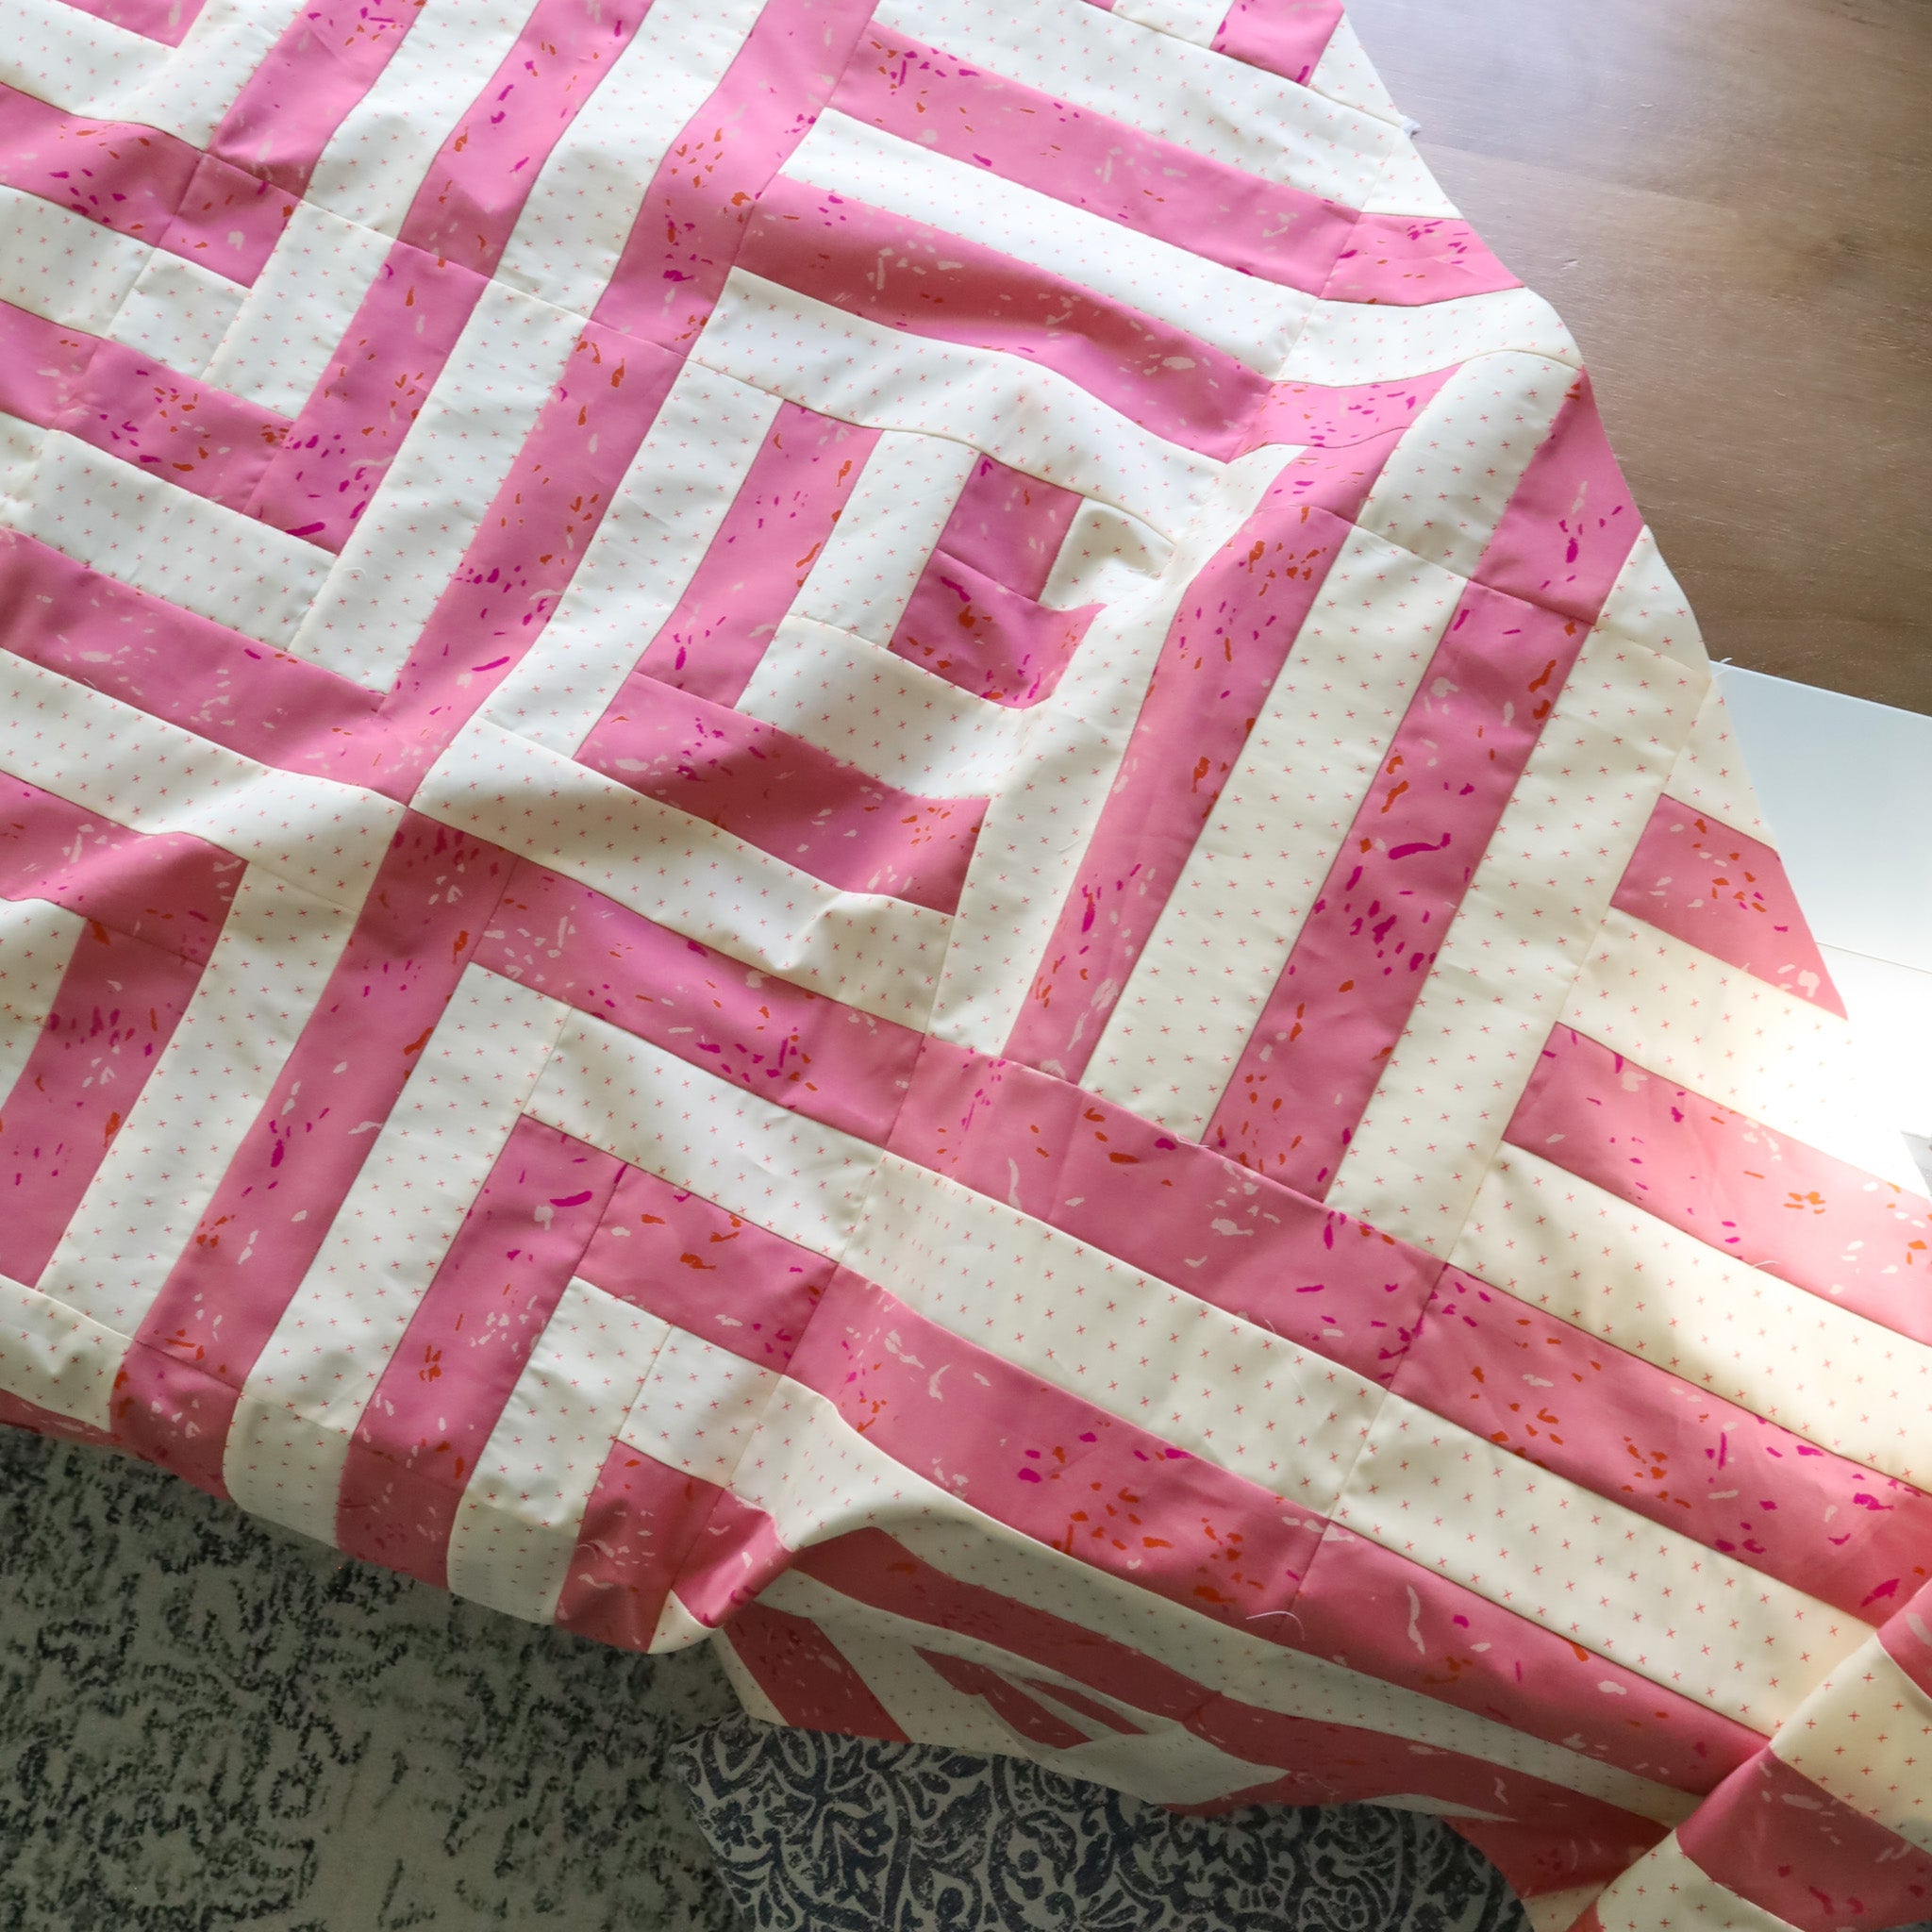
Scrappy Windows was inspired by a sampler quilt that my granny made many many years ago. My favorite block in the quilt is a cathedral window quilt block, so this is my take on what she created. This quilt is a part of a series called the Lois Quilt Collection, which is a group of quilts that I am creating based off of the quilts that she created. You can see her original quilt below. Read more about the Lois Quilt Collection here.

Schedule
Here's a look at our schedule these next several weeks. Don't worry if you fall behind or want to work ahead. As long as you're having fun, that's all that matters!

Week 1
This week, we are cutting our fabrics. Refer to page 3 and 4 of the Scrappy Windows quilt pattern.
If you still need to download the FREE pattern, CLICK HERE!
Before we jump into cutting tips, let's talk about choosing our fabrics and fabric prep.
CHOOSING FABRICS
If you haven't already picked your fabrics yet for this quilt, be sure to check out the pattern or this blog post for some mock-ups! Since the Frames, Background and Window portions of the quilt are all split up in the Fabric Requirements, you really can customize this quilt in so many ways!


If you are looking to use fabrics from your stash, check out this blog post about how to create an ombre quilt. Here, you'll find my top tips for choosing fabrics for ombre color palettes. I have a few different approaches that I like to use, so if you're feeling stuck, start here!
But don't let the word "ombre" scare you! You can do a completely random layout, if that's more your speed. You can also do a 3 or 4 color quilt as well.
Personally, I think this really makes a great scrap-buster project or even just a great way to show off your favorite prints. The Window pieces are a "picture frame" so to speak, just remember that the squares that you cut for the Windows will be at a 45 degree angle.
KITS
We have several new quilt kits in the shop!
PREQUILT
Scrappy Windows is now on PreQuilt! Digitally plan this quilt and a few other Lo & Behold designs (we're working on getting more uploaded!) with the click of a button. They have a really great free option that allows you to use different brands of solids; or you can upgrade your plan to use prints, save your designs and more! Use the code LOANDBEHOLD for 20% off your annual subscription (either Basic or Market)!

MEMORY QUILT IDEA
Another great ideas for this quilt is to create a memory quilt using clothing. I'm always asked if I have any advice for a memory quilt and while I've only made a few, I know that they can be really tricky. But I think this quilt would be a really great option!
I would leave the Background and Frame squares as regular quilting cotton, maybe in a solid/neutral color. The the Windows can be pieces of clothing. You could even do a knit or jersey fabric without any issues, since the Frames and Backgrounds are what "stabilize" the quilt. The top-stitching on the Windows is just the icing on the cake.
I really think I'm going to try this with some of my granny's blouses. I've been holding onto many of them for quite some time, fearful that I'll ruin them by using them for just any ole' project. I think this will be the right fit!
WEEK 1 SUPPLIES
You'll need all the traditional quilting supplies for this quilt. A few supplies to note for this week:
- 8.5" Creative Grids Ruler - This is my favorite and most-used ruler
- 6" x 24" or 8.5" x 24" Ruler - What I use to cut WOF strips.
- 18" x 24" - If you don't already have a larger cutting mat, 18" x 24" is great, or 24" x 36" is even better!
- Rotary Cutter
- Replacement Rotary Blades (if needed)
- Iron - I recently purchased this iron off Amazon and it does a great job for the price.
PRE-WASHING
Everyone has different opinion about pre-washing. Pre-washing simply means to wash your fabric before you cut into them and start sewing. The benefit of pre-washing is that you will wash away excess dye to reduce possible color bleeding. Reds, blues and purple fabrics are notorious for bleeding, so I sometimes pre-wash when I have high contrast colors such as red and white. While I acknowledge that not pre-washing these fabrics is a "risk," often times, I skip pre-washing and use Shout Color Catchers when I wash my quilt for the first time. Typically, these Color Catchers do the trick, but if I ever find bleeding in my quilt after the first wash, I would rather deal with the aftermath than take the time to prewash. This comes down to personal preference and how much you want to be adventurous with it (or not).
Most fabric manufacturers use starch and stabilizers on their fabrics to keep the fibers stiff while they're on the bolt. When you wash your fabric, either before it's in the quilt or after, you wash away that starch. Personally, I like the added stiffness, as it makes for cutting and sewing to be easier. But if you choose to prewash you may decide that you want to add some starch back to the fabric to make it easier to work with.
Some quilters also choose to pre-wash so that they "pre-shrink" their fabric. This makes a difference if you are using various fabric types within your quilt. For example, linen shrinks at a different rate than cotton does. If you use both types of fabric within your quilt, once they shrink they could cause areas of pulling on your seams. If you go ahead and pre-wash/pre-shrink everything, then the fabrics in your quilt will all behave similarly, which will in turn give you a more stable quilt. That being said, I can probably count on one hand the amount of times that I've pre-washed my fabric. I did not prewash my original Ombre Puff quilt fabrics and I do not plan to pre-wash fabrics for this quilt either.
How to Prewash:
Wash fabrics in cool water with a mild detergent. Feel free to use a mesh bag to prevent fabric from stretching or twisting. Dry on low heat and remove the fabrics from the dryer immediately once it's dry. For yardage, re-align selvedges and press the fabric to create a new fold. Most people do not pre-wash pre-cuts (nor fat quarters) because if the fabric frays too much, you might not have the designated amount that you need for your project. Some people also “stay-stitch” about 1/8" away from the perimeter of the edges to help prevent the fabric from unraveling too much.
Again, pre-washing is one of those a highly debated topic in the quilting world, so don't feel like there's a right or wrong answer. Follow your heart. :)
.
STARCHING
To be honest, I don't really use starch that much. However, I've found that if I am working with smaller pieces or bias edges, it really does help with accuracy. Starch makes your fabric more stiff, which makes it easier to sew and work with. That said, with the Frame portion of this quilt, we want those pieces to able to bend around the curve, so I don't necessarily find starching beneficial for this particular quilt.
If you do decide to starch, you'll want to starch your fabric before you cut them. For yardage, assess how your WOF is folded. You'll want the two selvedge ends to be right on top of each other. This may mean ironing a new crease in your fabric. When I starch, I spray the entire piece of fabric to get it pretty saturated, then use my iron to press out any wrinkles or creases. This is the starch that I use.
.
How to Cut From Yardage
If you're using yardage for any portion of your quilt, then be sure to check out this "How to Cut WOF Strips" blog post. Personally, I used yardage for the Frames of my first quilt and also again for the Frames of my new quilt. This blog post has great tips for future projects as well!

Other Cutting Tips
Here are a few things to keep in mind for this week:
- Slow down and take your time. Cutting your pieces accurately will set you up for success in the following weeks.
- How's your rotary cutter blade? If you need a new one, go ahead and change it out.
- Measure your fabric pieces before you get started. Note that some fabric types (fat quarters, 1/4 yards, 1/2 yards) don't have any wiggle room. This doesn't mean that you can't use them, but you might get less squares from these pieces, depending on how much wiggle room you start with.
- Whenever possible, it's best to cover your desired measurement with your ruler and use the lines on your ruler vs. the lines on your cutting mat. This will generally give you a more accurate cut.
Now let's talk about time saving techniques! Normally when I'm making the same cuts over and over, I'll either batch cut, as seen below or cut multiple layers at once (seen in the video linked below).
.
BATCH CUTTING
One of my favorite things to do, especially if I'm doing a lot of the same cuts over and over again, is batch cutting.
Any time I'm cutting many pieces that are the same size, I'll batch-cut those pieces. A sharp rotary blade is key for this process. To do this:
- Start by cutting 3.5" strips. These can be strips from FQs or WOF strips.
- Align the pieces horizontally on your cutting mat. Use the horizontal lines to make sure the strips are nice and straight. I like to overlap my strips a bit so that I can fit more strips, but you can just have the edges aligned if you wish.
- Trim off the selvedges.
- Cover the desired measurement with the left edge of your strips (assuming you're right handed) and make sure that your strips are all parallel with the horizontal lines in your ruler.
- Cut.
If you're a newer quilter, feel free to cut your pieces one at a time. There's no rush. :) But maybe give this a try if you have a few quilts under your belt and you're looking to save a little bit of time and energy. Note that the photo below shows me cutting 10.5" pieces, you'll be cutting 3.5" pieces. :)


CUTTING MULTIPLE LAYERS
I've gotten adventurous with this quilt and I'm now addicted to cutting multiple fabrics at once. This involves pressing your fabrics first, then laying them on your cutting mat, using a vertical line to roughly align the selvedges. I normally don't cut any more than 4-6 layers at once. Again a sharp rotary blade is key!
The Scrappy Windows Video Tutorial demonstrates this method at minute mark 3:15.
Speaking of video....hello new You-Tube video! :)
The 48 minute Scrappy Windows tutorial is now on You-Tube! You're welcome to watch the entire thing, but know that we will be referring to specific minute marks over the next few weeks. This week you don't need to watch past minute 4:30. It might be tempting to skip ahead, but try not to, as I'll also be sharing key tips with the Weekly Blog posts as well!
.
WEEK 1 PROMPT
Whew! We've covered a lot, haven't we?
This week, we are only focusing on cutting, so once you have cut ALL of your 3.5" squares cut (Windows, Frames, Background), then you're ready for next week!
If you're a little ahead and looking for some "extra credit" feel free to go ahead and fold and press your Frame square in half diagonally. This is technically slated for next week, but if you have time to kill, then you can work a little bit ahead with those. :)
.
WHAT I'M MAKING
I'm making the Baby size, using some low-volumes for my Background and Windows and AGF Magnetism for my Frames. It'll kind of be the inverse of my first quilt, so I'm excited to see how it turns out!

Don't forget to share your Week 1 progress over on social media! Use the hashtags #ScrappyWindowsQAL , #ScrappyWindowsQuilt , #LoAndBeholdPatterns & #LoisQuiltCollection . If your account is "public" be sure to tag me (@LoAndBeholdStitchery) so that I can see your post!
Next week, we'll plan and organize our quilts. I'll see you then!
.
.
LINKS
- Scrappy Windows - Quilt Kits
- Scrappy Windows - FREE Pattern!
- Scrappy Windows - Video Tutorial
- Scrappy Windows - Original Blog Post


