Knitted Star QAL - Week 8

It's the final week of the Knitted Star Quilt Along! WAHOOOOO!
If you're just now joining us, here's what you missed:
- Week 1: Planning
- Week 2: Cutting
- Week 3: Sewing Part A
- Week 4: Traditional: Rows F, G, H, I; Modern Throw: Make 3 blocks; Modern Bed: Make 6 blocks
- Week 5: Traditional: Rows J, K, L, M; Modern Throw: Make 3 blocks; Modern Bed: Make 6 blocks
- Week 6: Traditional: Block Assembly; Modern Throw: Make 2 blocks; Modern Bed: Make 6 blocks
- Week 7: Catch-up
- Week 8: Quilt Top Assembly
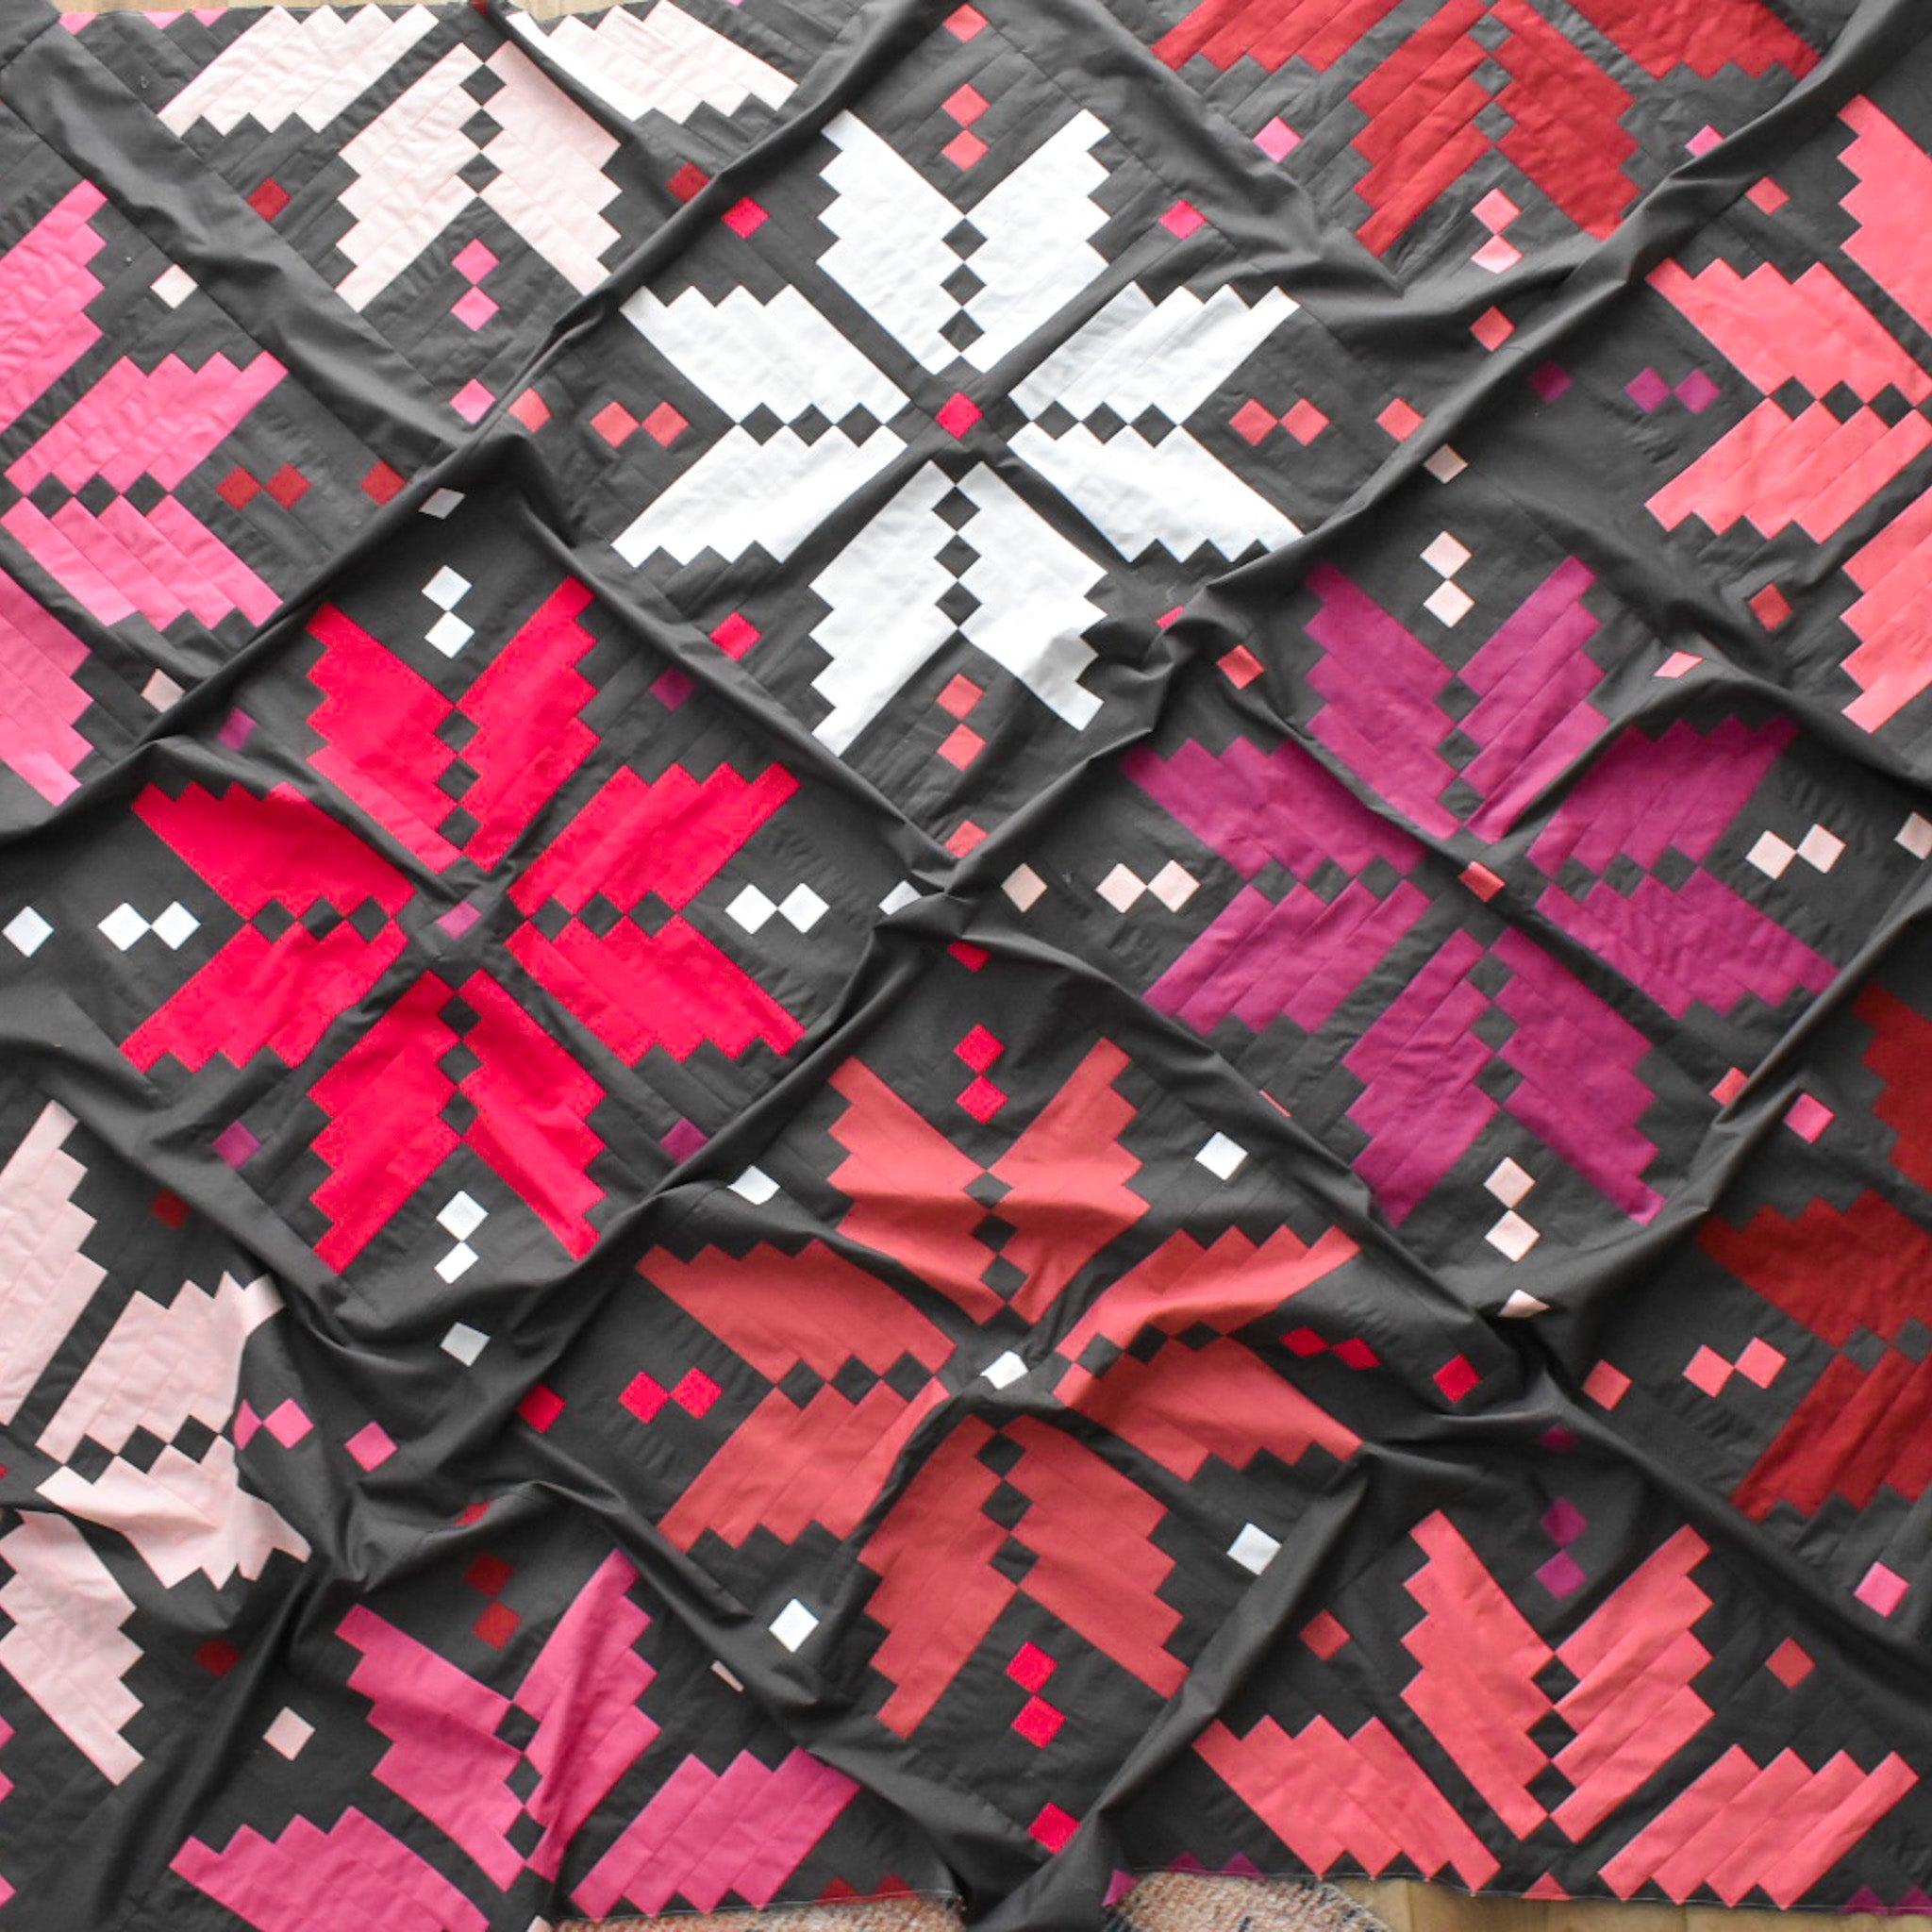
Let's get those quilt tops assembled! Alright, refer to the "Quilt Edges" part of your pattern. Take note of how many blocks you'll need to cut in half and decide which blocks you'll use for this. If you created the Modern version of this pattern, consider laying out all of your blocks to decide on color placement. I tend to make sure that I have an even mix of color for the 4 blocks in the center of my quilt. For example, for this quilt, if you keep scrolling, you'll see that I have my lightest block (the white star), my most saturated block (the hot pink), a neutral block (one of the medium pinks) and the purple block....which is kind of the odd-ball for this quilt. Consider the four blocks in the center of your quilt as your "focal point".
An alternative to this theory would be to group the blocks in a certain order. Take my Ruby Star Knitted Star quilt for example. I grouped the half-blocks together and arranged the blocks so that they made sense in a ROYGBV order. There's no right or wrong way to arrange them, so have some fun with it and get creative. :)
.
.
.
Creating the Quilt Edges
Once you've picked out which blocks you want to cut in half, double check that you are cutting the correct number of blocks in half. Similar to my "measure twice, cut once" motto, "count twice, cut once" also applies!
.

.
You can tackle this step a few different ways. I'll be honest, I just go for it. I use my 24" ruler and the squares along the diagonal axis as my guide, and cut with my rotary cutter. However, if this makes you nervous, you can draw a line diagonally across the block, or fold the block in half and press a crease where you'll cut. Then, if you don't want to use a rotary cutter for this step, you can take your time with a pair of scissors, as well.
I also saw a few people mention that they marked a line on their block, then stitched about 1/8" from that line on both sides, THEN cut the block in half. This works too! Someone else said that they used fusible interfacing on their blocks before they cut into them. So there are lots of different approaches to this. Bottom line, since you are cutting through so many seams, especially since they're on the bias, I HIGHLY recommend "stay-stitching" about 1/8-1/4" from the fresh edge of your newly cut blocks. This is just a regular seam with a stitch length of about 1.8 mm-2 mm.
.

.
I also wanted to point out that if your blocks aren't perfectly square and your new edge isn't perfectly down the diagonal center of your block, it will be okay! Many of my blocks are far from perfect. It all worked out in the end!
.

.
I've also had a few people ask, about seam allowances for these half blocks once they're pieced into the quilt. If you're familiar with "on-point", or diagonally constructed quilts, sometimes there are "setting triangles" that are pieced on the edges so that all of the blocks remain as intact as possible. With this quilt, since the design is truly edge to edge, cutting blocks like this is more efficient than creating half diagonally pieced blocks...if that makes sense. Now, if it's going to bother you that the edges of your quilt won't have perfectly crisp diagonal points, then you *could* make extra half blocks....but again, it's not something that bothers me. Personally, I feel like there's enough piecing in this pattern that when I get to this point, I'm ready to be finished!
.
Quilt Top Assembly

.
Starting in one corner, sew the edge of one half block to the long side of a sashing piece. Press the seam towards the sashing piece. Then sew another half block to the opposite edge of the sashing piece. Press that seam towards the sashing piece as well. Note that the edge of your block and the edge of the sashing piece should be the same length. There might be some slight variation on the lengths of your blocks and that's okay! Rarely are my quilts ever perfect, and as far as I'm concerned, the imperfections give them character and make them special. :)
.

.
Then sew a cornerstone piece to the short end of your sashing piece to create a corner. Press the seam towards the cornerstone. I always wait to trim my cornerstones once the entire top is pieced.
Then create a row of sashing and cornerstone pieces as seen above. Pay attention to the direction that the pattern tells you to press your seams. By doing so, you'll create nesting seams, or seams that "lock" in place which can helps everything lay nice and flat. Sew that row to the half blocks from the previous step.
.

.
Then create your next row of blocks and sashing pieces. Remember that in this quilt, you'll alternate rows of blocks/sashing and sashing/cornerstones. Then you'll sew these two units together. When you place them right sides together, it's going to look a little funny. Just look for those nesting seams to interlock and you'll know that you're in the right place. Pin the edges in place before you sew. Also pay attention to your seams (on the underside)....as you feed this through your machine, you'll want to make sure that they stay open.

.

.

.
Once I have half of my quilt pieced, as seen above, I'll typically piece the other half, then sew those two halves together. But if you want to continue to add to this row by row, that works too!
.

.

.

.

.
Once everything is pieced, use a square ruler to trip your corner stones and there you have it!
.

.
Basting your Quilt
I have a pin basting tutorial that can be found here.
Binding your Quilt
Find my machine binding tutorial here, and my hand binding tutorial here.
.
Quilting your Quilt
Last week, I shared a few ideas for quilting your quilt using your walking foot, or by free-motion quilting. This week, I wanted to share a few ideas if you are having your quilt long-arm quilted.
For my Cover Knitted Star quilt, I used a pantograph called "Tuscan Wedding" by Karlee Porter. I used a light gray thread and I really love how it plays off the "snowflake" vibe!
.
.
For my Weathered Brick Knitted Star Quilt, I used a pantograph called Leisha's Argyle" by Leisha Farnsworth. I used a cream color thread for this one. It turned out better than I had hoped! It really makes the quilt look like a knitted sweater, which I LOVE.
.
.
For my current Knitted Star quilt, I sent it to Tawny Oland, a long arm quilter based out of Oceanside California. I started out being very open about what kind of design I wanted. She ended up sending me several options that she thought would look best for this quilt. Here's what she suggested:
.

.
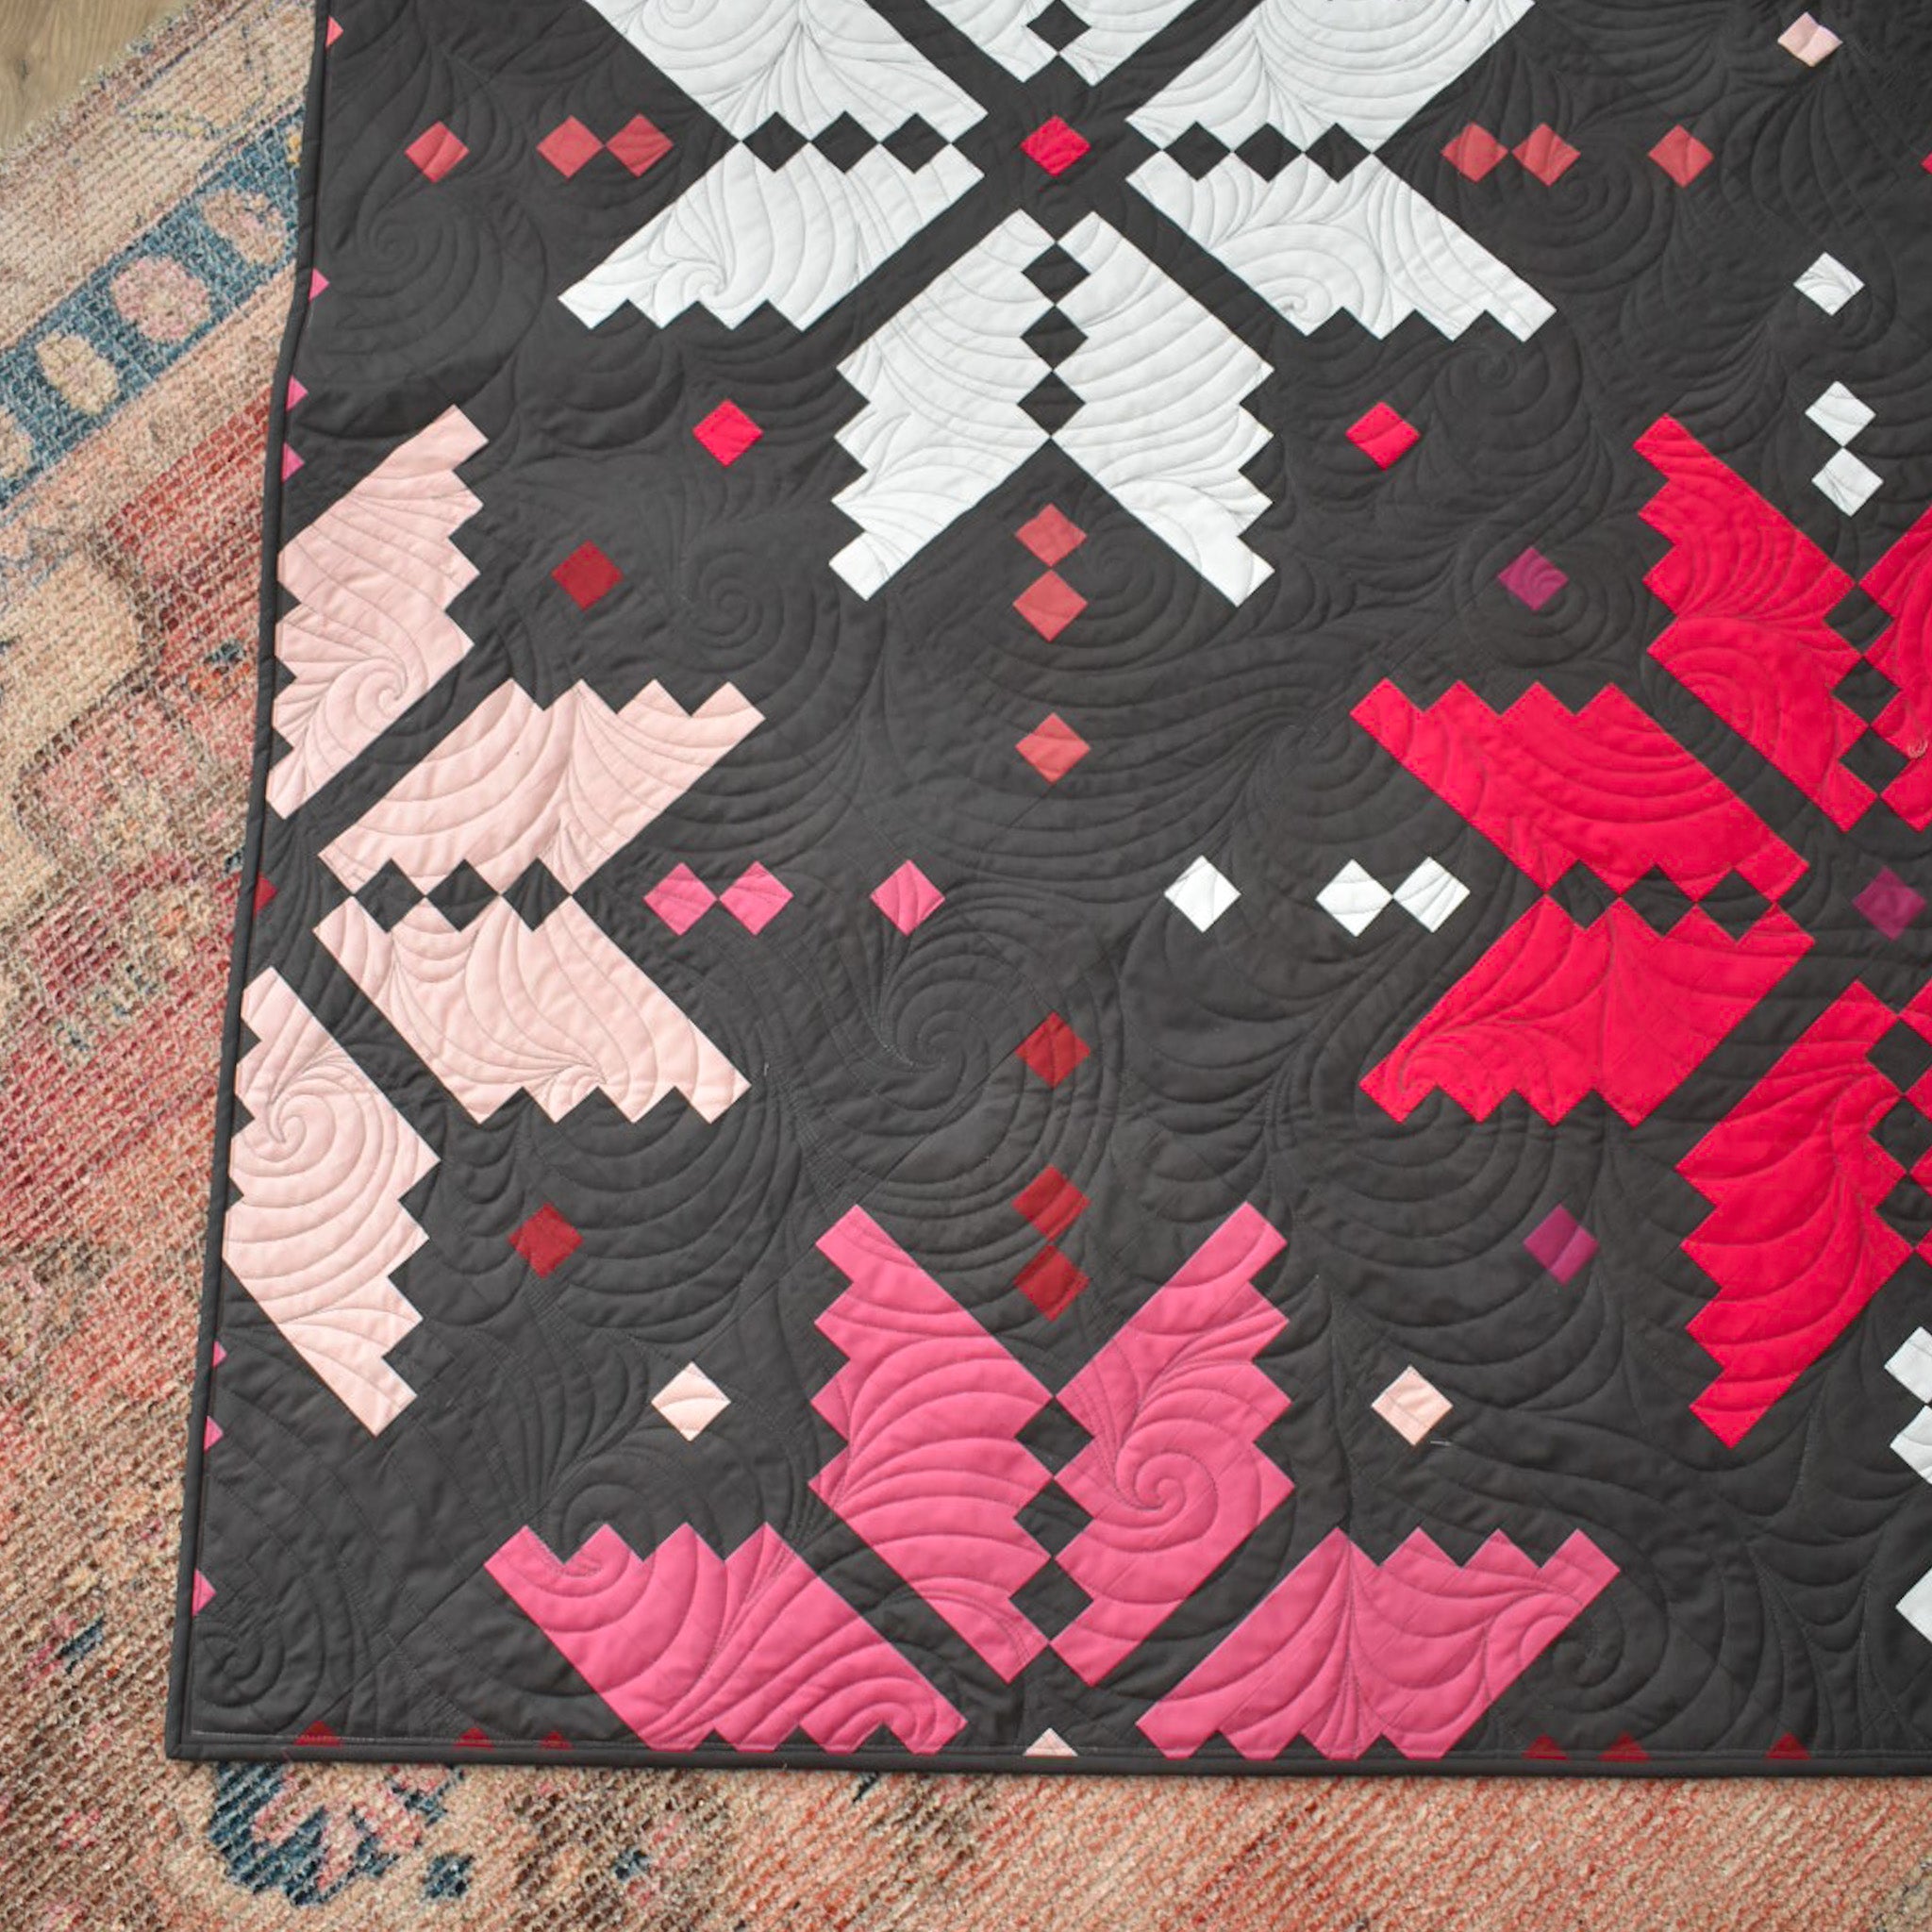
I really really liked Pearly Weave and Hitch Hiker 2! I feel like both of those could've given the quilt SUCH great sweater-like texture. Ultimately, I ended up choosing "Karlee's Curls- All Over" and I just LOVE how it turned out. Here's a peak at part of the quilt. I'll be sharing more photos, details and my backing fabric on my blog next week!
.

.
Week 7 Prize Winners
There are three winners for last week's prize! If you recall, HollyAnne of String and Story is giving away three seats to her Intro to Free Motion Quilting mini-course. The winners are:
- @kaitlinsmithsews
- @frances.quilter
- @bbrooksgram
Congrats, yall! Send me an email and I'll pass your information along to HollyAnne! Yay!
.
GRAND PRIZE
Tawny Oland is the sponsor of our Knitted Star QAL grand prize! She's giving away free edge to edge quilting on ONE lucky winner's Knitted Star quilt (any size!) Enter to win by sharing a photo of your completed quilt top to Instagram and use the hashtags #knittedstarqal #knittedstarquilt and #loandbeholdpatterns by Sunday November 8th at 12 midnight PST. Also, please be sure to tag me in the photo so that I am sure to see it! With the Presidential Election going on this week in the US, Instagram is suspending all "Recent Posts" in hashtags. *Rolls eyes*. This means that even though all of the posts are still saved within the hashtag, they are out of chronological order. One winner will be randomly chosen from within the hashtags and will be announced Monday 11/9. Remember that your IG account must be public, otherwise I won't see your post!
She's also giving a 20% off discount on edge-to-edge quilting for Knitted Star QAL participants! Send her a message on Instagram to get the process started!
.
.
I'll send one last email next week announcing the winner and linking to my final "Pink & Purple Knitted Star Quilt" blog post.
I've had so much fun making this quilt with you all! It's been amazing to see all of your talent and creativity through this process. If you haven't already, scroll through the hashtag on Instagram to see everyones beautiful quilts! Thanks so much for joining in and making this all possible. :)
Until our next QAL,
Brittany
.
PS, what quilt pattern would you like to see for our next QAL?


