Getaway QAL - Week 3 (Sewing Block 1)

Hey there and welcome back to the Getaway QAL! If you're just now joining us, Here's a look at what we've done so far during our time together:
- Week 1 (Cutting)
- Week 2 (Testing Seam Allowance & Block 2)
- Week 3 (Block 1) - This week!
- Week 4 (Quilt Top Assembly) - Next Week!
If you haven't already read through our information page, you can find logistics and what-not here. You can access the posts under the "Quilt Along" section of our site.
Week 3
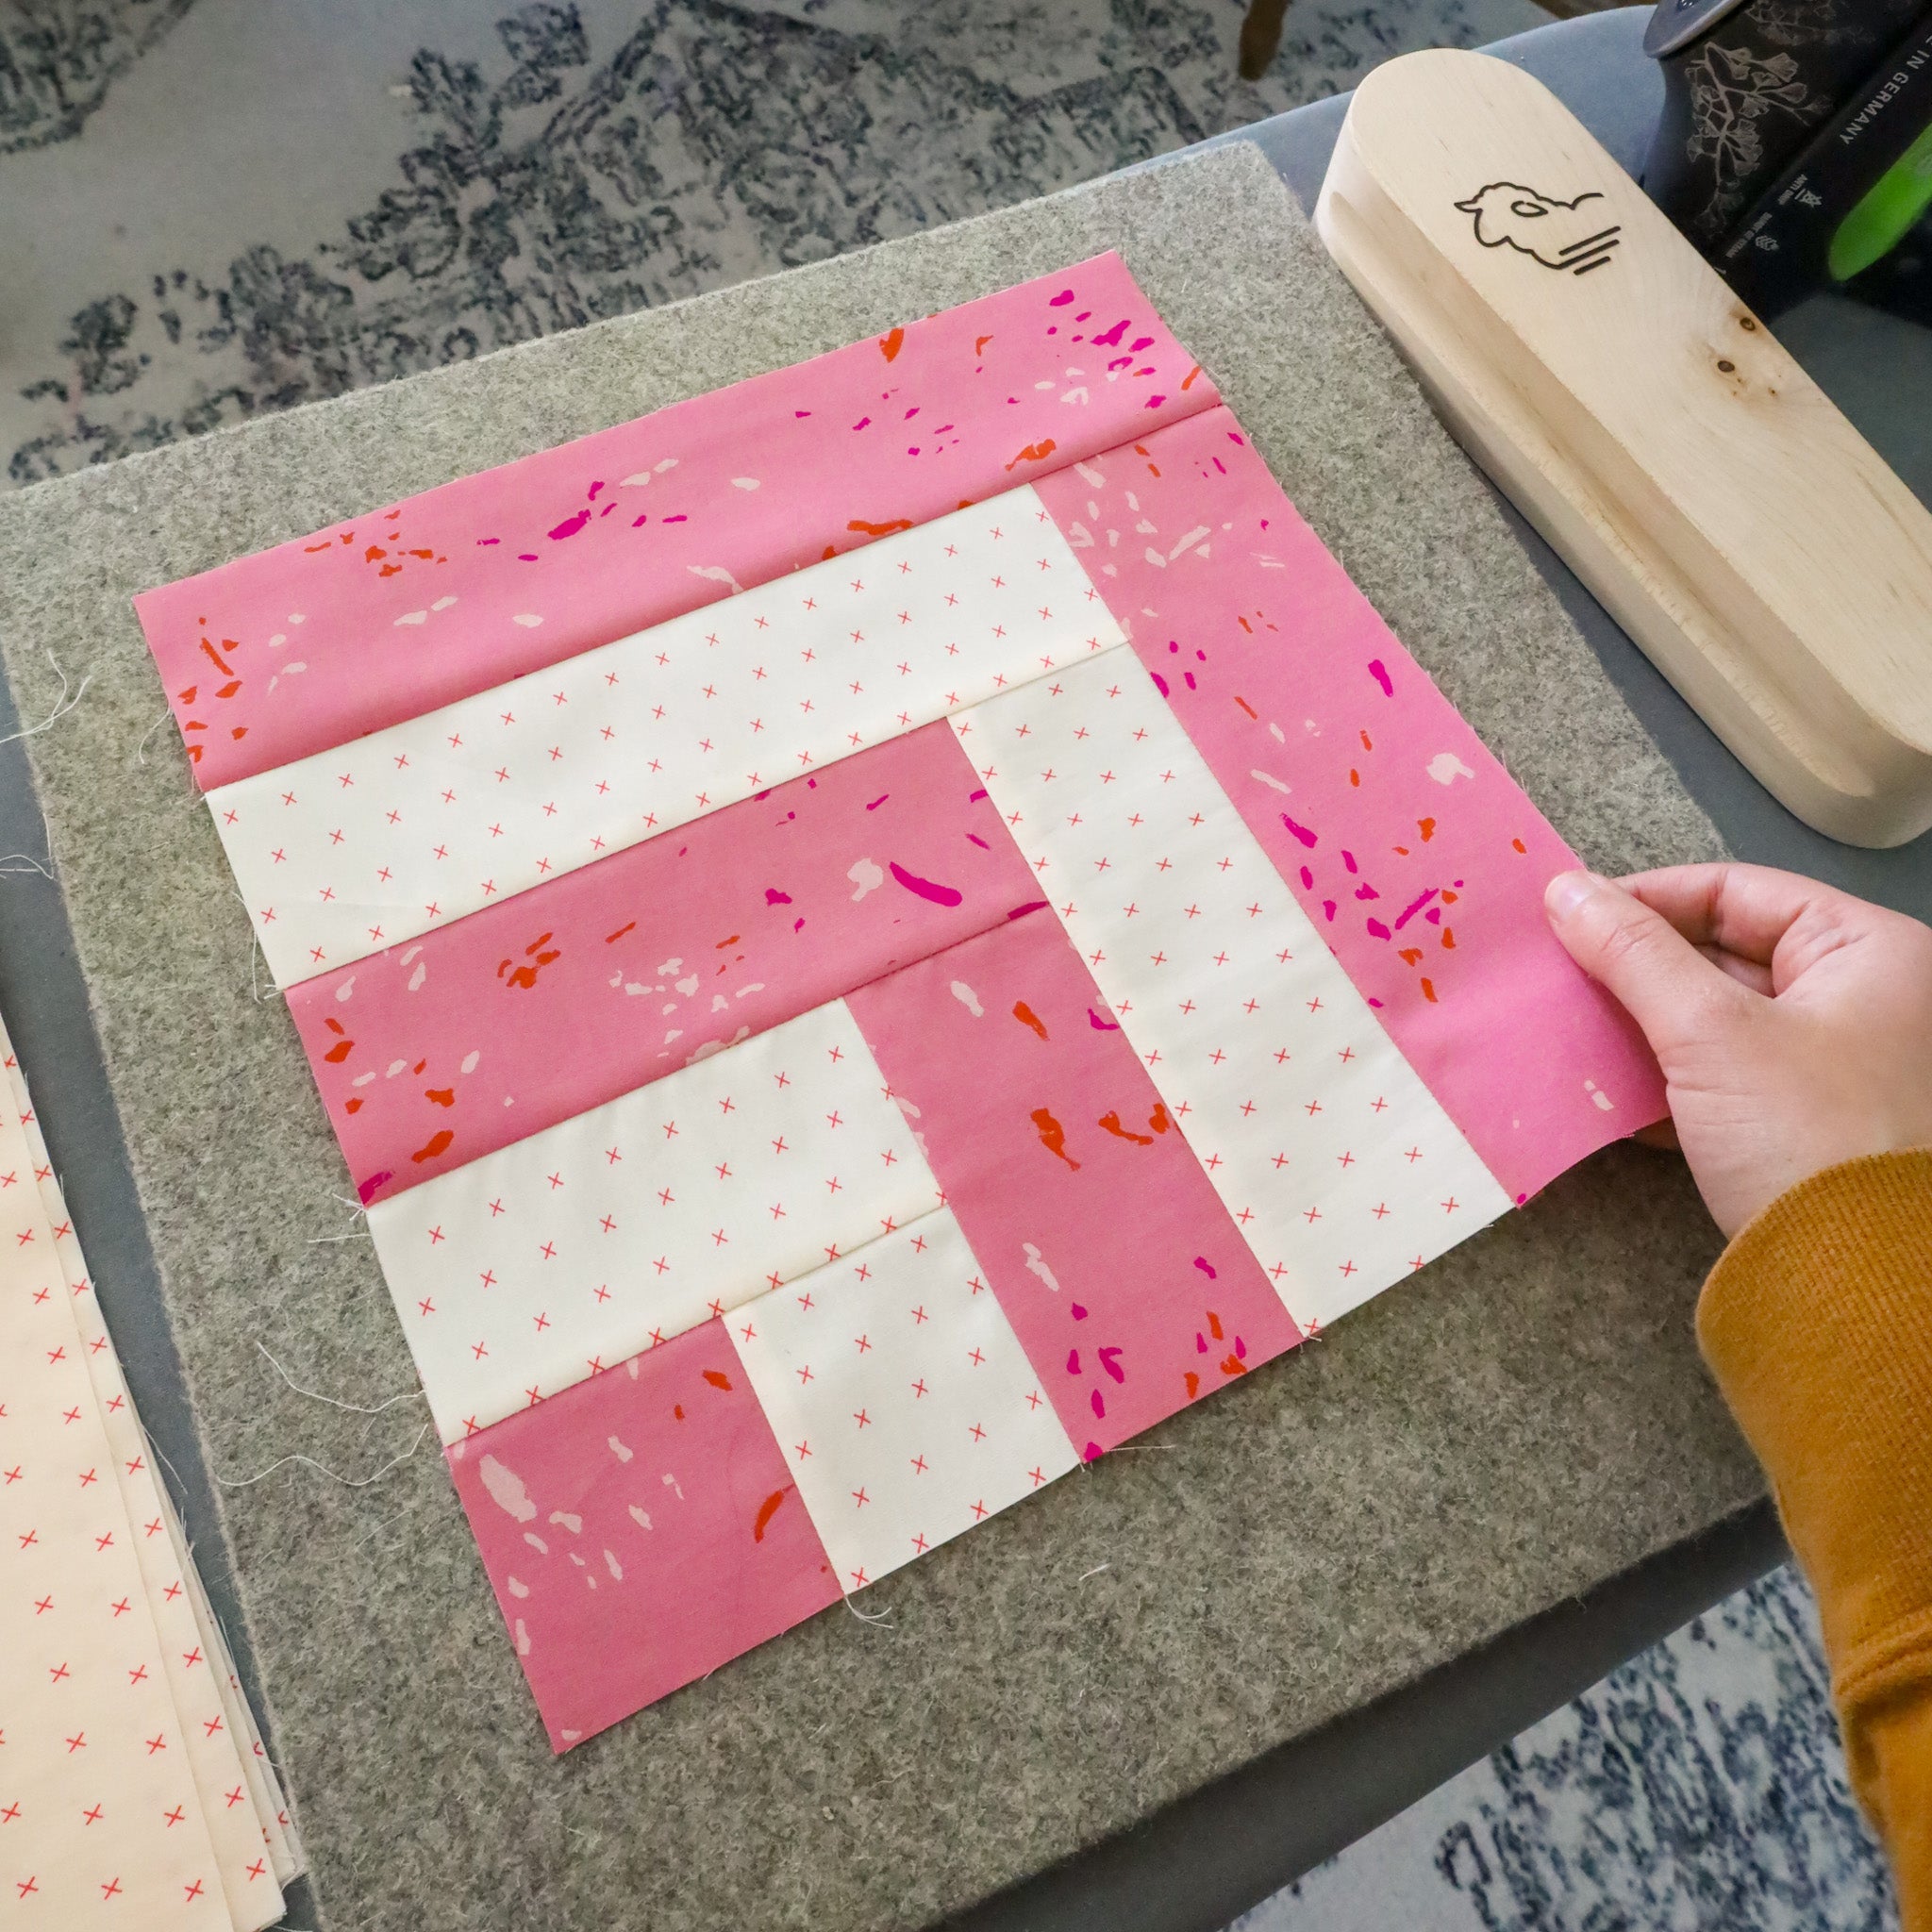
This week, we are creating our Block 1s. It's a little out of order within the pattern, since we created our Block 2s last week, but I wanted you to start with a more simple block before you jumped into these log-cabin blocks. Last week, we also talked about our seam allowances, so if you haven't gone through the Week 2 blog post, be sure to do that before proceeding!
Block 1a & 1b
Looking at the Getaway quilt pattern, Block 1a and 1b are the same exact blocks with the light and dark fabrics reversed. Again, refer to the "Block Configuration" chart on page 4 for the block quantities and block sizes for your specific quilt size.
If you've never made a "log cabin" style block before, you're in for a treat! These blocks are super fun, easy and so versatile in the quilting world. Here are a couple of tips before you get started:
- Test seam allowance before you get started. If you did that last week, you should be good to go, but maybe make a test block too before you get started...especially if this is your first time making a log cabin block. There are also more seams in this block than our blocks from last week, so you might need to slightly tweak.
- With that said, if you cut your pieces accurately, you shouldn't need to do any "squaring up" or trimming in between pieces. With an accurate 1/4" everything should line up perfectly with no overlaps or short pieces. This is like a "built-in" seam allowance check. This means as you add pieces according to the chart on page 5:
- If your new piece is larger than the previous unit that you created, your previous seam allowance was too small.
- If your new piece is smaller than the unit that you created, your previous seam allowance was too big.


TROUBLESHOOTING
What do you do if you have a one-off piece that has a little bit of an overlap?

Like I mentioned above, make sure your seam allowance is dialed in! This will really set you up for success with this pattern. Again, refer to the "How to Check Your Seam Allowance" blog post if needed.
But let's be real, we're human and sometimes we end up with slight imperfections. Does that necessarily mean you should seam rip everything over and over again until it's perfect? Well, that's for you to decide. We all have different levels of perfectionism. :)
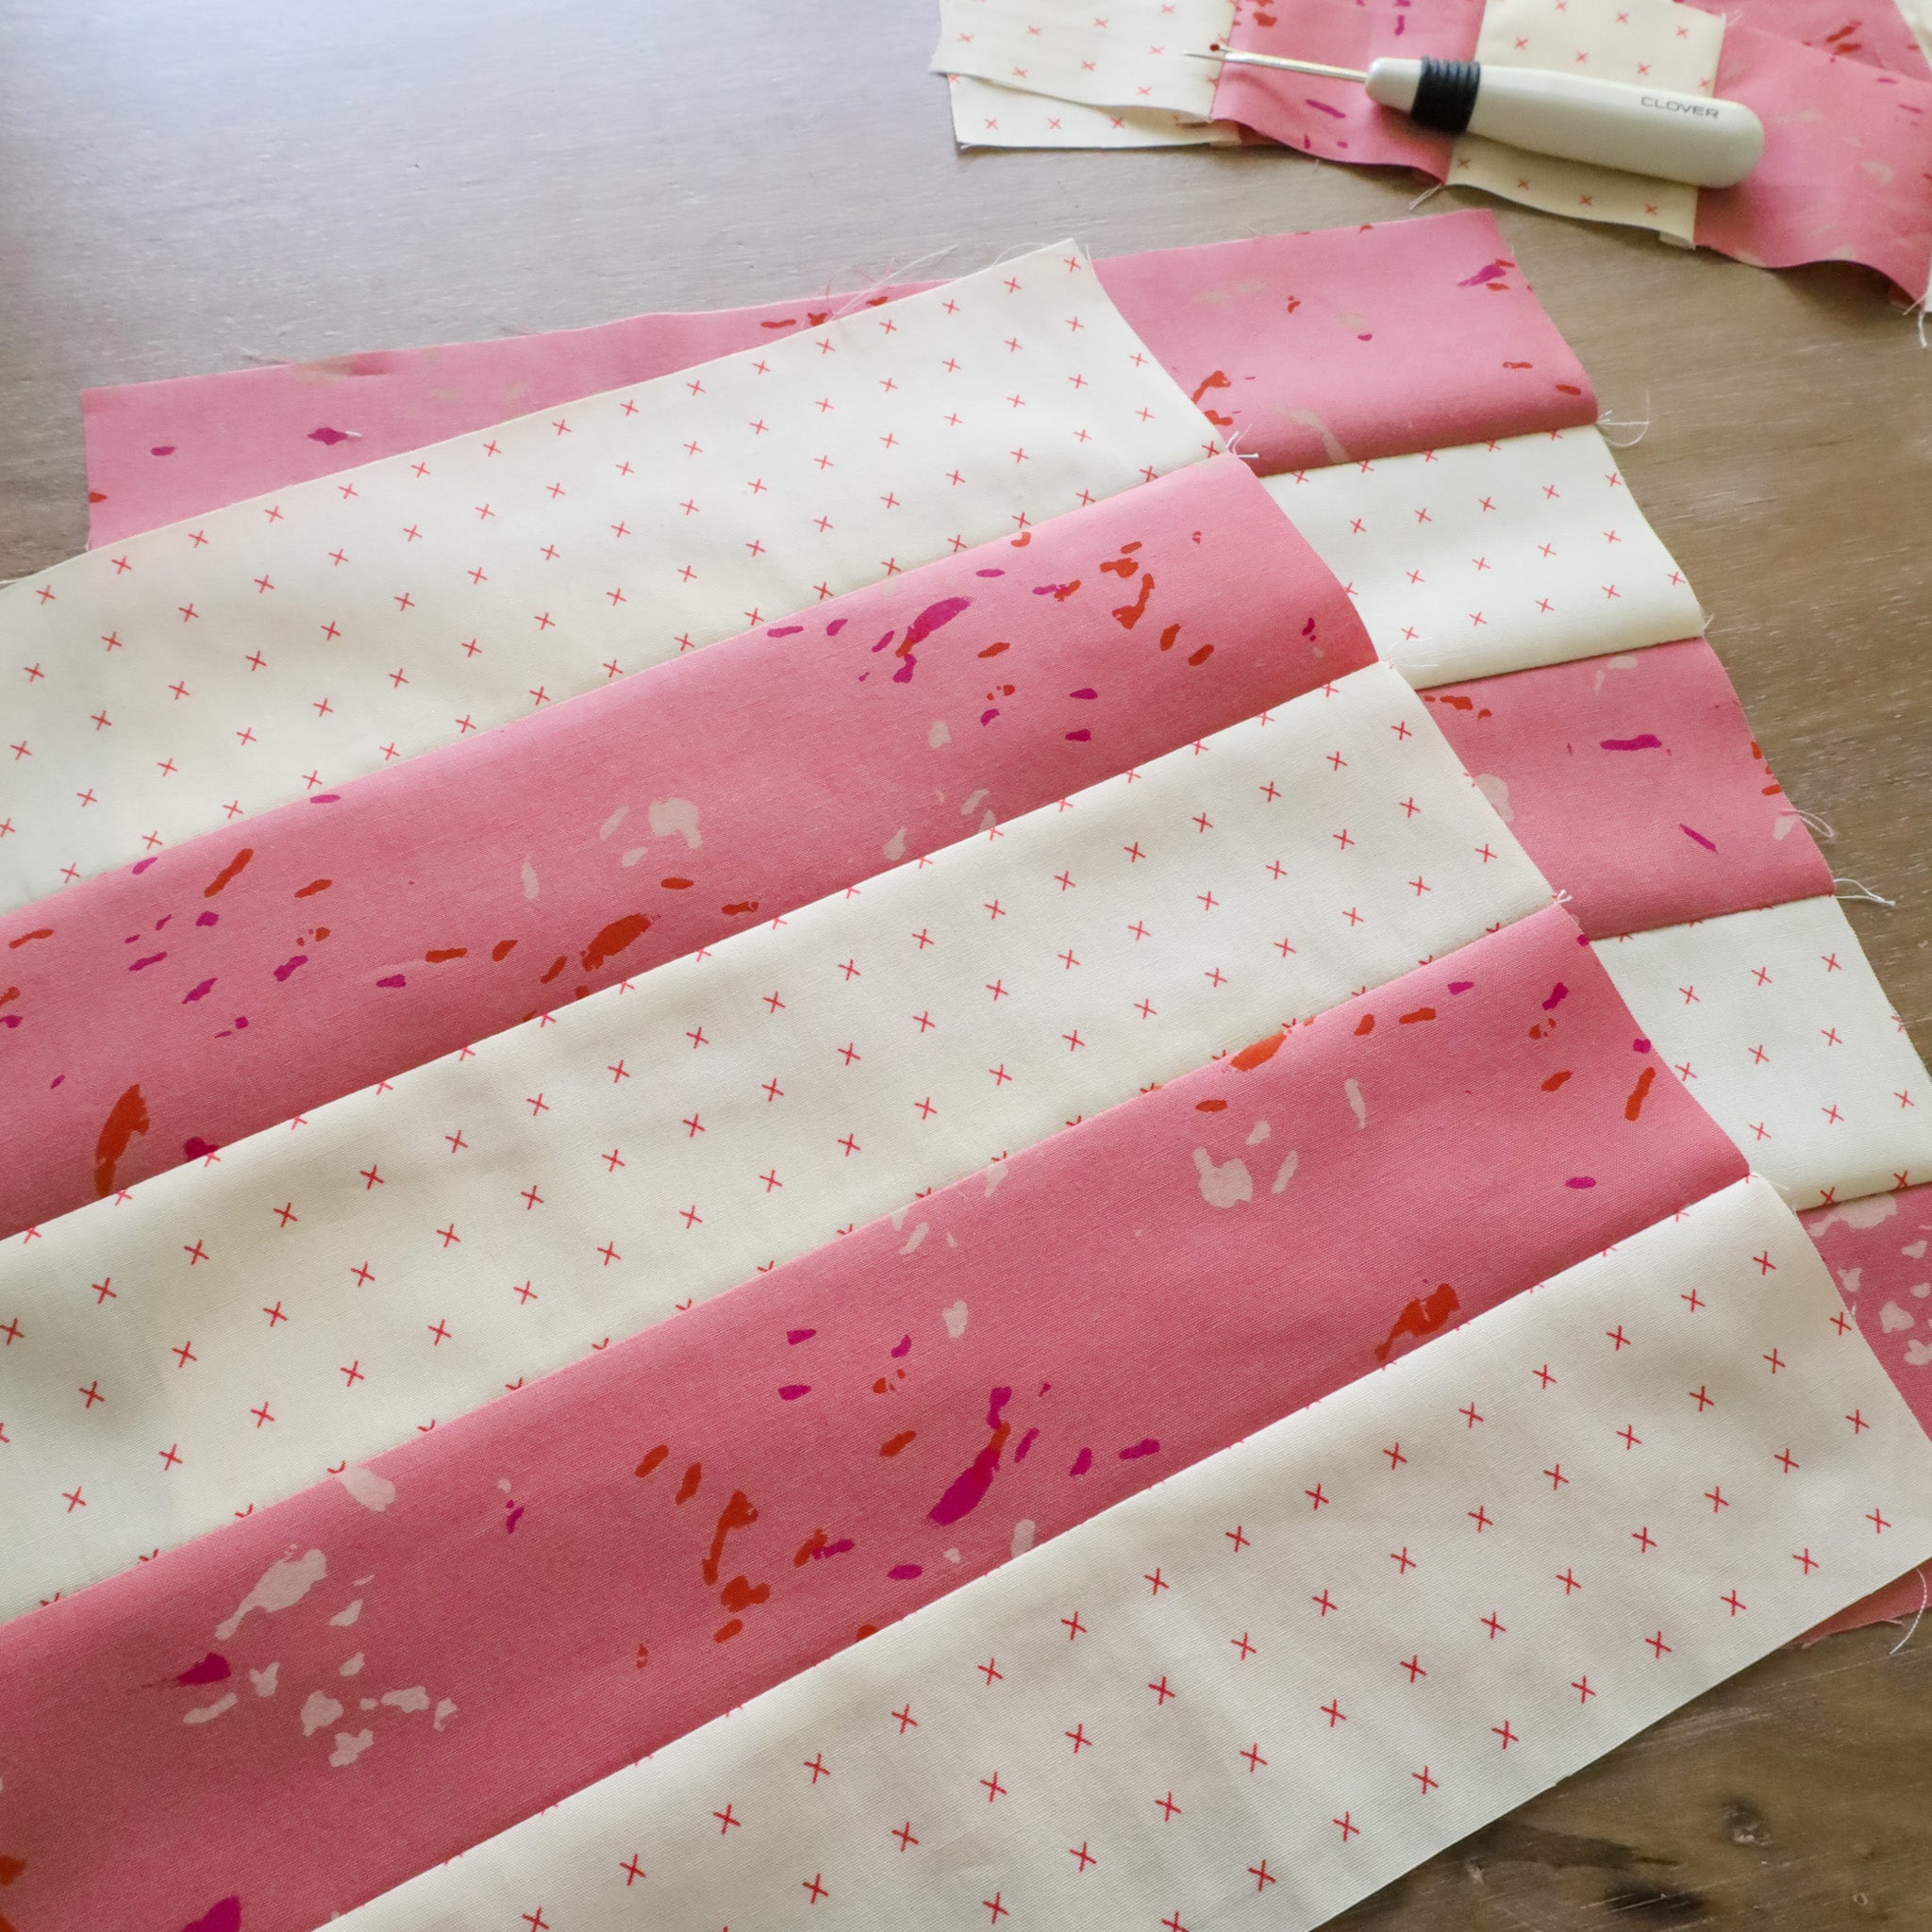
Generally speaking, if I have a one-off incongruent piece, if it's ~1/8" or 1/16", I'll sometimes let it ride. What I mean by that is if I split the difference and center the piece so that there is equal amounts of overlapping on both sides, then the overlap is minimal. Now, instead of having an overlap of 1/8", it's now 1/16" on the left and right edge of the new piece, seen below.

Again, this goes back to how much of a perfectionist you are, so feel free to do something like this if you need to. I wouldn't recommend doing this for large inconsistencies, but for small, one-off mishaps, it's okay to "fudge" things if needed. :)
- Chain Piecing - Similar to last week, I chain piece everything in this block. I start out by sewing ALL "A" and "B" pieces together. Once I press those seams, I rotate the units so that I can seperate out the Block 1A units from the Block 1B units. Then I sew the appropriate amount of pieces to each unit, taking note that I need (6) Block 1A and (2) Block 1B


- Pressing - Refer to the arrows in the block diagrams on the left side of page 5. We're pressing these seams to one side, away from the starting square. This is true for both blocks 1A and 1B. Again, refer to this blog post for tips for flat seams.


- Pins really help minimize any shifting that may occur while you are sewing. Especially for those longer pieces!

- Be aware of your seams as you sew. It's easy for seams to become "flipped" as you sew over them. As you are adding pieces to your log cabin, check underneath and make sure that the seams are laying flat.

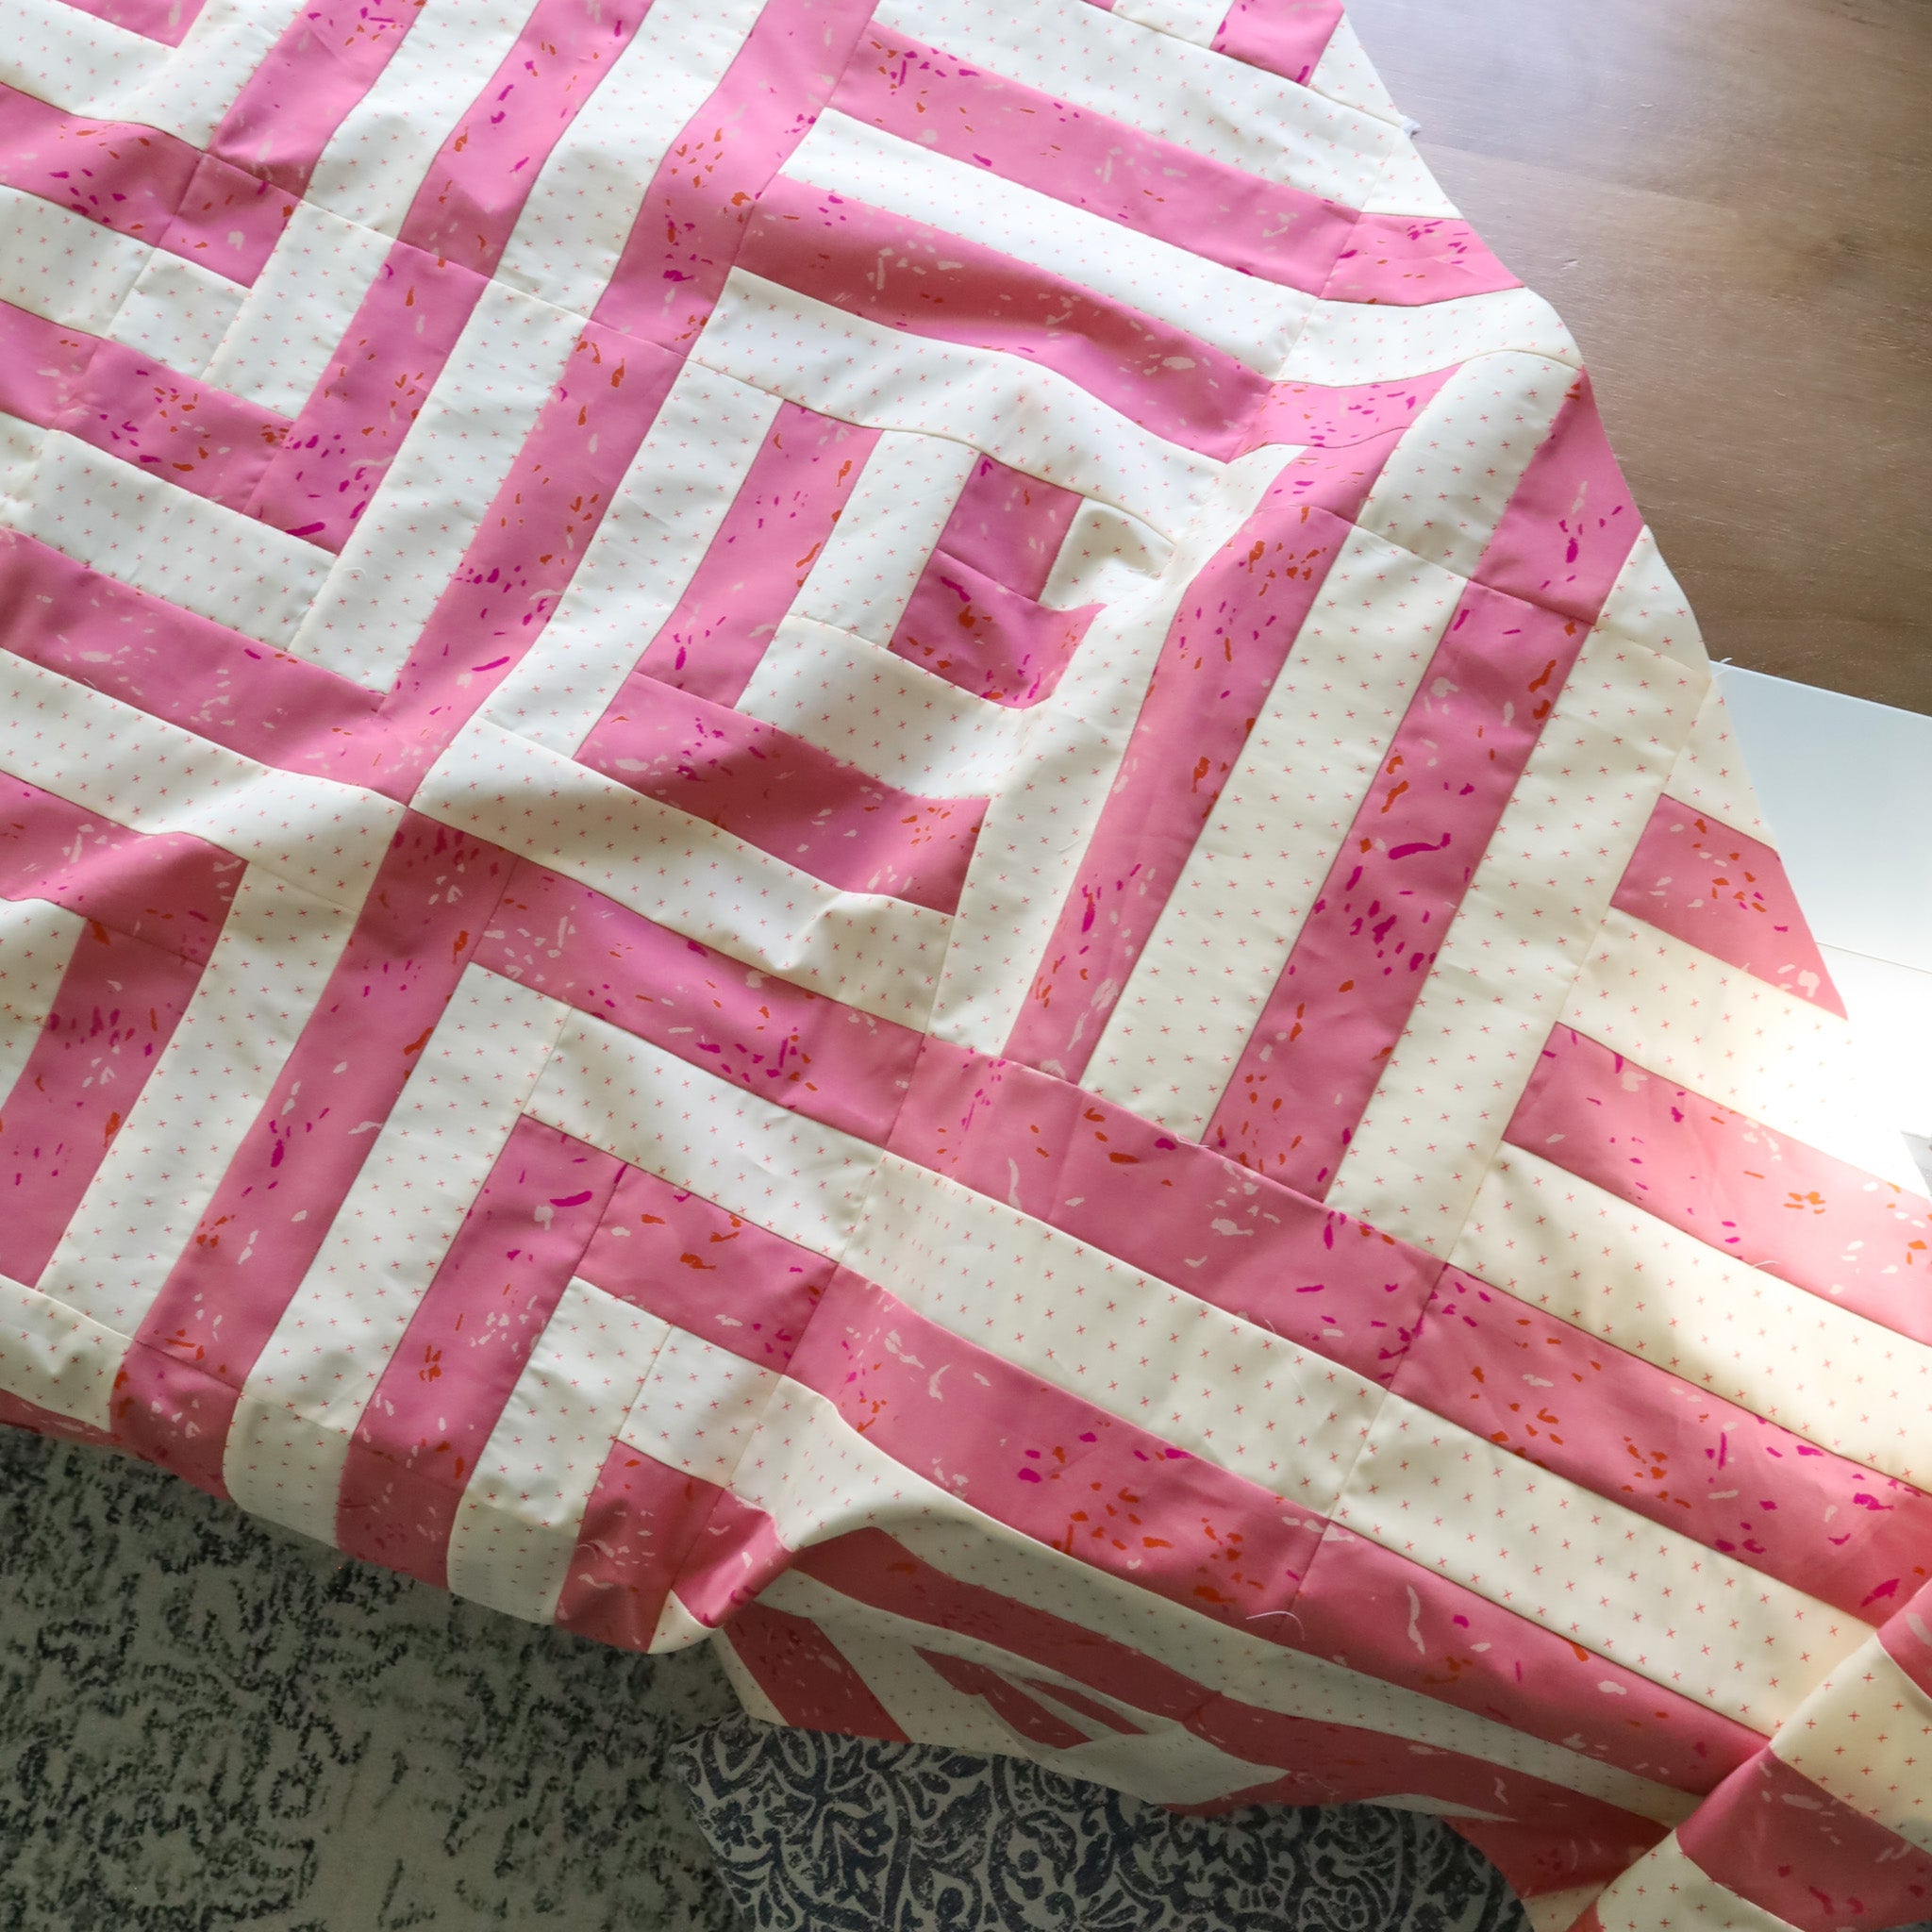
Go ahead and create all of your Block 1s. Once you are finished, at this point, you should have ALL of your Block 1s AND Block 2s complete! YAY! Easy peasy, right?

Grand Prize Bundle
Share a weekly progress photo for each of the 4 weeks of the QAL and you'll be automatically entered to win our GRAND PRIZE BUNDLE (valued at over $300!) Here's what's in the bundle:
- Free edge-to-edge longarm quilting by Stitch Lab on your Getaway quilt of any size - includes quilting and batting, (shipping not included).
- Three AGF PURE Solids bundles from our shop.
- Aurifil Large Spool of thread
- A new "Lo & Behold" Tote Bag

Here's how to enter:
- Take a photo of your weekly progress (please do not share a photo of the inside of the pattern). This week, it's your Block 1s!
- Share the photo to your Instagram account before 8am EST on July 1st.
- Use the hashtags #GetawayQAL #GetawayQuilt and #LoAndBeholdPatterns . Tag @loandbeholdstitchery in the photo. Your account must be public in order for us to see your entry.
- Share one a progress photo each of the four weeks of the QAL and you'll be entered to win! Good Luck!
That's all for this week, my friends! I cannot wait to see everyone's progress!
Next week is the fourth and final week of the Getaway Quilt Along...and it's a big one! We'll cover tips for creating half blocks and diagonal row construction.
Let us know if you have any questions, otherwise, I'll see you next week for Week 4!

Happy Sewing!
LINKS:


