Getaway QAL - Week 1 (Cutting)

Hello there and welcome to the Getaway Quilt Along (QAL)! I'm so excited that you're here. If you haven't already read through our information page, you can find logistics and what-not here. This is a super casual quilt along in which I'm going to be sharing some tips and tricks for the Getaway Quilt pattern.
Check back every Saturday for the next 4 weeks for our weekly information. You can access the posts under the "Quilt Along" section of our site.
Let's get started. :)

Getaway Pattern
First and foremost, if you haven't already purchased the Getaway quilt pattern, you'll need to grab a copy in our shop. We have PDF (instant download) copies and also printed copies. Please note our current shipping pause from June 6-23, so if you need the copy right away, I recommend getting a digital copy!
If you haven't read this blog post about the quilt pattern details, be sure to take a look for some helpful information.
Choosing Fabrics
If you're looking for inspiration or a starting point for choosing your fabrics, refer to this blog post. You'll find tips for choosing fabrics, using prints, etc. You can also find Getaway on PreQuilt - a free digital coloring page app that allows you to try out different fabrics prior to making a final decision. They also have a paid version of the program if you'd like to use prints in your mock-ups.
While you're in PreQuilt, play around with switching up the Light and Dark fabric. Within the pattern, I was really intentional with which fabric is light and which is dark. Note how the design slightly changes when you swap the two.
Choosing a Getaway Version & Size

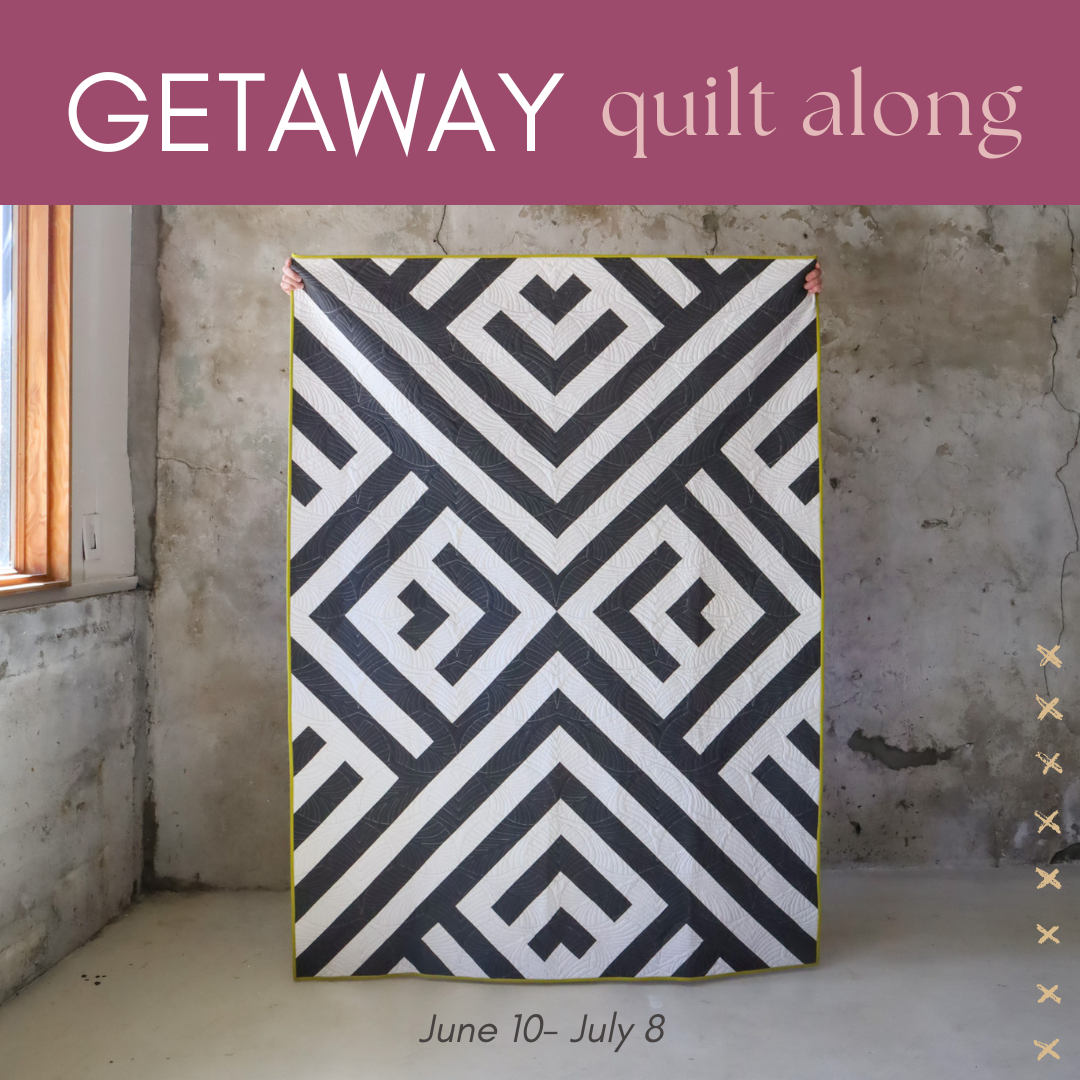
There are three different versions of the Getaway quilt pattern. The fabric requirements and cutting instructions are the same for each version. So the biggest decision that you need to make this week is what size quilt you are making and your fabrics.
Quick note about the sizes: the Crib size can also double as a lap quilt or small throw. It's a generous smaller size! Take a look at the pattern and note that all 5 of the sizes require the same number of blocks, but your blocks will be larger or smaller based on which size you are making. You can make any size quilt for this quilt along.
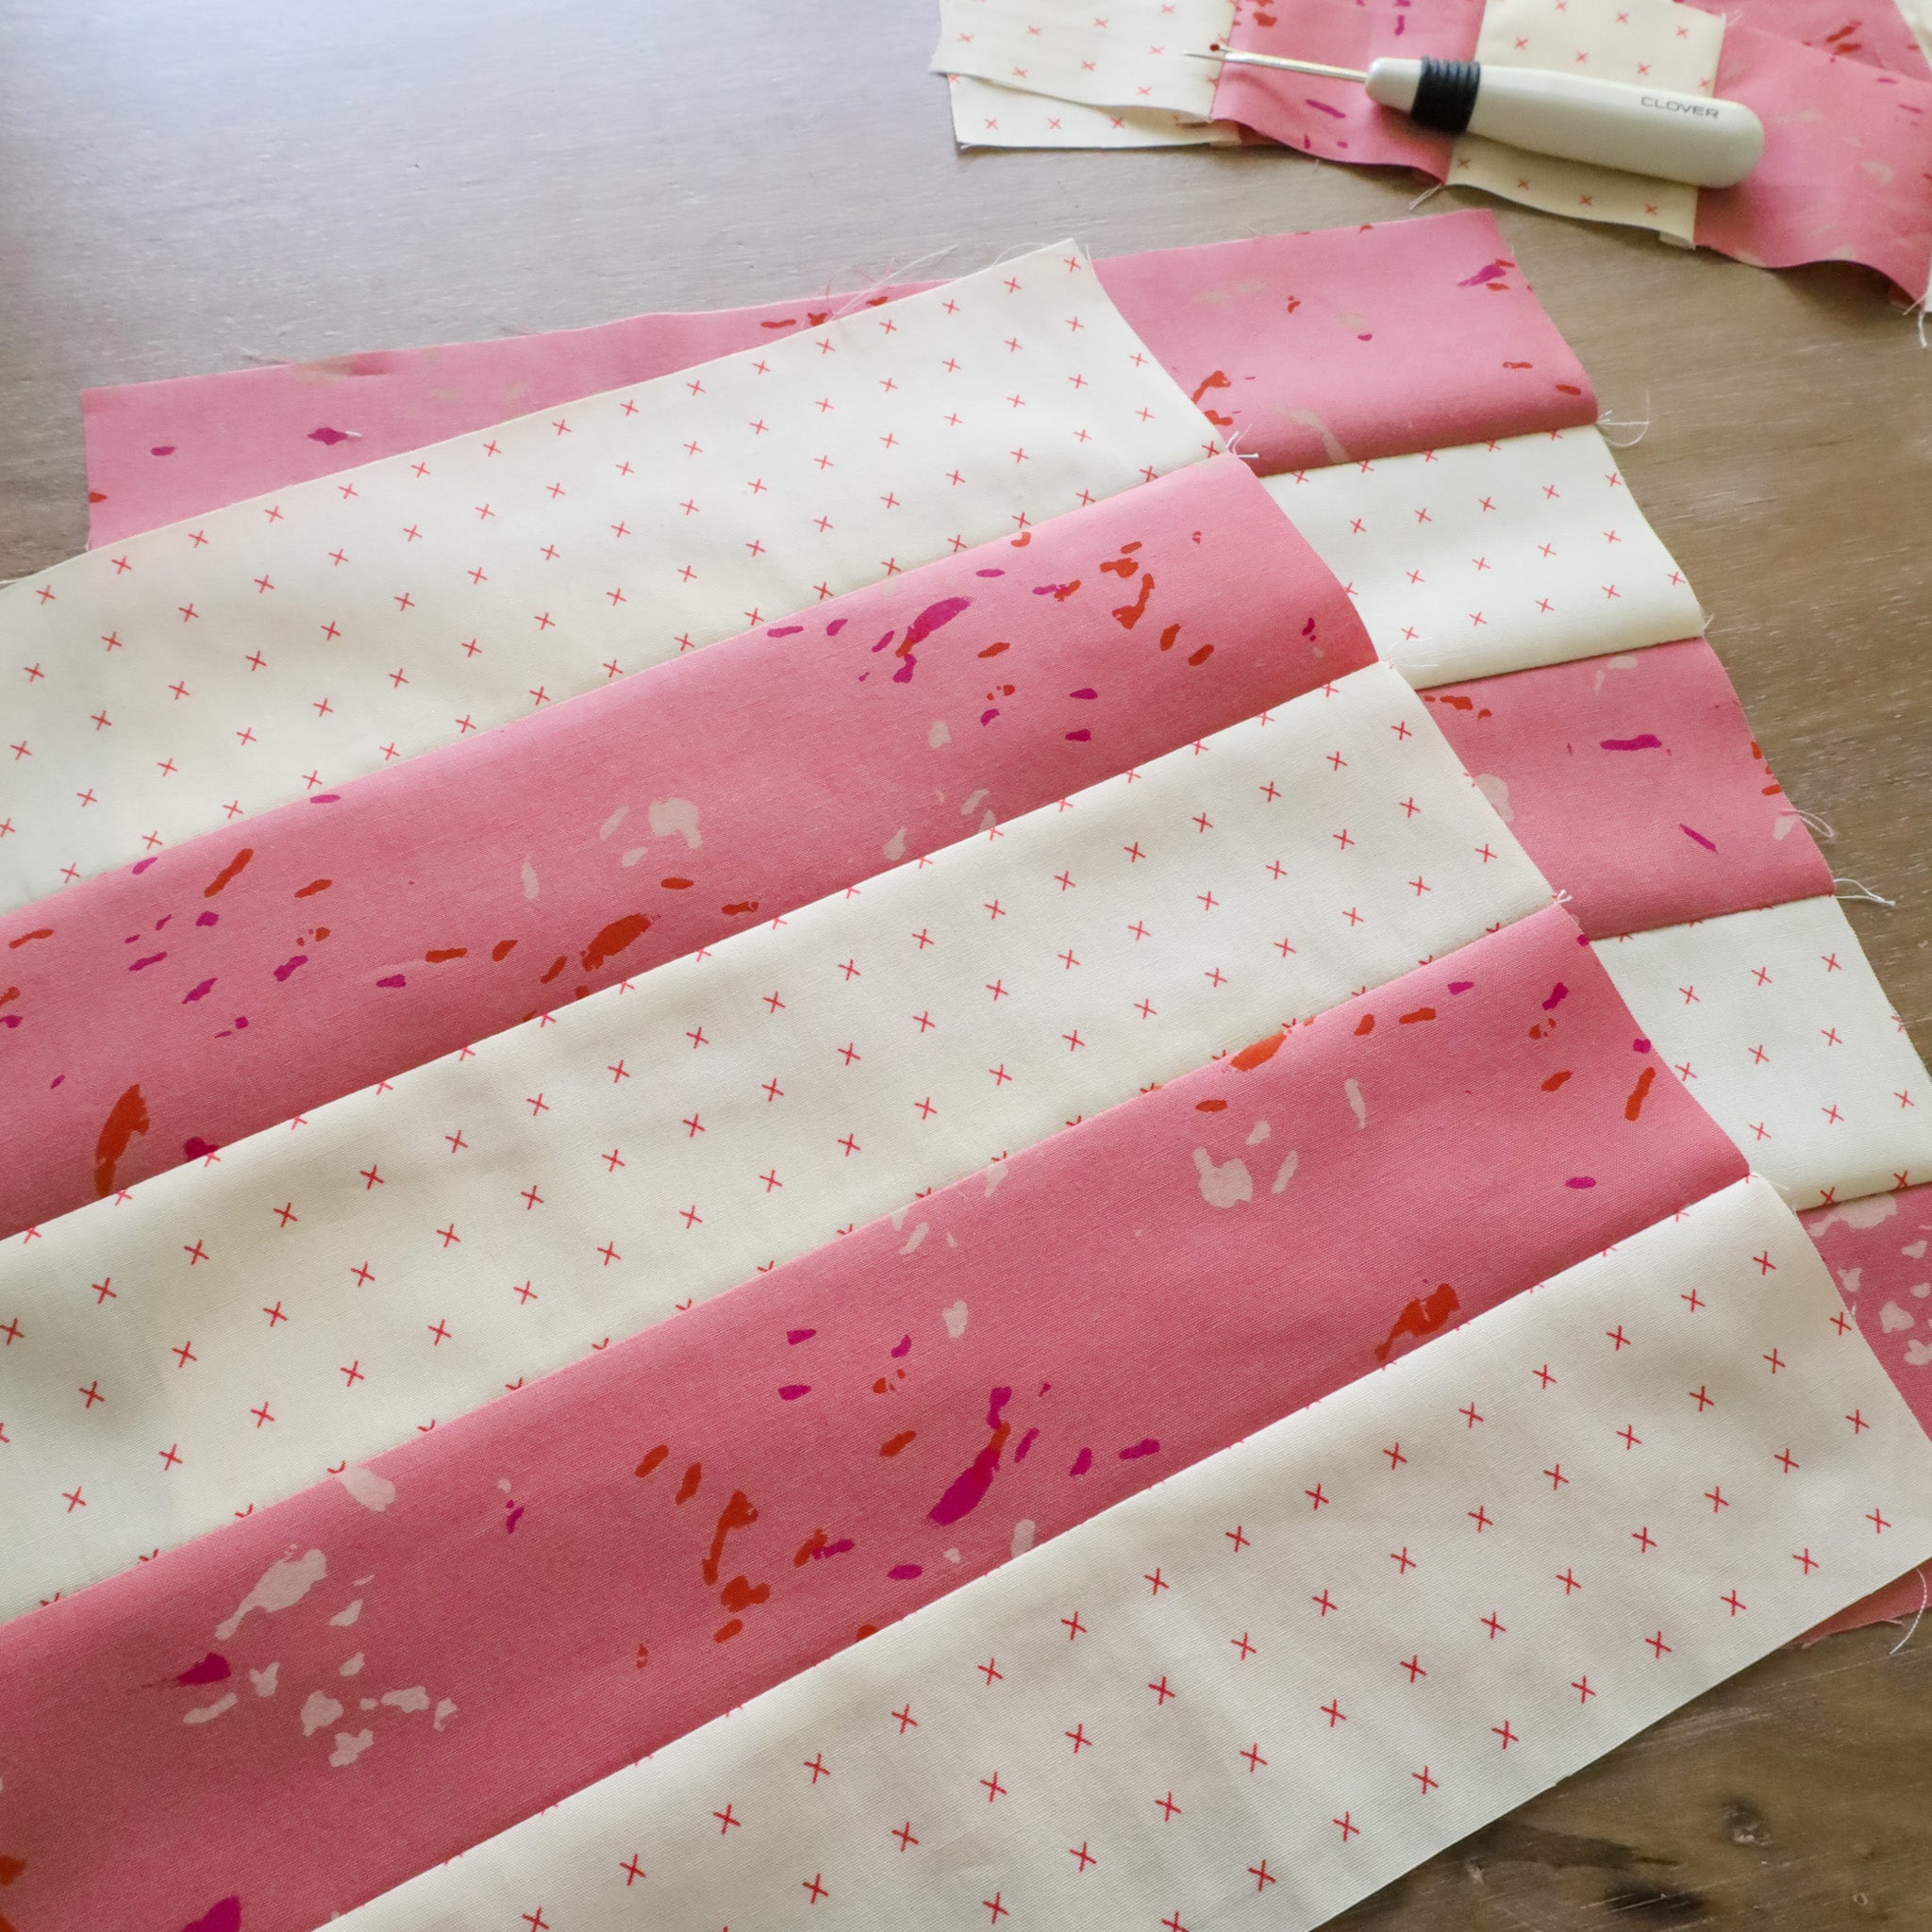
I do want to point out that if you plan to use any sort of print, the City Trip version has less seams to line up, which means you'll have less "breaks" in your fabric. That said, for a smaller scale, more scattered and random print, like my Speckled version seen here, the seams really disappear once it's all sewn together.

Quilt Kits
We have quilt kits in our shop but note that we currently have a shipping pause until June 23rd. Here are other shops that are carrying kits, each have four kits to choose from:
- Pasadena Quilt Studio (USA)
- Morgan Kelly Quilts (USA)
- Piece Fabric Co (Canada)
PRE-WASHING FABRICS
Pre-washing is a matter of personal preference. I very rarely prewash my fabrics. I could probably count the amount of times that I've pre-washed my fabrics on one hand. The reasons that I don't like it? For one, it takes a lot of effort and I can be impatient when I'm ready to start a project (hah). Secondly, I like the "crisp-ness" of fabric that is unwashed...it seems to hold it's shape better and be easier to work with.
What are the reasons for prewashing? You might want to prewash if you are using lots of red or navy, as these are colors that tend to bleed more easily. That being said, once my quilt is assembled, I am very generous with the Shout Color Catchers. These are little sheets that you put in the washing machine with your quilts first wash and they help prevent bleeding. They're relatively cheap, so I usually use a generous amount.
Another reason for prewashing is if you are using a few different substrates in your quilt (linen, cotton, flannel, etc.). Prewashing also "preshrinks" the fabrics so that they all behave similarly. These different substrates all have different rates of shrinking, so doing that upfront could help eliminate problems later on once they're all sewn together.
This is my personal preference. If it would make you feel better to prewash your fabrics, go for it! :) I've found that the quilting community is split pretty evenly on this topic. Just keep in mind: You will need the full WOF for certain parts of this pattern. I know some fabric manufacturers (Ruby Star Society is one of them) that have smaller width of fabric measurements and larger selvedges. If you choose to prewash your fabric just be aware that if your fabric shrinks to be less than 42" wide, you may need additional fabric depending on the size quilt you are making. This is something to keep in mind for all quilt patterns as you decide whether or not you want to prewash.
STARCHING FABRICS
To be honest, I don't really use starch that much. However, I've found that if I am working with smaller pieces or bias edges, it really does help with accuracy. Starch makes your fabric more stiff, which makes it easier to sew and work with. Some fabrics have a stiffer "hand" than other, so you may or may not find this necessary with what you're working with.
Remember that you'll want to starch your fabric before you cut them. So you'll do so as you're ironing your fabric. This is the starch that I use.

Favorite Cutting Supplies
- I have a few different size cutting mats, but my favorite is my Fiskars 24" x 36". I highly recommend getting this size, if you have the space for it. It's great for cutting yardage. I also use the 18" x 24" cutting mat by Christopher Thompson (for Riley Blake). That cutting mat seems to be unavailable, but it looks like they're bringing it back at some point this summer.
- This is my 6" x 24" ruler and a I also have a 8.5" x 24" ruler.
- This is my 12.5" square ruler. I also really love Creative Grids. I have their 8.5" square ruler and I use it all the time.
- For rotary cutters, I have a Fiskars 45 mm, which is probably the most popular size.
CUTTING BASICS
- How's your rotary cutter blade? If you need a new one, go ahead and change it out.
- Pay attention to the width of your selvedge. Be sure not to trim off too much because in some instances, you'll need the full 42" Width of Fabric (WOF).
- For yardage, try your hardest to cut "on-grain". Sometimes fabric isn't stored on the bolt perfectly square. Since you'll be cutting some WOF pieces, in order to ensure that the fabric around the fold stays straight, you'll want to make sure that your fabric is square before you cut it.
- Whenever possible, it's best to cover your desired measurement with your ruler and use the lines on your ruler vs. the lines on your cutting mat. This will give you a more accurate cut.
- Consider batch cutting for sub-cuts.
- Label your pieces to help stay organized.... if that's your thing. :)
- Slow down and take your time. Cutting your pieces accurately will set you up for success in the following weeks.
- When cutting your background fabric, cut on the largest surface that you have. Fold the fabric "accordion style" and keep it just off your cutting mat.
How to Cut Width of Fabric Strips
I've put together a tutorial for how to cut your Width of Fabric strips so that they're nice and straight. You can find that tutorial here.

Pattern Notes
I usually like to go through and cut all of my WOF strips before I make any subcuts. Once your WOF strips are cut:
- Subcut your fabrics in the order that they appear within the listed bullet points.
- This means you'll be cutting larger pieces first. Set aside any leftover pieces from these strips and use them to cut smaller pieces, if needed.
- I'll usually like to do a little bit of math before I get started. Say that I need to cut 10.5" pieces from my WOF strip. I'll divide 42" (WOF) by 10.5", which will tell me that I can get (4) 10.5" pieces from that strip. Then I will divide the total number of 10.5" pieces that I need, (50) by (4) and that will tell me how many strips I use, which is 12.5. So that means I'll need 12.5 WOF strips to get all 50 of my 10.5" pieces. I do this for each bullet point so that I keep track of what I'm using and it also allows me to batch cut if I'd like. More on that in a second. :)
- If you're making the bed size, sew your remnant WOF pieces together to create larger pieces. This helps decrease waste by allowing you to use up more of your leftover fabric.

BATCH CUTTING
Any time I'm cutting many pieces that are the same size, I'll batch-cut those pieces. A sharp rotary blade is key for this process. To do this:
- Align the pieces horizontally on your cutting mat. Use the horizontal lines to make sure the strips are nice and straight. I like to overlap my strips a bit so that I can fit more strips, but you can just have the edges aligned if you wish.
- Trim off the selvedges.
- Cover the desired measurement with the left edge of your strips (assuming you're right handed) and make sure that your strips are all parallel with the horizontal lines in your ruler.
- Cut.
If you're a newer quilter, feel free to cut your pieces one at a time. There's no rush. :) But maybe give this a try if you have a few quilts under your belt and you're looking to save a little bit of time and energy. I only do this with the first bullet point of each fabric in the Cutting Instructions table.


What I'm Making
For this Quilt Along, I'm making the Crib size and I having decided on the version yet. I'm leaning Mountain, but I may go Beach. :)
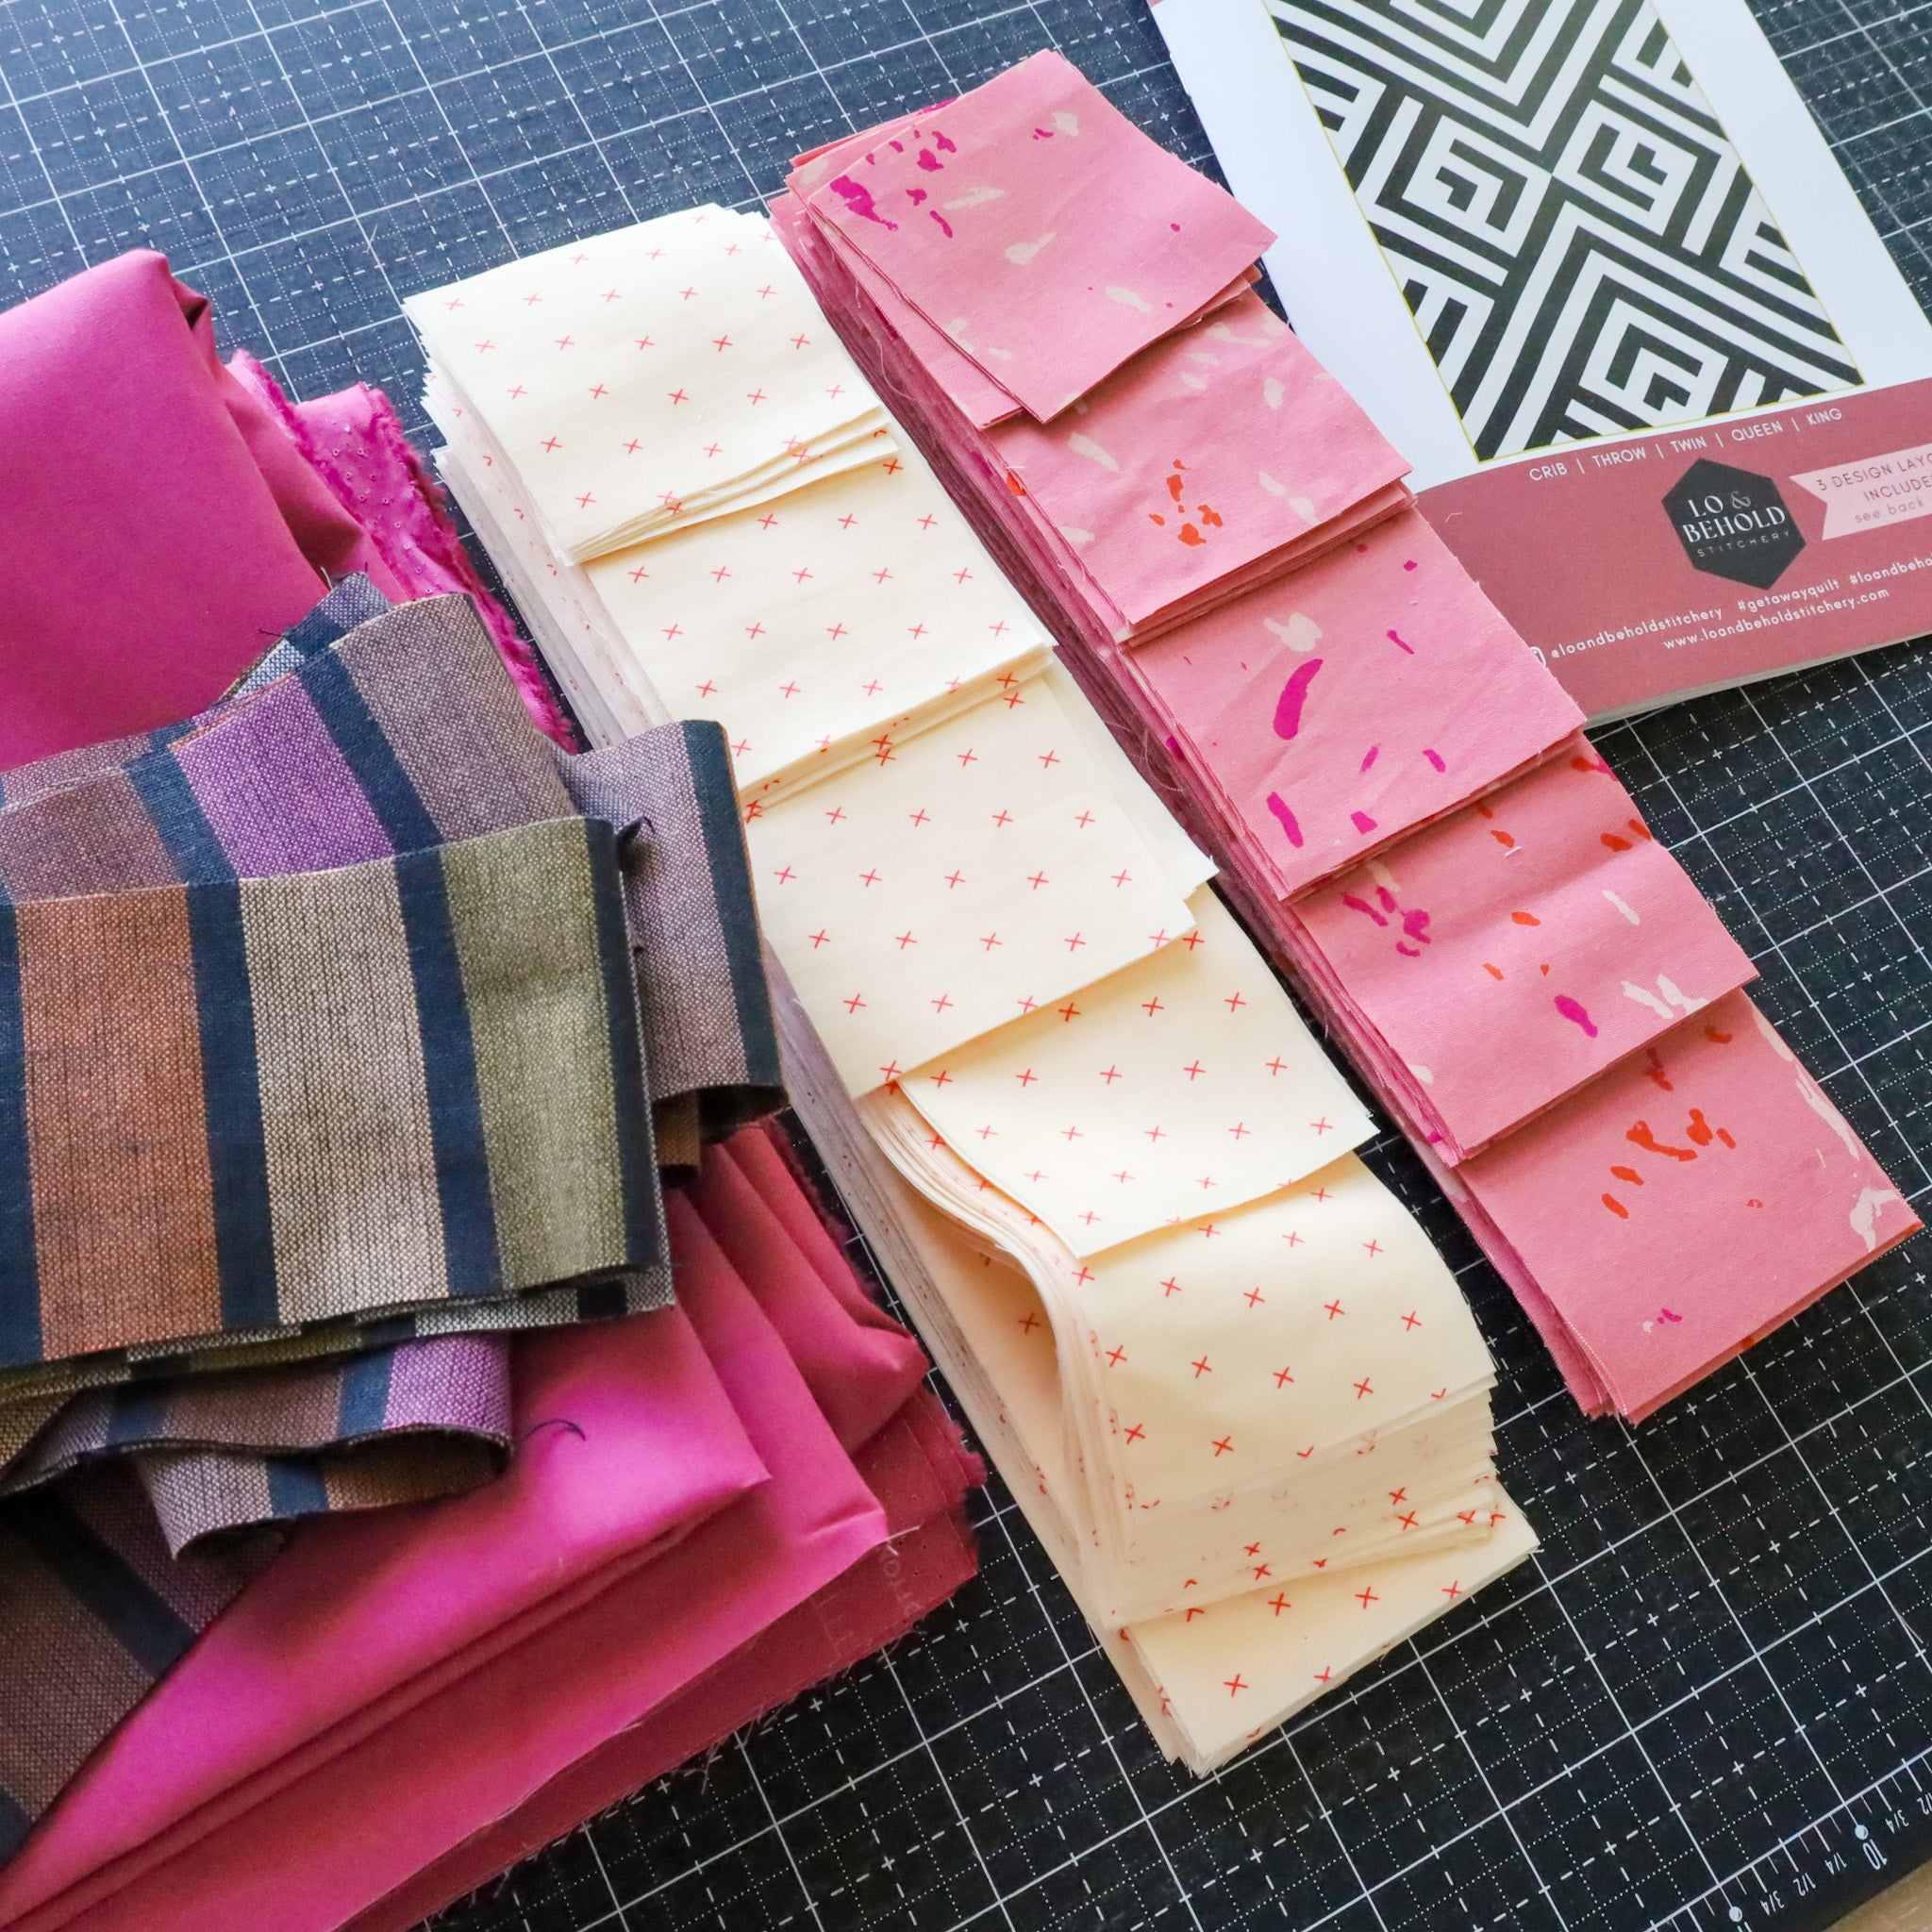
My "dark" fabric is Sketchbook Kiss from Alexia Abegg for Ruby Star Society and my "light" fabric is Always Together by Elizabeth Chappell for Art Gallery Fabrics. My backing is AGF Bougainvillea and my binding is Wings in Dark Fuchsia by Fableism.

Grand Prize Bundle
Share a weekly progress photo for each of the 4 weeks of the QAL and you'll be automatically entered to win our GRAND PRIZE BUNDLE (valued at over $300!) Here's what's in the bundle:
- Free edge-to-edge longarm quilting by Stitch Lab on your Getaway quilt of any size - includes quilting and batting, (shipping not included).
- Three AGF PURE Solids bundles from our shop.
- Aurifil Large Spool of thread
- A new "Lo & Behold" Tote Bag

Here's how to enter:
- Take a photo of your weekly progress (please do not share a photo of the inside of the pattern).
- Share the photo to your Instagram account.
- Use the hashtags #GetawayQAL #GetawayQuilt and #LoAndBeholdPatterns . Your account must be public in order for us to see your entry.
- Share one a progress photo each of the four weeks of the QAL and you'll be entered to win! Good Luck!
That's all for this week, my friends! I cannot wait to see everyone's progress!
Let us know if you have any questions, otherwise, I'll see you next week for Week 2!

Happy Sewing!
LINKS:


