Straight-Line Quilting Tutorial
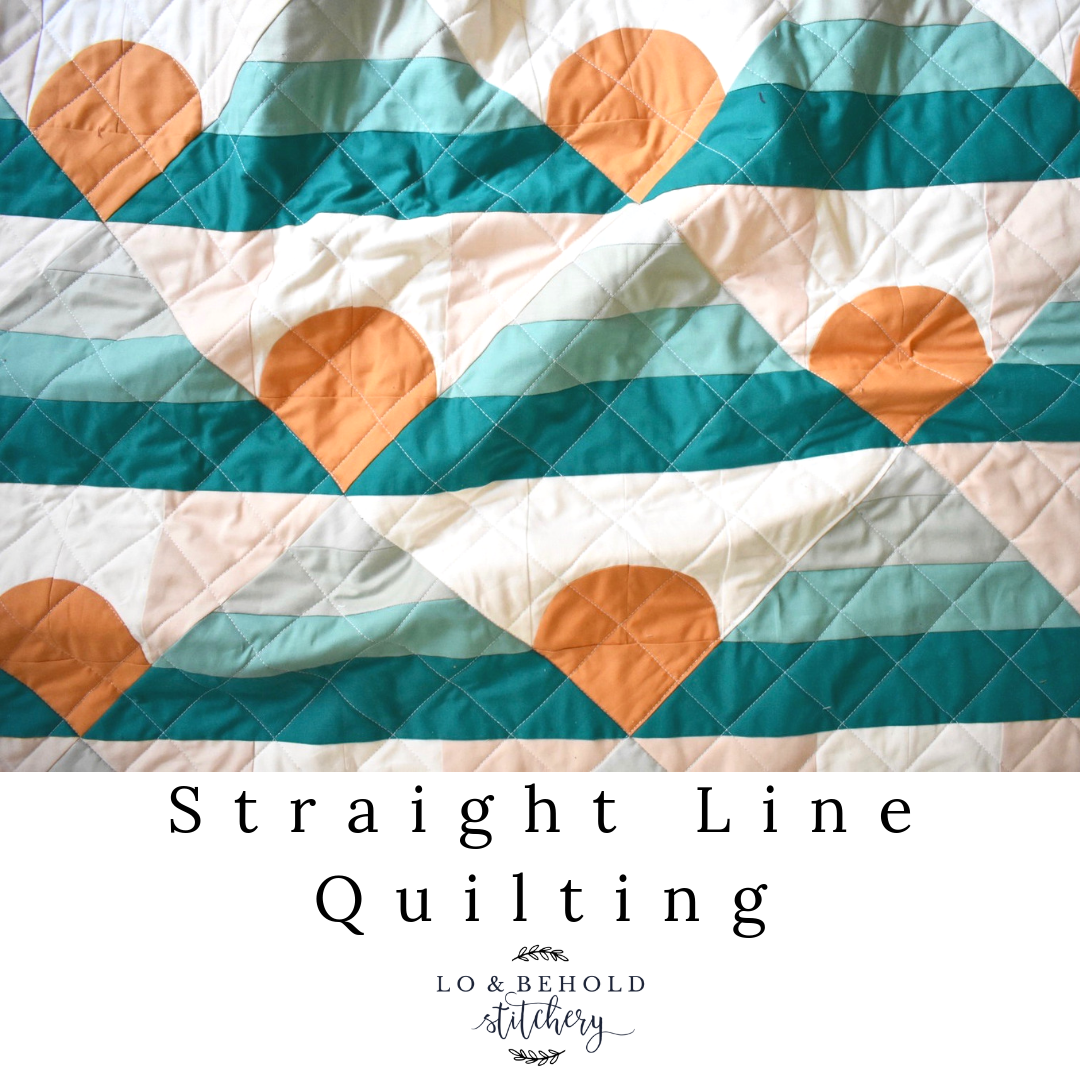
Straight-line quilting is my favorite way to do my own quilting! It's so easy and has quite the striking finish! It's perfect for giving your quilt vintage-look, crinkly texture, and a hint of modern. Let's jump right in!
.

The quilt shown above is Mountain Horizon. The pattern can be found here.
Materials needed:
- a basted quilt sandwich; you can find my pin basting tutorial here
- sewing machine & walking foot; a walking foot is EXTREMELY important to ensure that your quilt sandwich is evenly fed through your machine. With something as thick as a quilt, your feed dogs can't do all of the work themselves!
- thread- either 40w or 50w will do. I typically use 50w Gutermann thread.
- seam ripper
- quilting needle- a 90/14 needle works best for quilting, but you can also use a universal needle. However, if you notice that your stitches are skipping with a universal needle, then you should change your needle to a 90/14.
- sewing needle (to bury your threads)
- scissors
- hera marker (optional)
- having a long table helps. I'll sometimes move my sewing machine to the kitchen table so that my quilt can have a place to go as it's going through my machine :)

.
The first thing to do is to come up with a plan. If my blocks are "on point" or diagonally pieced, I like to mimic that with diagonal quilting. If my rows are horizontally/ vertically pieced, I'll do horizontal/ vertical quilting.
In this tutorial, I'm using my First Gift quilt pattern as an example. Since this pattern is constructed "on point" I will be quilting in diagonal lines. Before I bring my quilt to my machine, I'll roll it up as seen below. You will want your rolls to be parallel to your quilting, so keep that in mind. Also, I like to start quilting in the center, then work my way out.

I like to use the seams in my quilts as guides. Pick a random seam on your quilt and imagine how your quilt would look with quilting that is parallel to that seam. How far apart do you want your quilting? If I'm doing horizontal lines, I'll usually do 1"-1.5" apart. If I'm doing criss cross quilting (lines in both directions, like I did in this quilt), then I'll quilt my lines further apart...typically about every 2"-3". This is all about personal preference and how dense you'd like your quilting to be (and also how long you want to spend on it). NOTE: this is where you can whip out your hera marker and mark your lines. I typically only do this if I'm creating a complex design on my quilt (which isn't often, haha).
Most walking feet have a guide bar. You can typically adjust that guide bar to indicate a certain distance from your needle.
For this quilt, I decided to do my quilting rows every 2 inches apart. I knew that I wanted my rows to fall in the same place from block to block, so take your block sizes into consideration.
..

..
So you'll notice that I'm starting my quilting off of the edge of my quilt top. Some people like to stitch back and forth (lockstitch) 1/4" from the edges of their quilt top. I typically don't do this, I'll just sew on and off my quilt top onto the batting. This is also personal preference. I haven't had any issues doing it my way.

.
Lets talk about stitch length. Again, this is another personal preference topic. Generally I like to keep my stitch length for quilting between 2.5mm-3mm.
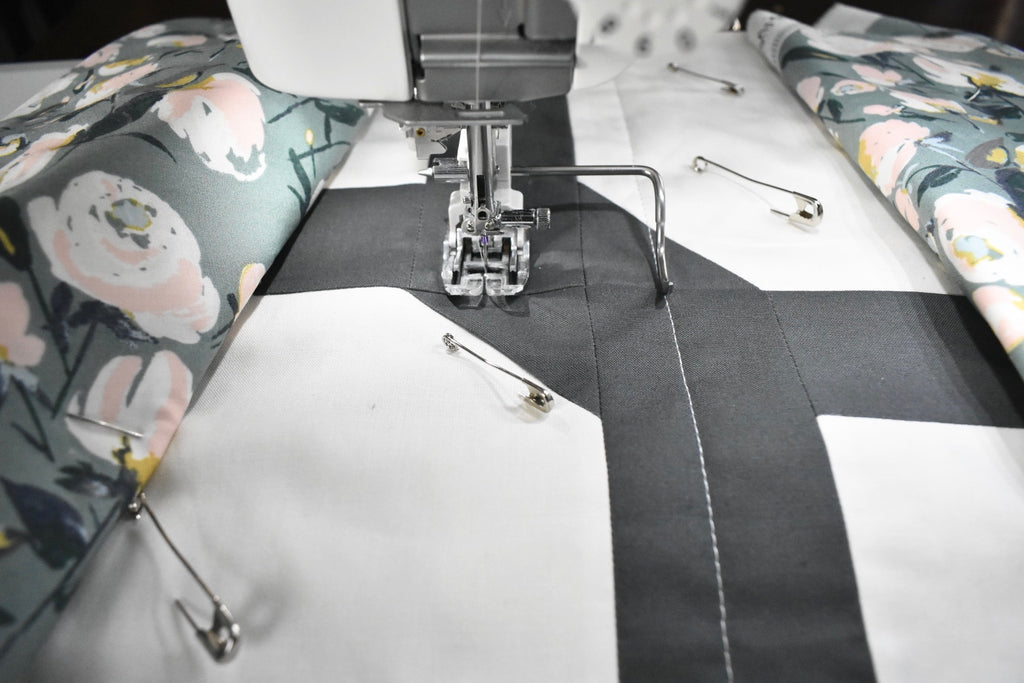
.
Remember, you'll want to remove your pins as you go. ;)
.
Once you sew all of your lines going in one direction, you can either leave it that way, or add quilting lines going in the other direction. I personally LOVE the criss cross look. Lay your quilt back out on the floor and re-roll your quilt so that the rolls will be parallel to your new seams. Start quilting in the middle and work your way out.


..
What happens when your bobbin runs out? If you need to start/stop at any point in the middle of your quilt, I always like to bury my threads. Some people will stitch back and forth a few times to "lock stitch", but to me this just doesn't seam secure.
What you'll need to do is pull on your top thread so that your bottom thread comes through the quilt to the top side. Tie these two strands into a knot. NOTE: you may need to undo a few of your stitches to make sure that your threads will be long enough to tie a knot.


.
Next, you'll take a sewing needle, thread it with both threads and insert the needle as close as you can get to your knot. Have the needle go through your batting and back up through your quilt top, about 1-2" away.

.
Pull the needle through, then snip those threads. When you start your new line of stitching, start where you left off. Leave enough room in your top and bobbin threads to do this same technique.

.
Once you're done, trim your excess batting/backing from your quilt top and sew your binding onto your quilt. You can find a binding tutorial here.

.

.
There you have it, my friends!
Happy quilting!
.
.
.
Brittany
.
.
.
.
.
.
.
.
This post may contain some affiliate links meaning I may receive a small commission from each sell. Rest assured, I only share my favorite items with you!

