Pin Basting 101: How to Baste Your Quilt, No Spray Needed
Basting is probably my least favorite part of the quilting process! I hate to admit it, but it's the truth. When I first started quilting, I used spray baste.....just because that's what someone told me to use; however, I started having problems with it so I switched to pins. I've had much better success with pins, not to mention, it's more economical, better for the environment (and your lungs), and overall...it's way more sustainable.
Side note: Is it just me, or does anyone else immediately think of a Thanksgiving turkey when they say the word "basting"? Hah. Okay, hopefully I'm not the only one!
.

.
Like I said, I used to exclusively spray baste back in the day, however, I started having issues with my fabric shifting on the bottom. Of course I wouldn't realize it until I was finished quilting, which was super frustrating! Not to mention, the cost of spray basting really adds up! Honestly, I was happy to see that expense disappear once I started pin basting! It was a liberating feeling!
.

.
First up: Supplies. The key to success starts with having the right tools. You really don't need too much. But I'll go ahead and link to everything below.
- Curved safety pins. I have 3 sizes, but I'd say the medium/large size are the most useful.
- Painters tape- I like the extra wide kind; I also sometimes use duct tape.
- Some people like to use a safety pin closer to save their fingers.
- Your completed quilt top, batting and backing
- a smooth floor; carpet won't work because you'll need to tape your backing to the floor; some people like to use a garage or driveway. You can also use your table top, if you're into that. I haven't mastered that technique yet, but I'll report back when I do!
Before you get started, you might need to piece your backing together. As a general rule of thumb, you'll want 4" of extra backing on each side of your quilt. So if your quilt top is 36" x 48", you'll need your backing to measure 44" x 56". (Essentially, add 8" to your final quilt measurements). If I'm cutting it close and I don't have enough fabric, I'll squeak by with less, but that comes down to personal preference. If you do have to piece your backing, make sure your seam is pressed nice and flat...I like to press it open.
Then, you'll take your backing, lay it out face down on the floor and tape it down. I like to start in one corner, then work my way around the quilt, placing a piece of tape about every 4-6 inches or so. Make sure your backing fabric is taut, but not TIGHT. If it's too tight, it'll pull away from your tape as you start to baste. You also don't want those fibers to be stretched or distorted in any way when you quilt your quilt.
.
.
Next, it's time to add your layer of batting. Without getting into too much detail, I like to use Quilters Dream, but there are lots of other great battings out there! You'll want your piece of batting to be about 2" larger than your quilt top on all four sides. So again, if your quilt top is 36" x 48", then you'll want your batting to be 40" x 52". The idea is that when you're quilting, you can visualize all 3 layers of your quilt sandwich (quilt top, batting, backing). It's easy for your backing to get folded up under your quilt, which can cause you to accidentally quilt over it. Again, you can get away with less batting if you'd like, but it's always better to have a little extra in case your quilt shifts while you're quilting it.
.
.
Then you'll add your quilt top. Make sure that your seams are nice and flat and that you've given it a good press before you start to baste your quilt. You'll be much happier with your end result if you do this!
Lay your quilt top in the center of your batting. Starting in the middle, smooth out your quilt top. Work your way to the edges. Make sure that you still have roughly 2" of extra batting around all four edges.

.

.
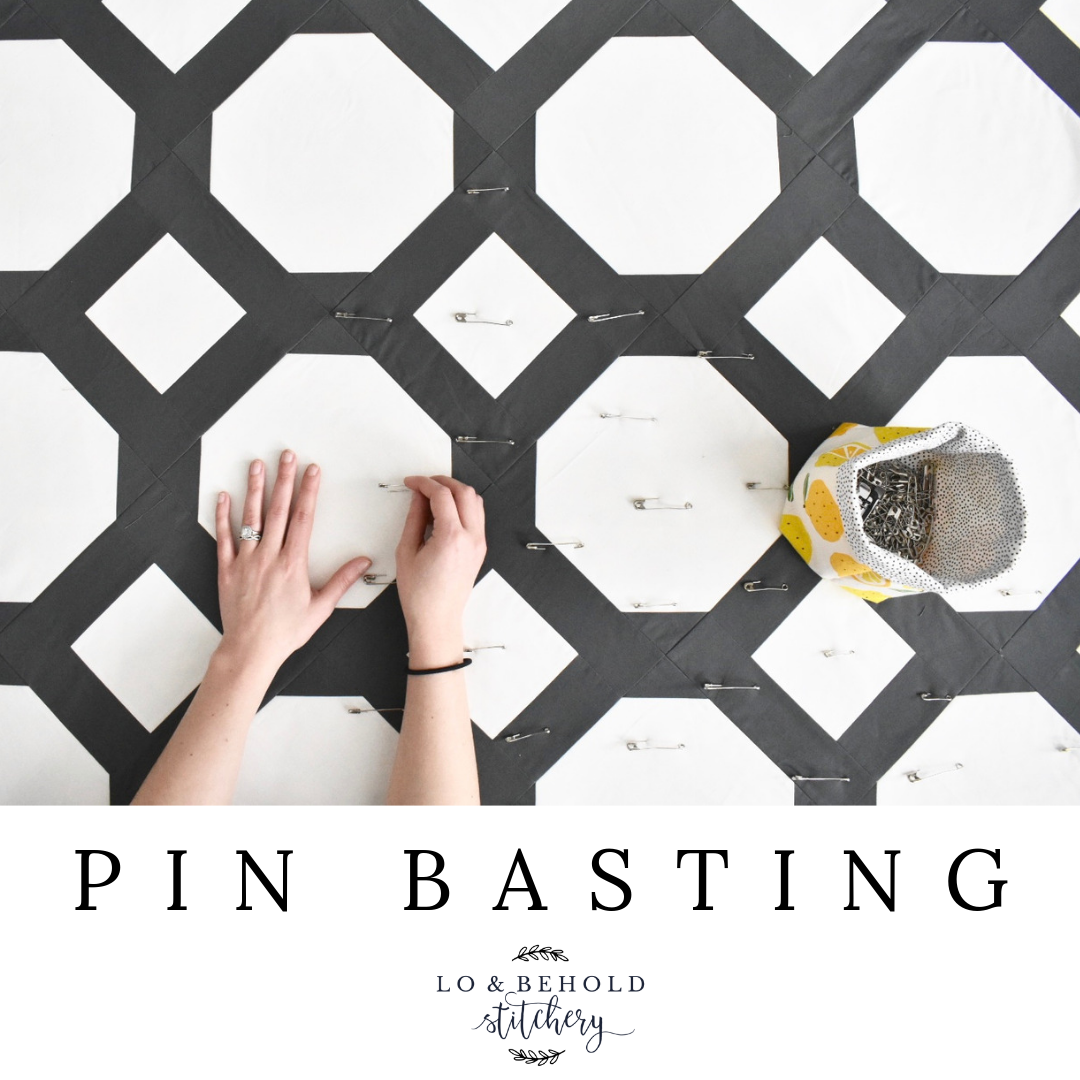
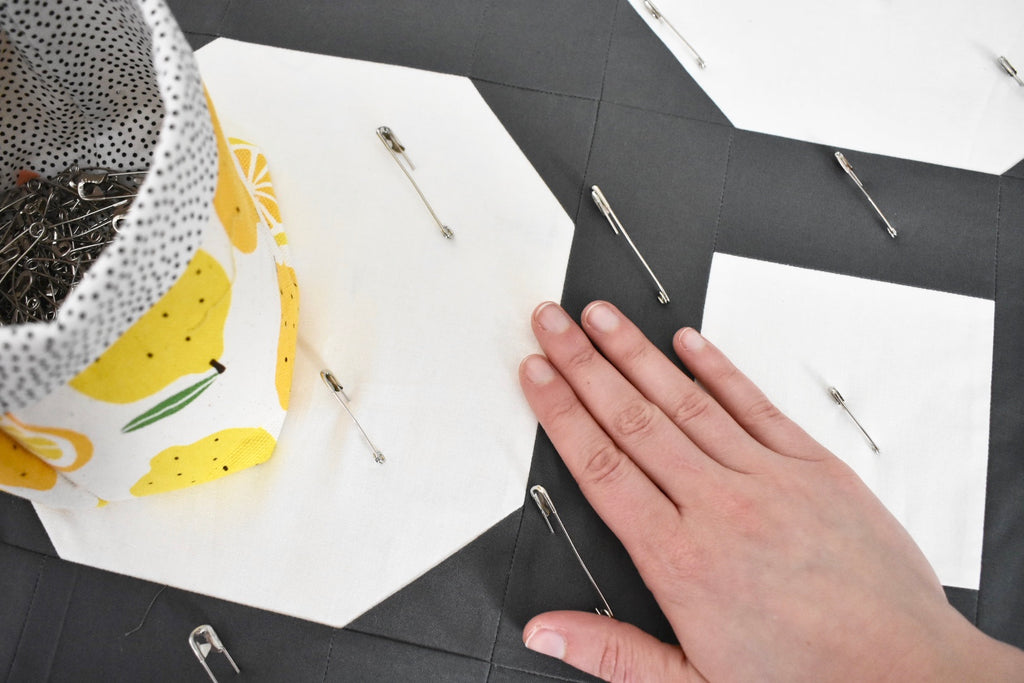
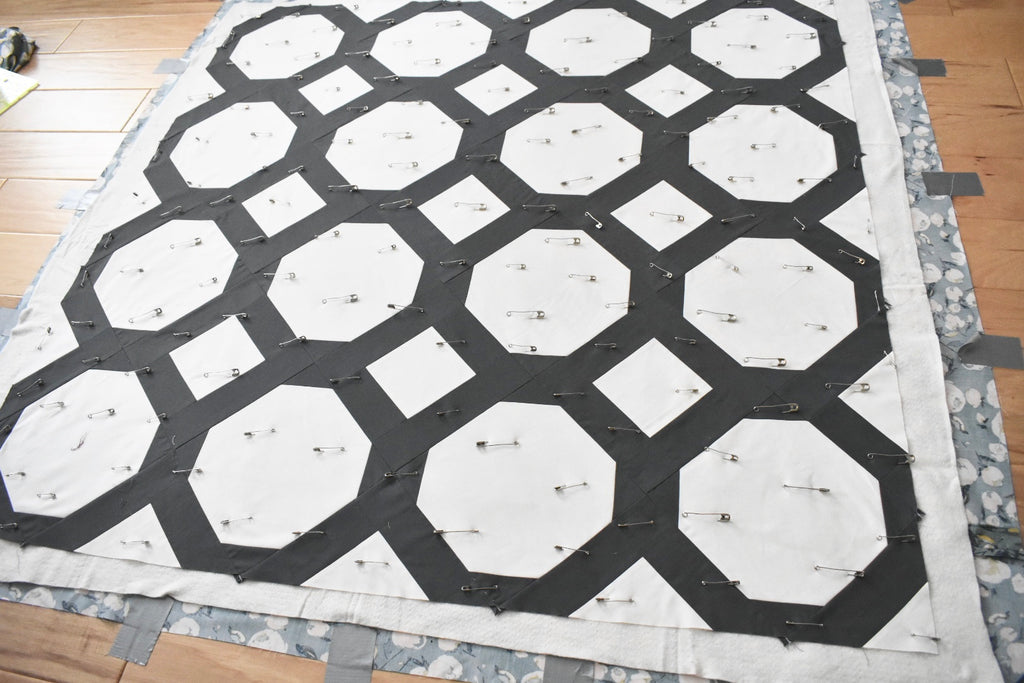
Next, you'll start pinning. I like to begin in the middle of my quilt, incase it shifts at all as I'm inserting my pins/smoothing out my quilt. Make sure you insert the pin through all 3 layers of your quilt sandwich. I pin about every 4-6 inches or roughly the width of my hand. (I'm a loose pinner), but some people will say that you need to pin every 2 inches. This all depends on your level of comfort with this process. If I have a larger quilt, I'm more likely to use more pins.
.
.
Once all of your pins are in place, you'll un-tape your quilt and start quilting! Ill have a straight line quilting tutorial soon!
.
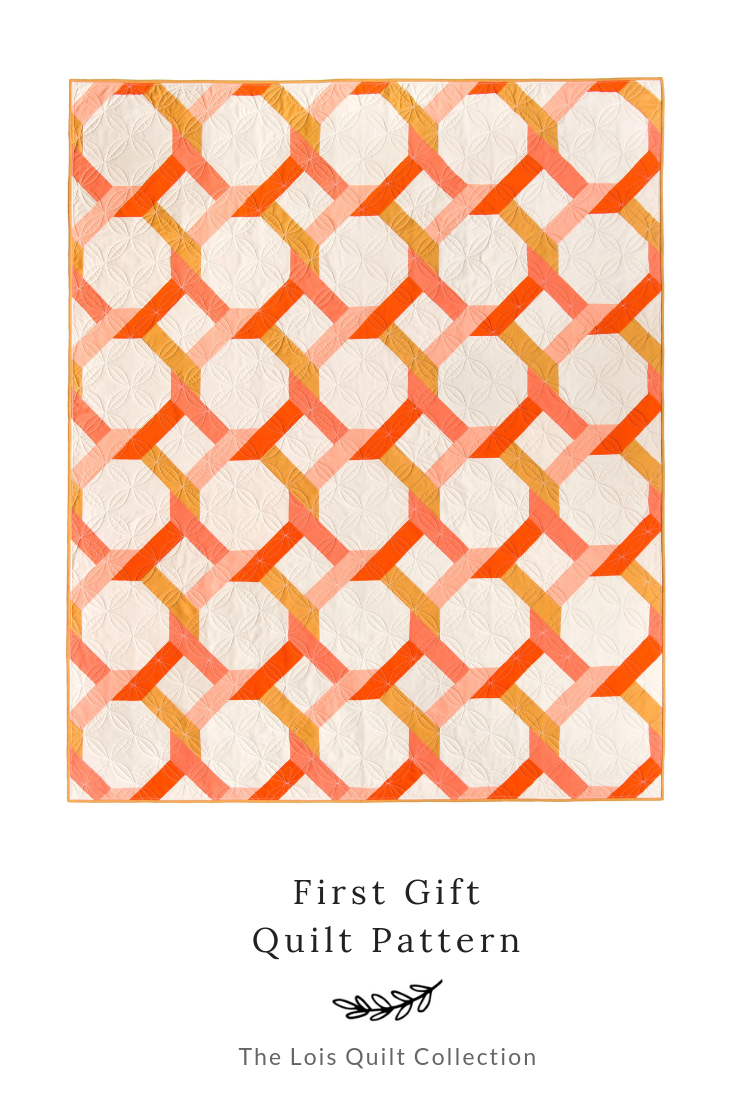
The quilt used in this tutorial is my First Gift quilt pattern. It can be found here..
Happy basting!
.
.
Brittany
.
.
.
.
.
.
.
.
This post may contain some affiliate links meaning I may receive a small commission from each sell. Rest assured, I only share my favorite items with you!


