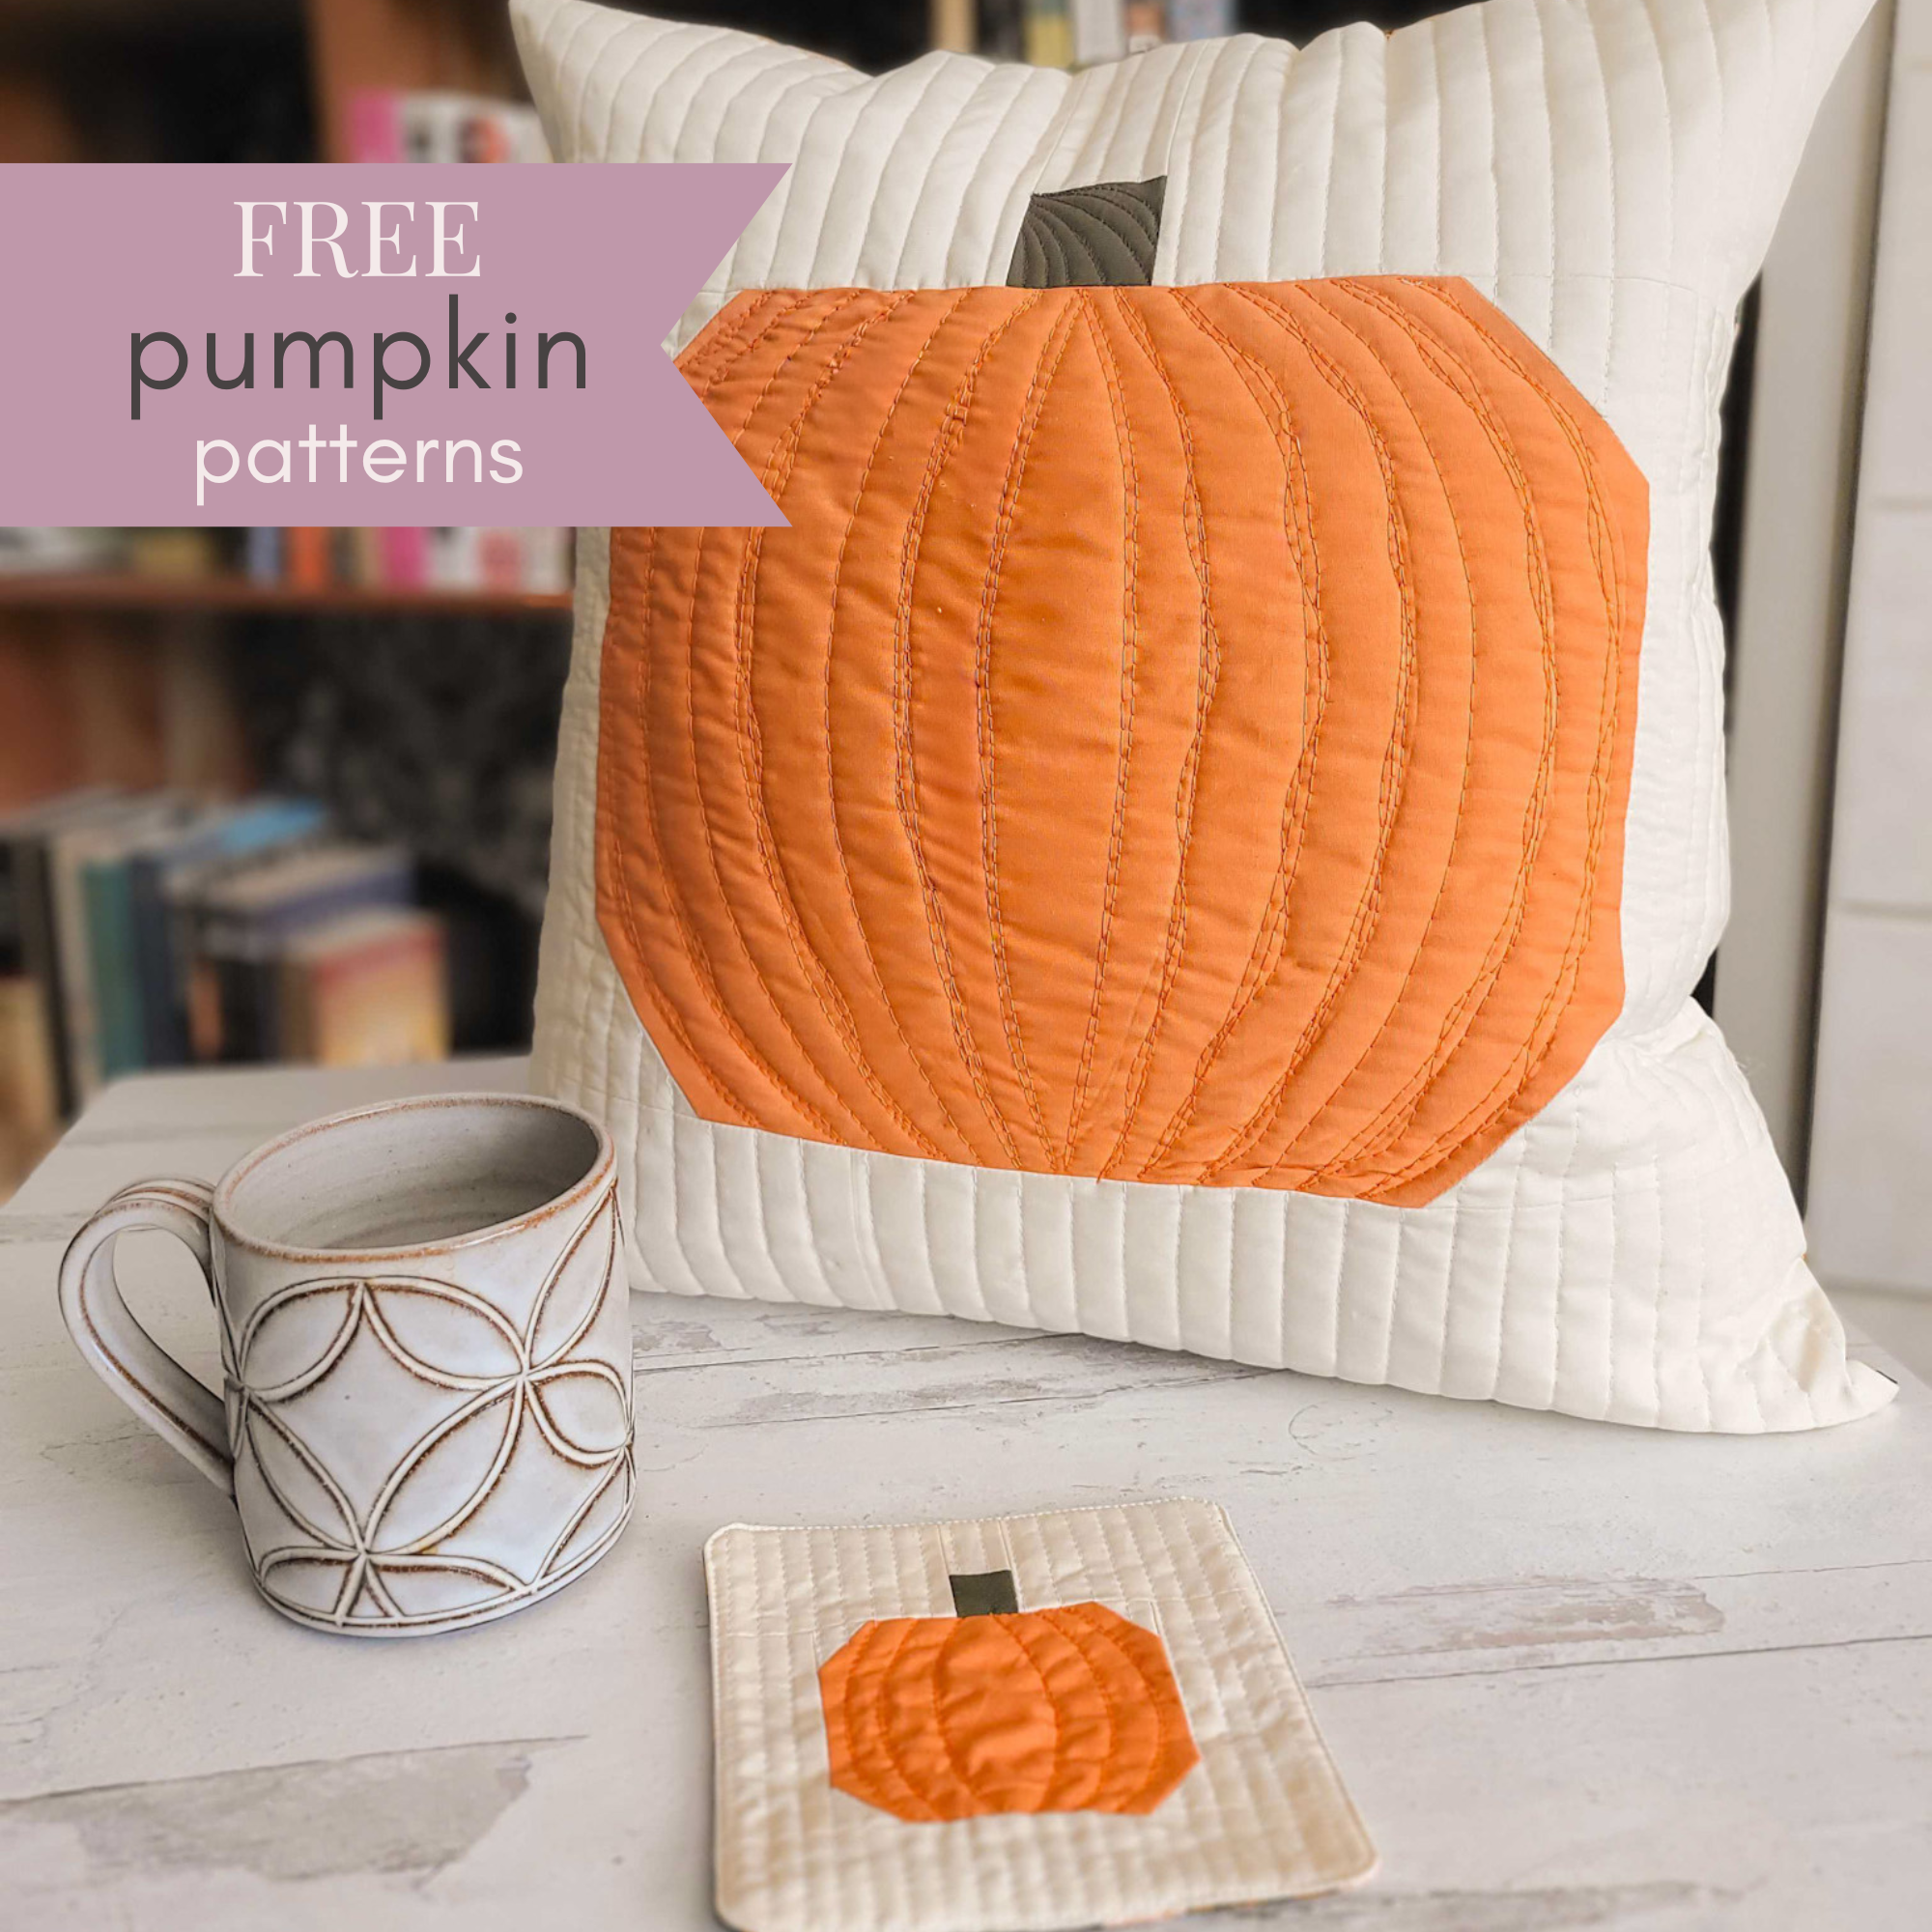
FREE Pumpkin Quilt Block Patterns
It's almost October! I'll refrain from telling you how much I love this month, because I'm sure we all do...right? Crisp air, warm drinks, fall foliage...it might all be cliche, but I really can't get enough!
So piggy-backing off my Free Mini Heart Coaster tutorial, I wanted to add some fall decor to our home. And given how much I love coasters, a mini pumpkin coaster and pumpkin pillow seemed like appropriate makes!

Free pumpkin block downloads
You can download my free pumpkin blocks in two sizes:
➡ Mini Pumpkin Block: A free one-page pattern for a 5.5” mini pumpkin block (perfect for a coaster!)
➡ Large Pumpkin Block: A free 19" pumpkin block pattern (great as a pillow!)
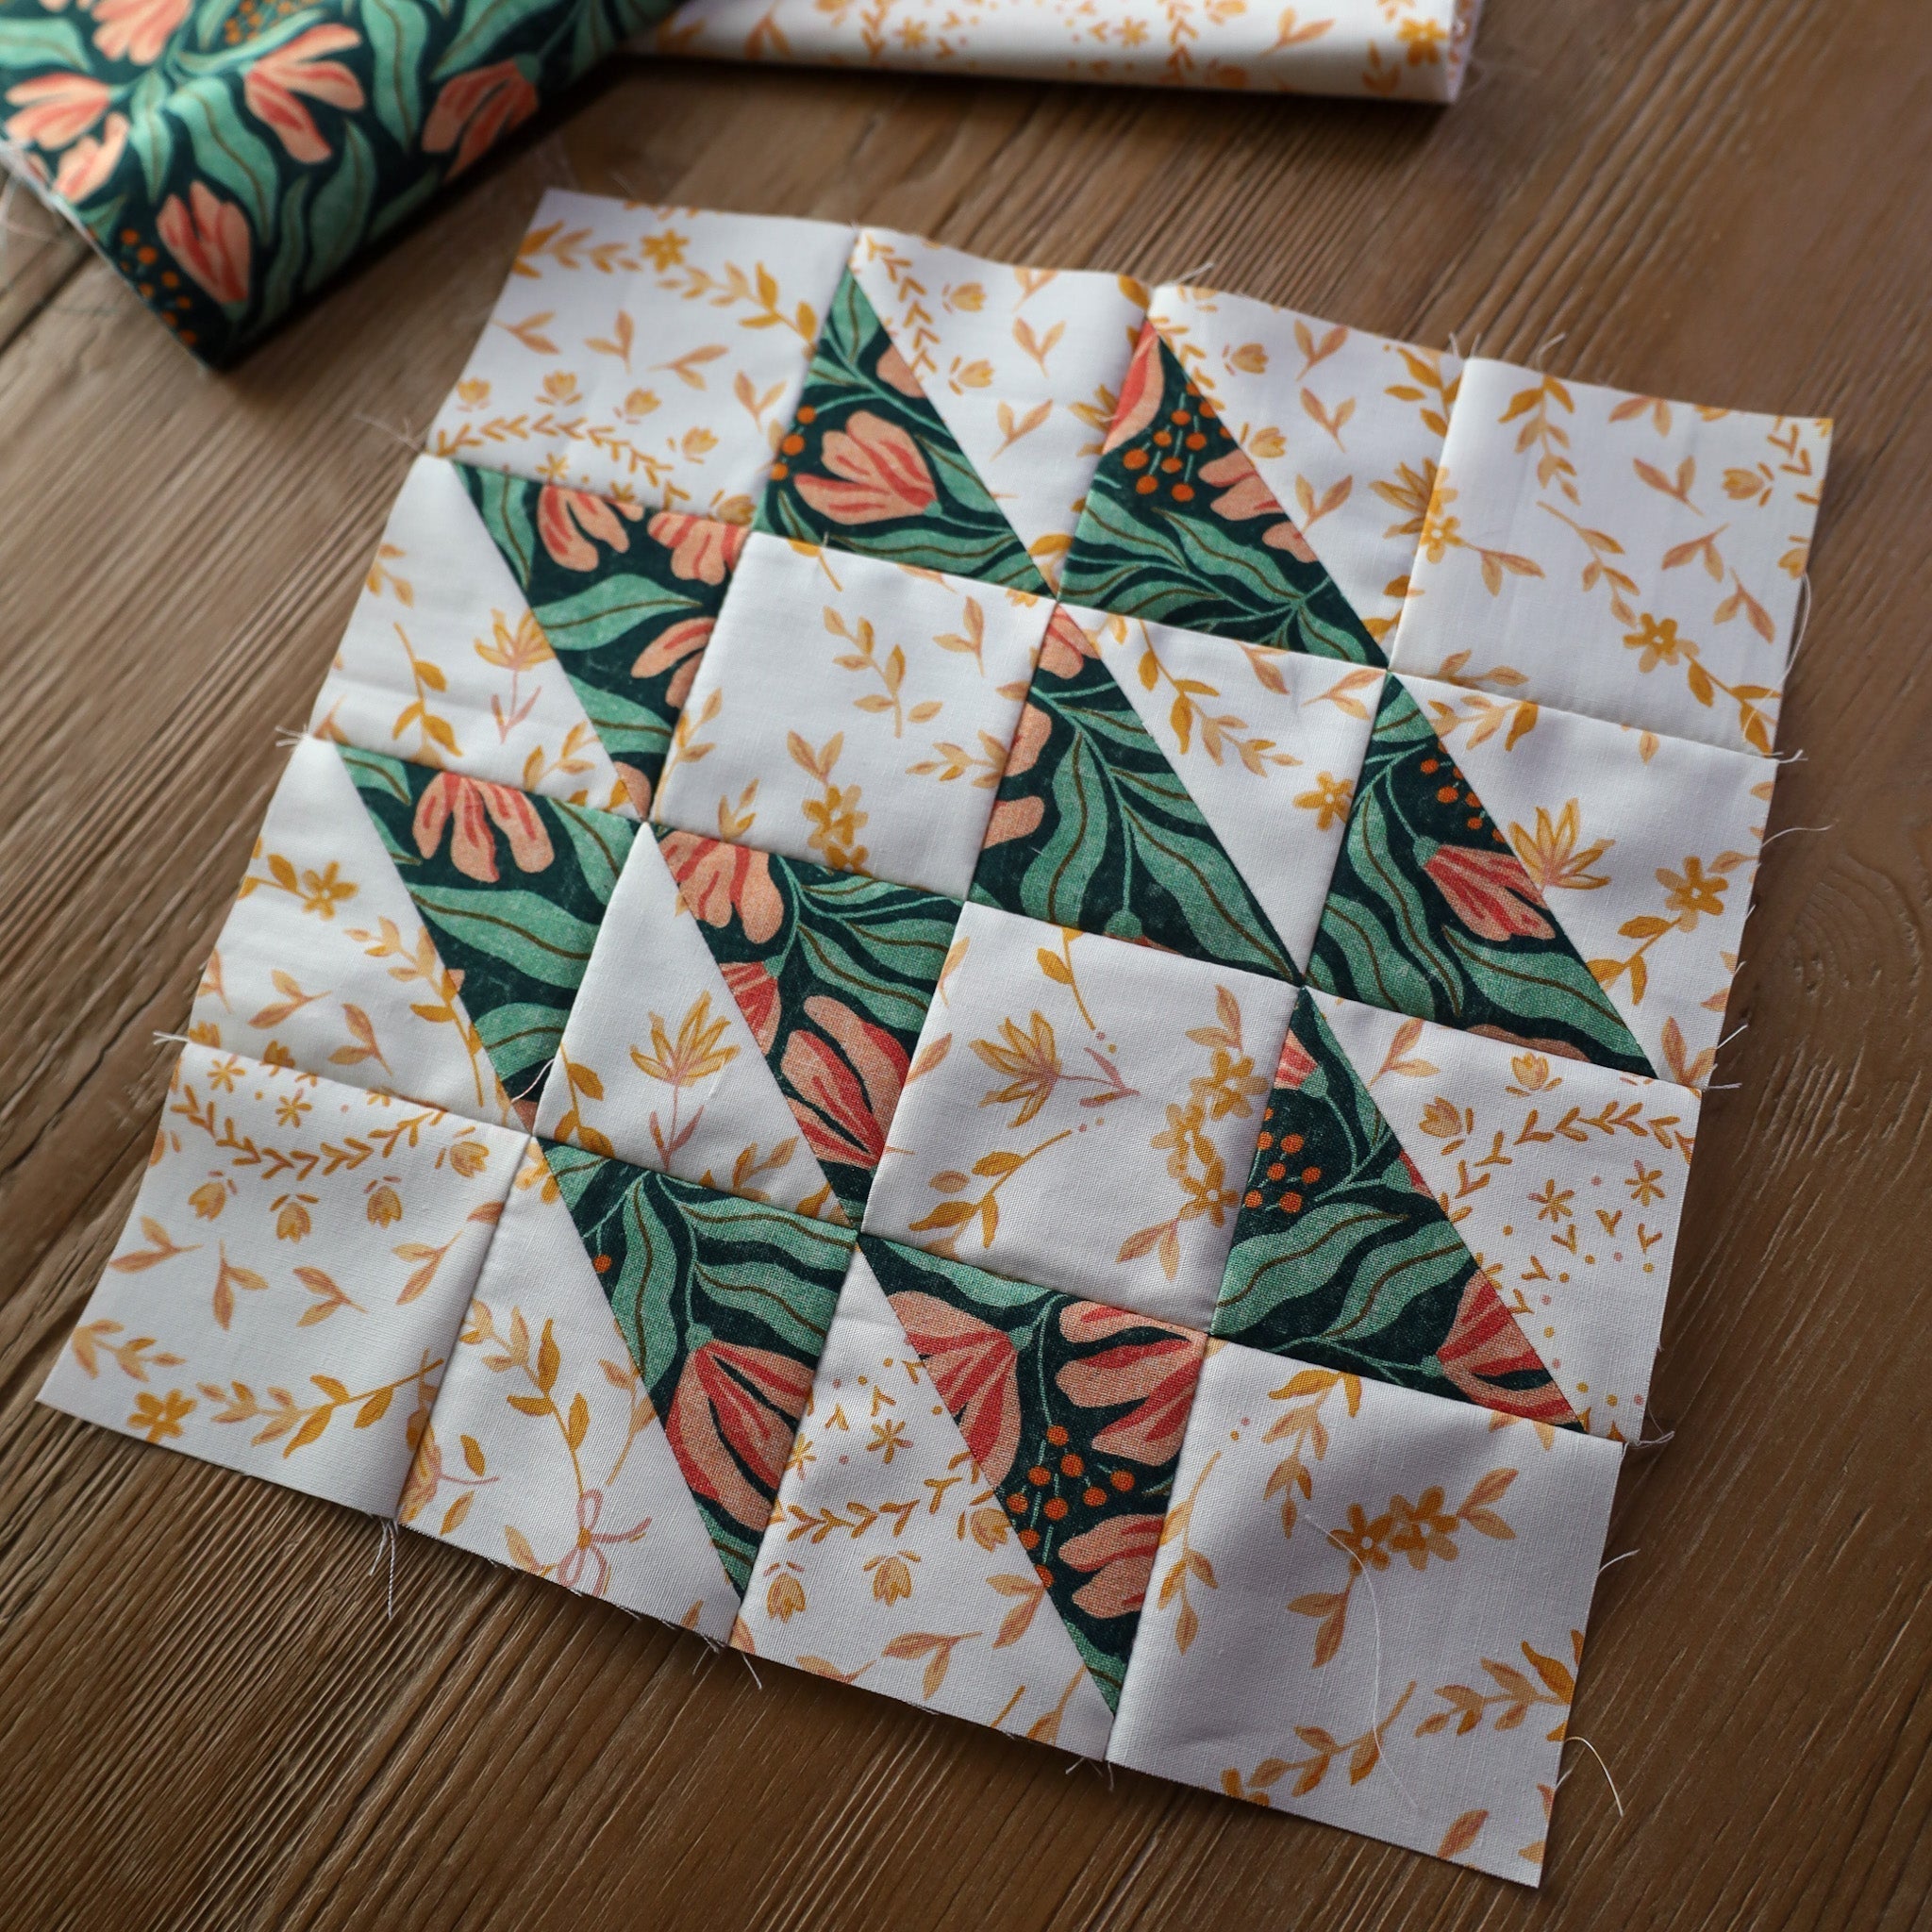
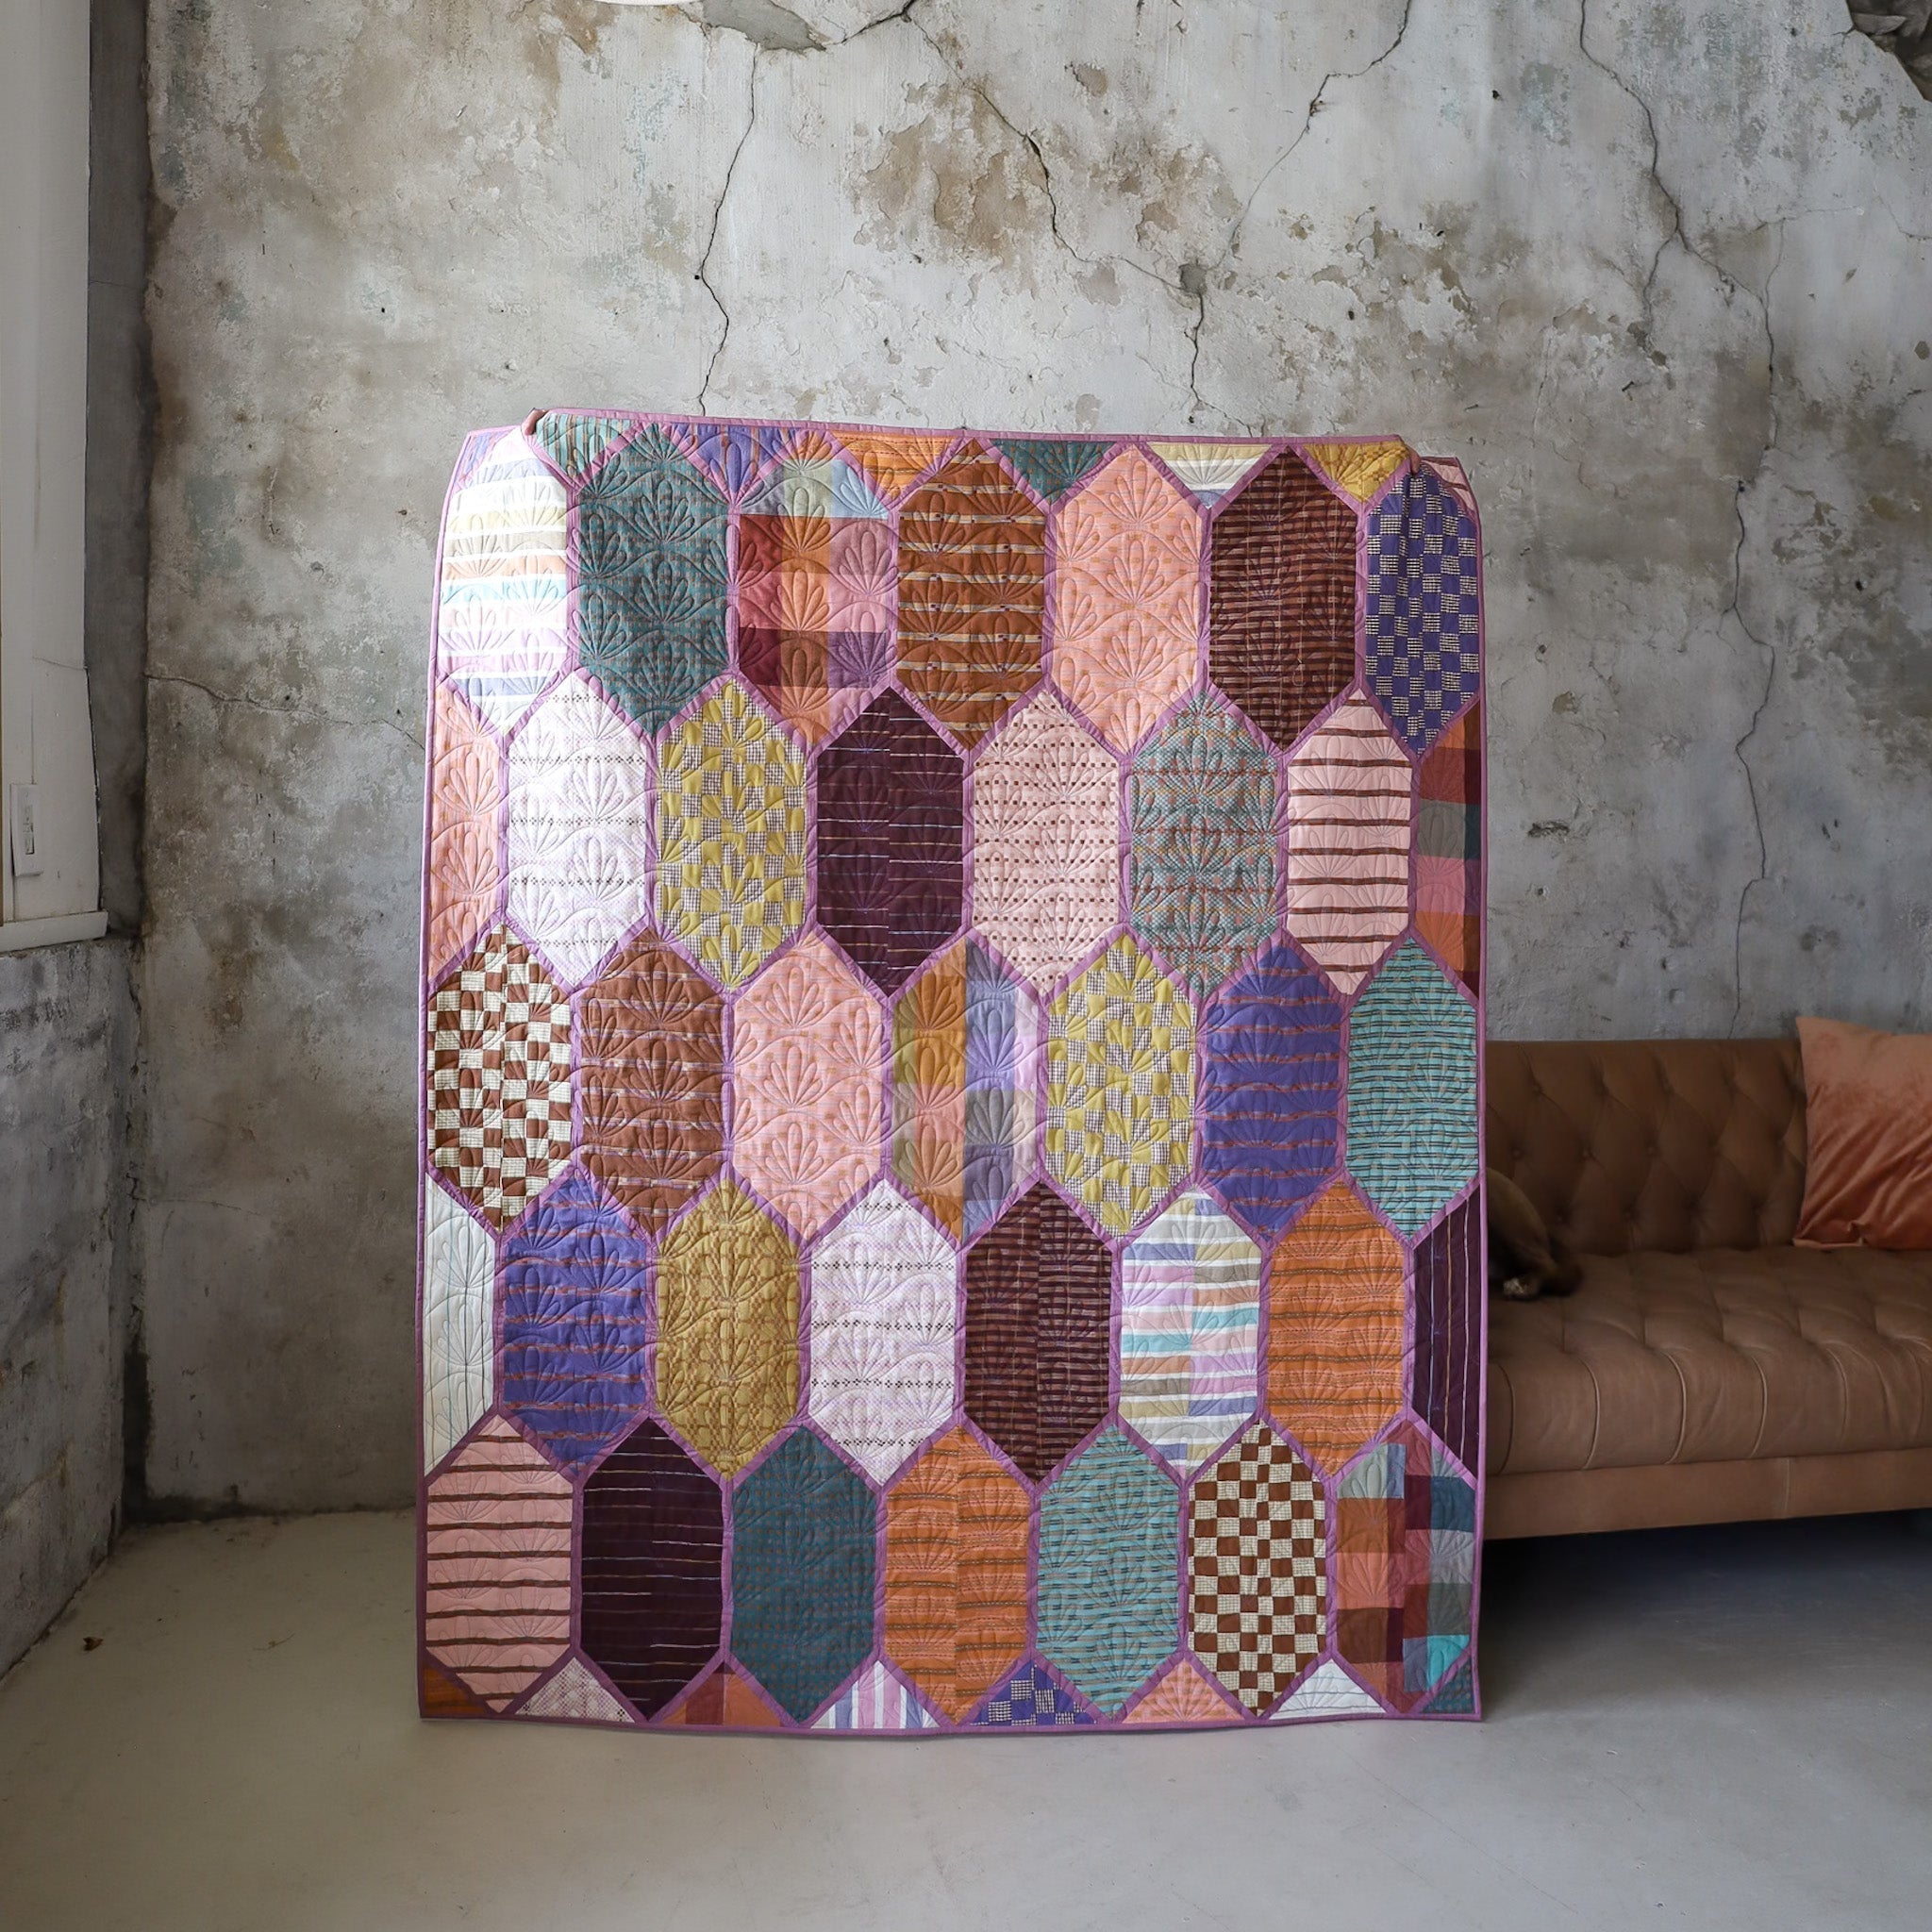
Of course, you don’t necessarily have to make a coaster or a pillow from these blocks. You can use your block for a tote or placemats, or sew up several to make a quilt…the possibilities are endless!
Here are just a few!

I'm a coaster fanatic, so keep reading to learn how to create these super quick and easy mini-quilts!
How to sew a quilted mini pumpkin coaster
Before you get started, be sure to download the pattern for this block above!
Place the block on a piece of batting that is at least 1-2" larger than the block on all 4 sides. Pin in place if desired.

.
Quilt these two layers together. I did diagonal lines that are about an inch apart. I marked the first line with a hera marker, then after that, I used the edge of my presser foot as a guide.

.

.

.

.

.
Trim away the excess batting so that it aligns with the edge of the quilt block.

.
Create a backing piece of fabric that is the same measurement as your block/batting unit. Place the backing fabric right sides together with the block and align the edges. Pin/clip in place.

.

.

.
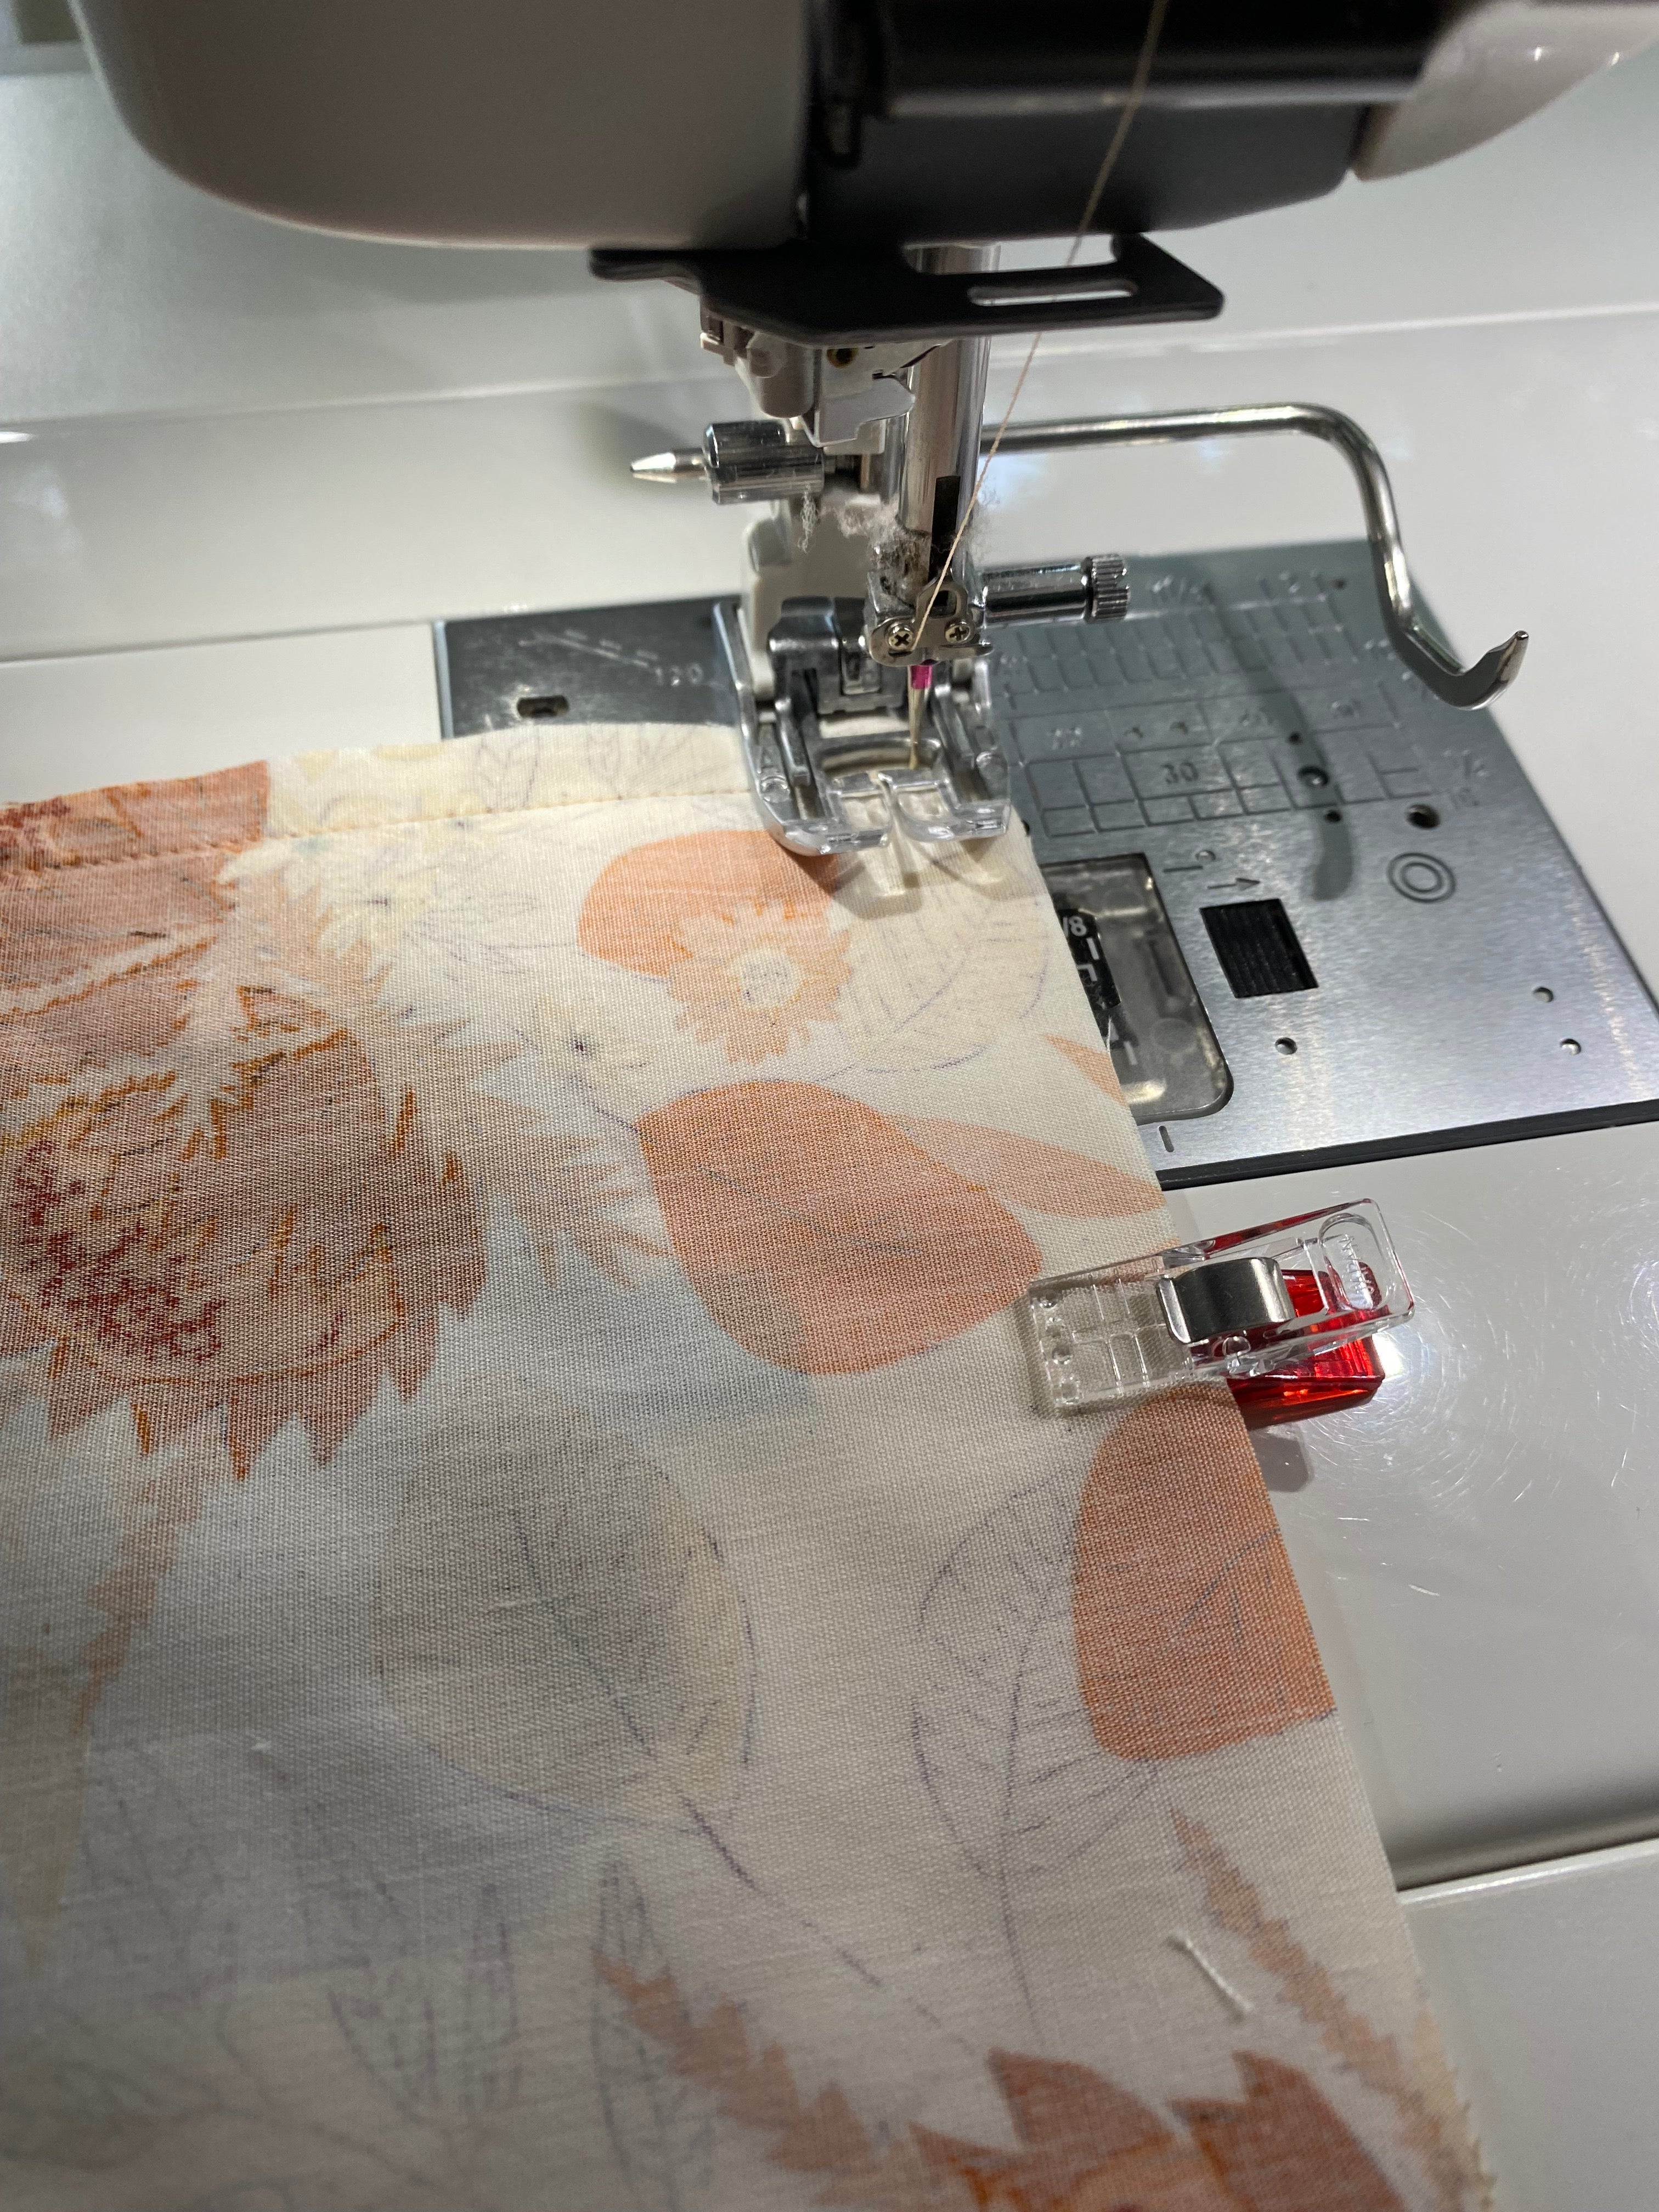
Sew a ~1/4"- 3/8" seam around the perimeter of this unit. Leave about a 2" gap from where you started and where you end the seam. Backstitch at the beginning and end to secure the seam.
.

.

.
.
Clip the corners of the coaster to decrease the bulk, be careful not to cut into the seam allowance!

.
Flip the coaster inside out and use a blunt tool (like a screwdriver) to "poke" out the corners.

.

.

.

.

.
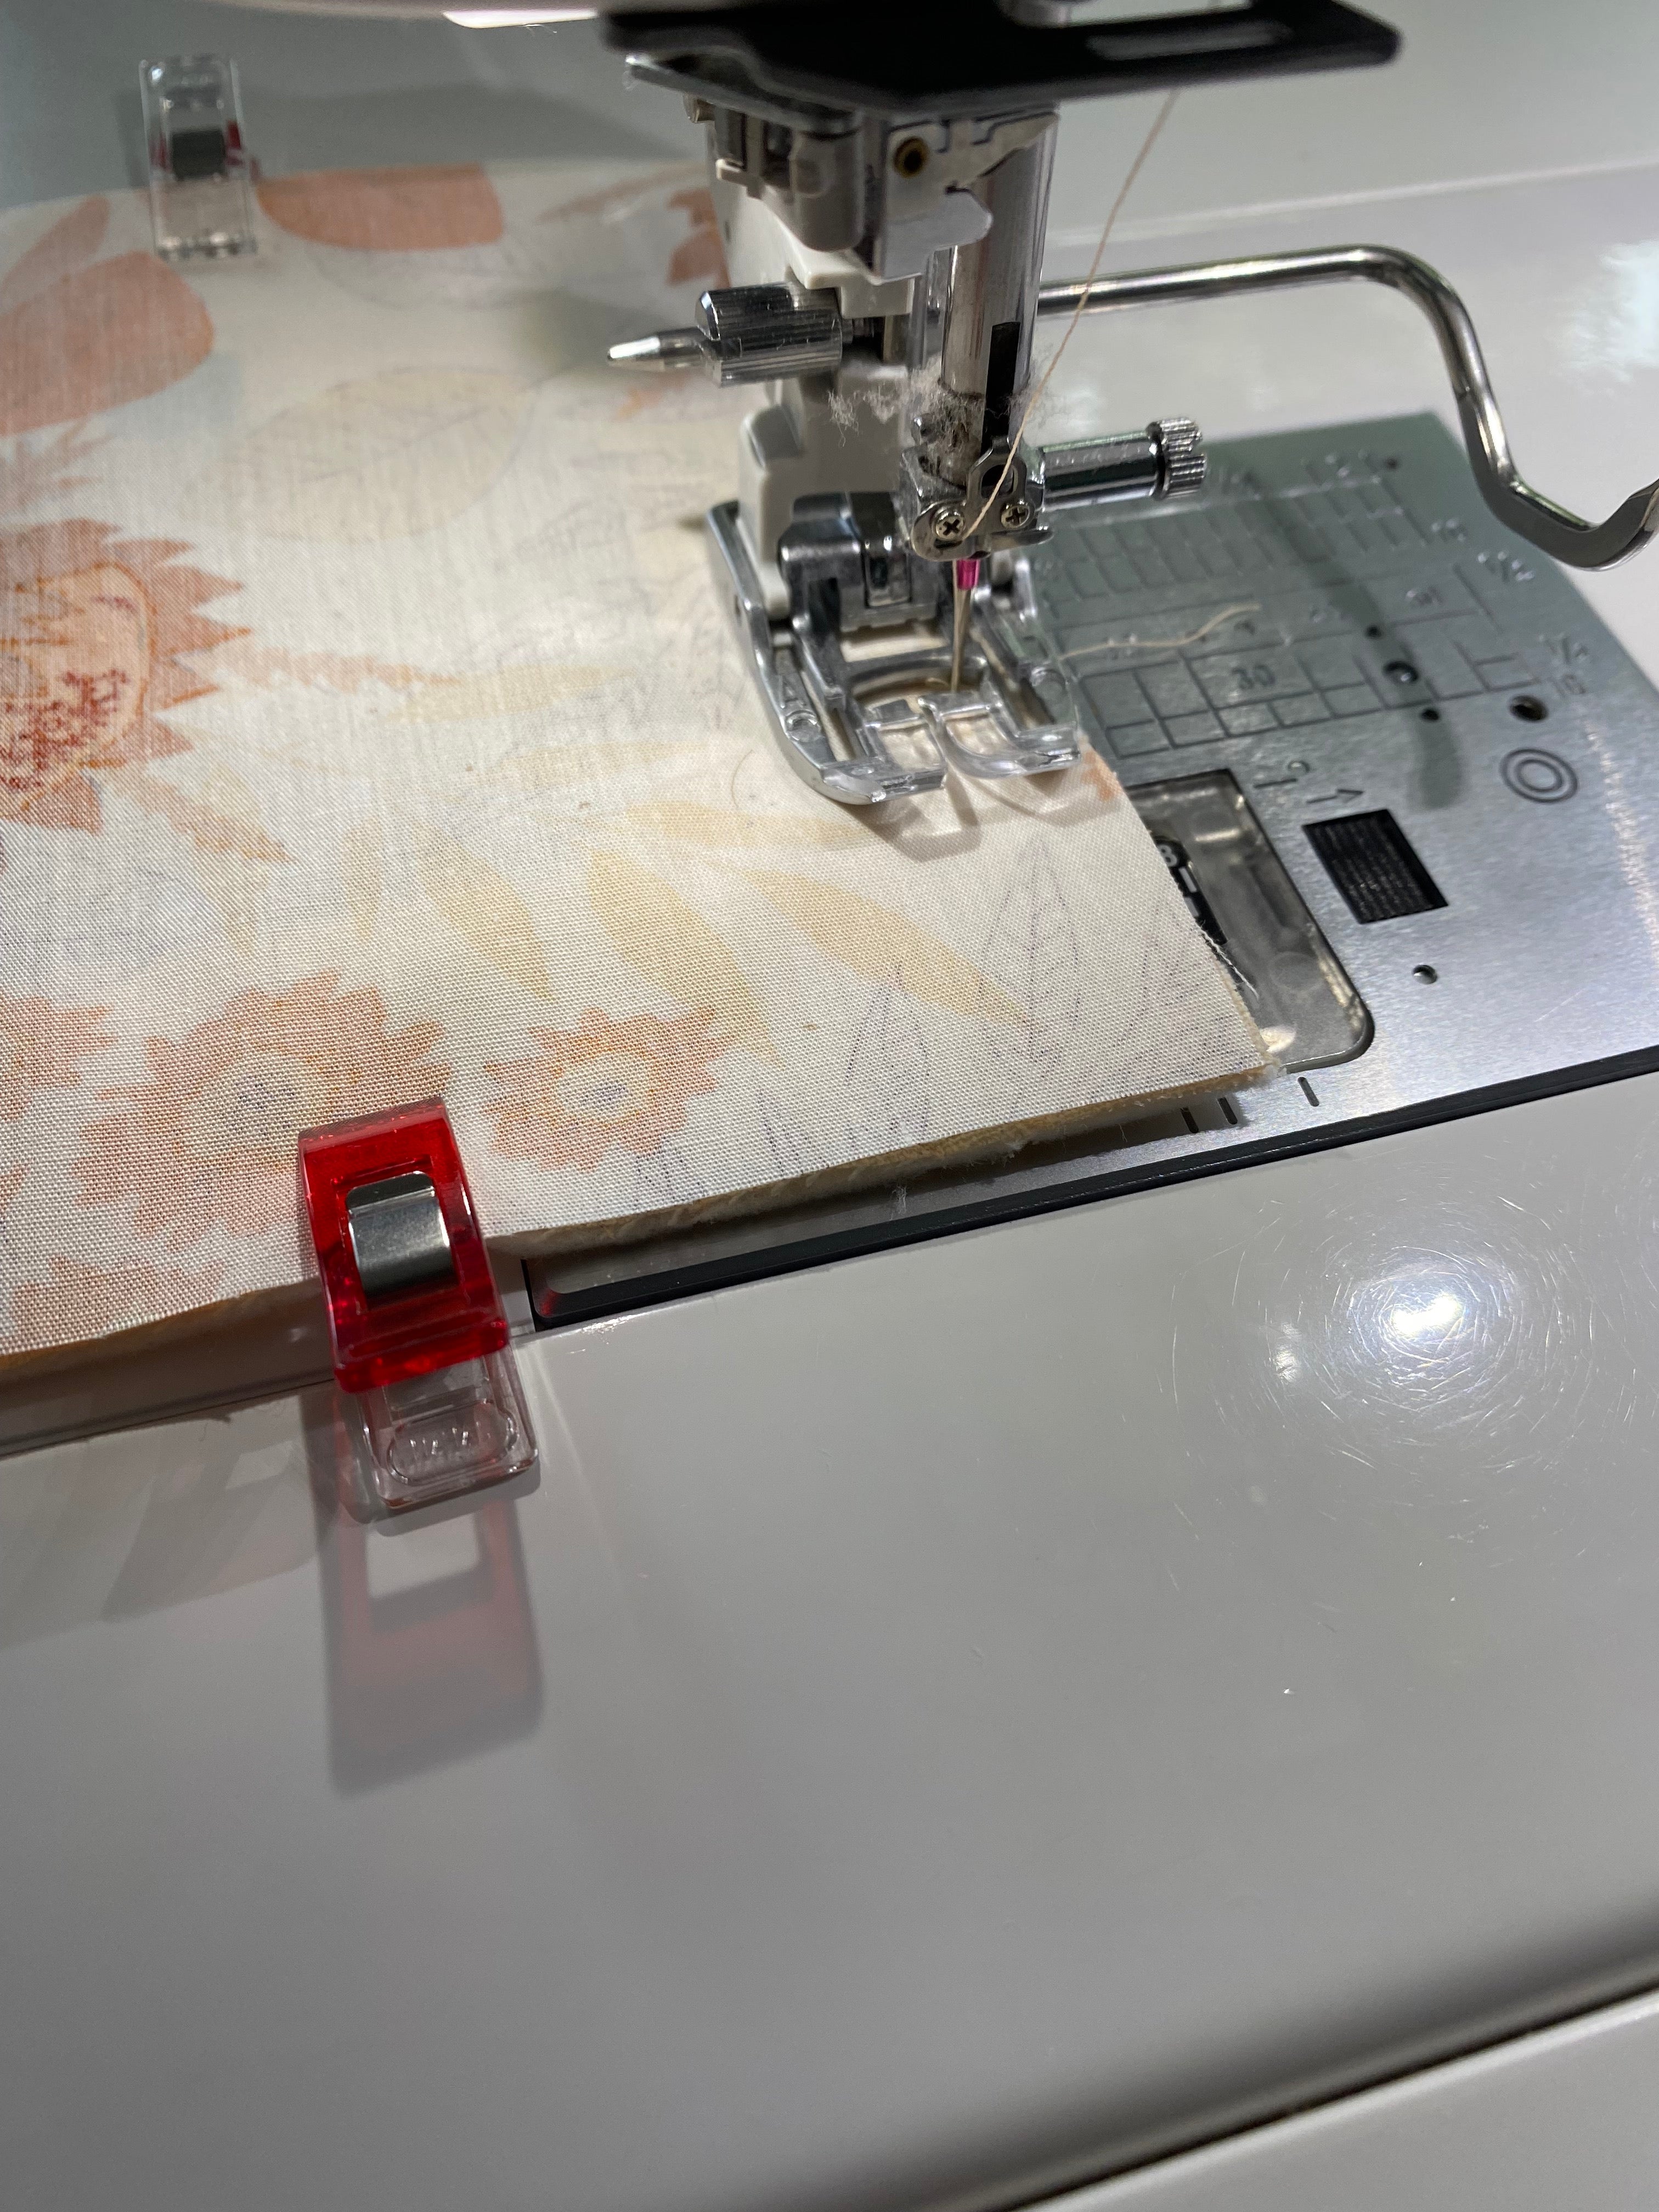
Sew about 1/8" around the perimeter of the coaster, closing up the gap that you left in the previous step.

.

.

.
Bury the threads by tying a knot between the needle and top thread and burying those tails.
Enjoy your blocks!
.
More free patterns
After you’ve downloaded your pumpkin block patterns, give these projects a try:
- Mini Christmas Joy block tutorial
- Scrappy quilted coaster tutorial
- Scrappy quilt block patterns
- Patchwork Squares quilt pattern
Happy quilting!