Celtic Crossing 2.0 Quilt - using the "Velvet" collection

In case you missed it, Celtic Crossing 2.0 quilt pattern is now available!
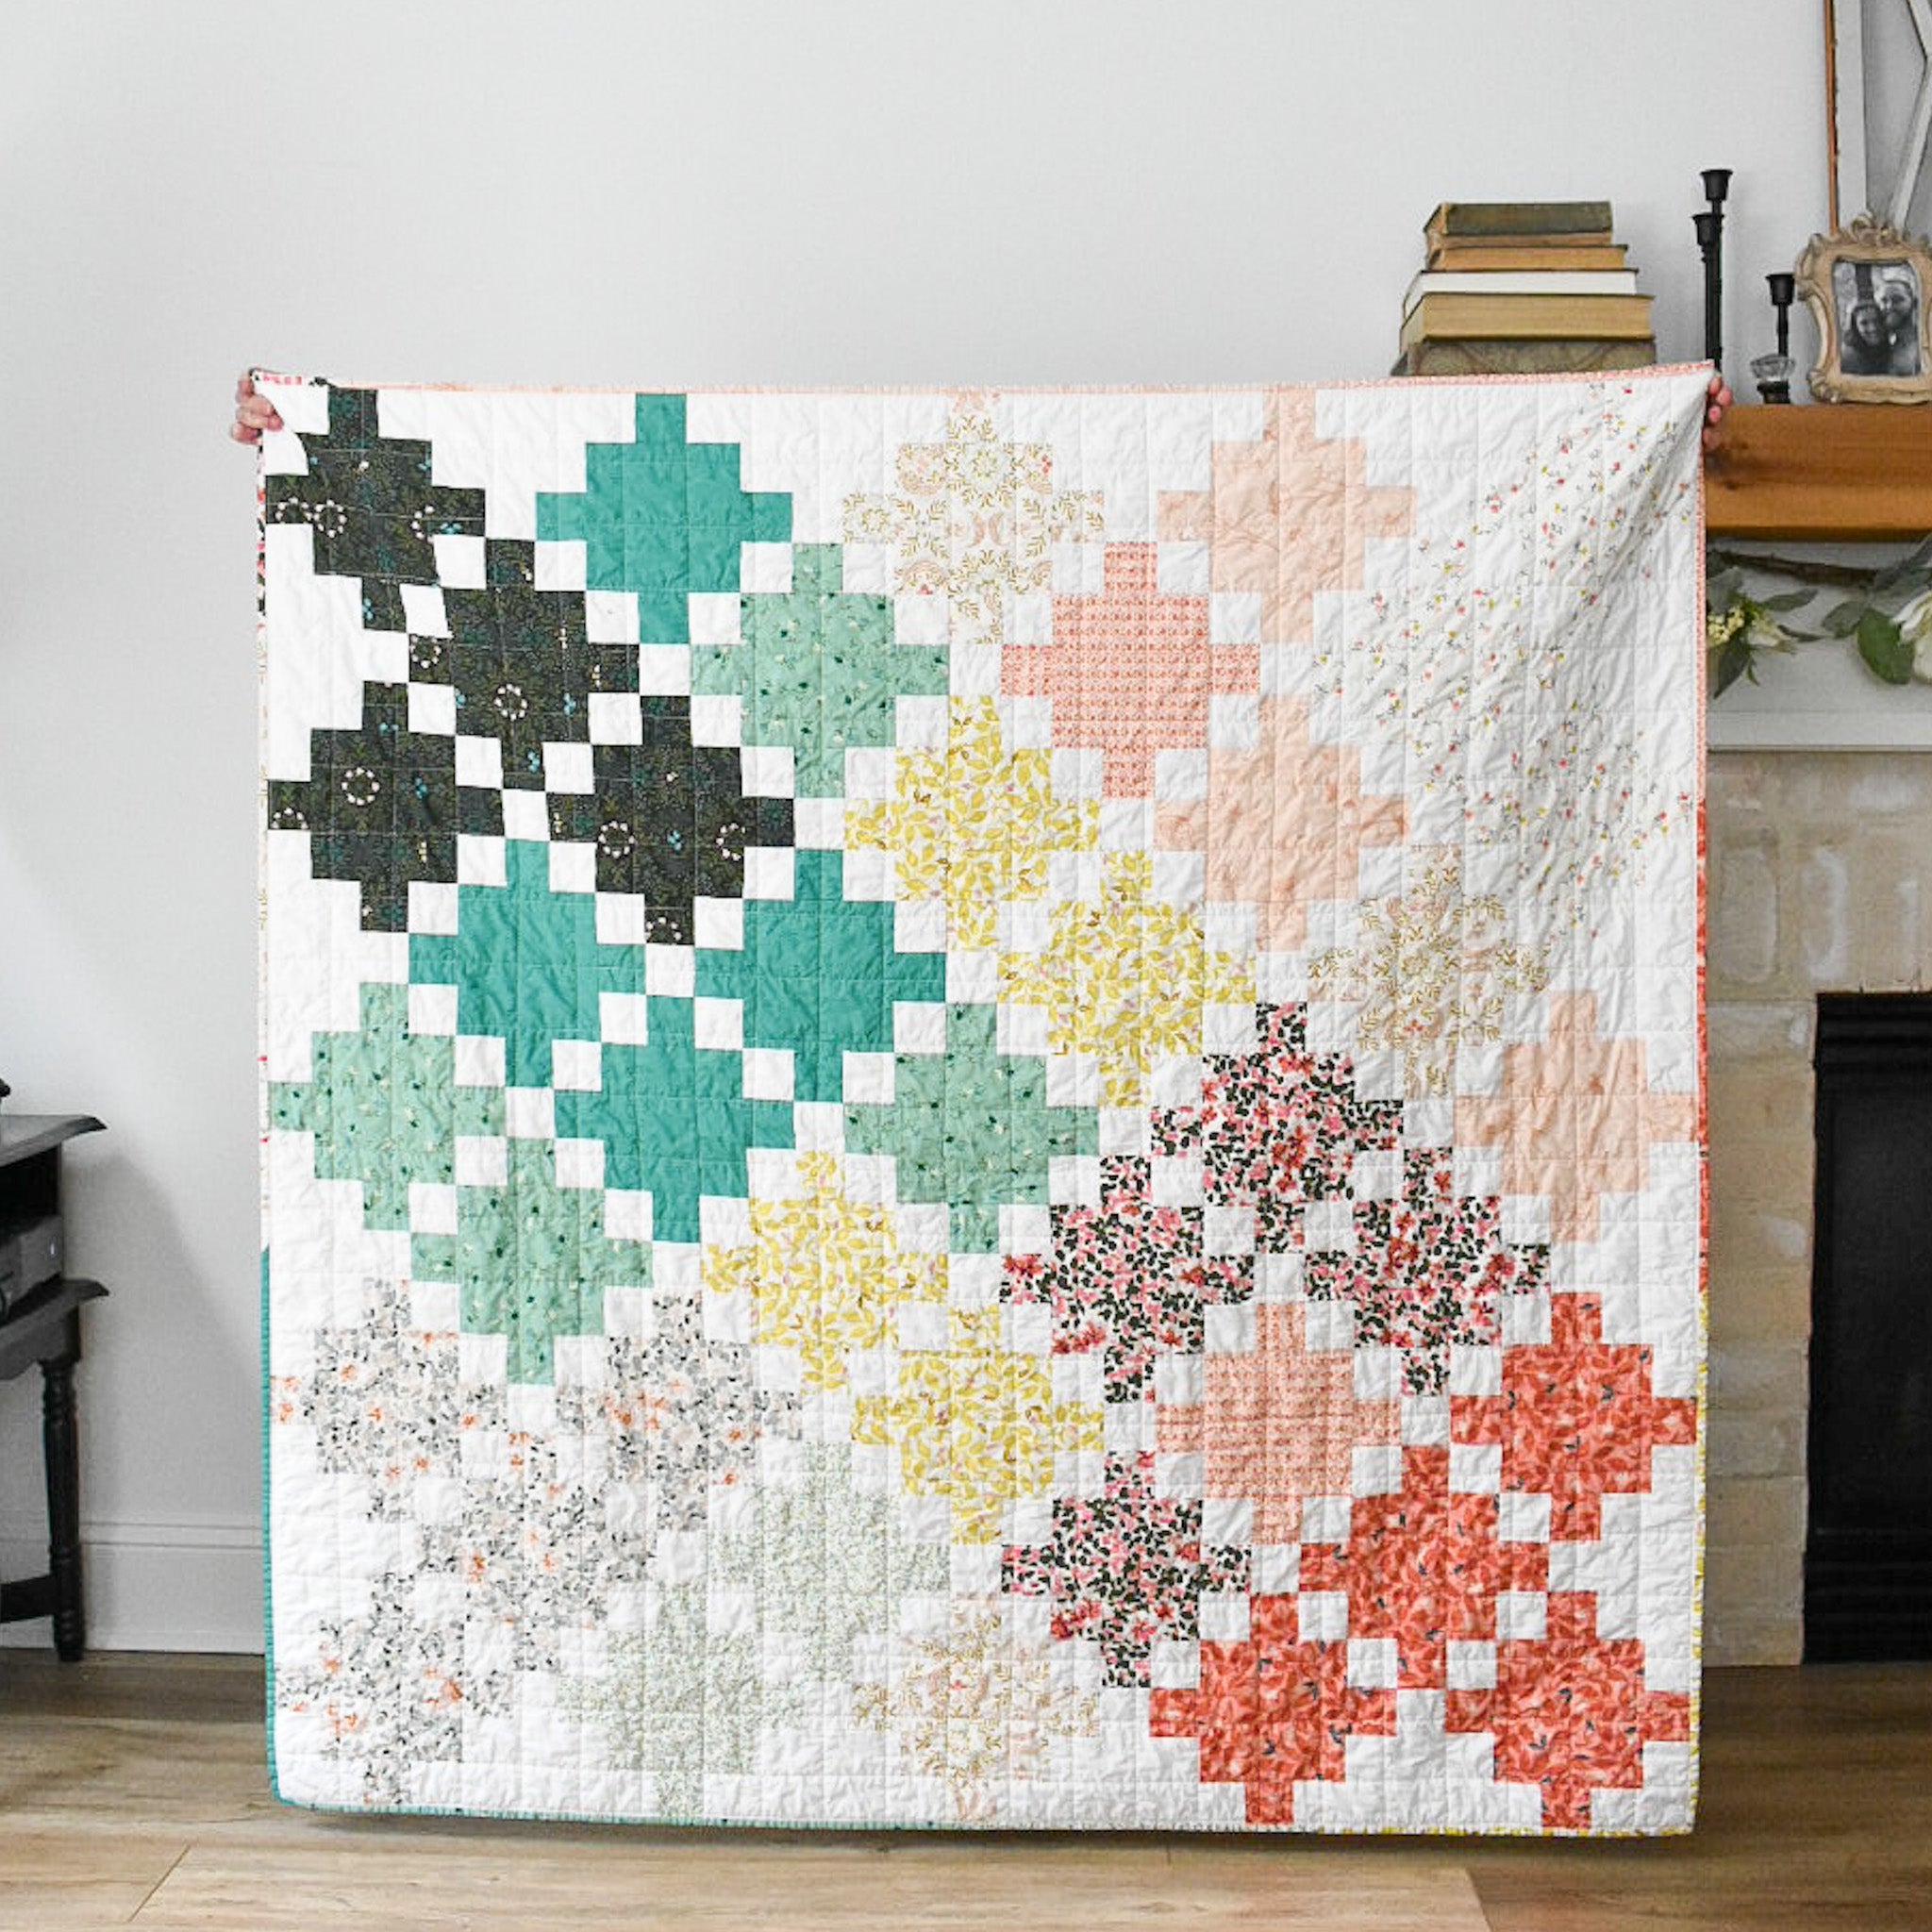
Did anyone else's jaw hit the floor when they saw Amy Sinibaldi's new fabric collection, Velvet?? I know mine sure did. The first thing that struck me about the collection was her use of color! The pinks, peaches and teals feel light and airy, then the darker green really tones everything down and makes the palette feel earthy and rustic. I absolutely love how they all work together and offer a sort of balance in that sense. Then she threw in the lime green, which really sets the entire collection off! It just really feels perfectly balanced, and I was SO excited to make a quilt with them!
.

.

.

.

.
I really love how Amy creates so much interest with her florals! There's the perfect mix of small, medium and large scale prints and each one has a life of it's own. Overall, each one also seems to have a relationship with the next....if you will. I love the soft flower petals and whimsy stems, I just think this collection is so well done!!
I'll be honest, my original plan for this collection was to make a Christmas Joy quilt without the sashing. I was going to inverse the background fabrics so that there would be more of each fabric for each block. Then, I was going to keep them in order so that each of the fabrics would visually relate to their neighbor...if that makes sense! Here's what it would've looked like:
.

.
I then played around with mixup up certain block elements and came up with this:

.
These quilts would finished at 42" x 56", so it'd be a lap or crib size.
I also considered making an Interwoven quilt or Knitted Star quilt....but since both of those use such small pieces, I figured that you wouldn't really be able to see and appreciate Amy's gorgeous prints! (But I do love how these look!)

.

.
Ultimately, I ended up changing my mind because I wanted to make a Square Throw Celtic Crossing 2.0 and this was the perfect fit! I played around with some digital mock up and started cutting! Thankfully the cutting for this pattern is super mindless and straight forward! This collection has 12 fat quarters, so I decided to create a Square Throw, which is 58" x 58". This size really only needs 11 fat quarters, but I decided use slightly less of each fabric so that I could squeeze in that 12th piece. Overall, this gave me a few extra leftovers, but I'm okay with that! :)
.

.
With this quilt pattern, it's really important that you nail down where you want your colors to appear within your quilt before you start sewing. An alternative to using some sort of digital mock-up program like Electric Quilt or Adobe, is to use the coloring sheet provided in the pattern. Since these are prints, what I normally do is give each print a number, then write the number in my coloring sheet. You can also cut off a little piece of each print and tape it onto the coloring sheet so that you can really get an idea of what all of the fabrics will look like within your quilt.

Once all of my fabrics were cut, I actually asked Peter if he would piece this quilt for me and thankfully he was up for the challenge! This was his third or fourth quilt and he really did a good job with the seam allowances! He even measured each block after he pressed it to make sure that he was staying consistent. I'm so proud of him!
.

.

.
For the quilting, I decided to do a simple, straight line grid. Each line is 3"ish? apart. This was a super quick and easy process and it mimicked all of the straight lines in the quilt. I tend to lean towards more dense stitching in my quilting preferences, but this was a really nice change of pace! It really allowed for each print to shine without much distraction. Not to mention, less quilting = a more soft and drape-y/snuggly quilt. I'm a fan! I used a cream colored thread on my Janome M7 sewing machine. You can find my machine quilting tutorial here.
.

.

.
I didn't have a specific binding fabric in mind, so I decided to cut up the remaining portions of my fat quarters into 2.25" strips. Once I did that, I sewed them all together to create one long strip. I love the effect that this created!
You can find my machine binding tutorial here.

.
For the backing, I used one of my favorite prints from the collection, Firefly Awaken. I just love how dainty this print is....Amy is truly so so talented!
.

.

.

.

.

.

.

.
I was a little bit unsure about how this would all come together. It's not a true "ombre" type of gradient, so I felt like I was taking a little bit of a risk! That being said, this just goes to show the beauty of using fabric collections in quilts! It always ends up working out in the end. I really love the outcome of this! Not to mention the fact that all of these fabrics are Art Gallery Fabrics, means that this quilt is SUPER soft and snuggly. Some of my favorite quilts are always my AGF ones for this very reason!
If you'd like to make a quilt just like this one, we have Velvet Fat Quarter bundles in our shop! We also have Firefly Awaken for the Backing and a binding option as well!
Happy quilting!
.
.
.
LINKS:


