Quilt Gifting Checklist - 8 Things to Do Before Giving Away a Quilt
Since the holidays are almost here, I thought it would be a good time to talk about giving quilts as gifts! I know a lot of us quilters love to make quilts for other people…so let’s get into the nitty gritty of how to prepare a quilt for gifting.
As I’ve shared before, my own love of quilts came from my Granny…she gave me beautiful quilts that I’ve treasured for decades now. Her gifts were so special to me, and I want my own gift quilts to feel just as special to their recipients!
So before I give away any of my quilts, I like to take some extra time to make the gift as nice as possible. I hope it helps to make the gift feel even more thoughtful…and that it helps the quilts get used! Here are the eight things I suggest doing with every gift quilt:

1. Consider asking for input
I know this first tip might be controversial…some people really like surprises, and they don’t want to risk spoiling a gift. But personally, I like asking for input from the intended recipient before I start making a gift quilt.
For example, when I made my Nautical First Gift quilt for my nephew, I asked his mom (Pete’s sister/ my sister in-in-law) for her ideas. She suggested the First Gift quilt pattern (which is based off my own baby quilt!), and she requested that I use some of the same fabrics I’d used in my other nephews’ quilts. Her input made me feel more confident the quilt would get used and loved…and her ideas actually made the quilt more special!

So I suggest asking your quilt giftee at least a little about their preferences. You don’t want to make a king-size quilt as a wedding gift only to find it clashes with the newlyweds’ home decor and never gets used!
I even think it’s fun to ask for their help choosing the quilt pattern and some fabric, like I did with my nephew’s quilt. It can even be helpful to ask if they like prints or solids…or maybe even what kind of "feel" they're going for. For example, my nephew's quilt has a patchwork/ lived-in vibe that feels just a bit more cozy and traditional, as opposed to the more modern cover quilt of that same pattern. Not everyone has strong opinions, so they may tell you to do what you want!
Simply put, the more involved someone is in designing their gift, the more likely it is they appreciate and use it.
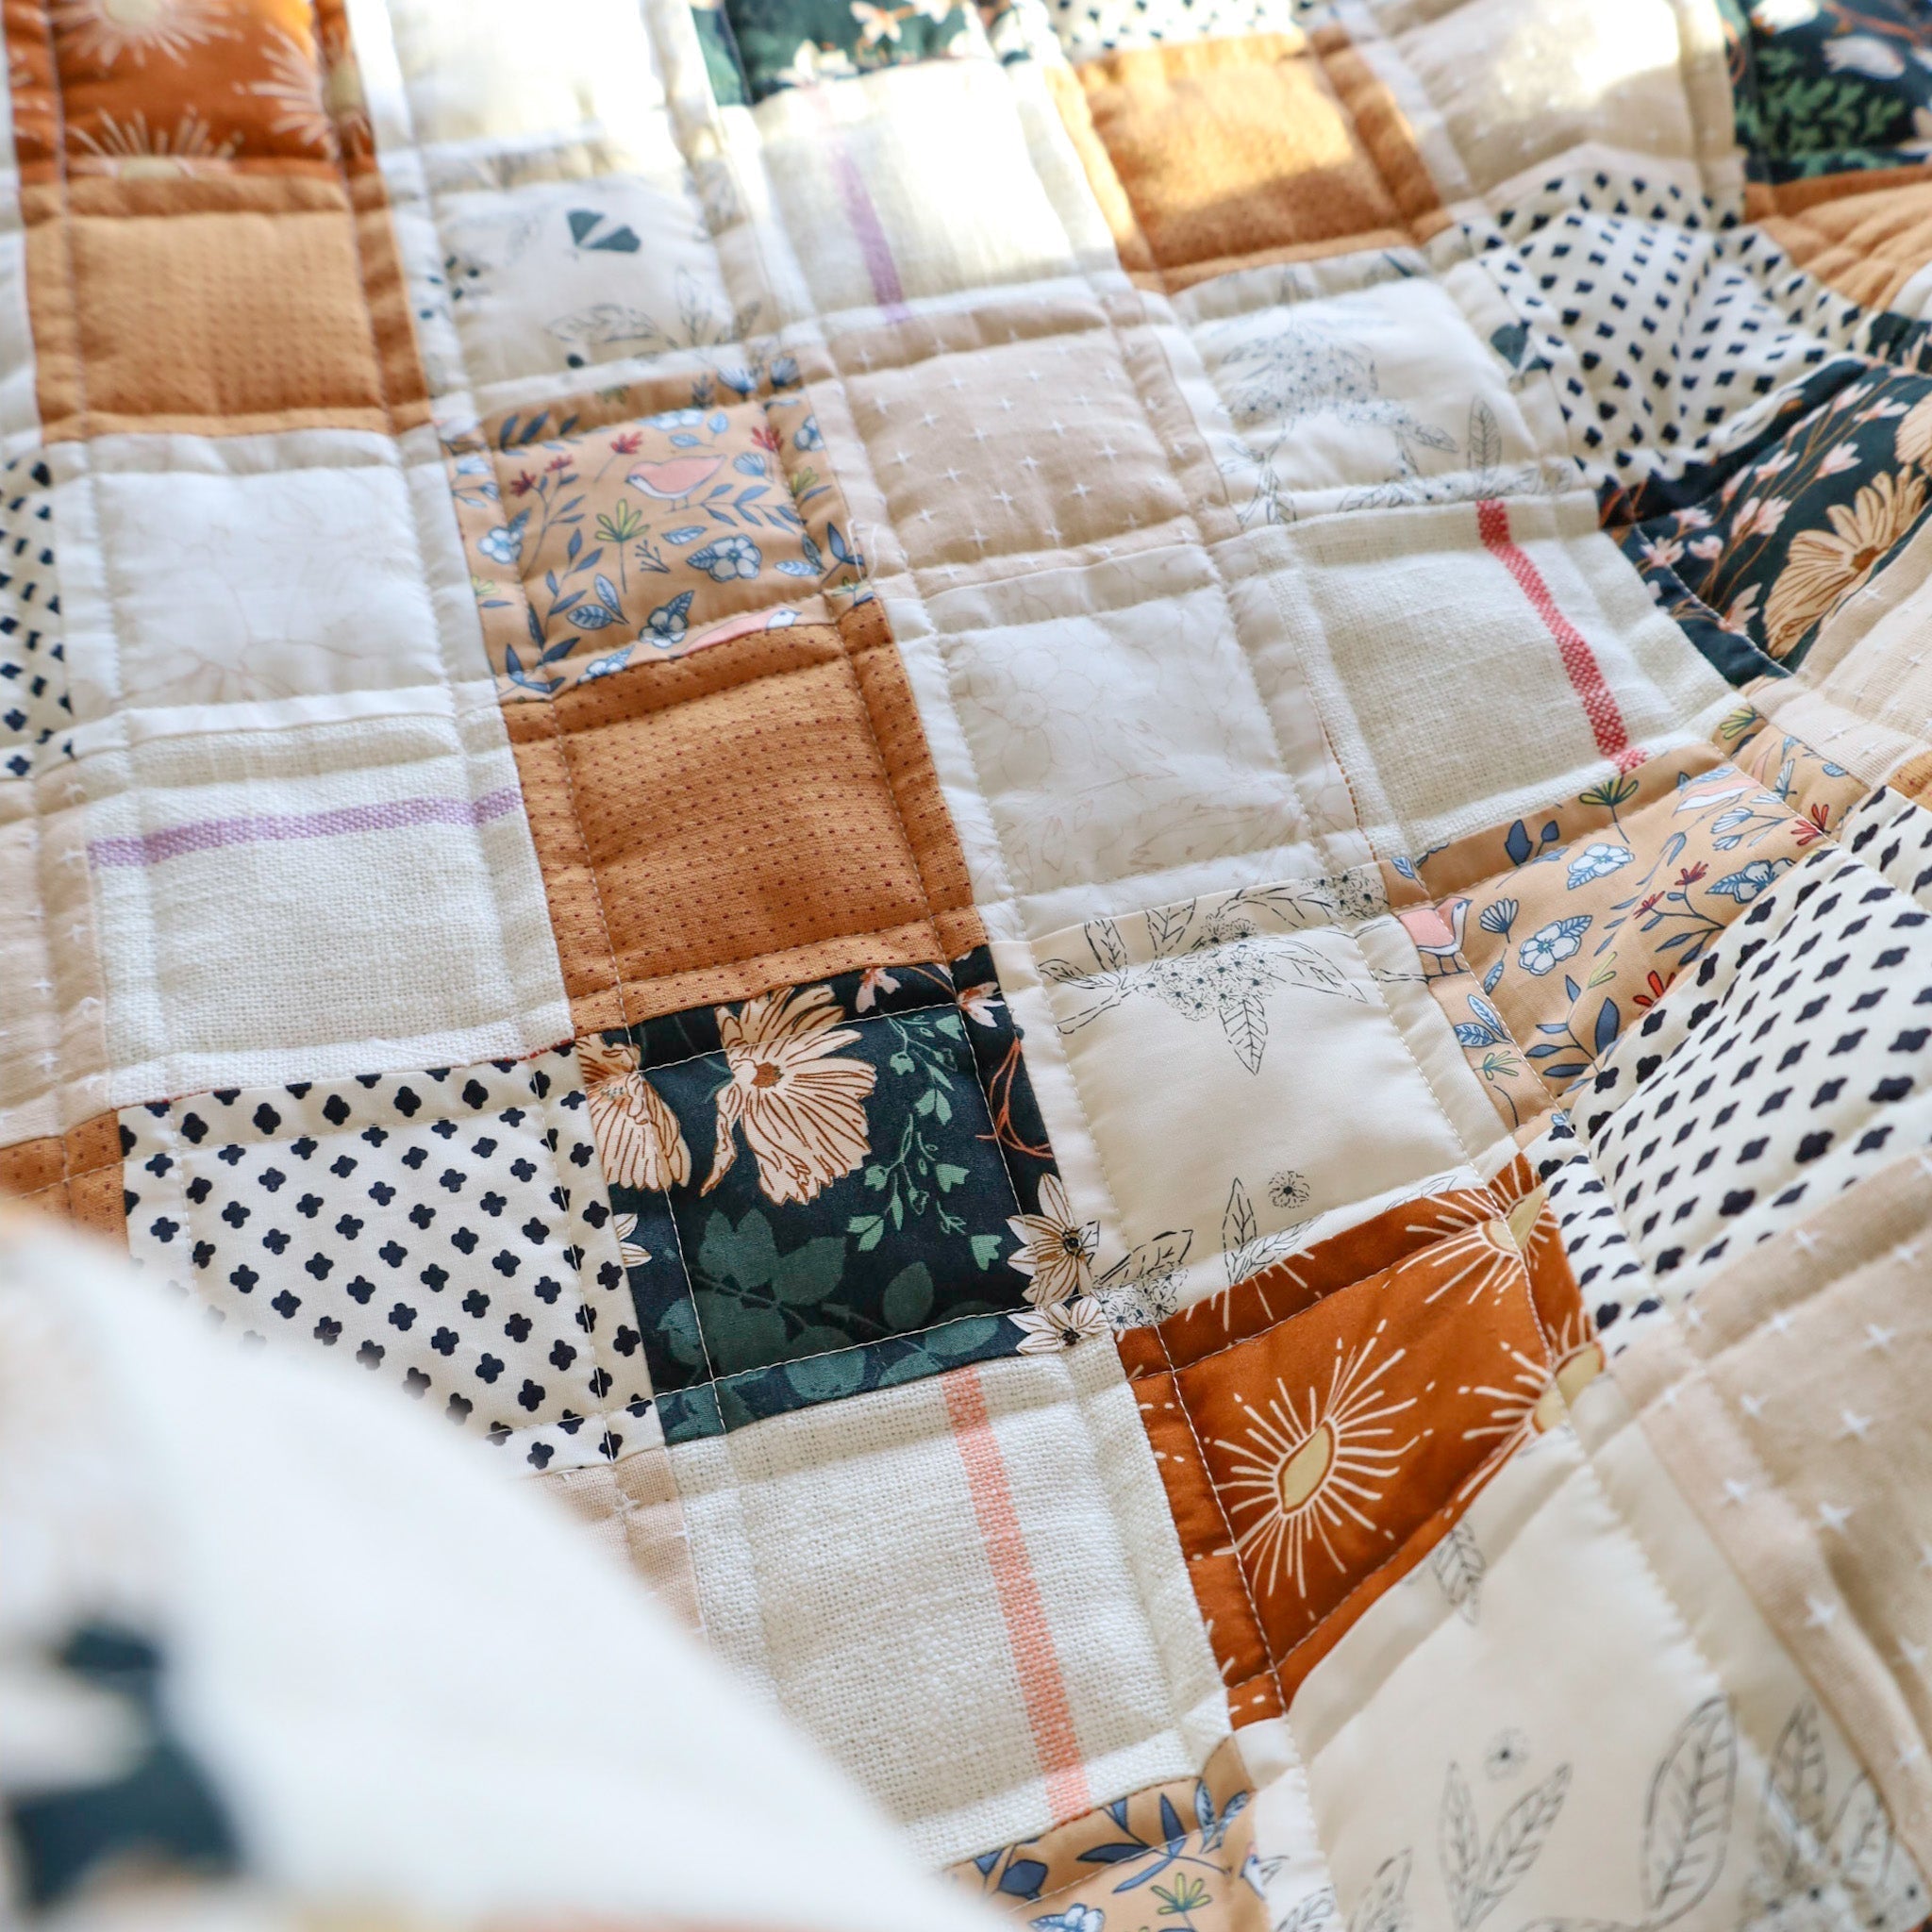
2. Add a quilt tag or label
My granny gave me my original puff quilt back in 1999. It took her 7½ months to make…and she made it with so much care and love. I know all this because she included a quilt label on the quilt! I treasure that label and how it makes an already personal gift even more personal.

Because Granny’s label means so much to me, I always suggest adding some kind of quilt tag or label onto gift quilts. At minimum, I suggest including your name, the recipient’s name, and the year. But you can include lots of information (like about how long it took to make, the quilt pattern, or other interesting details).
You can find iron-on labels that you write on, or you can easily order customized sew-in labels. You can even make a simple label out of a square of folded fabric, and use a permanent fabric pen to write on it! If you’re iffy about how a fabric pen will wash and wear over time, I recommend creating a test piece and washing it a few times. (In fact, this is a good idea any time to use ink on your quilt.) That way, you’ll know how it behaves prior to using it on your final project.

As far as machine stitching vs. hand stitching your label, I've done both! I slightly prefer hand stitching, but it does take slightly more time. Either way, I find it’s easiest to add a quilt label after I've added binding to the quilt so that I can decide exactly where it'll go. Keep in mind, machine stitches lines will show on the other side of the quilt, which may make a difference in which method you end up choosing!
3. Check for stray threads
Once you’ve got your quilt all quilted and bound, take some time to check for stray threads (on both sides of the quilt). It will make your gift quilt look much more professional than having random threads on it. Plus, getting rid of those stray threads will make sure your giftee doesn’t accidentally yank on a structural thread.
Which brings me to my next point: Make sure that you cut the threads…don’t pull them! You don’t want to damage your quilt. A small pair of scissors or thread snips makes this easier than a full-size pair of scissors.

It can be hard to find all the threads, so try looking at your quilt from a few different angles. If you have the time, it can also help to take a break and then come back and look for more threads.
4. Wash the quilt
Once you’ve found all your stray threads, I strongly recommend washing your quilt before giving it away! You want to make sure that your quilt will stand up to washing…and if it doesn't, washing it in advance gives you time to fix any popped seams or other problems.
🧺 |
Quick tip: Washing gift quilts
|
.
Washing the quilt in advance also lets the quilt crinkle, so the recipient won’t worry they accidentally ruined the quilt. (Non-quilters don’t always know quilt crinkle is normal!) Plus, you can try to prevent any color bleed by washing the quilt with a color catcher…or several.
I wash my quilts in cold water on the gentle/ handmade cycle using minimal detergent. Then I dry my quilt on low heat.

After washing the gift, make sure to check for any issues (or any more stray threads!). Hopefully everything looks just fine, and you can get it ready to present.

5. Use a lint roller
Right before packing up the quilt, I like to use a lint roller to get any remaining cut threads and lint off…or pet fur (something I didn’t worry about pre-Ruby Sue!)
If you don’t have a lint roller, you can always wrap tape around your hand instead (especially if you used painters tape to baste your quilt sandwich).

Either way, getting everything off really helps your quilt look it’s best. It makes a big difference on dark quilts, especially!
📷 |
Quick tip: Take pictures!
|
.
6. Pick your packaging
Now that gift quilt itself is ready, it’s time to decide how you’ll present it! Will you fold it up, or roll it like a burrito? Do you want to put the quilt in a gift bag, a wrapped box, or just hand over the bare quilt? There’s no wrong answer…it’s whatever feels right to you!
Whether you fold or roll your gift quilt, I do suggest turning back a corner of the quilt so that you can see the backing fabric. It’s a small touch, but it helps to show off all the things that make your quilt lovely…and it makes a great first impression!

Depending on the vibe you’re going for, you can use a strip of the fabric selvedge as a ribbon around your folded or rolled quilt. Or you can always use twine or a classically fancy ribbon! I think the best choice really depends on your quilt pattern and fabric choices…and what you have on hand.

7. Include care instructions
Whenever I give away a quilt, I like to throw in a small card with some quilt care instructions. Most people don’t know the “right” way to take care of a quilt…and I don’t want anyone’s hesitation to keep them from enjoying the gift!
Plus, a care card makes it clear that it’s okay if the quilt gets dirty…because it’s supposed to be used and loved!

You can make your own quilt care instructions…or you can use mine! We now stock packs of printed quilt care cards in the Lo & Behold Stitchery shop on thick, high quality paper. They’re perfect for anyone who doesn’t have a printer or who wants to use something a bit nicer than everyday printer paper.


Now your quilt is all ready to give away! But there’s still one more thing I like to do when giving quilts as a gift…

8. Encourage them to use it!
Even with the quilt care card, even when I tell someone I’ve pre-washed the quilt, even when we designed it together, it’s still common for recipients to feel like the gift quilt is too precious to use. I want my quilts to be used and loved…so when I actually give someone I quilt, I tell them exactly that!
I find that the extra encouragement makes people more likely to actually use the quilt. I love getting pictures of a baby playing on his quilt or seeing a quilt casually draped on the couch in someone’s home.
I hope all of our gift quilts bring their recipients just as much joy as Granny’s gifts gave me. 🥰

Happy quilting…and happy giving!
You may also like...
- Weekend Quilting Tips + My Favorite Fast Quilt Patterns
- 13 Handmade Gift Ideas for the 2025 Holidays (for Everyone on Your List)
- 7 FREE Christmas Sewing Projects
FAQ about quilt gifting
HOW DO YOU PACKAGE A QUILT FOR GIFTING?
The easiest way to package a quilt for giving is to roll or fold it up and place it in a large gift bag. Even an unwrapped quilt will look beautiful with a simple ribbon tied around it.
WHAT DO YOU GIVE SOMEONE WHO QUILTS?
If you need a gift for someone who quilts, I recommend quilt-themed gifts (like shirts and home decor) or upgraded notions. You can find all our favorite gift ideas for quilters on our list of stocking stuffers for quilters and quilt lovers.
SHOULD YOU WASH A QUILT BEFORE GIFTING IT?
Yes, you should wash a quilt before you give it away! It can give you a chance to see and fix any damage (like binding that needs to be reattached). Plus, washing the quilt means you can assure the recipient that their quilt is ready to be used and loved.
🔄 |
Post updated 12/24/2025
|
.
This post may contain some affiliate links meaning I may receive a small commission from each sell. Rest assured, I only share my favorite items with you!