How to Trim Flying Geese (with Video Tutorial!)
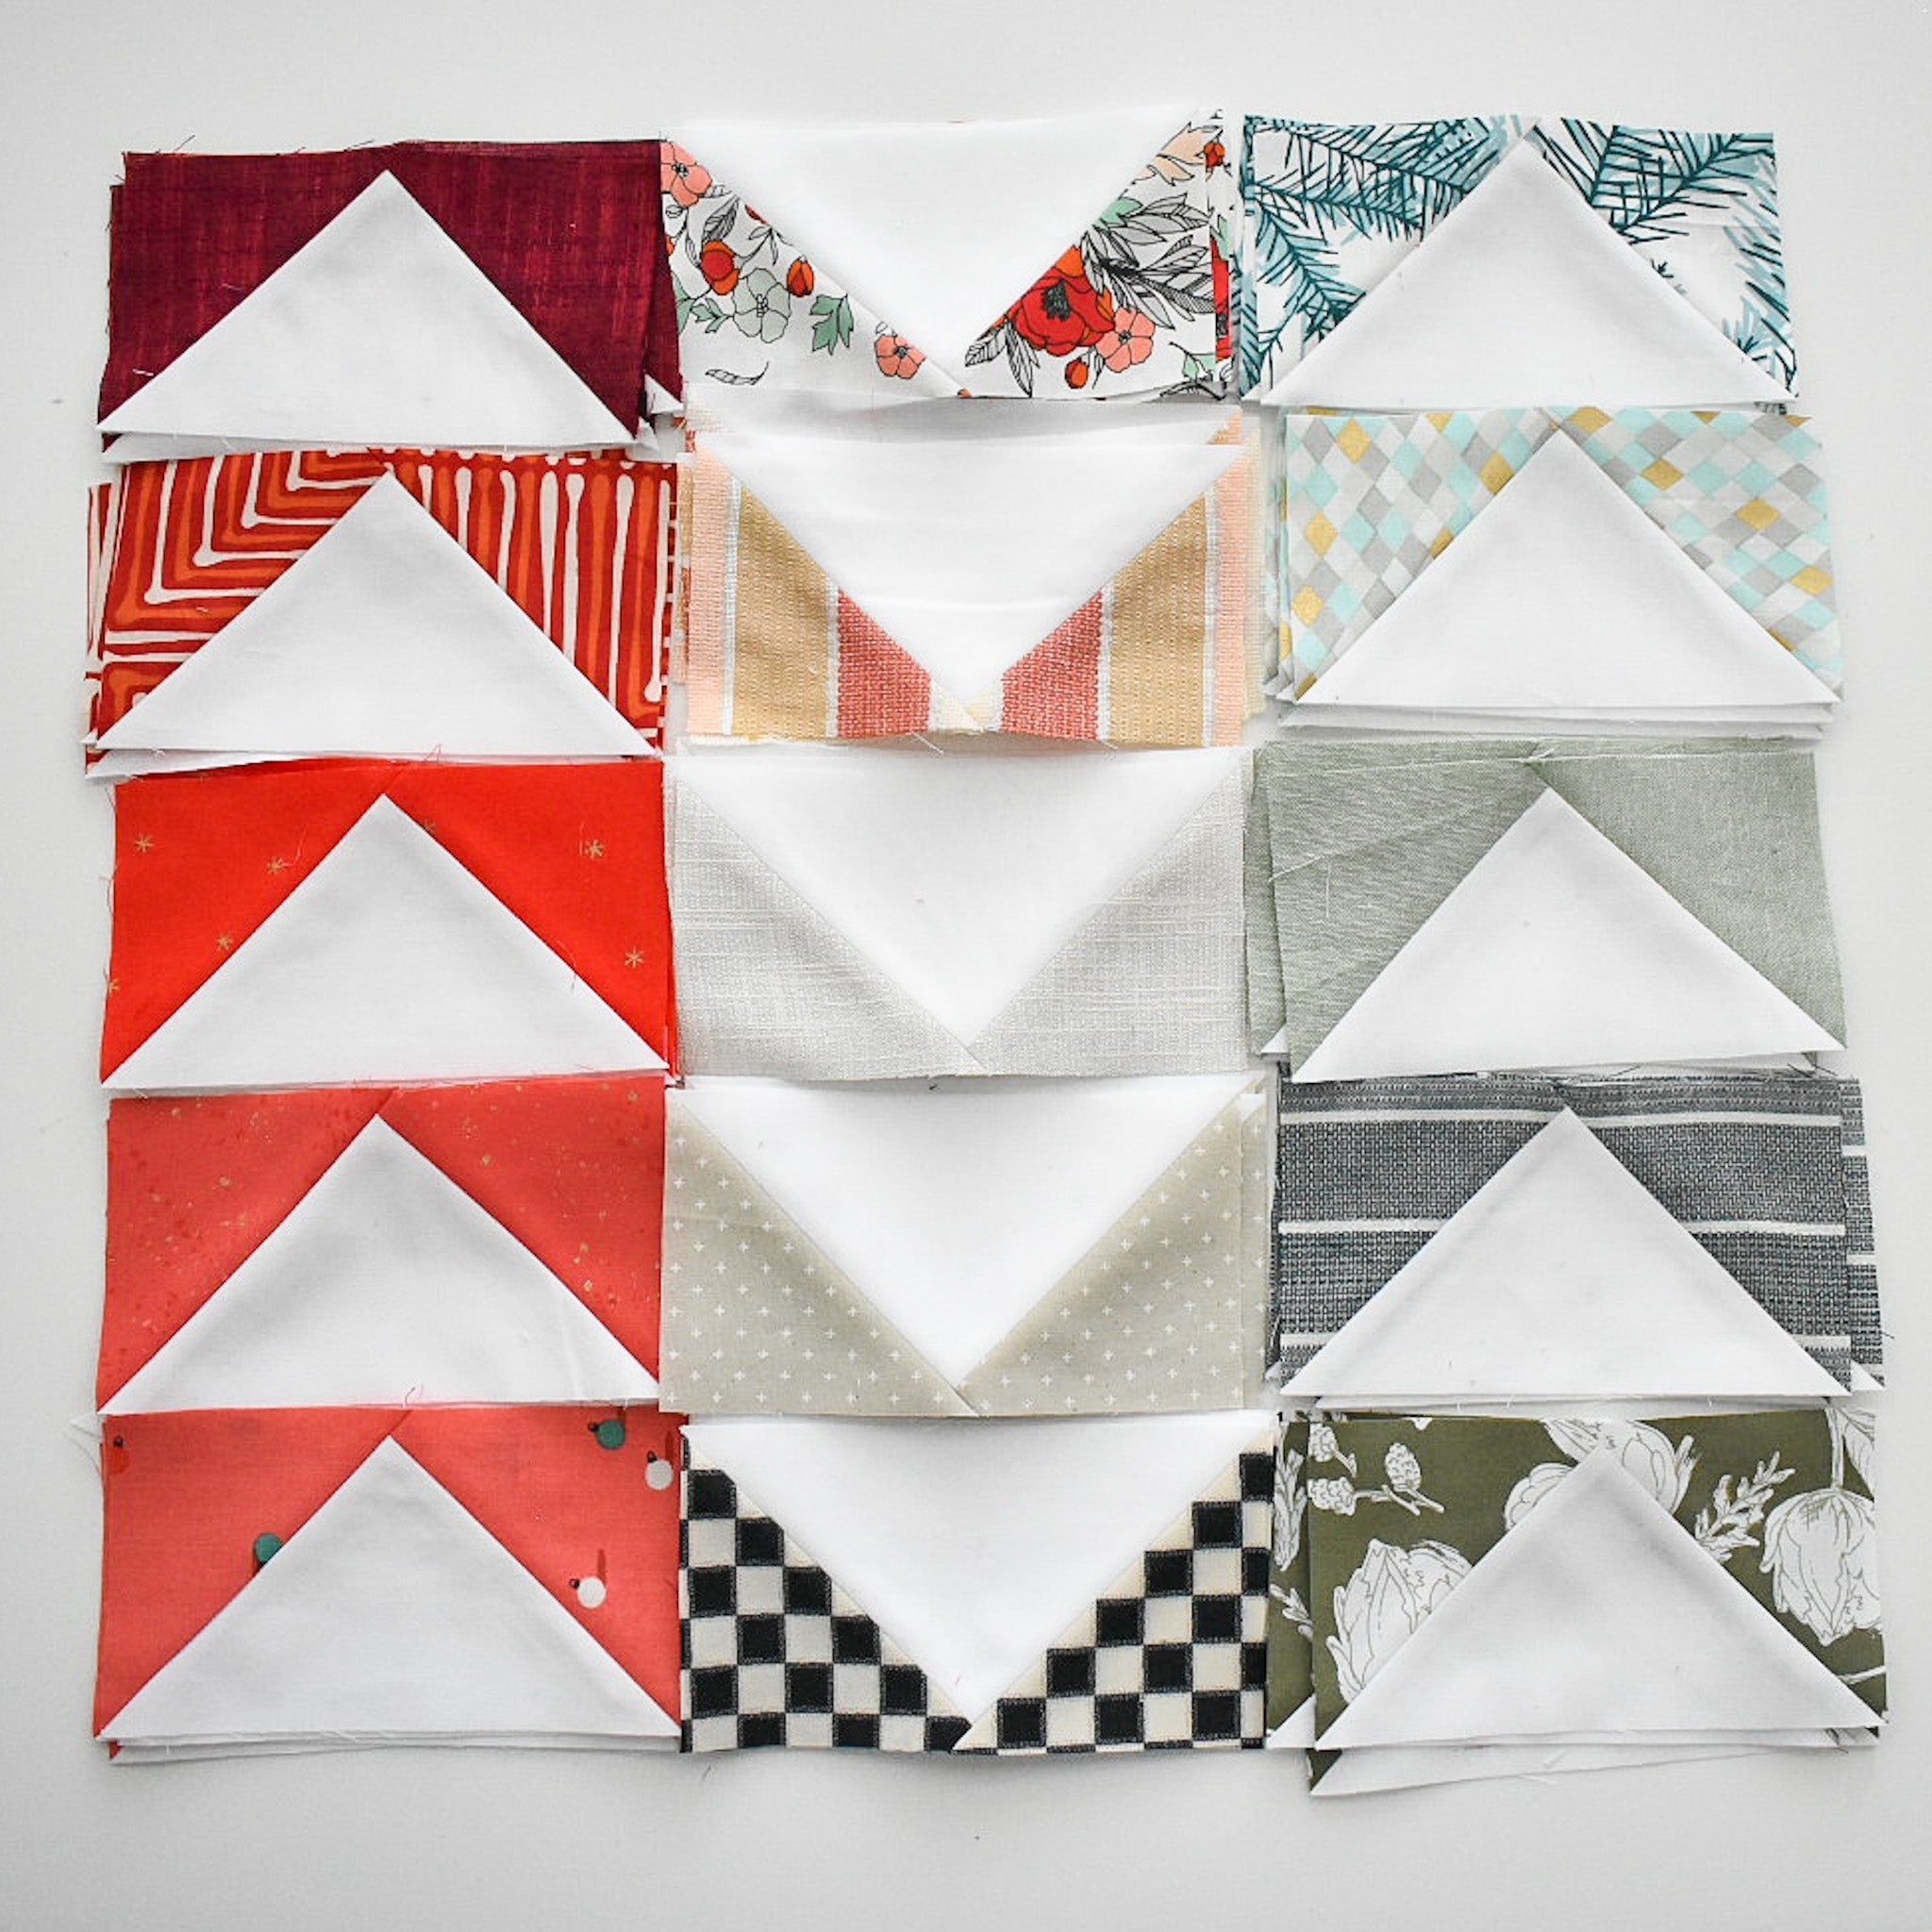
Flying geese are often considered one of the many fundamental, beginner-friendly blocks of quilting. They're definitely up there with half square triangles, wouldn't you say? Admittedly, I've only made flying geese a few times in my quilting journey. And out of almost 20 quilt patterns, I'm finally releasing my FIRST quilt pattern that uses flying geese! (Nightingale) yay!
Flying geese can be tricky...and I think that's why it's taken me so long to try them. If you don't sew in a perfectly straight line with a perfectly scant 1/4" seam, they can come out a little wonky. (I speak from experience).
Well, I thought it was finally time for me to give flying geese a chance and I'm so excited to share that they can be just as easy as half square triangles! The secret? Creating a slightly larger flying geese (goose?), and trimming it down to your desired measurement. I MUCH prefer this method than trying to be super accurate with my piecing. Here's how it's done:
VIDEO TUTORIAL
.
.
Step 1
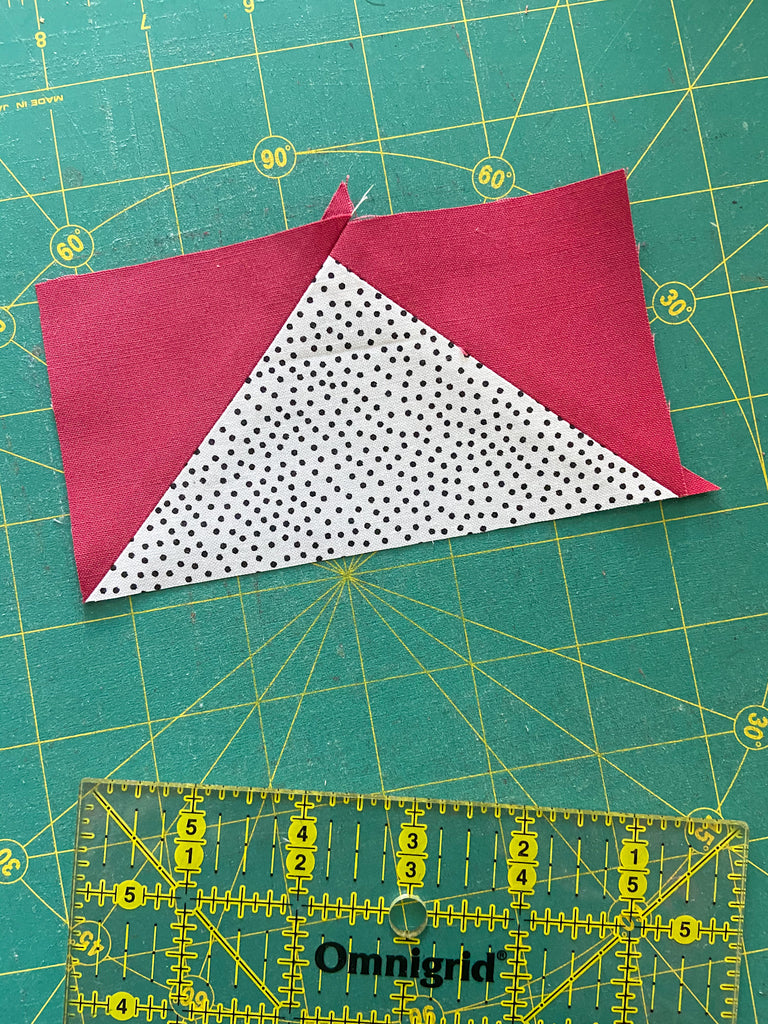
Place your flying geese on your cutting mat so that the triangle is pointed towards you, as seen below.

.
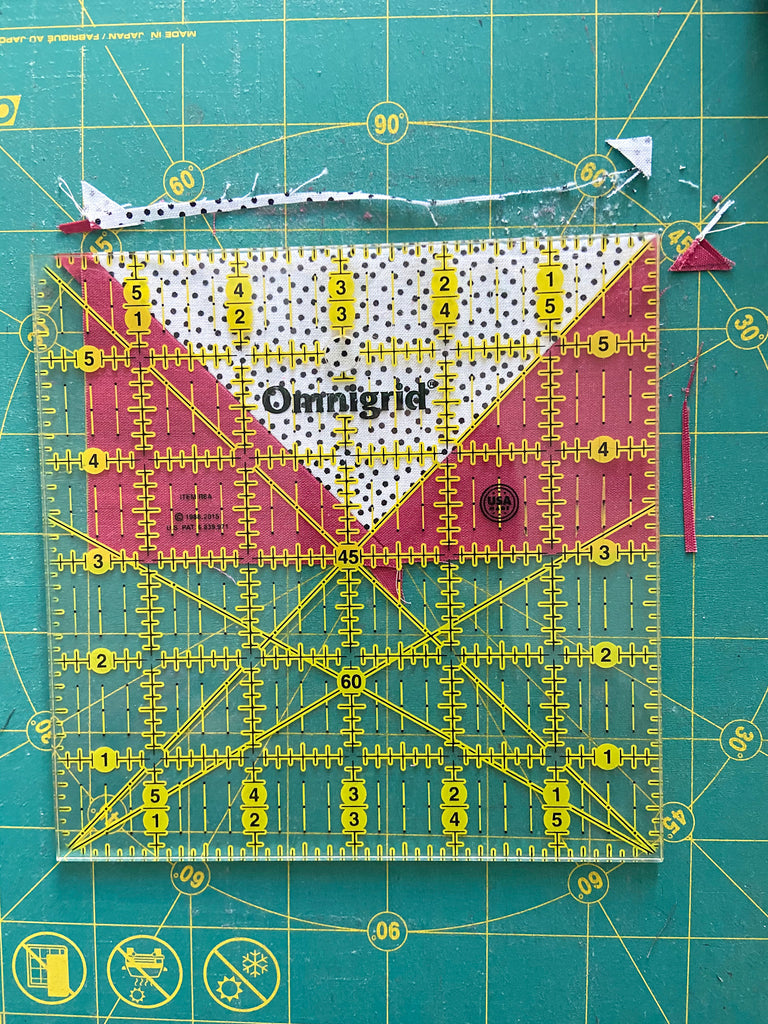
Take a ruler that has a 45 degree line and place it on top of your flying geese. Align the diagonal seam with the 45 degree line.
Then find the midpoint of what your flying geese should measure. Align the tip of the triangle with that point on your ruler. For example I am trimming my flying geese to measure 3" x 5.5". So 5.5" divided by 2 is 2.75". So I want to align the tip of the triangle with the 2.75" markings on my ruler. Take note that there is at least 1/4" of fabric between the tip of the flying geese triangle and the edge of the block.
Then look at the left and bottom edges of your block. Be sure the flying geese slightly extend past your desired measurement, or perfectly aligns with it.
.

.
Step 2
Trim the flying geese edges on the right and top sides of your ruler.
.
Step 3
Rotate the flying geese 180 degrees as seen below. Align the left and bottom edges of the flying geese with your desired measurement. In this case, it's 3" x 5.5". Trim along the right and top edges of the ruler. Remember that there should be 1/4" between the point of your flying geese and the edge of the block.
.

.

.
There you have it! That wasn't so bad, right? An alternative to using a square ruler is to use some sort of specialty ruler. I'm a fan of Bloc-Loc rulers. The thing about the Bloc-Loc Flying Geese rulers is that you have to purchase the specific size ruler that you need. It's a bit of a bummer because that means that you can't reuse the ruler for larger/smaller flying geese, BUT it also means that trimming your flying geese then becomes super easy and a bit mindless. You simply place the ruler over your flying geese block, then the groove on the ruler locks into place with the diagonal seams in your block. Then you trim on all four sides. I have a few of these that are specific for Nightingale in my shop. :)
.
 .
.
Happy trimming!
.
Brittany
