How to Cut WOF Strips for Your Quilt Project: Tips for Perfect Strips
The majority of quilt patterns instruct you to cut WOF strips…but most of them assume you already know how to do that. Whether this is your first time encountering the term “WOF strips” or you just want to perfect your cutting technique, I’m here to help!
What is WOF?
WOF stands for width of fabric, which is usually between 42” and 44” for quilting cotton.
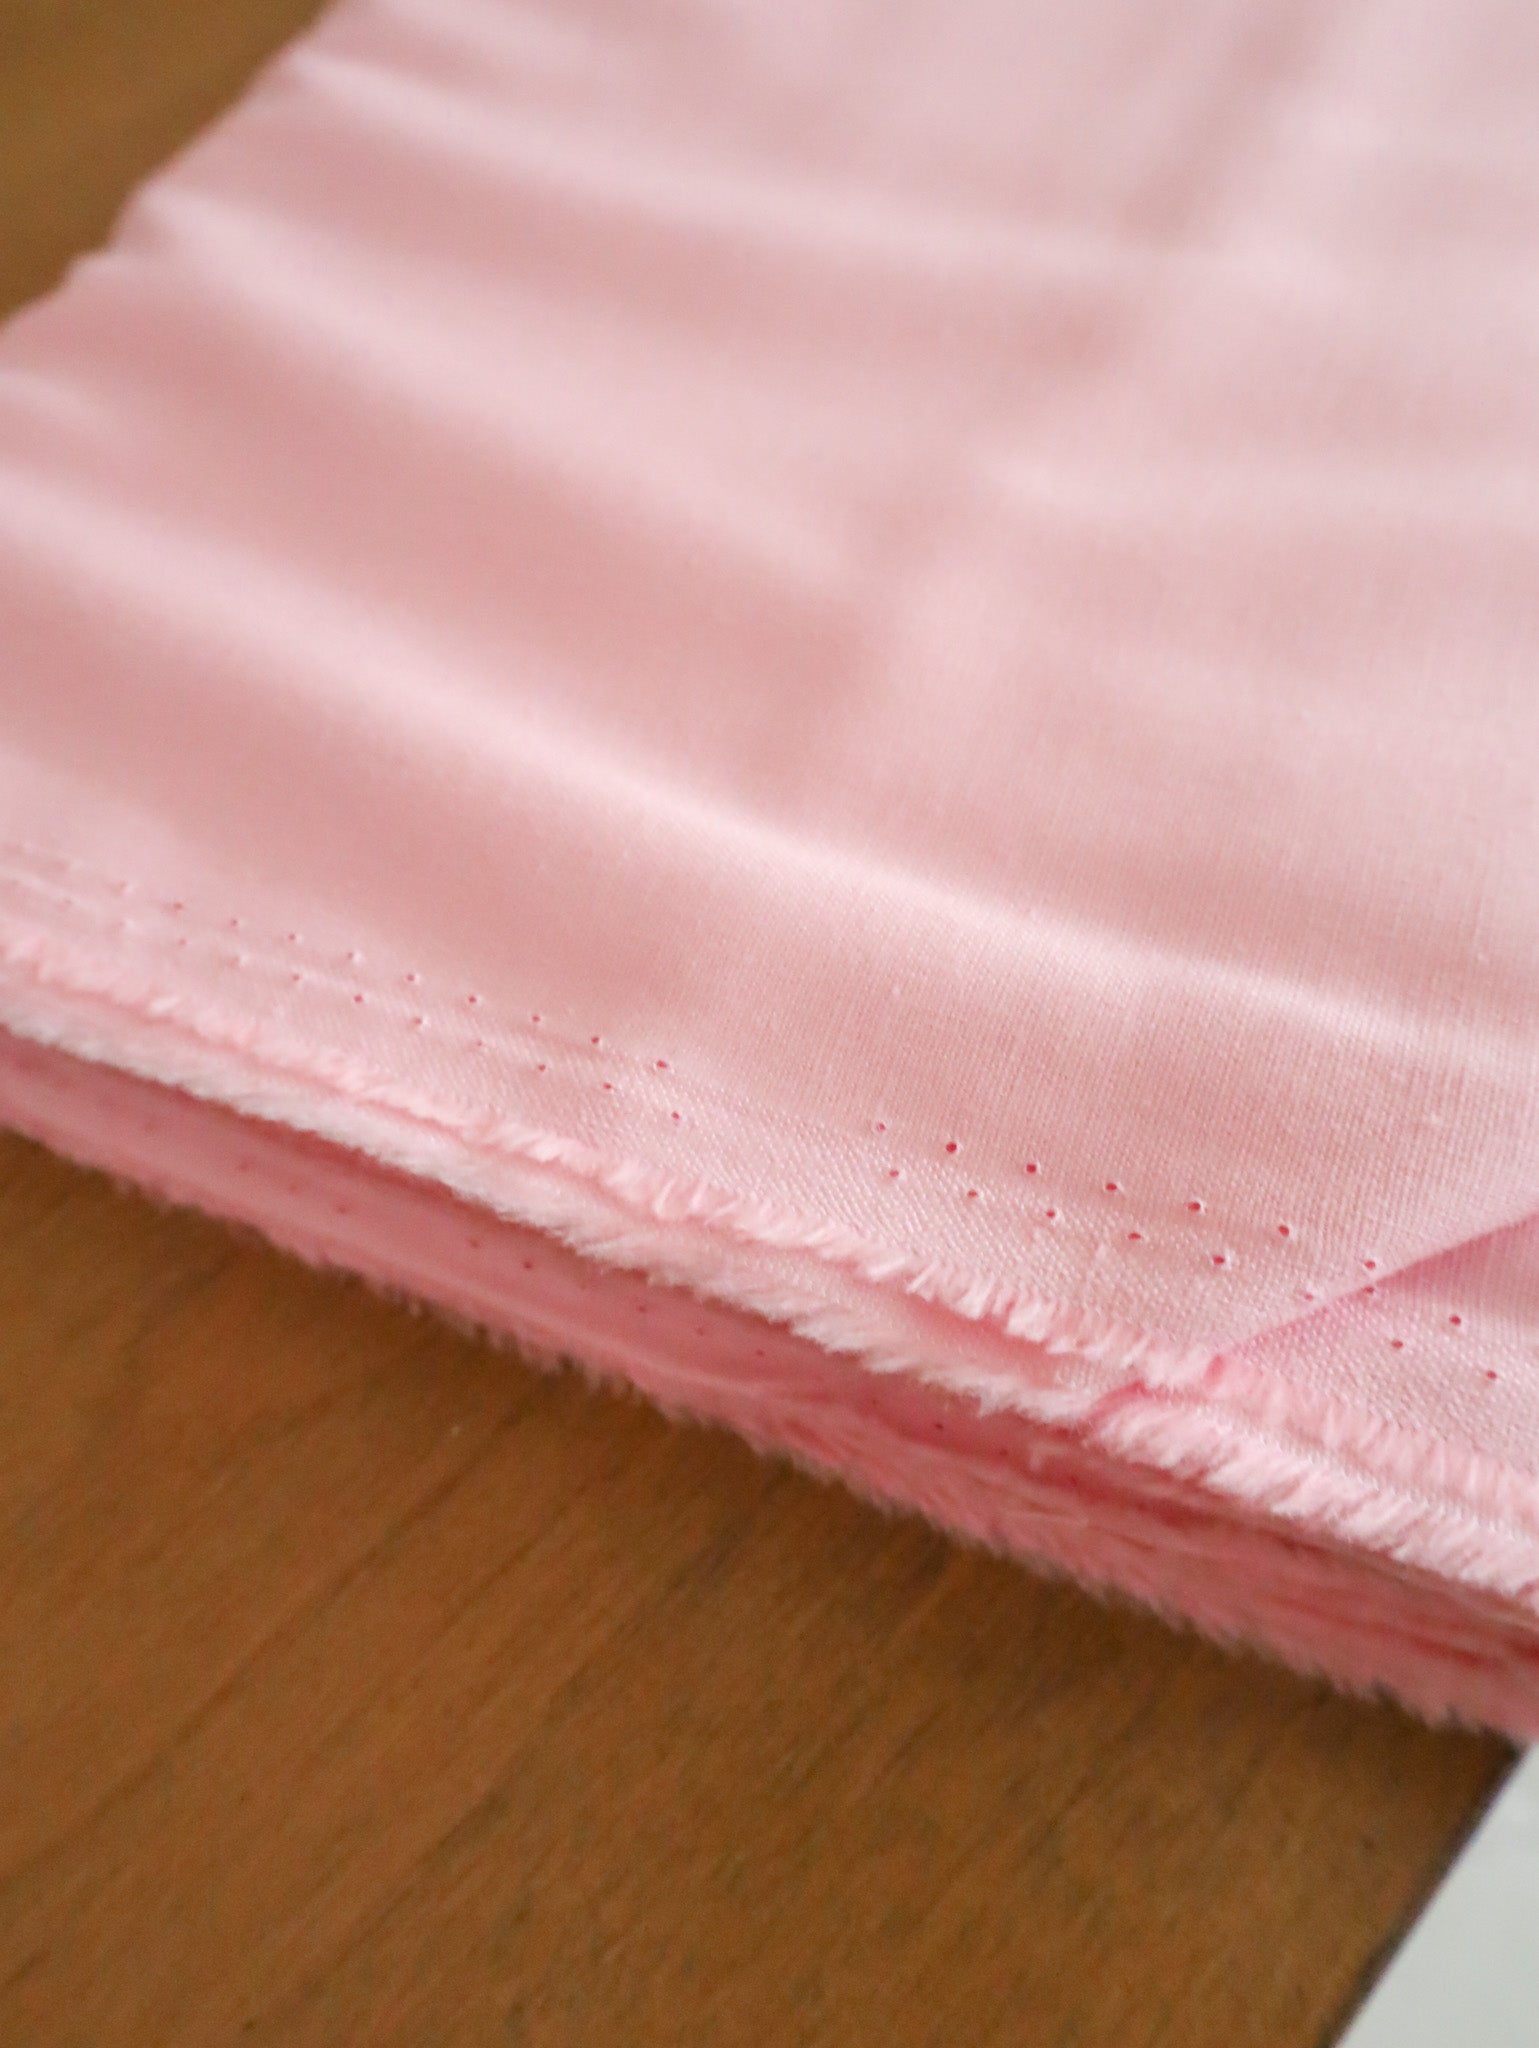
Some quilt patterns may also refer to a usable WOF, which is the fabric between the two selvedges. (The selvedges are the fabric edges, and they often have frays or a printed label, as pictured below.) Most quilt patterns assume you have a 42” usable width of fabric. It is important to always measure your WOF…if you have less than 42” of usable WOF, you may need to buy more fabric than the pattern recommends.

WOF comes up a lot in quilt cutting instructions. Many patterns have you cut WOF pieces (which may get sub-cut later). For example, if you have 44” wide fabric and the instructions say to cut a 2.5” WOF strip, you need to cut a 2.5” x 44” piece.
While you could just lay your fabric out flat and carefully measure your WOF pieces, there’s a much better, easier way to do it.
How to cut WOF strips
Cutting WOF strips can be broken down into five simple steps:
- Press your fabric.
- Re-fold your fabric on the grain.
- Make an accordion fold.
- Cut your WOF strips.
- Sub-cut your strips (if required and as directed in your pattern).
Easy enough, right? There’s a little more nuance to it, though, so I’ll give you lots of tips as we walk through the process together.
One more thing before we get started: I'll be the first to admit, I sometimes don't do all these steps with every quilt. Let's face it: for some quilts, cutting perfectly on grain matters more than others. For example, if I’m sewing the Getaway quilt pattern, I know I’ll use the full WOF piece so I’ll definitely square up my fabric prior to cutting. But with the Nightingale quilt pattern, I’ll end up cutting squares from my WOF strips…so it won’t be very noticeable if my pieces get just a tiny bit “off.” (Don’t tell the quilt police!)
So a good rule of thumb is that if you're keeping the WOF strip in one piece or sub-cutting into long lengths, you should make sure your fabric is square around the fold before you get started…which means starting with Step 1. But if your pattern directs you to sub-cut your WOF into smaller pieces, you can go ahead and skip to Step 3.
1. PRESS YOUR FABRIC
Let’s step back for some fabric 101. Quilting cotton is a woven fabric, meaning tiny threads are woven together to create a lengthwise grain and cross grain. (Fun fact: These two thread directions are called the warp and weft, respectively.) This matters to us because if you cut “off grain” (crooked from those threads), then the edges of your piece can become stretchy and warped, making it trickier to work with.

This is why you should always cut your WOF pieces so they are parallel and perpendicular with those warp and weft threads, or “on grain.”
Note: There are some times when you want to cut diagonally across the warp and weft threads, or “on the bias.” The bias has more stretch than on-grain fabric, which makes it good for curves, bias binding and some clothing. But it’s not good for your WOF strips!
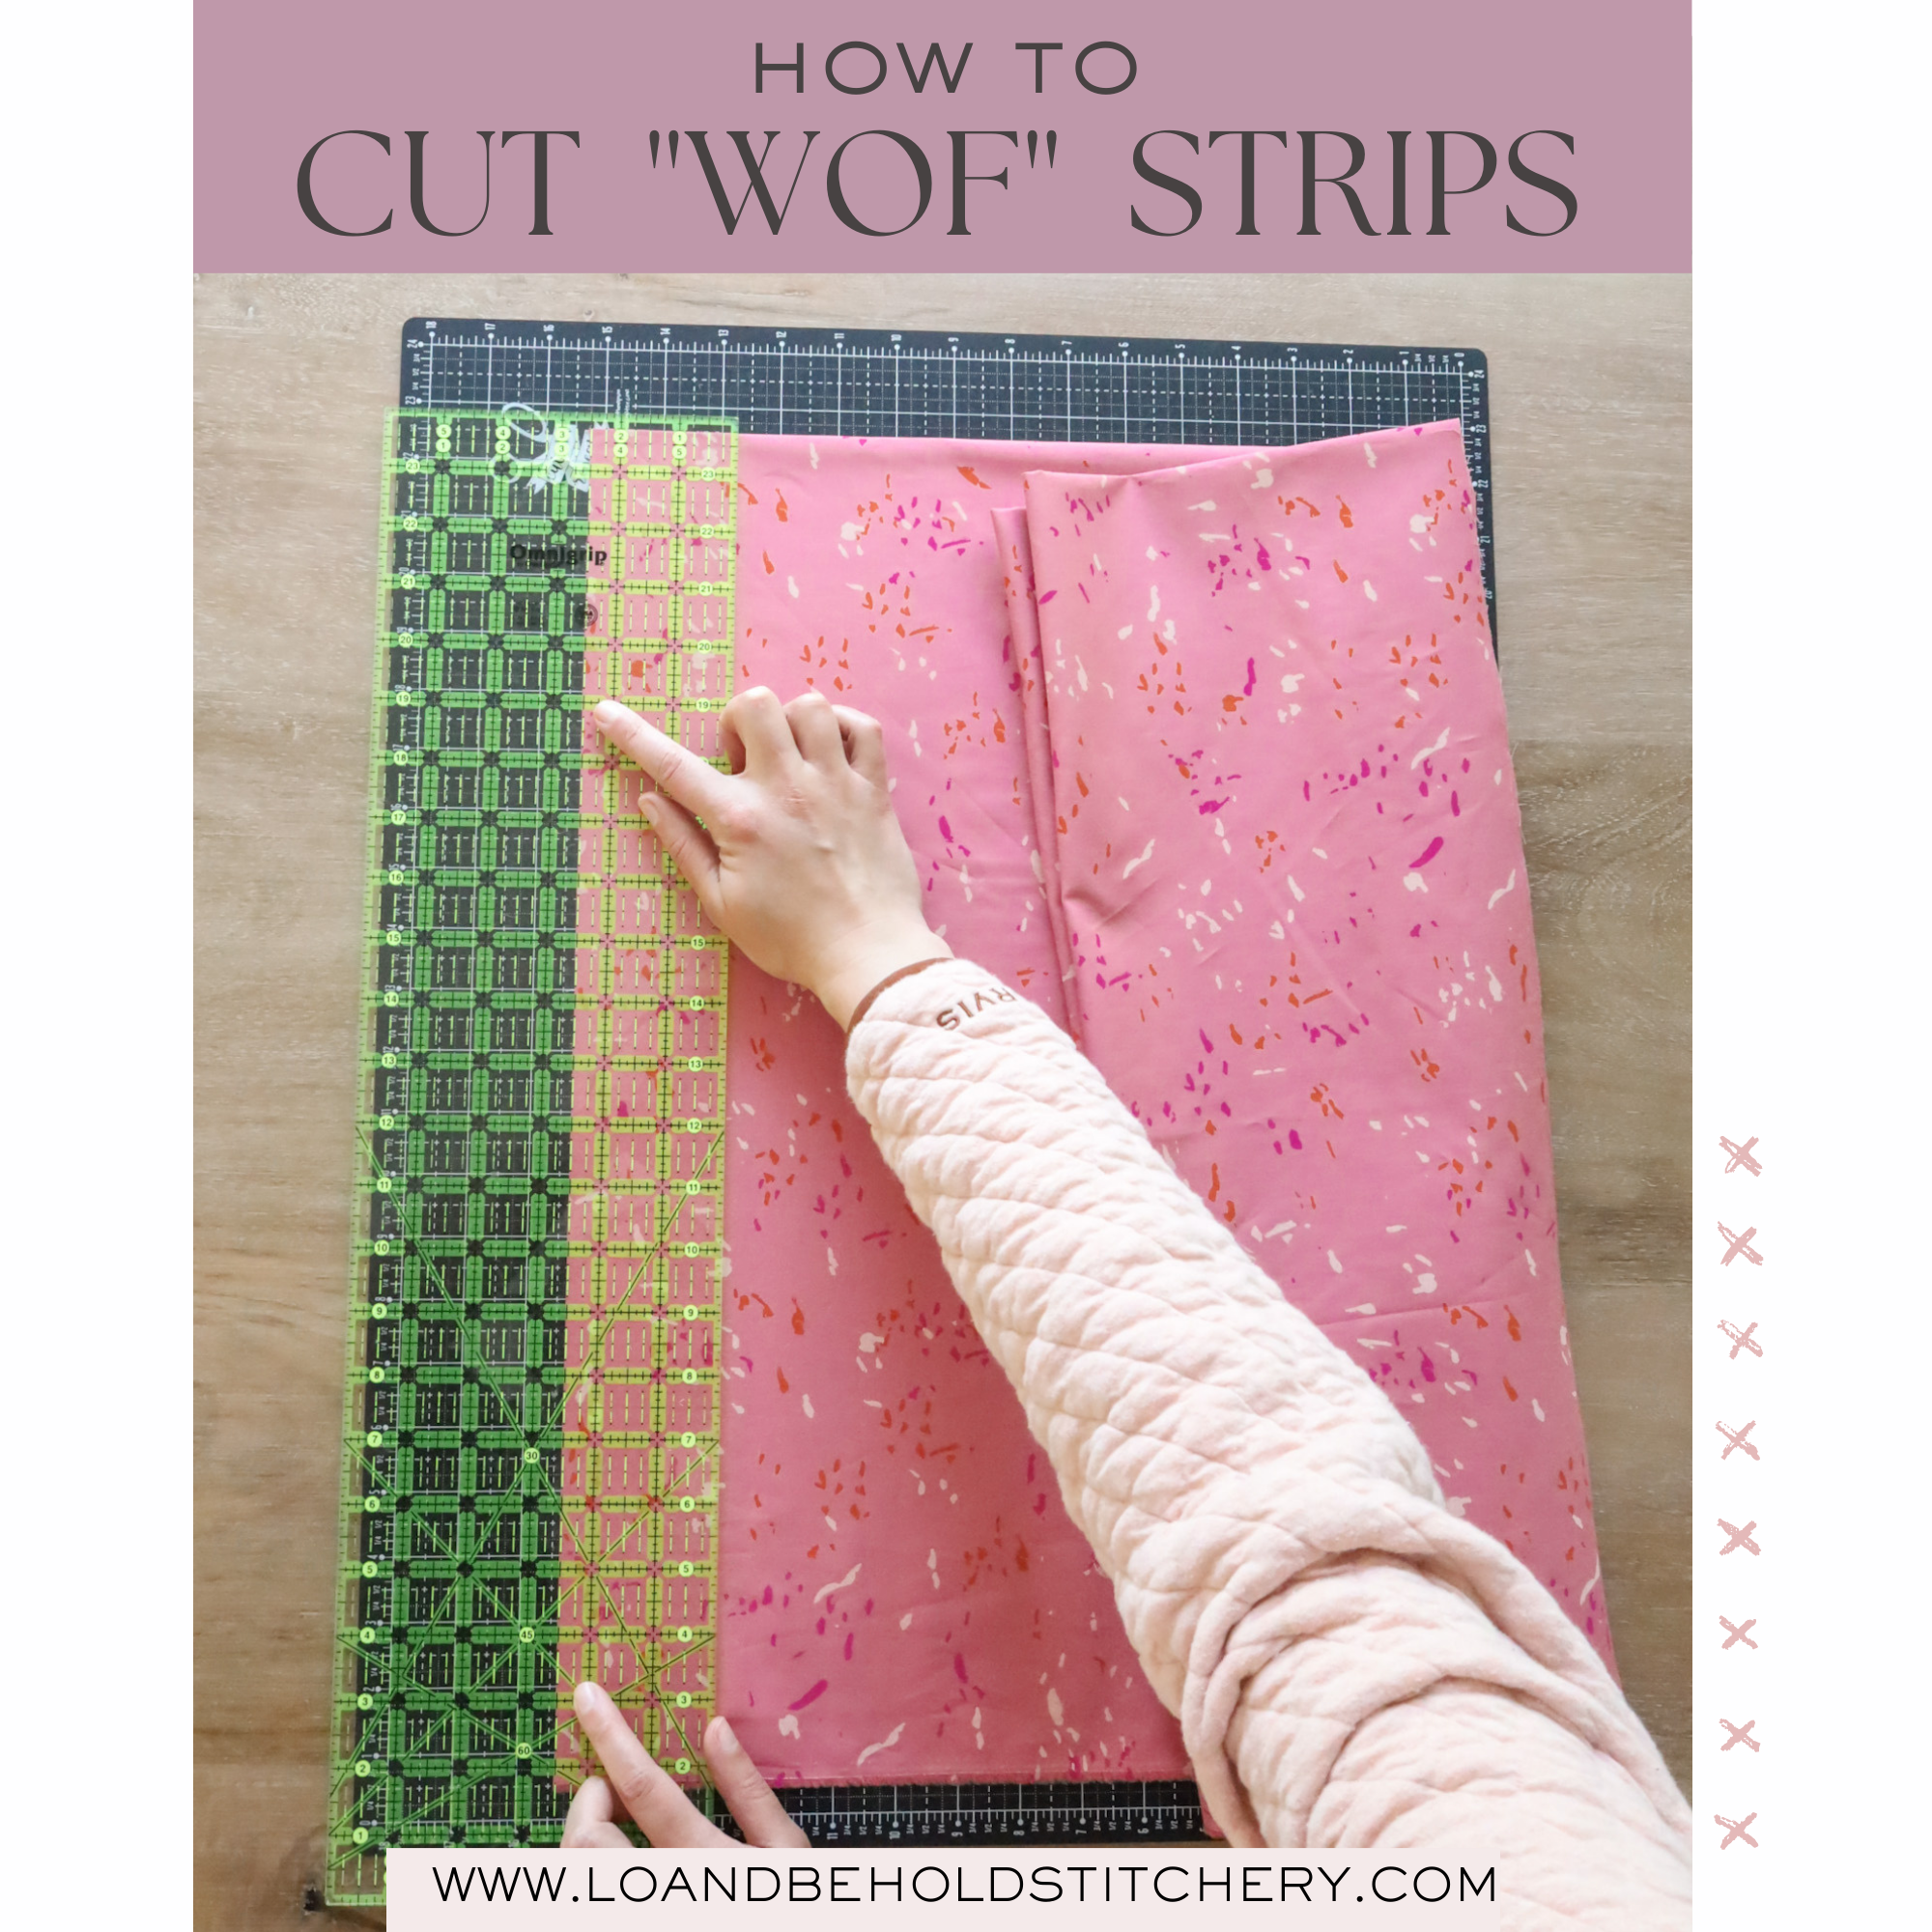
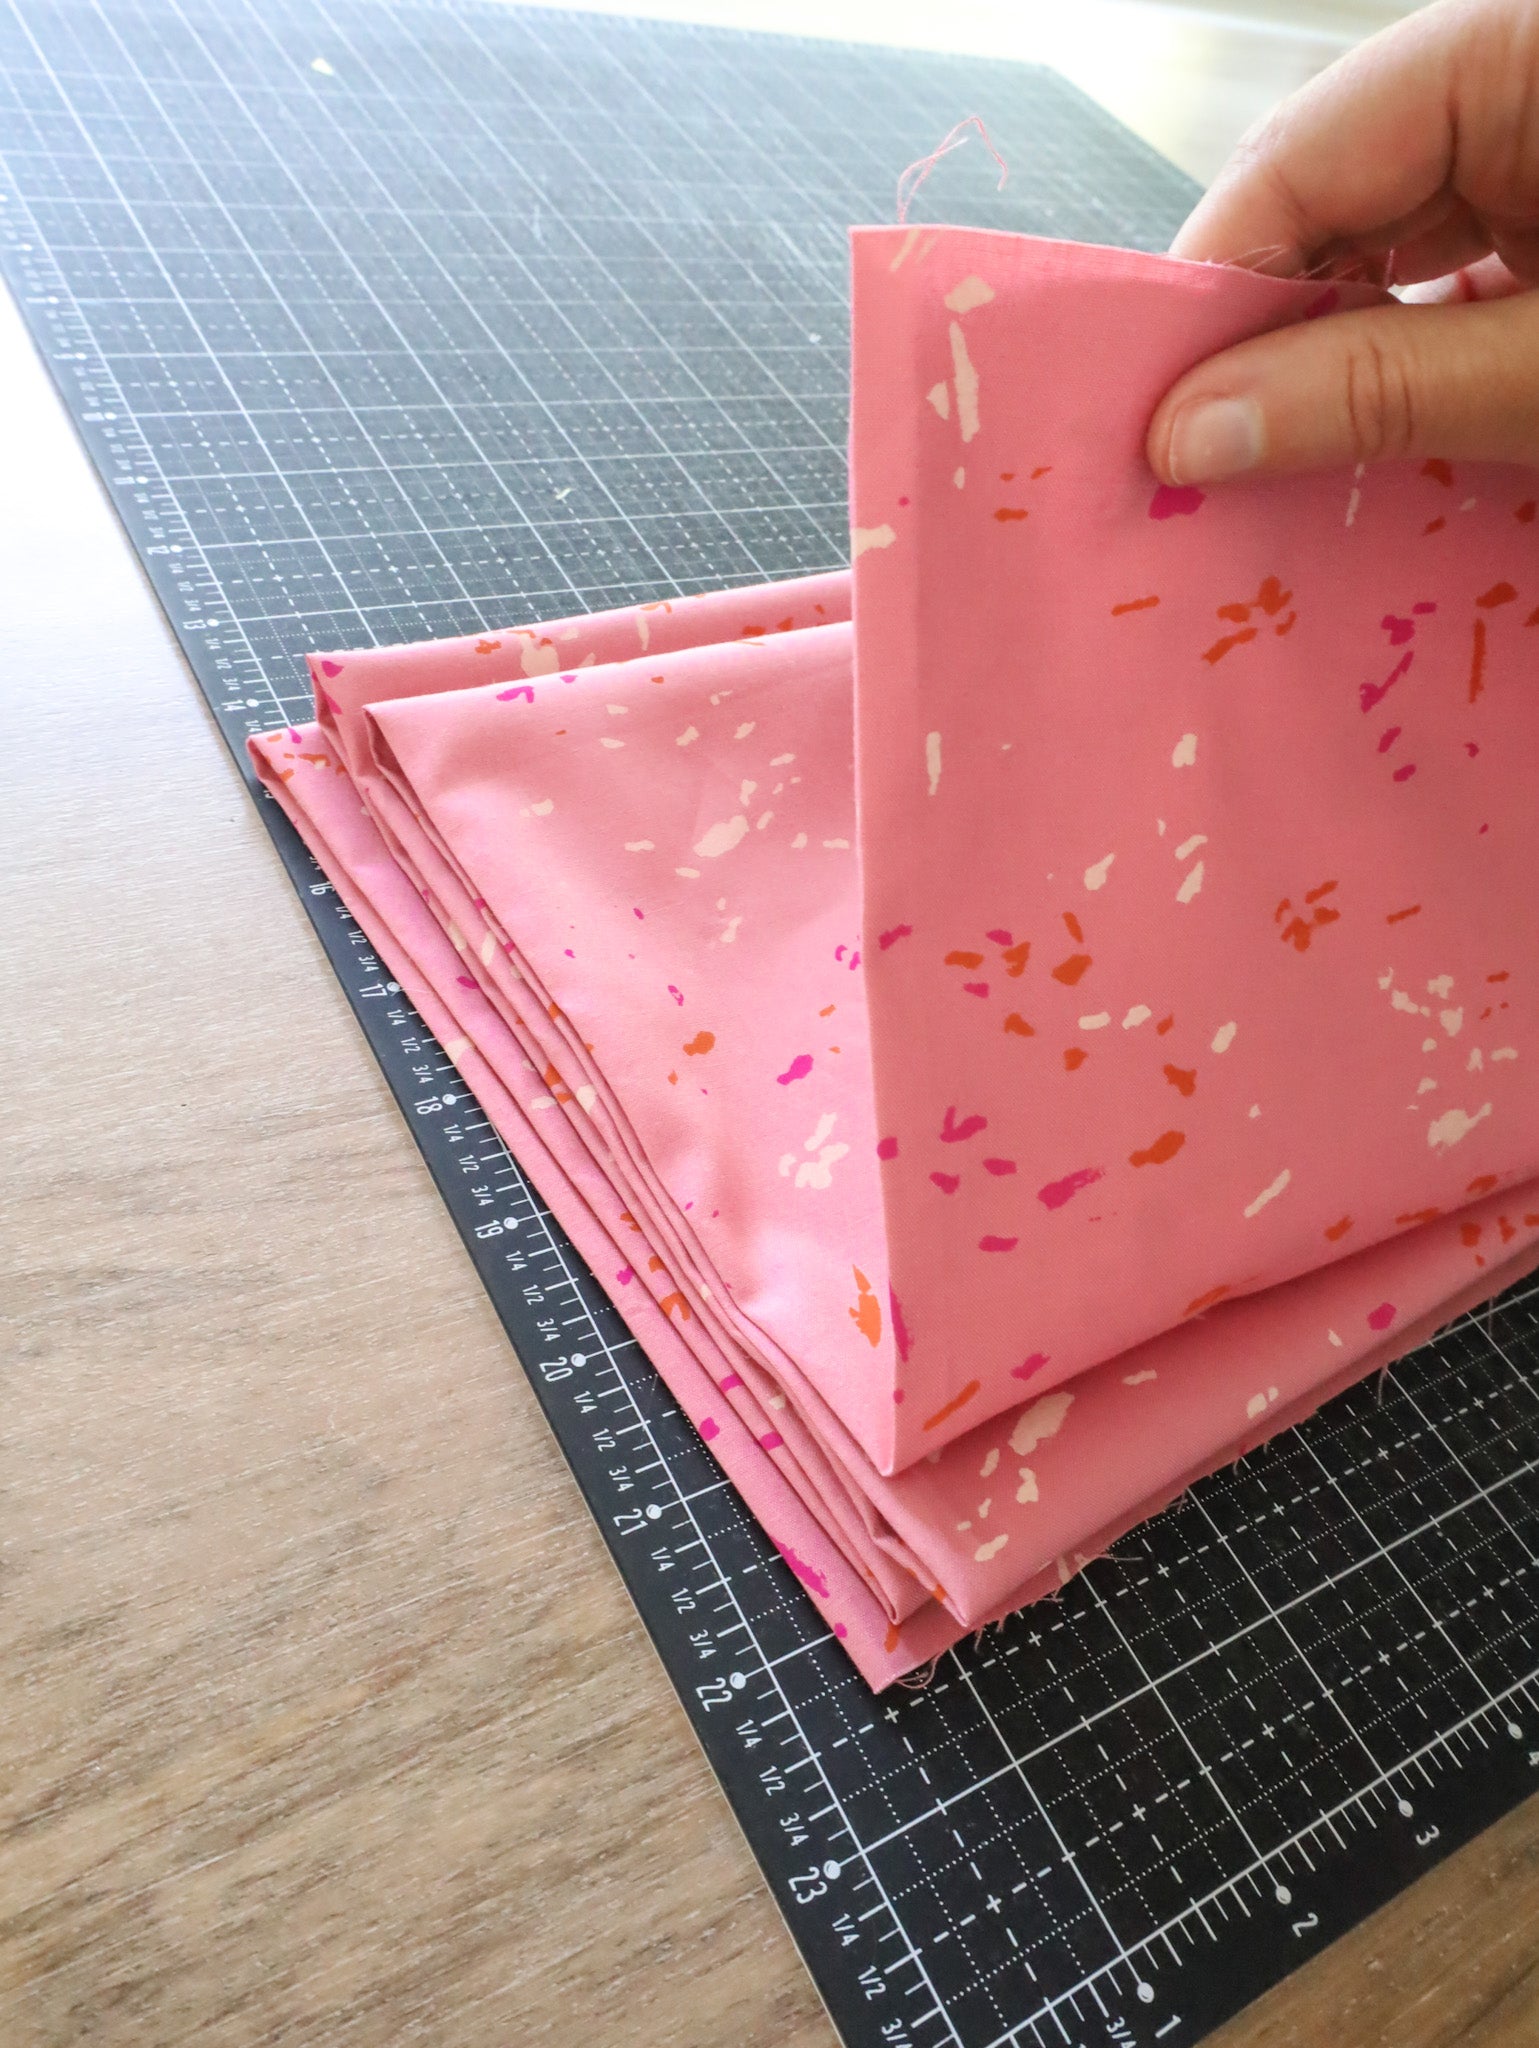
Now, as you may have noticed, quilting cotton fabric is stored on a bolt, folded in half with the two selvedges aligned (as shown below). This fold makes it easier to cut WOF strips (because you only have to measure across half the fabric instead of the full width)...but the fabric isn’t always folded perfectly straight. If you just start cutting your folded fabric, you may cut off grain and end up with wonky and (even worse) bent strips!

So before you start cutting or even measuring, you need to get things straightened out so your WOF strips stay on grain. There are a few ways to do this: you can rip your fabric, pull a thread from the selvedge…or you can use my preferred method, and pull out your iron.
If you pre-wash your fabric, you'll be doing this anyway, since the original fold will no longer be there. But if you don't prewash (like me), then you can iron or "press" your original fold so that it's nice and flat. While you're at it, go ahead and press your entire fabric piece so that it doesn’t have any folds or creases. (If you plan to starch, now is the time to do so.)

2. RE-FOLD YOUR FABRIC ON THE GRAIN
Once your fabric looks nice and flat, we need to re-fold it…but this time, we want to make sure the fold is in exactly the right place.

Start by aligning your two selvedge edges as perfectly as you can. There are a few ways to do this, but one method I find helpful is if you lift up your fabric so that you have one selvedge in between your middle and pointer fingers and the other selvedge in between your pointer fingers and thumbs. Lift up on the fabric so that the fold is hanging down in front of you. Note: I am working with 1-5/8 yards, so I have some of the yardage off to one side. This amount will vary based on how much yardage you are working with.

As you are doing this, make sure that the new fold of fabric drapes without a ripple. Move your fingers around until it looks nice and smooth.


The two selvedges should be perfectly aligned at this point. Now you're ready to iron a new fold in your fabric.


If you're working with a larger cut of yardage, you'll likely need to do this process in segments as seen below. You can see the left portion of my yardage is what I just refolded and the right portion of my fabric still needs to be refolded. So for a 1-5/8 yards piece, I refolded and pressed a new crease in three segments. You might need to do more or fewer segments based on how much fabric you're working with.
Repeat until all of your yardage is refolded and pressed with a new crease.

Note: Many people like to fold their fabric in half again so that the fold is on top of selvedges, which means you cut through four layers of fabric at a time. I prefer to use a 24” ruler and cut through just two layers at once.
3. MAKE AN ACCORDION FOLD
It’s almost time to start cutting! But first…I’ve found the key to successfully cutting WOF strips is to fold the fabric accordion-style, which makes it easier to work with. An accordion fold is a “back and forth” fold that allows you easily pull fabric from the top of the pile without making a tangled mess.
To do this, hold all of your fabric up in the air and lay down a small segment, around 9" or so. Move your arms back and forth as you lower the fabric down onto the pile. It doesn't need to be exact or perfect, but having the fabric go back and forth like this keeps it nice and organized as you are cutting. Plus it helps decrease harsh creases and wrinkles!


Now you're ready to cut!
4. CUT YOUR WOF STRIPS
Moving forward, keep in mind that I am right-handed. If you are left-handed, you'll likely want to flip the orientation of what you see here. :)
When cutting WOF strips, you cut from selvedge to selvedge, or, since we’ve folded our fabric, selvedge to fold.
Start by making a fresh cut. Since I just created a new fold that’s nice and square with the selvedges, I’m going to use that fold as my guide.

Align a horizontal line in your ruler with the fold of your fabric. Move your ruler over, close to the cut edge of your fabric, so that you're not cutting away too much fabric, just enough so that you create a fresh edge on both layers…and trim off just enough to give a new, clean edge.


Now realign the fold of your fabric with a horizontal line in your ruler. Then align your desired measurement (for me it's 2.5") with the fresh edge of fabric that you just created.


When using a long ruler, you'll want to walk your non-dominant hand up the ruler so that it stays somewhat aligned to where your dominant hand is with the rotary blade.


Repeat for however many strips you need...and voila!

Since your fabric is perfectly refolded, your strip should be straight around the fold. What a beautiful sight. :)


Pictured: the Getaway quilt pattern
Sometimes, you can stop here! But if you need to sub-cut your strips, I have some tips for that too.
5. SUB-CUT YOUR WOF STRIPS (IF REQUIRED)
"Sub-cutting" simply refers to a cut that you make after the initial cut. So if you cut WOF strips and then cut squares from those strips, you’ve sub-cut your WOF strips. For example, your pattern may read:
Cut (1) 2.5" x WOF strip
sub-cut (4) 2.5" x 10.5" pieces
This means that after you cut a 2.5” x WOF strip, you’ll then cut that strip into 4 smaller pieces…2.5” x 10.5” pieces, to be precise.
To do this, place the strip horizontally so that the selvedge end is on the right and the fold is on the left. Place a ruler over the strip and align the edge of the strip with a horizontal line in the ruler (number 1 in the picture below).
Trim off the selvedge (shown by number 2). Remember to look at your usable WOF...you don't want to trim off too much! Some fabrics are notorious for having extra wide selvedges.

Flip the strip around (or rotate the cutting mat around) 180 degrees. I like to cut two pieces at a time. You could also unfold the WOF strip and cut one piece at a time. Align the fresh edge with the vertical desired measurement in the ruler. In this case (number 3), it's 10.5".
Align the perpendicular edge with a horizontal line in the ruler (number 4), and cut the desired measurement to the right of the ruler (number 5).
Remember that it's always best to use the lines on your ruler whenever possible...not the lines on your cutting mat. This will give you a more accurate and consistent cut.
And there you have it…my secrets for beautifully accurate WOF strips and sub-cuts. I hope you found this tutorial helpful!
Brittany

This post contains affiliate links. If you purchase that item through my link, I may receive a small commission from your purchase at no cost to you. I only recommend products that I know and love!
More quilting how-tos
WOF strip FAQ
What does it mean to cut WOF?
To cut WOF means to cut width of fabric, or all the way from selvedge to selvedge.
How do you cut perfect WOF strips?
To cut perfect WOF strips, square up your fabric before you cut, to keep everything on grain.
What does sub-cut mean in quilting?
In quilting, to sub-cut means to cut a piece of fabric and then cut it into smaller pieces, according to the instructions.
| Updated October 1, 2025 - We refreshed this blog post with some headers and other organization changes, to make it easier to find the info you’re looking for. All the facts and advice have stayed the same! |