6 Tips for Making the Church Window Quilt Pattern
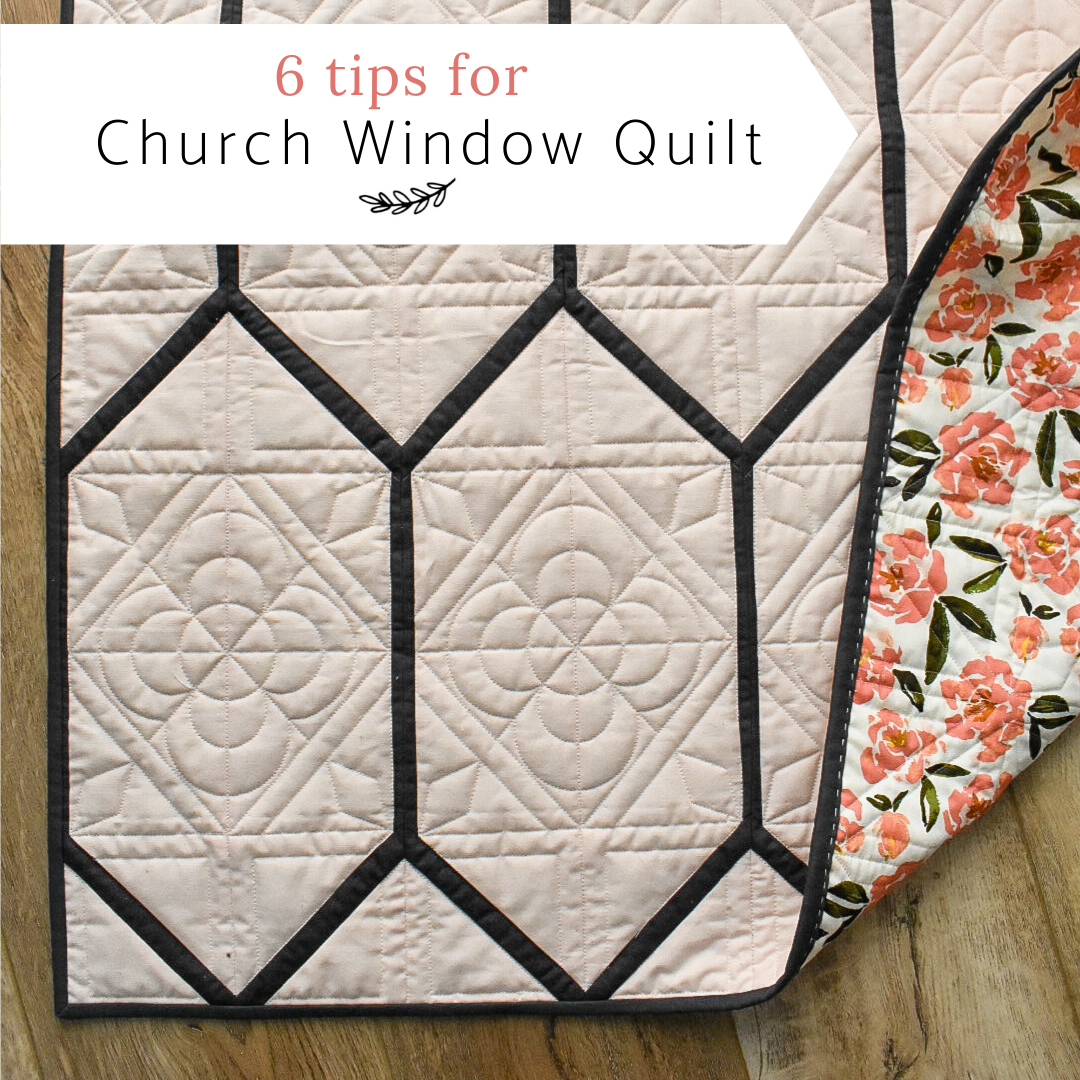
The Church Window quilt pattern uses traditional piecing to create a stained glass effect…no applique, paper piecing, or y-seams required! It’s such a fun pattern, but we do label Church Window as an Intermediate project, thanks to the bias edges and the accuracy required while cutting and piecing…so you should have a few quilts under your belt before you tackle this one.

Even though it’s traditionally pieced, the Church Window quilt pattern instructions probably look a little different than you’re used to. Most quilt patterns don’t make you cut trapezoids or offset your pieces as you sew!
Don’t let that scare you though. Church Window is such a fun pattern (one of my favorites!), and it creates a beautiful quilt. Plus, I have some extra tips that should help as you work through the pattern…..
1. Use starch.
First and foremost, STARCH. I don’t always use starch in my quilting…but I definitely bring out the starch for this pattern! Church Window has some bias edges, which can easily stretch out while you’re pressing or piecing. Starch helps prevent that stretching and keep all your pieces the right shape. Even with starch, you should still handle your pieces carefully, but starch will make a big difference!
You can use whatever kind of starch or starch alternative you like, but I typically use Mary Ellen’s Best Press..
2. Cut your trapezoids accurately.
The Church Window pattern includes a few different ways to cut your trapezoids for this quilt…but no matter how you do it, try to cut as accurately as possible!
If you use fat quarters, fat eighths, or scraps, you’ll start by cutting rectangles (the measurement is given in the pattern). Then you’ll use a square ruler with a 45 degree line to cut corner triangles off each rectangle. Pay special attention to the measurement for the top of your trapezoid, and try to make all your trapezoids identical.
When using yardage, you’ll cut your trapezoids slightly differently. You’ll start by cutting WOF strips, and then you’ll mark designated measurements along the edges of your fabric strip. Connect the dots with a ruler, and voila! You’ll have your trapezoids all marked out, and you just have to cut..

If you don’t want to mark out all those trapezoids, I have another option: create a simple template! This is actually my go-to method when making the Church Window quilt using yardage.
Measure out one (very accurate) trapezoid onto some vinyl template sheets or the back of a cereal box. Cut out your trapezoid template, and then use it to subcut your WOF strips…no more measuring required! (I like to play my template on the strip and then place a straight-edge ruler on top of the template to help with cutting.).

.
 3. Batch cut your sashing.
You can really speed up your cutting by cutting your sashing pieces all at once. Cut the WOF strips for your sashing, and then use the lines on your cutting mat to line them all up (and to make sure they are perfectly parallel). Then lay your ruler on top of the strips and trim off the selvedges. Flip your cutting mat around, find the measurement designated in the pattern, and use your ruler to again cut all your strips at once. Check your fabric against the lines on your ruler to make sure your pieces are square.

This method can save you a TON of time! Cutting multiple strips can be less accurate than cutting one at a time, though, so I like to give myself wiggle room on the length. I usually add an extra ⅛” or so. (If your WOF is exactly 42”, you won’t be able to add wiggle room to the 7” cuts without cutting extra strips).
.
.

.

Keep in mind that the width of your sashing strip is really important, so cut those initial WOF strips as accurately as you can. But you end up trimming off some of your sashing length anyway, so adding a little wiggle room on those subcuts is no problem...
4. Chain Piece all day!
The Church Window pattern instructs you to sew a sashing piece to each of your trapezoids (see step 1)...which gives you a great opportunity to practice your chain piecing! This technique will save you time and thread.
If you’ve never tried chain piecing before, it just means that you sew your seams one after another without snipping your threads in between. Go ahead and sew all your trapezoids in one continuous seam, and then when you reach the end, go back and cut the seams (or “chain”) between each trapezoid..

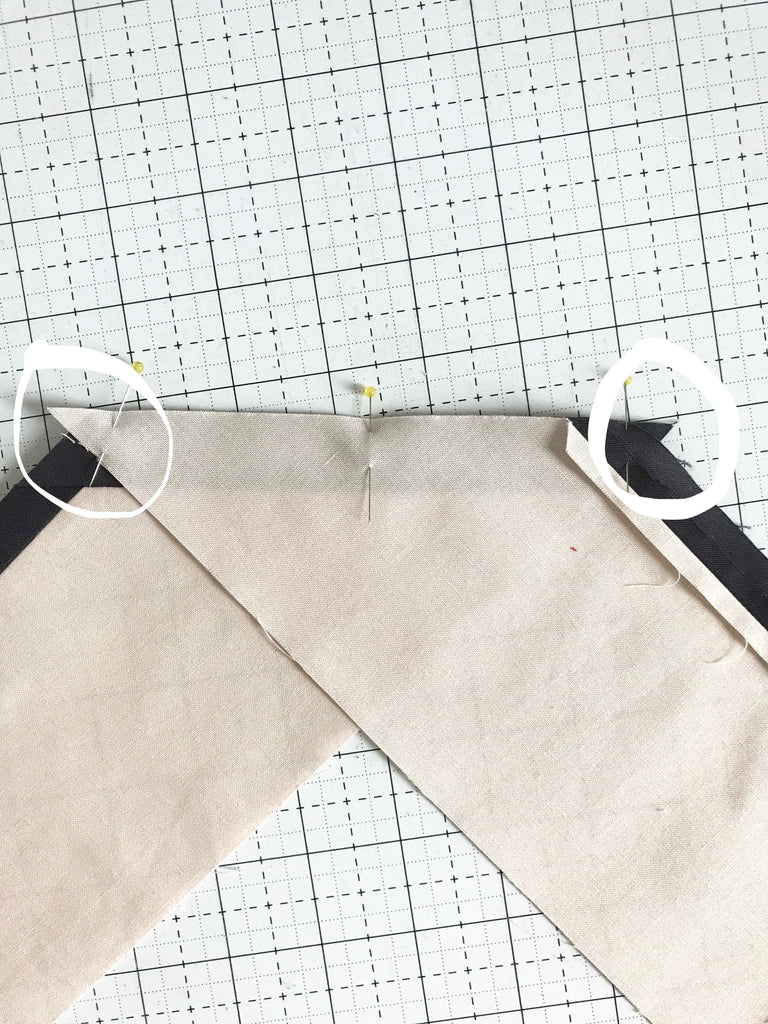
5. Pin, pin, pin!
You probably don’t need to pin when you add your first piece of sashing to your trapezoid (step 1). But once you start adding more sashing and sewing your trapezoids together (steps 2 and 3), you should absolutely use pins to keep your pieces aligned.
.

.

.
I also find it very helpful to pin or even glue baste my columns together as I assemble my quilt top. This helps you make your points match up, and it also helps with any warping that could happen as you piece your quilt top.
.

.

6. Remember to offset everything by 1/4".
This is probably where most people run into issues with Church Window (or any quilt pattern that uses 45 degree angle pieces like this). If you’ve cut and pinned as accurately as possible, and you’re still having trouble, check those seam allowances.
Using scrap fabric, test and tweak as needed to perfect your ¼” seam allowance. (An accurate seam allowance is especially important when you sew your columns together.) Once you’ve got that down, make sure to position your pieces correctly before you sew your seams. The instructions tell you to offset everything by ¼”, which means the edges of your pieces will not match up perfectly. If they do, that’s a sign you need to overlap more.
.
.
TIP: When sewing my offset pieces, I will put my needle down first and then insert my fabric against it. The needle should sit right in the “v” created by my overlap, and the edge of my fabric should align with the ¼” seam guide on my presser foot.
.

.

.

.

You might also find it helpful to mark your ¼” seams. This is something that my grandmother did with hand-piecing, and while initially it might seam a little unnecessary, I do think it would be really helpful for something like this where you're starting and ending your seam with your fabric offset. Try marking with a #2 pencil or hera marker, and see what you think!
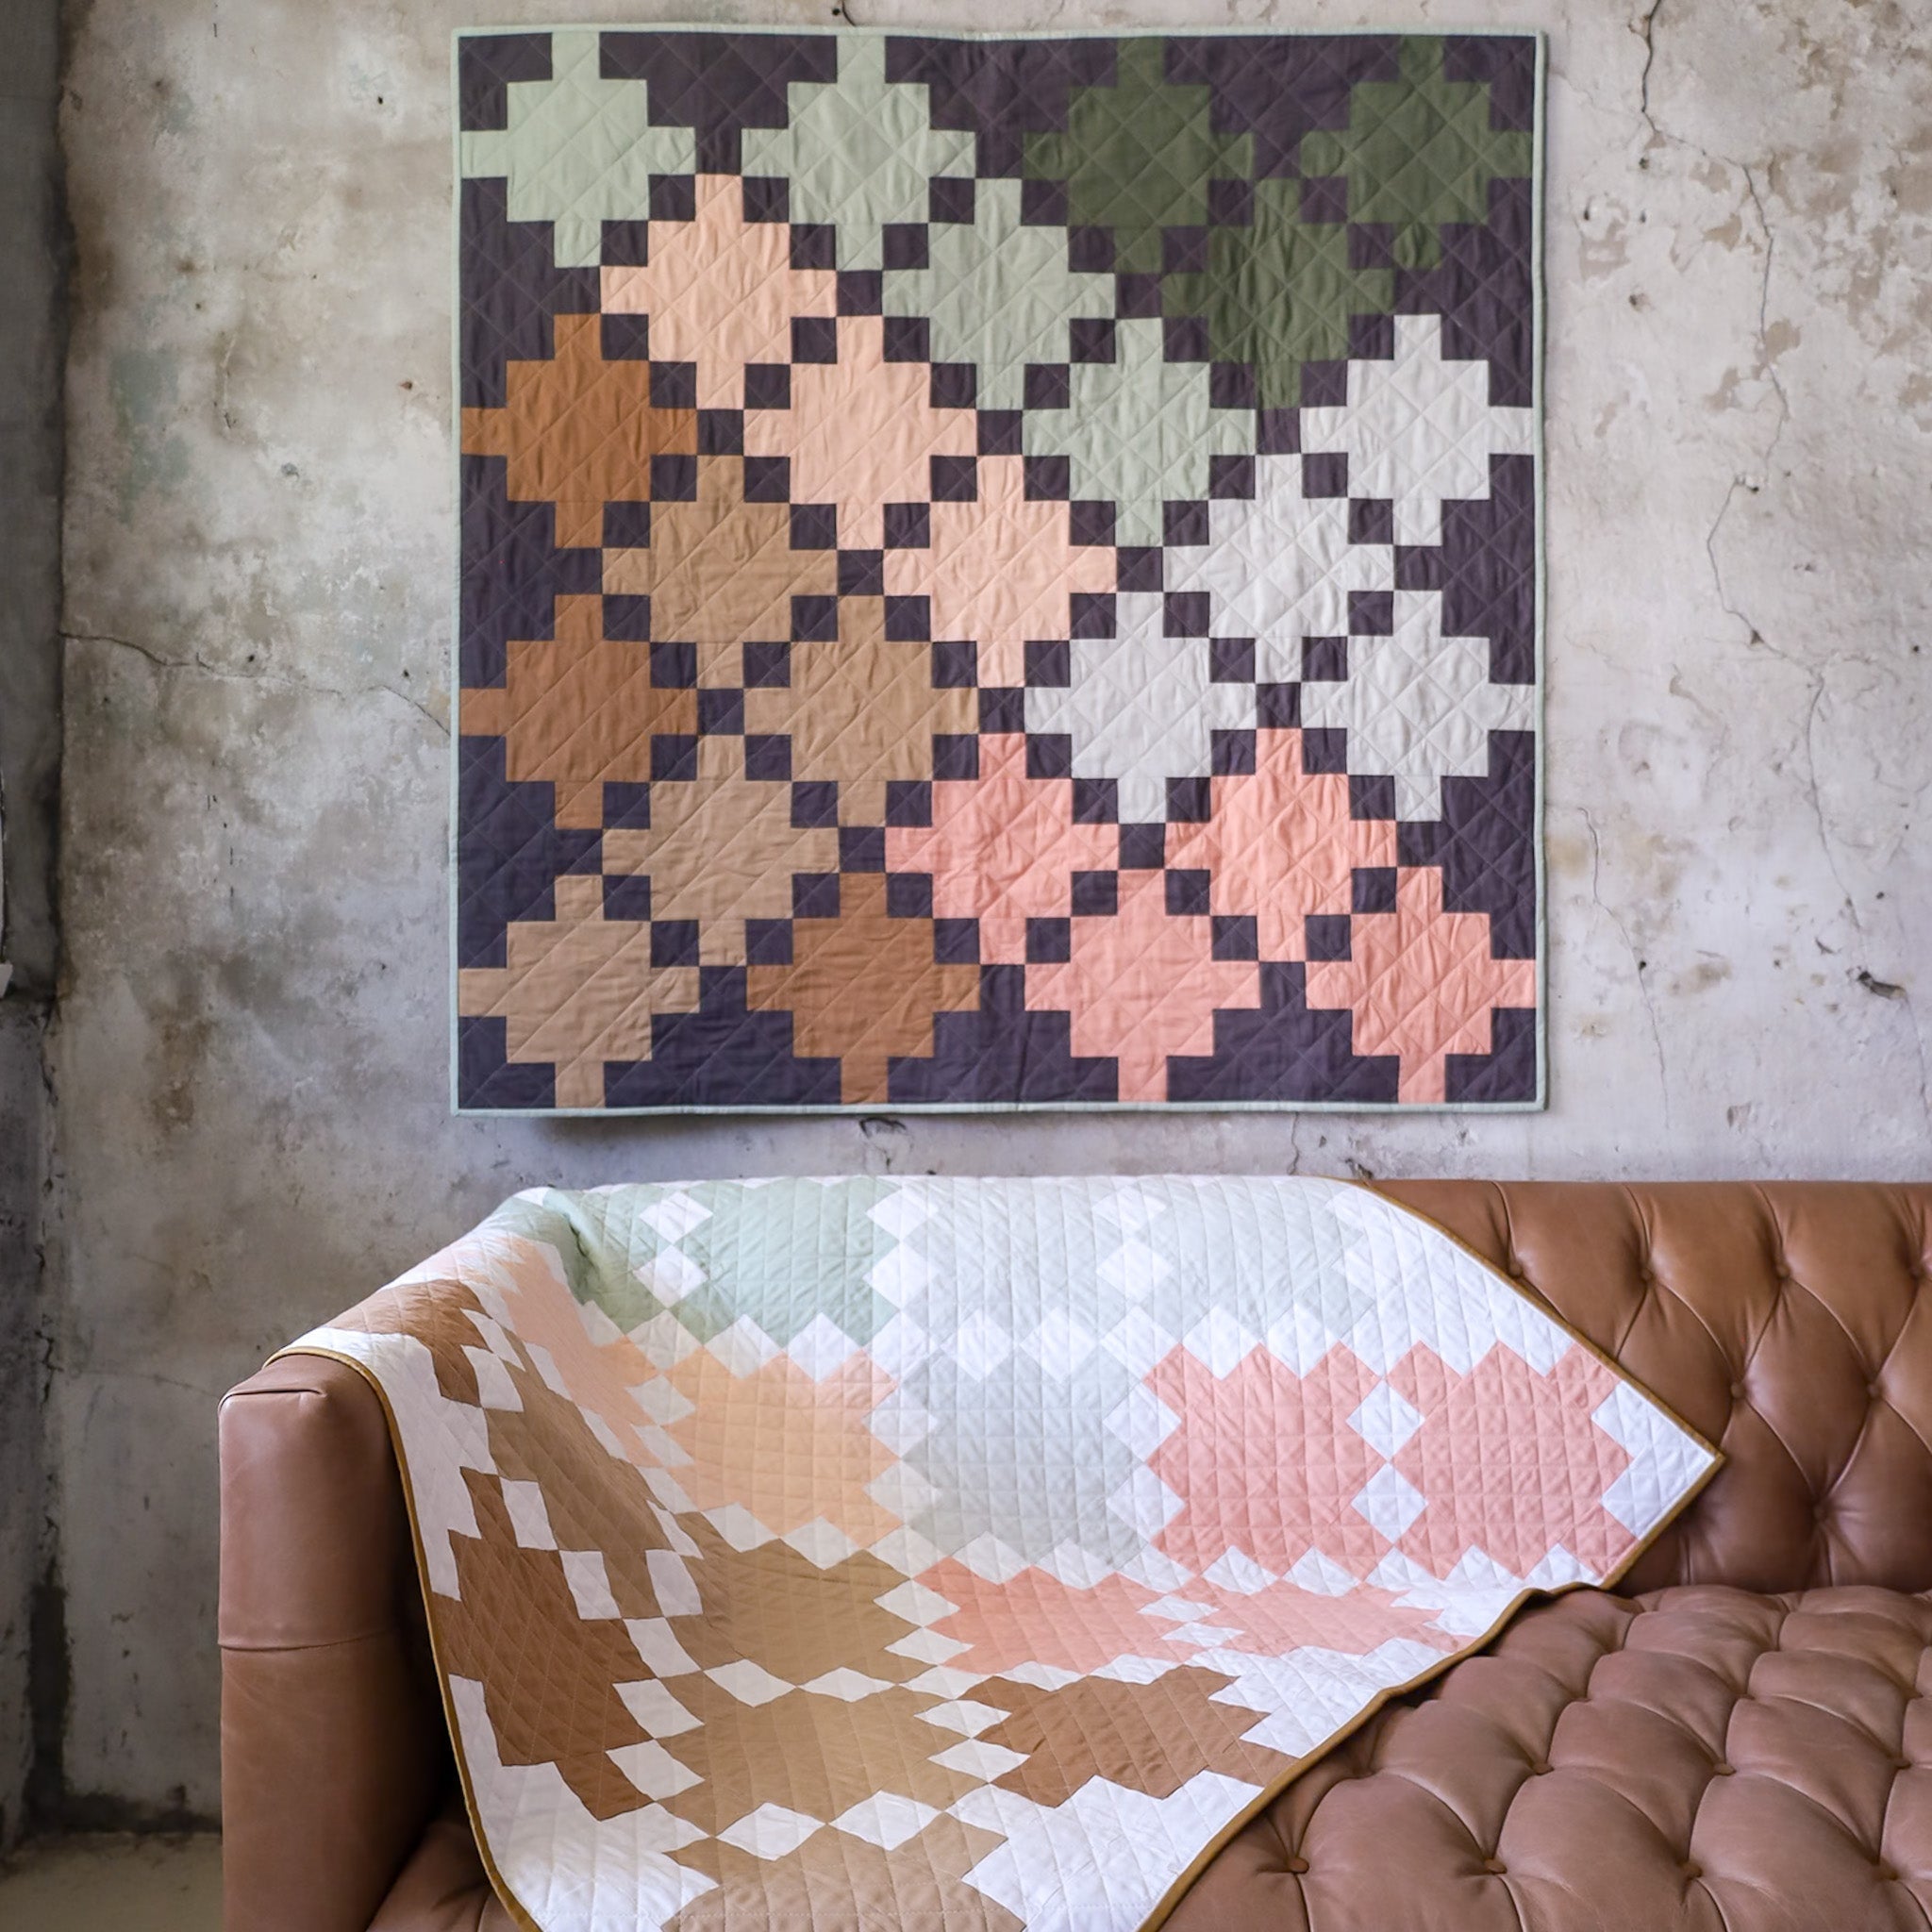
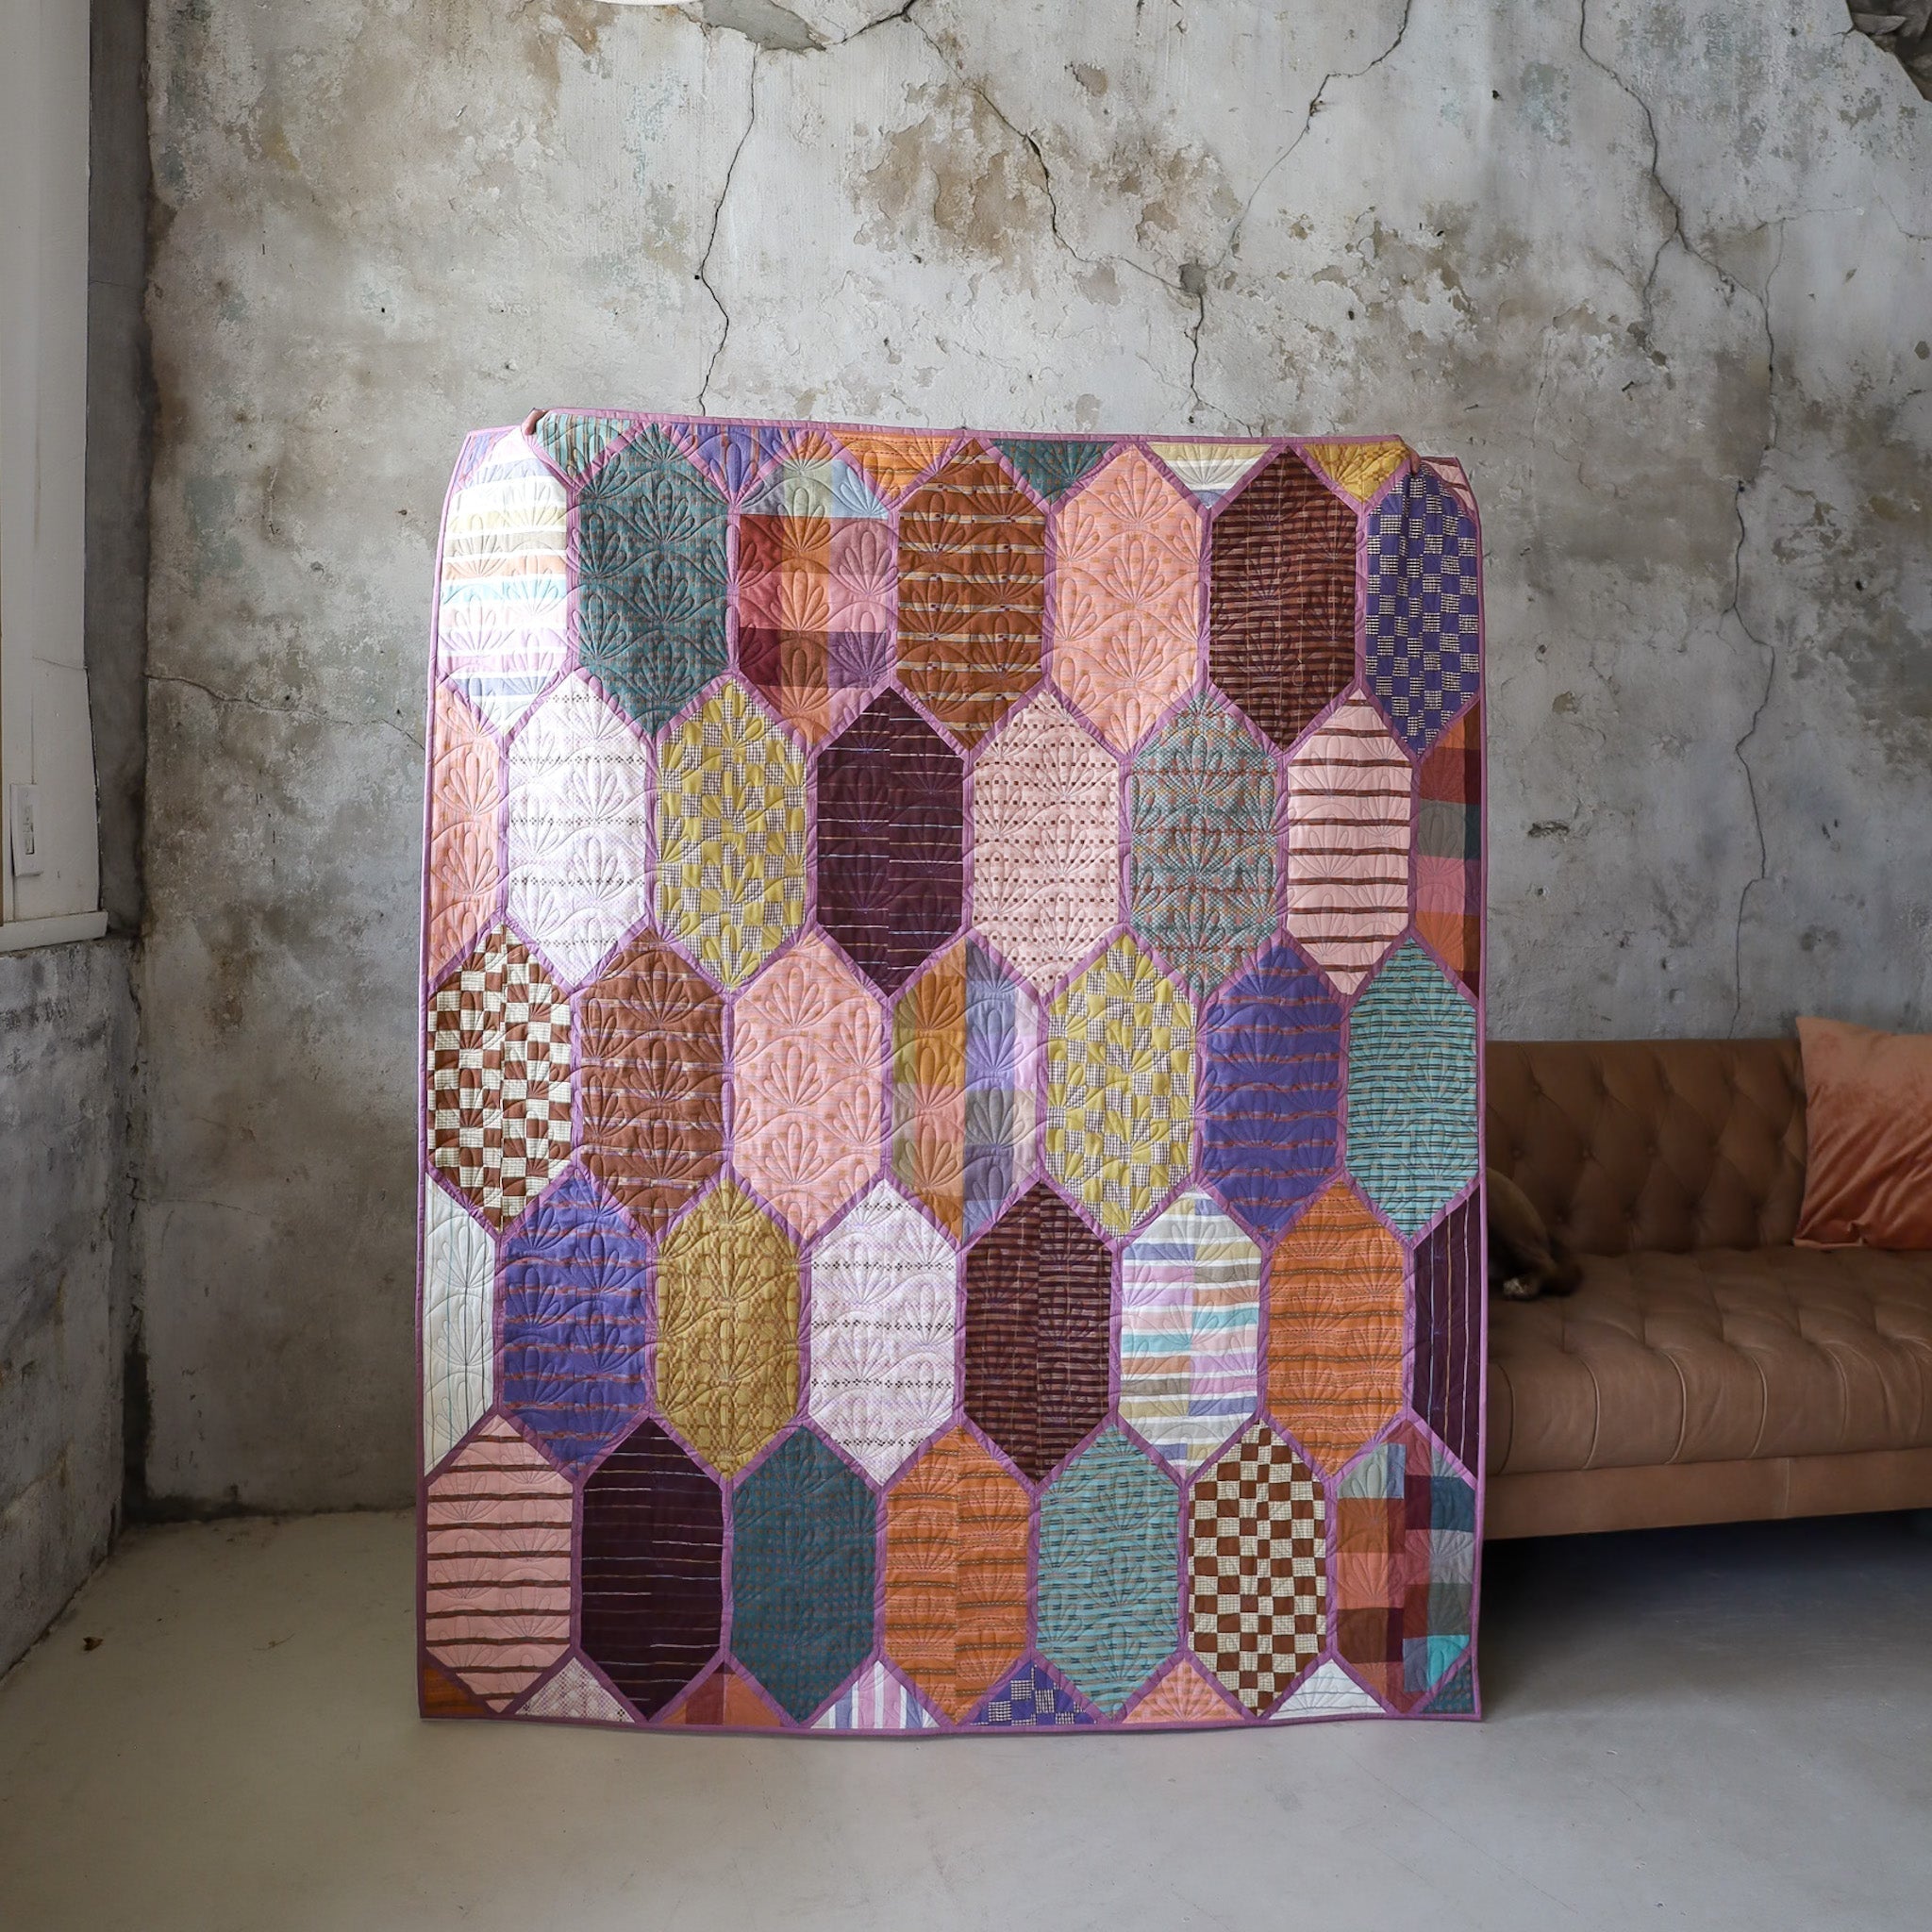
Church Window Inspiration.
Need some ideas for your Church Window Quilt? Here are a few blog posts for inspiration:
- Church Window cover quilt and pattern tester quilts
- Enchanted Ombre Church Window Quilt
- Palette Picks FQ Bundle Church Window
- Canyon Springs Church Window
Church Window fabrics
We have Church Window cover quilt kits in stock in the store, but the sky is the limit! Church Window is a great pattern for displaying large cuts of your favorite prints (or any fabric you love). Go ahead and use up your fat quarter and scraps…or grab a new fabric bundle for your Church Window quilt.
.
I hope that you found these tips helpful. Happy quilting!!
Brittany
.

.

In case you missed it…
| Updated September 17, 2025 - We updated this post to clarify a few details and include some more inspiration. The tips are still the same, though! |