Heirloom Hearts QAL - Week 3

Hello hello and welcome back!
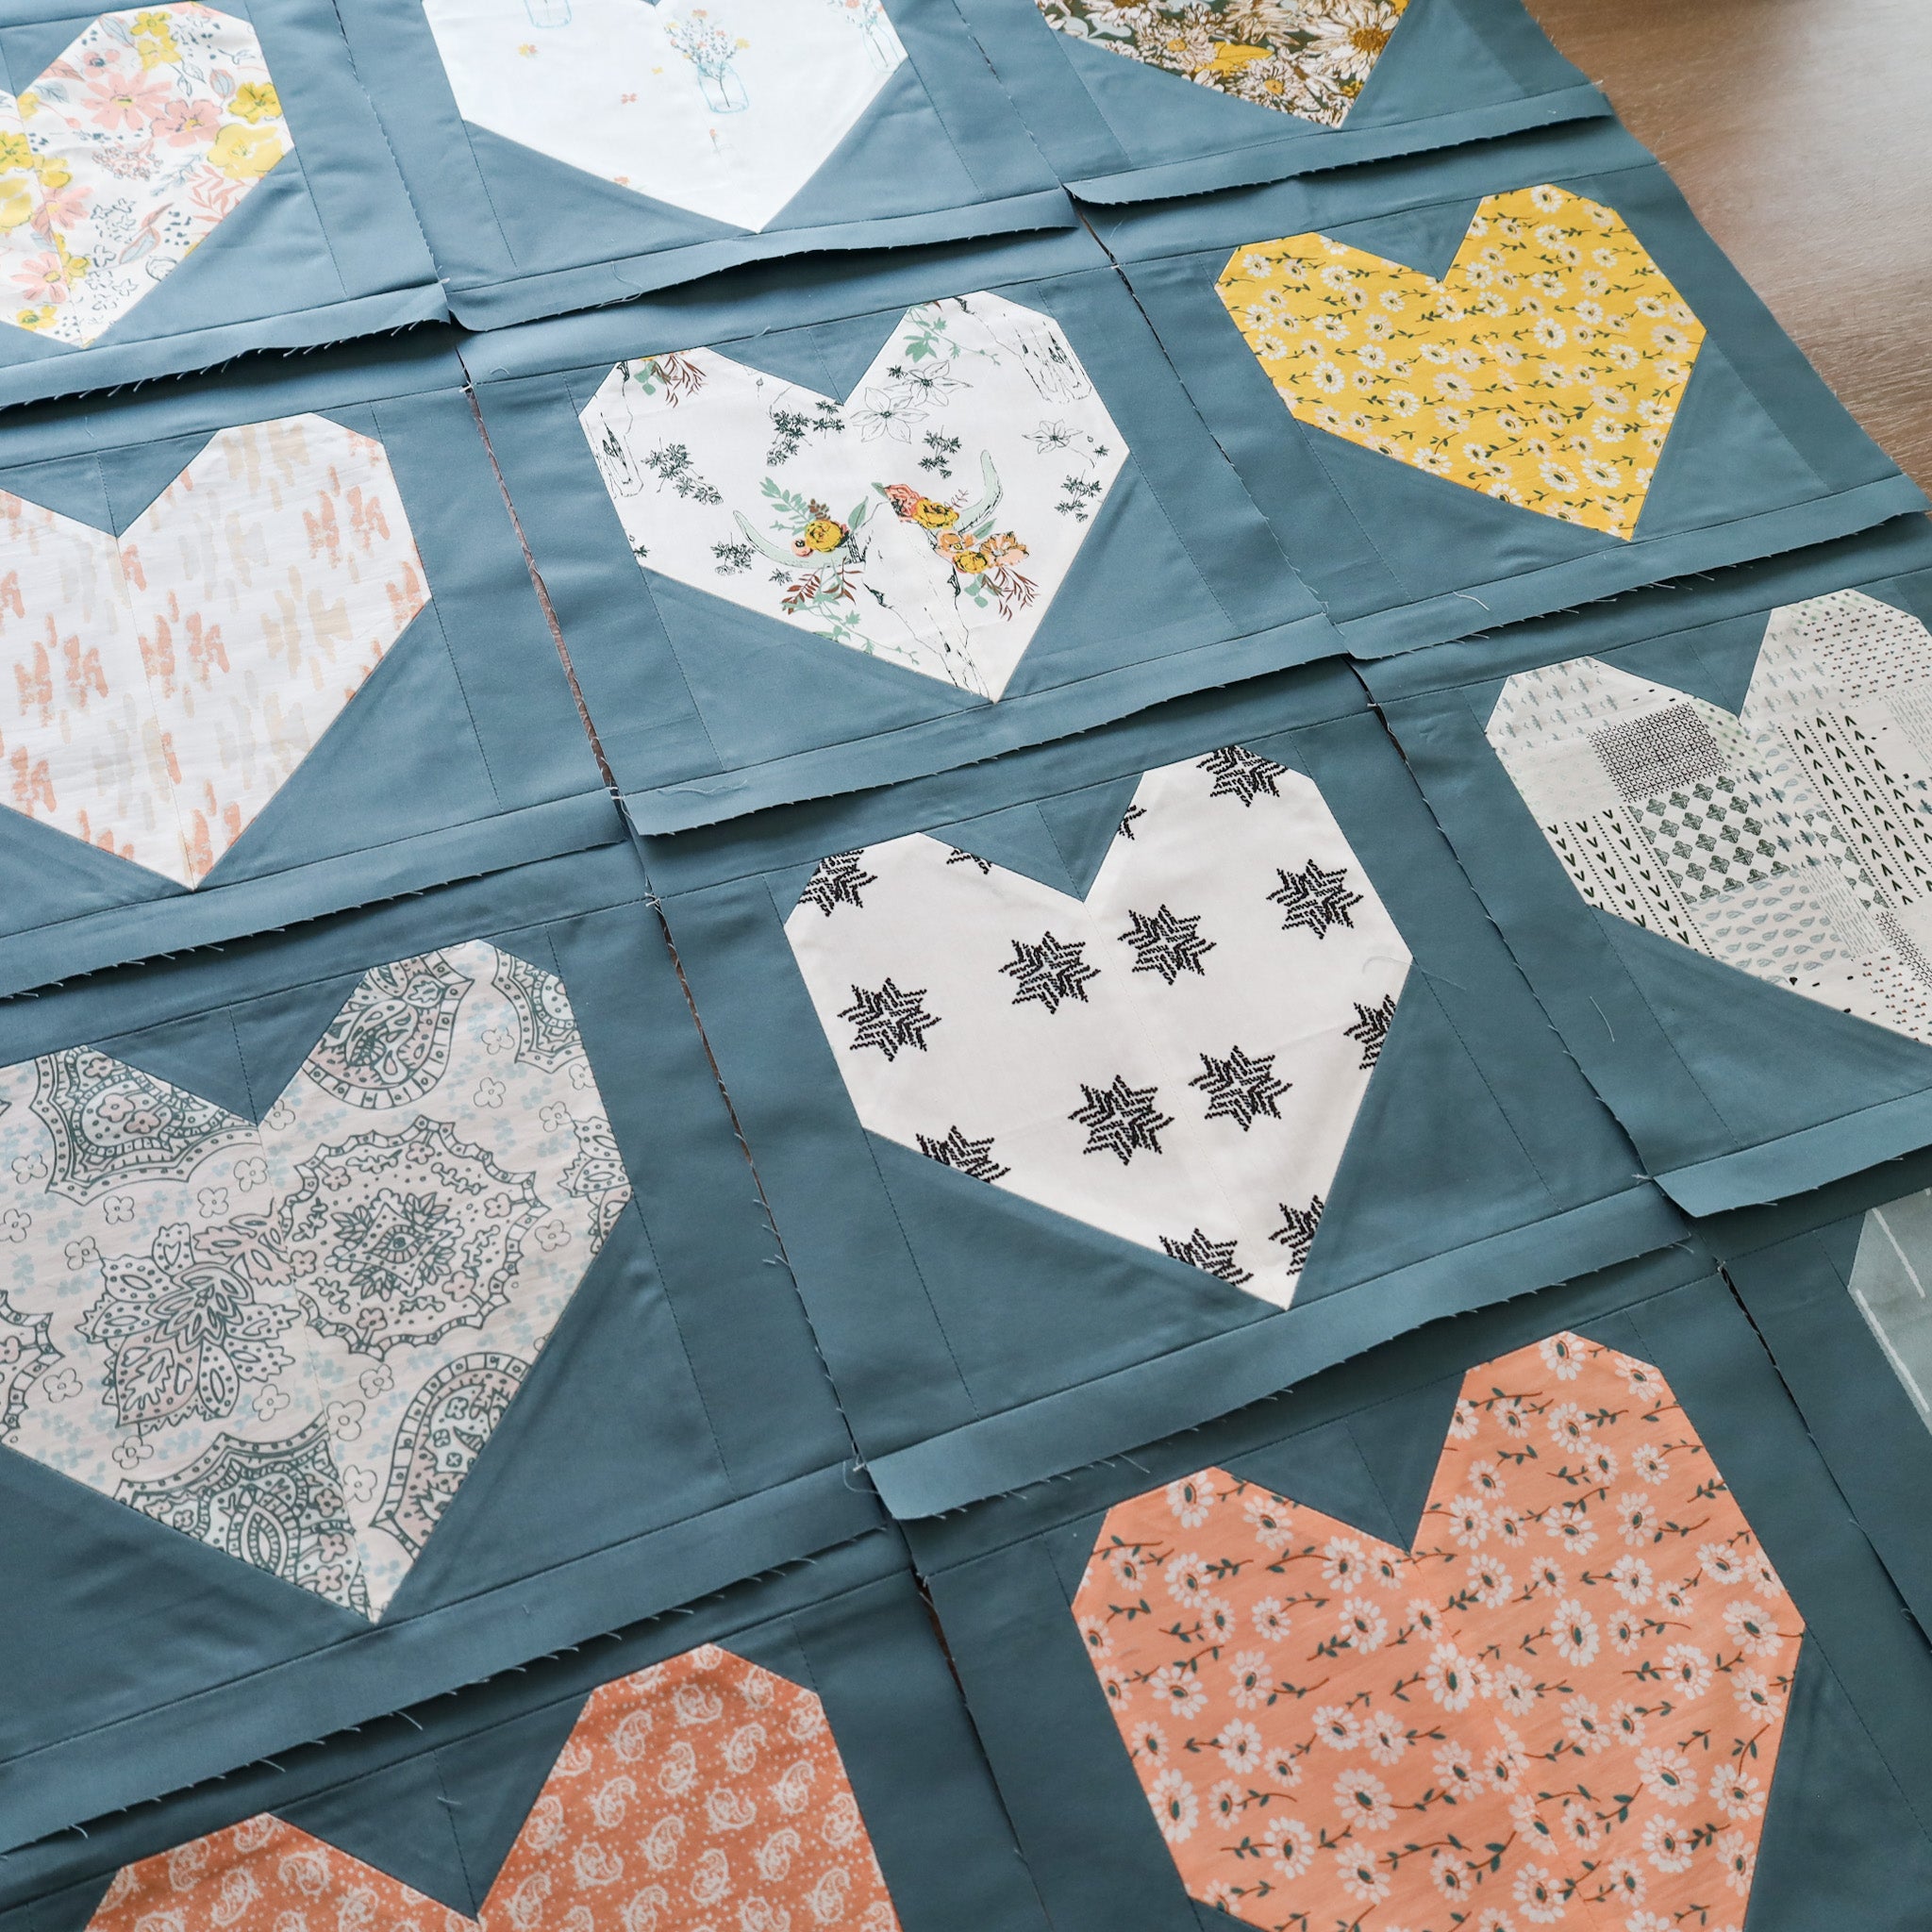
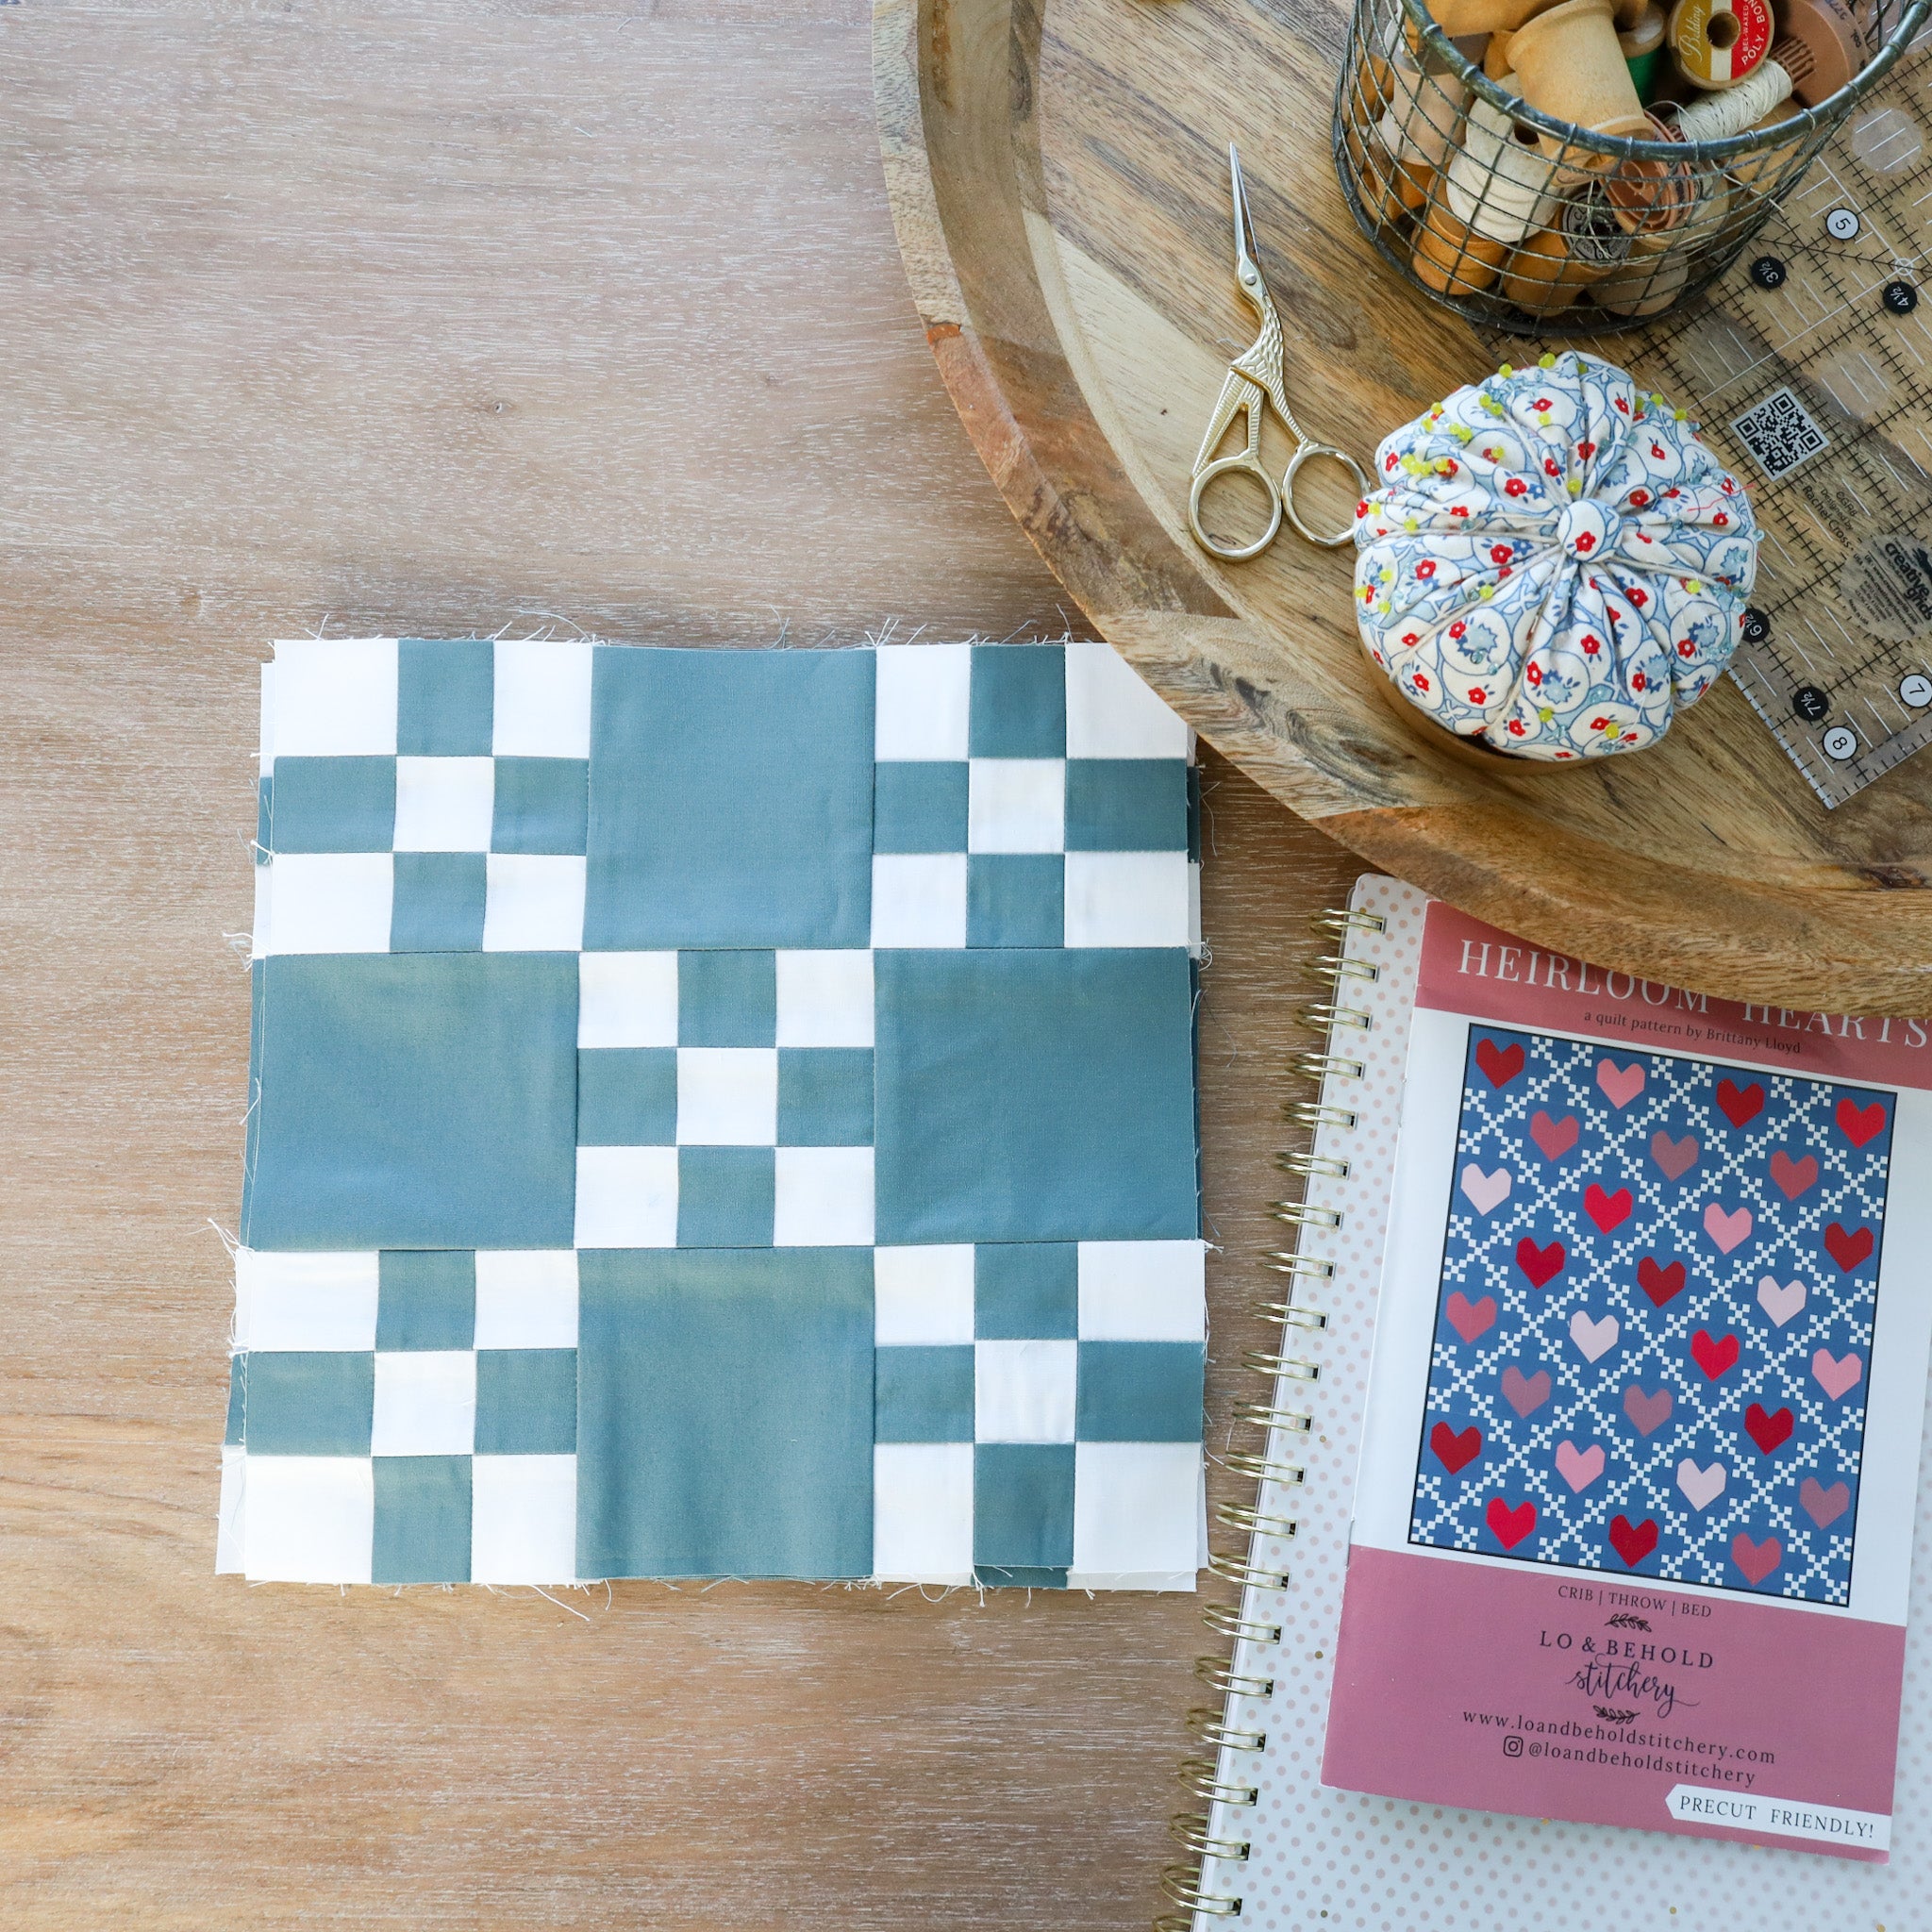
Last week was fun, right?? I just love seeing those heart blocks come together. This week is Week 3 of the Quilt Along, which means that we are making our Nine Patch blocks. Here's a look at our schedule. Click where you see an underline if you need to go back!
- Week 1: Jan. 10th - Cut Fabrics
- Week 2: Jan. 17th - Sew Heart Blocks
- Week 3: Jan. 24th - Sew Nine Patch Blocks
- Week 4: Jan. 31st - Assemble Forty-Nine Patch Blocks
- Week 5: Feb. 7th - Assemble Quilt Top
.
Week 3
This week is pretty straight forward. We are completing Steps 1-3 under the "Forty-Nine Patch Blocks" instructions. This means we are only creating those Nine Patch blocks. There is a LOT of sewing this week. To help break things down, here's a suggested sewing schedule to help you stay on track:
- Monday - Sew, press & cut Row A
- Tuesday - Sew, press & cut 1/2 of Row B
- Wednesday - Sew, press & cut 1/2 of Row B
- Thursday - Create (19, 35, 69) Nine Patch blocks
- Friday - Repeat
- Saturday - Repeat
- Sunday - Repeat & Rest!
Here are some tips for this week:
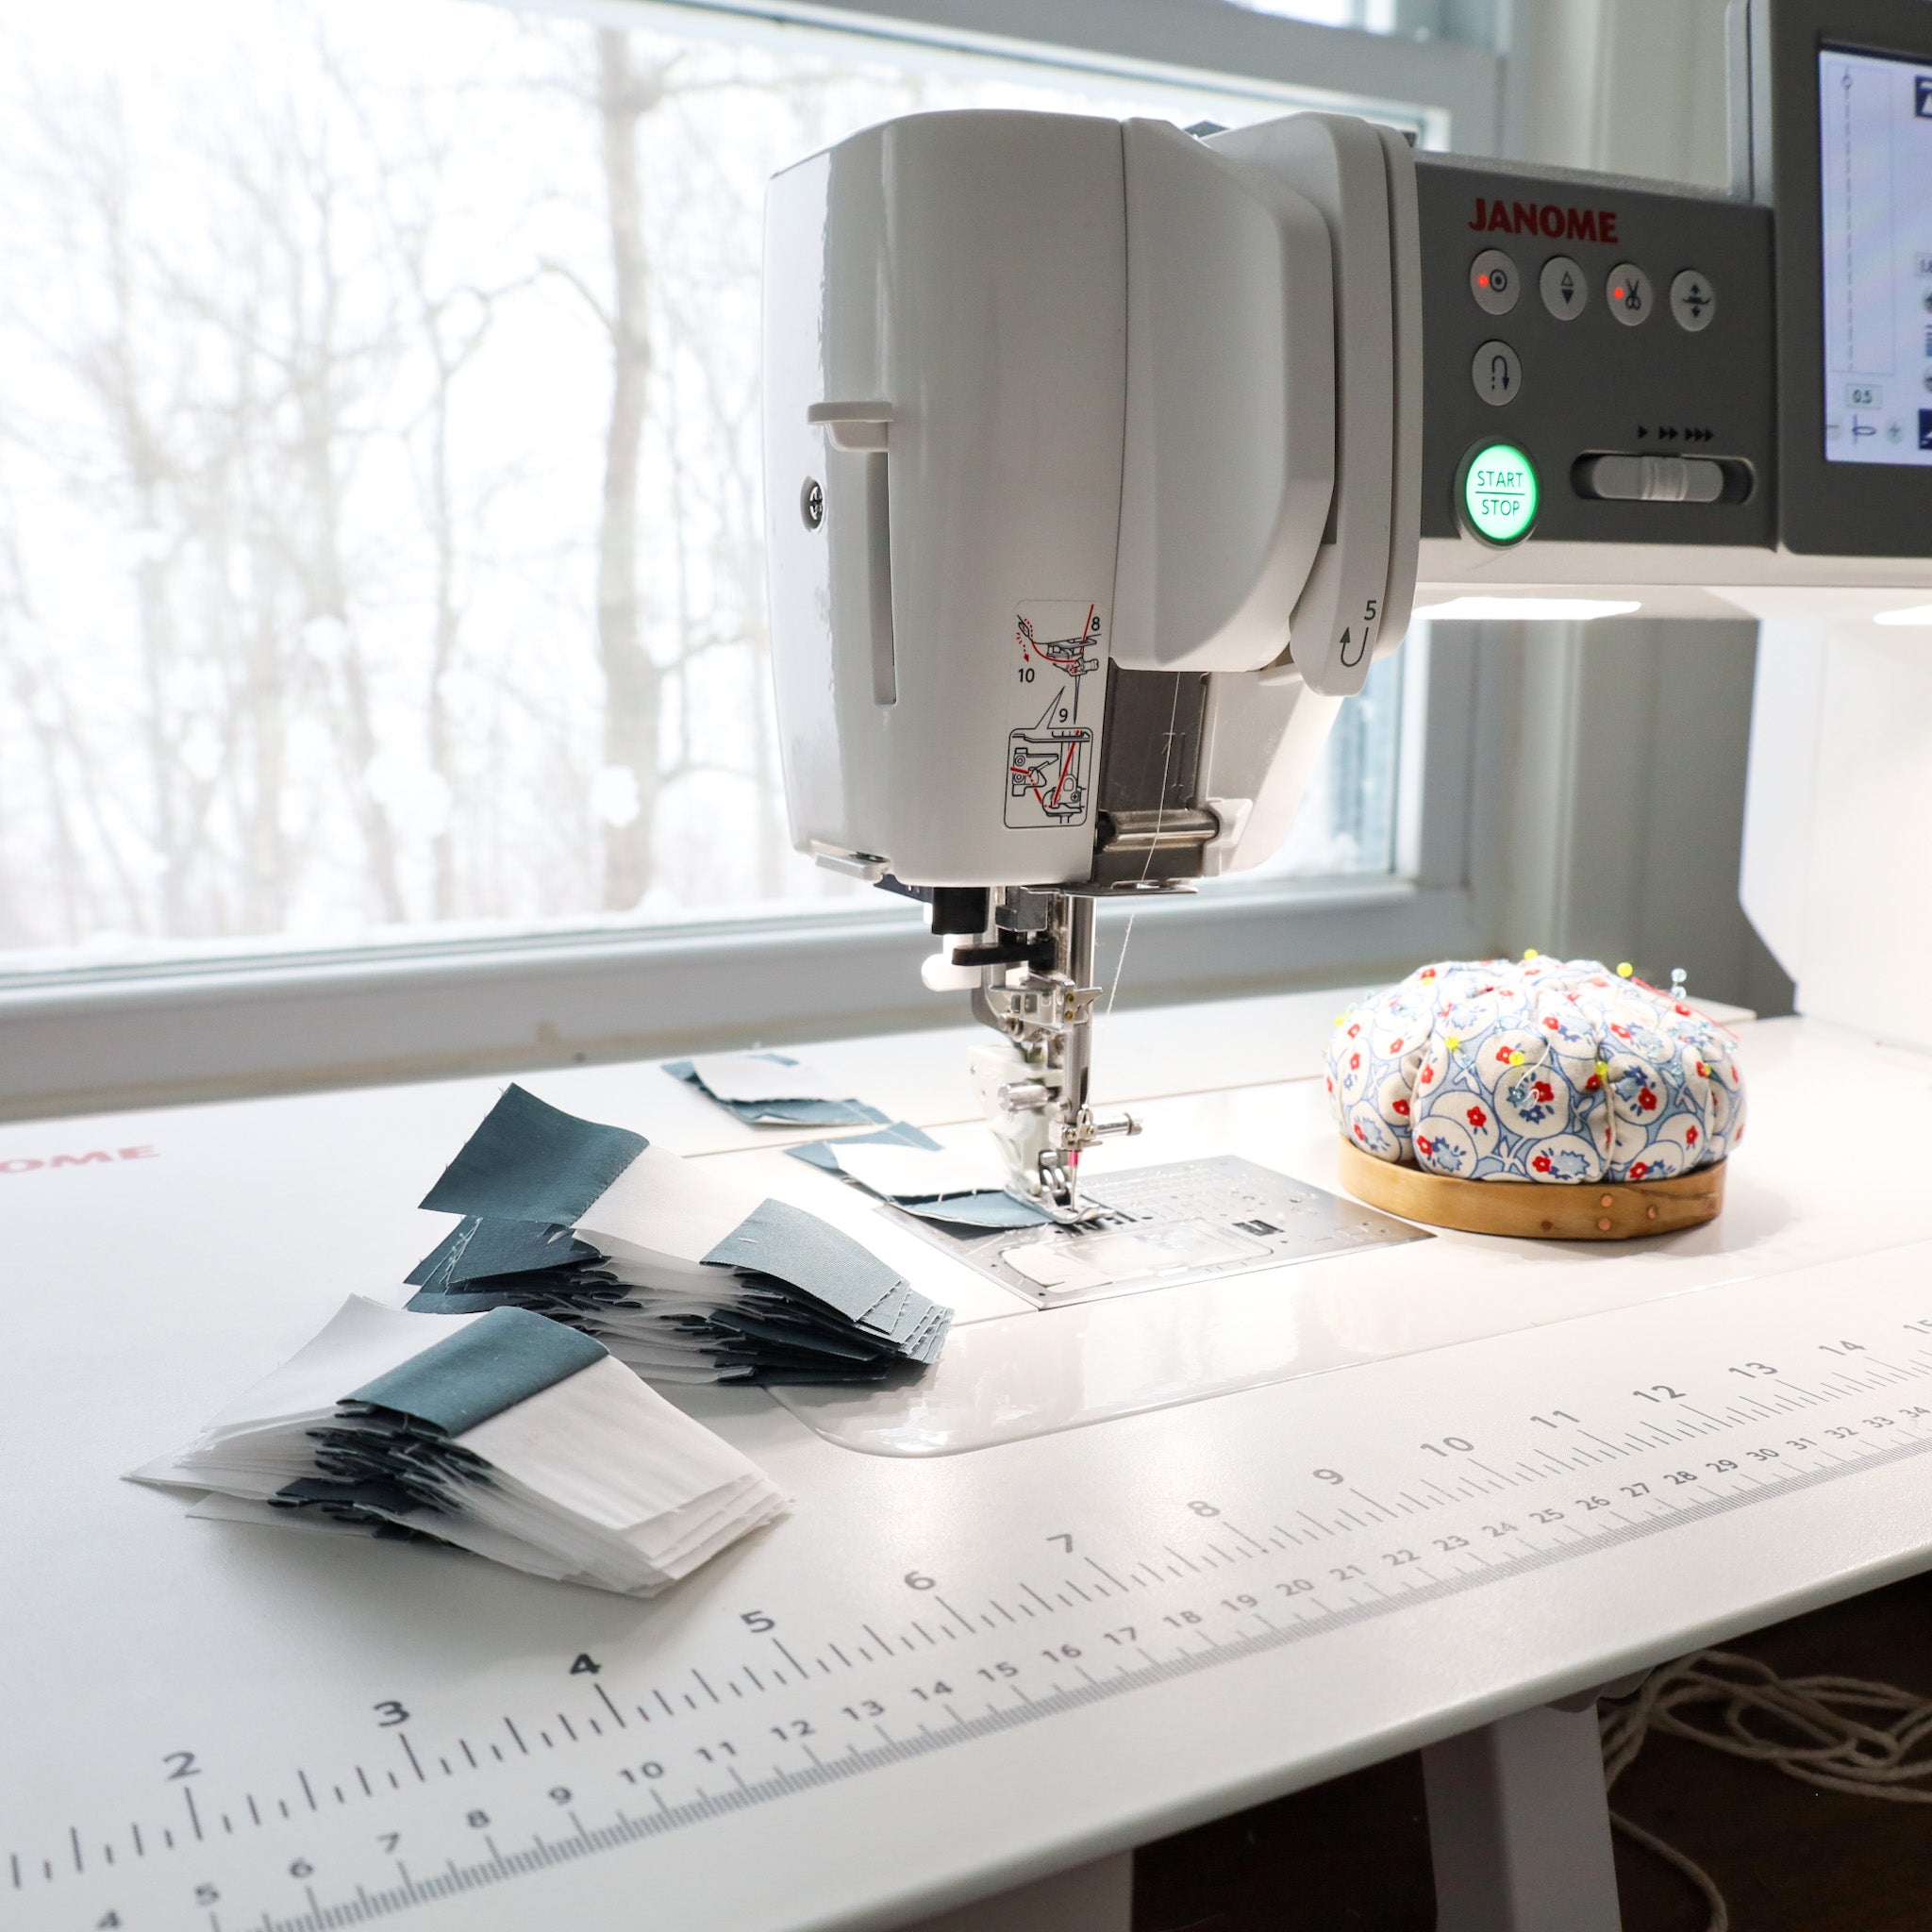
- Since we are "strip piecing" in this segment, you'll want to decrease your stitch length....I always do 1.8mm.
- Test out your seam allowance! This pattern requires a regular 1/4" seam but you'll definitely want to test it out before you go to town and get everything stitched up. One of my pattern testers said that she actually used a *scant* 1/4" seam so remember that everyone's seam allowance can look a little different based on how well you press your fabrics, thread thickness, etc. If you're curious, or if you run into issues, you can read about scant 1/4" seams here. Be sure you have a clear understanding of where your seam allowance needs to be before you chain piece everything! It is very important that your units measure exactly what the pattern says they should measure. If these blocks are larger or smaller than the Heart Blocks from last week, you could run into issues when you go to piece your quilt top together.
- I like to check my seam allowance as I go. After you sew two strips together, then should measure 2.5". Then when you add the third, it should be 3.5".

.
- If your strip set measures less than 3.5", your seam allowance was too large. If your strip set measures more than 3.5", your seam allowance was too small. Again, make a test strip set (consider doing an entire WOF strip just for the practice) then place a ruler over the strip set to see where you are.
.
PRESSING
These blocks have very specific pressing instructions to create nesting seams. This just means that you'll press the seams in Row A a certain direction, then you'll press the seams in Row B in the opposite direction. Remember that you are pressing towards the darker fabric. When you go to sew Row A and Row B together, the seams will lay nice and flat. Plus it'll be easier to keep things aligned!

.
When pressing long strip sets, you'll want to be careful that your strip set doesn't distort or stretch as you are pressing. I like to press the seam first like this:

.
Then gently, using the nose of my iron, press the fabric open, with the seam towards the darker side.

.
CHAIN PIECING
For Step 1, I like to chain piece the first two strips for Row A. So I'll chain piece 5 sets of a Background and a Chain strip together. Then I'll press those seams. Then I'll sew the final Background strip to each of the previous Strip Sets. Press those seams. Then cut all of my Row A pieces. Then I'll repeat this process for Row B.

.
Just be sure you are sewing the strips in the correct order. ;)

.
CUTTING
Once you have your strip sets created, you'll cut them up to create Row A and Row B. Remember to cover the measurement with the ruler, then cut. I really prefer to do this versus using the lines on my cutting mat!
You should get 28 Row units per strip set. For the Throw size, you'll use every single unit, so there isn't really any wiggle room. Keep them in mind when you go to trim off the selvedge ends...you don't want to trim off too much.
If you have a Stripology Ruler (by Creative Grids), this is a good time to bring that out! What I really love about this ruler is that you don't have to lift it up and move it in between each cut. You just line up the horizontal lines on the ruler with the edge fo the fabric, cut on the "zero" then cut on the stars (which indicate 1.5"). Here is an IG Reel of the Stripology ruler in action.

.
Of course, you do not *need* this ruler. Refer back to the Cutting tips from Week 1 if you need to!
I also want to point out that I like to cut my Strip Set while it's folded in half. This means that I am cutting 2 pieces at a time. It also means that if the fold of my fabric was a little bit wonky when I started, I don't have to use that portion of my strip set.
.
SEWING ROWS A & B
This is Step 3 under the "Forty-Nine Patch Blocks" section.
Once all of your Rows are created (it's a lot, I know!) then you'll sew them together to create the Nine Patches. My biggest tip for these is to align those nesting seams and make sure your seam is square. It can sometimes be easy to start and stop seams a little on the skinny side, so you really want to make sure that they aren't crooked. Again, you'll need just a standard 1/4" seam for this but as always, measure a test block before you start chain piecing. I like to chain piece all of my Row A and B pieces, press those seams open to reduce bulk. Then chain piece the final Row B piece to the previous unit and press those seams.

.

.
PRIZES
We have one giant Grand Prize bundle for end of the Quilt Along! Enter to win the bundle by sharing a weekly photo of your progress. Use the hashtags #heirloomheartsQAL, #heirloomheartsquilt and #loandbeholdpatterns and you'll be automatically entered to win! Just make sure your account is public so that we can see your post. :)
Each week, I'll reveal one portion of the prize bundle. Remember that one winner will win everything in the bundle!!
This week, we are adding a 14" x 14" wool pressing mat from Project Wool Mats! This is where I got my wool mat from a few years ago and I absolutely love it!

.
Here's what our Grand Prize bundle looks like so far:
- $50 gift card to our shop
- $50 to Saltwater Fabrics
- 14" x 14" wool pressing mat from Project Wool Mats
.
.
COUPON CODE
Want to go ahead and purchase a wool pressing mat? Project Wool mats is offering us 10% off their 14" x 14" mat using the code loandbehold10 ! Click here for the mat! She's also about to open up Preorders for the larger mat size too...which I will most definitely be purchasing!
.
.
I think that's all for now! Next week we will finish up our Forty-Nine Patch Blocks! I'll see you then. :)
.
Brittany


