Heirloom Hearts QAL - Week 1

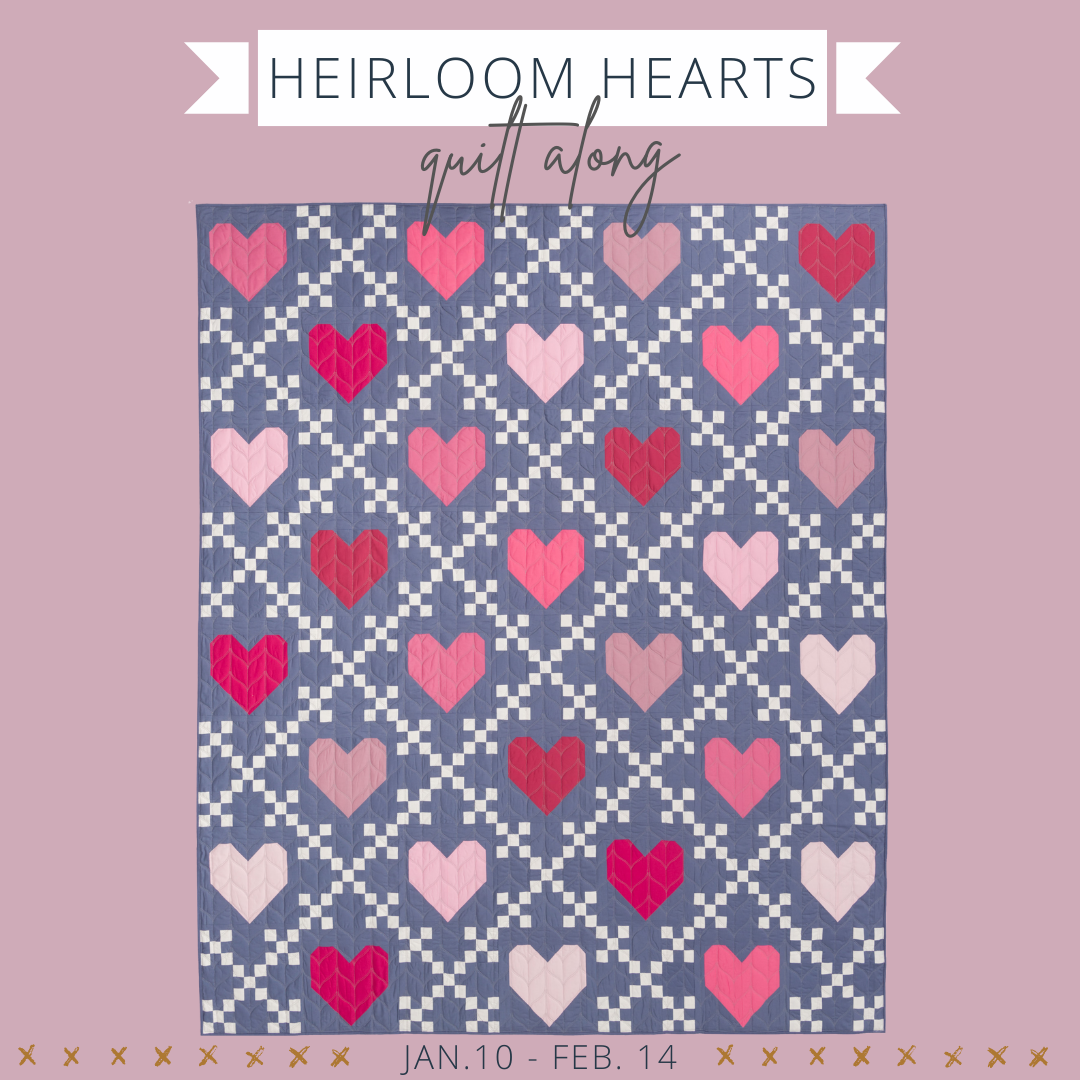
Hello and welcome to the Heirloom Hearts Quilt Along (QAL)! I'm so excited that you are here!

.
If we haven't "met", I'd like to introduce myself! I'm Brittany...the quilter and designer behind Lo & Behold Stitchery. I started quilting in my grandmother's memory and it's turned into an enormous passion of mine! You can read more about me and my story here!
Otherwise, let's jump in!
.
Schedule
You can download a printable QAL schedule here. Here's what the next 5 weeks will look like:
- Week 1: Jan. 10th - Cut Fabrics
- Week 2: Jan. 17th - Sew Heart Blocks
- Week 3: Jan. 24th - Sew Nine Patch Blocks
- Week 4: Jan. 31st - Assemble Forty-Nine Patch Blocks
- Week 5: Feb. 7th - Assemble Quilt Top
.
SUPPLIES
You'll need basic quilting supplies like a rotary cutter and cutting mat. You can find a complete list of my favorite beginner quilting supplies here. Here are a few extra items that are nice to have....but they aren't required.
- Diagonal Seam Tape - This comes in handy when constructing the "snowball" or "stitch and flip" portion of the Heart Blocks. You can also DIY this tape using regular masking or washi tape.
- 8.5" x 24" Ruler - I LOVE this ruler for cutting WOF strips. If you have a 6.5" x 24" ruler, that'll work just fine, but I do love using having this extra large ruler!
- Stripology Ruler - You might want this ruler to cut 1.5" x WOF strips. It's not required, but it is a handy ruler to have.
- Wool Pressing Mat - Makes it like you are ironing both sides of the fabric at the same time!
- Tailor's Clapper - If you've never used a Clapper before, essentially, you place the clapper over a seam immediately after you've pressed that seam with your iron. The wood absorbs the heat and helps lock in the seam to keep it nice and flat. It can be really helpful when you are pressing lots of seams open, like in this quilt! Again, I'll show you a DIY option as well!
WEEK 1
If you don't already have the pattern, be sure to grab that in my shop! You can purchase a PDF Digital Download here or a Printed Paper copy here.
This week, we are jumping right in and cutting our fabrics! Note: if you haven't picked out your fabrics yet, feel free to take a look at my Heirloom Hearts inspiration blog post. This post contains quilt kits, mock-ups and pattern tester quilts.
If you are new to cutting yardage, (or even fabric in general) check out this video from the Deco Quilt Along last year! Obviously it's a different pattern but there are a lot of similarities. Topics covered in this video are how to cut "on-grain", how to square up fabric, batch-cutting, how to interpret "sub-cuts" and more!
.
.
There are 3 main sections that we will focus on for this QAL: Hearts, Chain and Background fabrics. Let's take a closer look at each of these groups individually.
.
HEARTS
Taking a look at your pattern, you'll see that you can use Precut, 10" squares, fat eighths, fat quarters, quarter yards or yardage for the Heart portion of your quilt. Feel free to use solids or prints...both look great! If you are using directional fabrics for your hearts (think some sort of image like a tree or stripes), then you'll want to think about how that fabric will appear in your quilt before you cut it. The short ends of the rectangles will be the top and bottom portion of your heart. If you are using non-directional prints (i.e. polka dots) then feel free to cut your fabrics using either of the cutting diagrams. Here's how I cut my fabric for this part...note that there are many ways to do this. If you have a method that works for you, keep doing that!
1. The first thing that you'll need to do is square up your fabric. If you are using precut 10" squares, you might be able to skip this step. I take my longest ruler and align it with my selvedge and cut that off for my first cut.

.

.
2. Then I straighten up the edge that is perpendicular to the selvedge to create a 90 degree angle. You can either rotate the entire piece of fabric or physically rotate your cutting mat. Once I have my 90 degree angle, I create all of my rectangles starting from that point. Some people go ahead and create 90 degree angles on all four corners, but I just start with one corner and go from there.

.

.
3. Once I have my 90 degree corner, I cut my rectangles. Align the left vertical edge of your fabric with the desired measurement on your ruler. Make sure the the bottom edge is aligned with the horizontal lines on your ruler. I've found that using the lines on my ruler gives me a WAY more accurate cut than using the lines on my cutting mat. I'm right handed, so that looks like this:

.
4. Once I've made the first cut, I rotate the fabric around to make my next cut. Remember where your 90 degree angle is because you want to be sure that's included in your rectangle...not the other end! And don't forget to use those horizontal lines to make sure your cut is square!

.

.
There you have it!
.
CHAIN
The chain portion of this pattern is made up of the nine patch blocks. We will strip piece, cut and assemble those later on, but for this week, just focus on cutting your WOF strips. If you are starting out with precut 1.5" strips, then you're good to go for this section! Here are the steps for cutting WOF strips:
1. Align selvedges so that they are perfectly on top of each other. This might mean that you need to push up the excess fabric to create a new fold. If this is the case, consider using your iron to press a new crease.
2. Align a horizontal line on your ruler with the fold of your fabric. Trim to create a fresh edge.

3. Turn your mat around so that you can cover your desired measurement with your non-dominate hand and cut with your dominate hand. Align the 1.5" line with the fresh edge of fabric, then cut the amount of strips that you need.

.

.
BACKGROUND
Last but not least....we have the Background fabric! Keep in mind, my cutting instructions are to help you get the best use of your fabric with minimal waste. Refer to the bottom of the cutting chart for a checklist of the Background pieces that you'll end up with. Double check this count once you are finished cutting.
Word to the wise: when you go to trim your selvedges, make sure you aren't trimming too much. You'll need the entire 42" of selvedge for some of these cuts, so be sure you are leaving yourself with at least that. If you accidentally trim off too much or if your WOF is less than 42", you should have a little bit of leftover fabric at the end to cut those remaining pieces.
You'll use the same cutting techniques that I mention above (align selvedges to make sure the fold is square, cover your desired measurement with your ruler, etc.) again, the video has lots of great tips! I also recommend folding your fabric accordion style. This is to help manage the bulk of your fabric as you are cutting. You can also press/ realign selvedges as needed in this same fashion. It can be a lot of steps back and forth from your cutting table & ironing board, but I really prefer doing it in chunks rather than all at once.
.

.

.
I also want to take a moment to further explain the subcutting. Take note of the text above the Cutting Instructions table (in the Digital pattern, it's above the cutting diagrams). Be sure to carefully read these instructions. Here is an example of what I'm referring to:
- (5) 3.5" x WOF; subcut:
- (12) 3.5"* each
This means that from this bullet point, you'll have (60) 3.5" squares. So the word "each" refers to each WOF strip in that bullet point. Essentially, you'll cut each WOF strip in that bullet point the exact same way. If you are confused by this, look ahead to the bottom of the chart to see how many pieces you'll need when you are finished. If you multiply the number of WOF strips by the subcut quantities, you'll get the right amount of pieces.
_________________
Which brings me to my next tip: Since we are cutting so many WOF strips the exact same way, I like to "batch cut". This simply means that you cut multiple strips at once. There's a demo of this in the video at minute mark 7:08.

.
.
COLORING PAGES
There are coloring pages provided within the pattern, but if you are looking for more, you can find them here. Note that if you are looking for coloring pages that show the seam lines, we can get those to you upon showing proof of purchase...just email us!
.
PRE-WASHING FABRICS
I've gotten a lot of questions about pre-washing and it's simply a matter of personal preference. I very rarely prewash my fabrics. I could probably count the amount of times that I've pre-washed my fabrics on one hand. The reasons that I don't like it? For one, it takes a lot of effort. Once you take the fabric out of the dryer, you then have to refold and iron it. If it's a large cut of fabric, this can be a bit of a daunting task. Secondly, I like the "crisp-ness" of fabric that is unwashed...it seems to hold it's shape better and be easier to work with.
That being said, once my quilt is assembled, I am very generous with the Shout Color Catchers. I know some people only use 1 or 2....at minimum, I use 5, depending on the size of the quilt. They're relatively cheap, so there's no harm in using a liberal amount. Feel free to use Color Catchers for the first few washes, or just once.
Again, this is just MY personal preference. If it would make you feel better to prewash your fabrics, be my guest! I've found that the quilting community is split pretty evenly on this topic. Just keep in mind: You will need the full WOF for this pattern. I know some fabric manufacturers (Ruby Star Society is one of them) that have smaller width of fabric measurements and larger selvedges. If you choose to prewash your fabric just be aware that if your fabric shrinks to be less than 42" wide, you may need additional fabric. Just be aware of this if you're on the fence about pre-washing. :)
.
STARCHING FABRICS
To be honest, I don't really use starch that much. However, I've found that if I am working with smaller pieces (like this pattern) or bias edges, it really does help with accuracy. Starch makes your fabric more stiff, which makes it easier to sew and work with. I also tend to starch fabrics that are thinner/more "silky". Two brands that come to mind are Ruby Star and Art Gallery. I LOVE love love their fabrics; they're high quality, super soft and quilt up very nicely... but I've noticed that I'm more likely to use starch when I sew with these two fabric brands. I don't think I've ever starched Kona, just because it already has a naturally stiff hand.
Remember that you'll want to starch your fabric before you cut them, so if you decide to use it, I recommend going ahead and doing that this week. For yardage, assess how your WOF is folded. You'll want the two selvedge ends to be right on top of each other. This may mean ironing a new crease in your fabric. When I starch, I spray the entire piece of fabric to get it pretty saturated, then use my iron to press out any wrinkles or creases. This is the starch that I use.
.
FACEBOOK GROUP
If you have any burning questions, or if you're just looking for community and support, join the Lo & Behold Patterns Facebook group! It is not required- all of the information for the QAL will be delivered via email/blog. That being said, if you are looking for advice with fabrics or anything else, the FB group is a great place to look!
.
MY FABRIC PULL
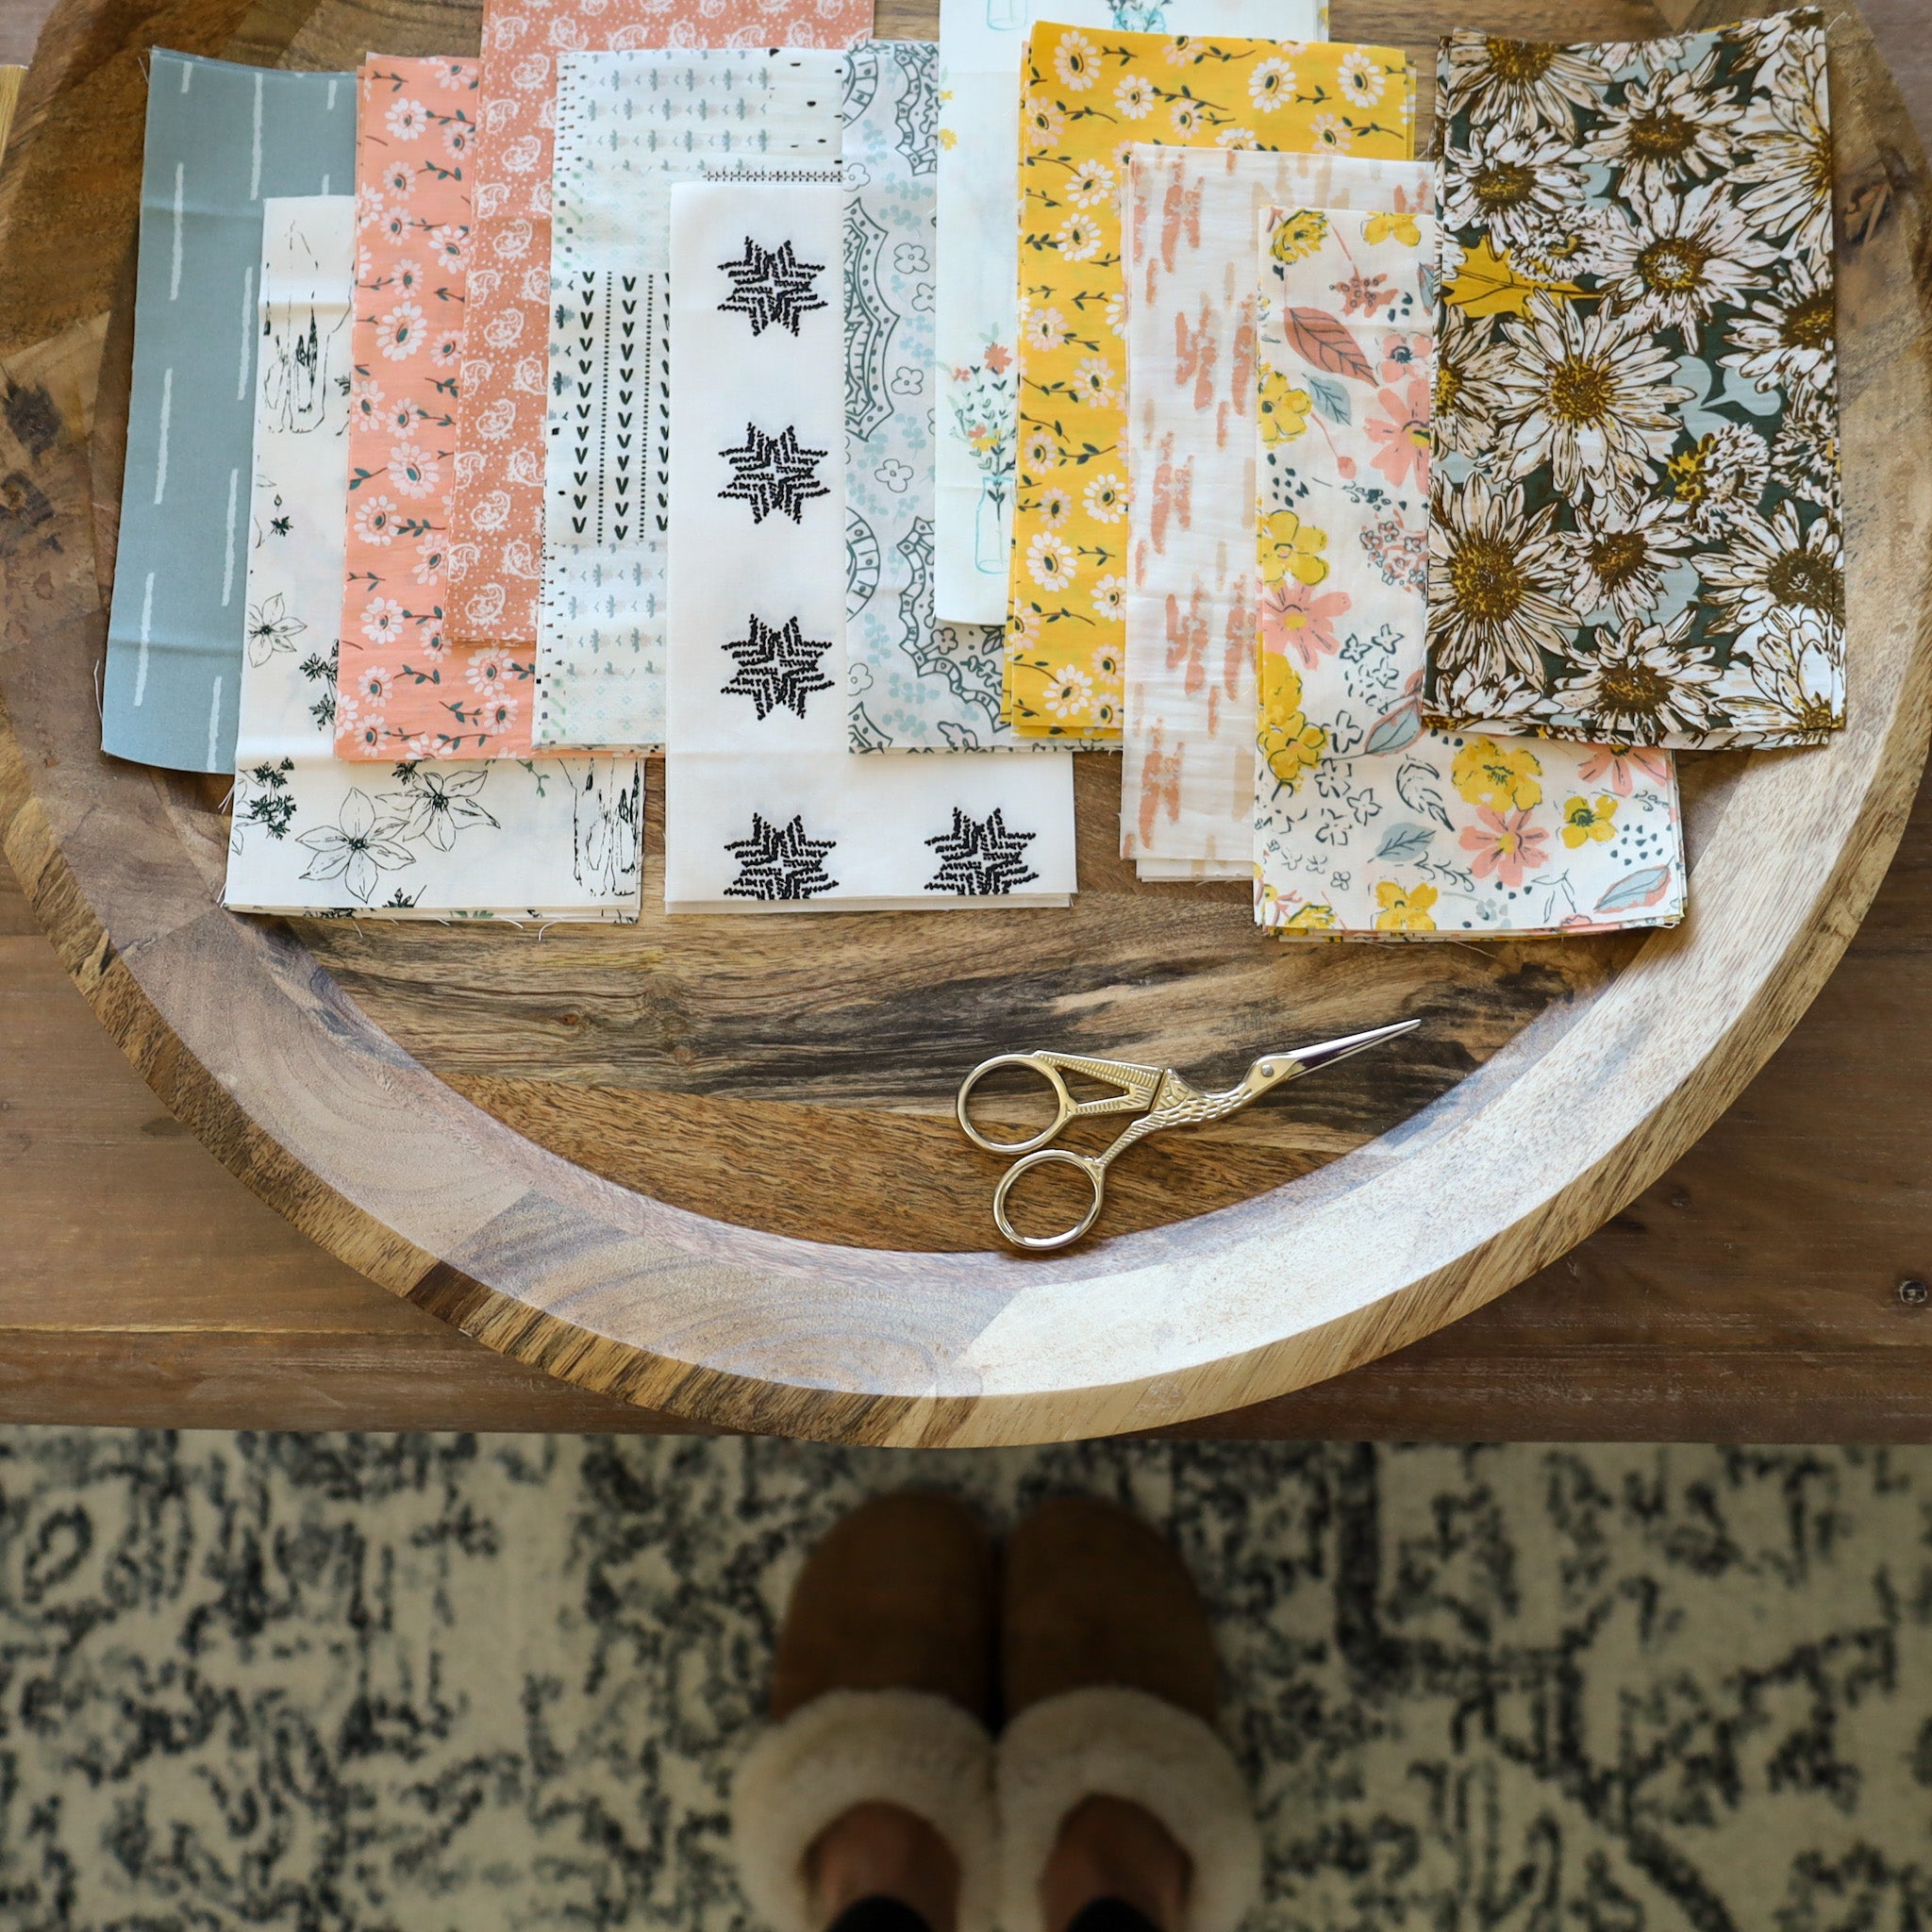
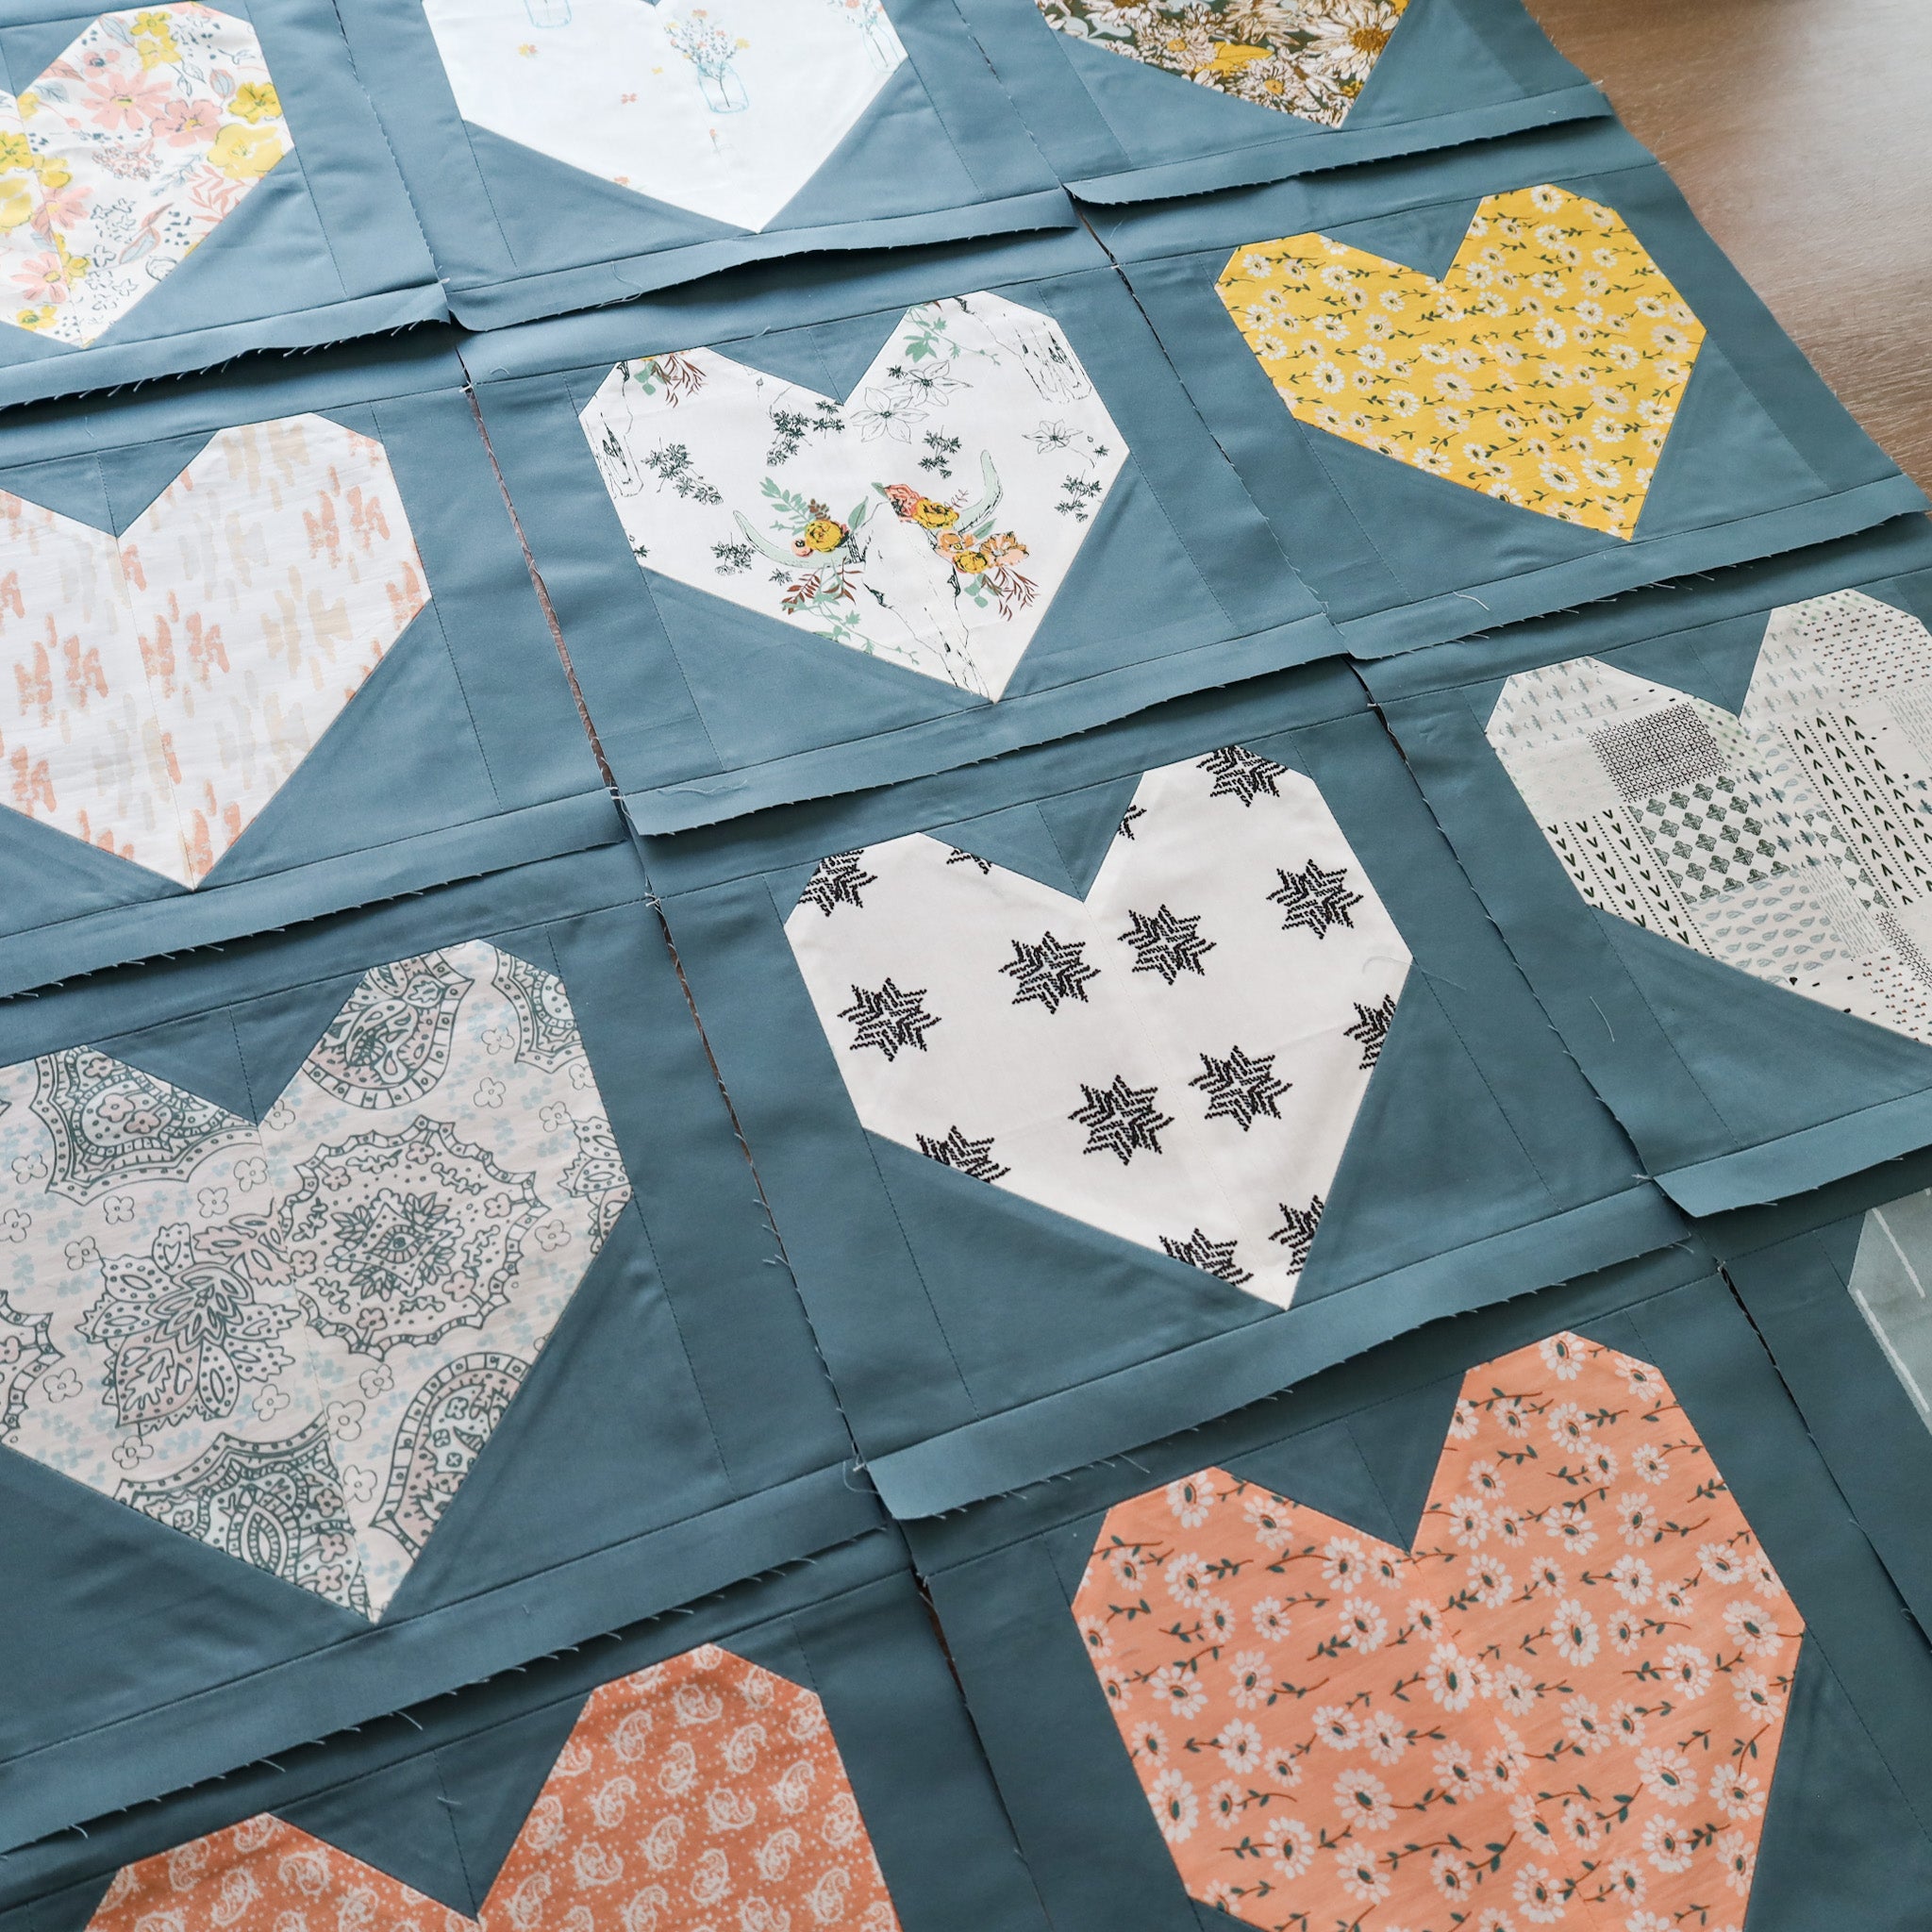
I will be making a Throw size Heirloom Hearts using the "Shine On" collection by Sharon Holland. I'm using AGF Northern Waters as the Background fabric and Snow as the Chain. :) We have "Shine On" FQ bundles in our shop....you would just need to supply your own Background and Chain fabric. Here is a mock-up:

.
PRIZES
We will have one giant Grand Prize bundle at the end of the Quilt Along! Enter to win the bundle by sharing a weekly photo of your progress. Use the hashtags #heirloomheartsQAL, #heirloomheartsquilt and #loandbeholdpatterns and you'll be automatically entered to win! Just make sure your account is public so that we can see your post. :)
Each week, I'll reveal one portion of the prize bundle. Remember that one winner will win everything in the bundle!!
The first item in the Grand Prize bundle is:
- a $50 gift card to our shop (can be used on anything!)
.

I think that's all for now! Next week we will create our Heart Blocks! I'll see you then. :)
.
Brittany


