12 Tips for Sewing Long Seams on Quilts

We've all been there: You’re so excited to sew up some long seams and watch your quilt top come together…but then your fabric ends up wonky and wavy. Talk about frustrating!
That kind of warping can happen for a variety of reasons, but rest assured, there are things you can do to prevent it. Keep reading to get my best tips for sewing long seams on quilts…without all the frustration!

PREPARING YOUR LONG SEAMS
1. Starch your fabric.
Starch helps with so many things in quilt making! I've found that my fabric is generally less unruly when I take the time to starch it, because it adds a stiffness to my fabric that makes it easier to work with. That definitely makes it easier when it’s time for the long seams! You can buy all kinds of starch, but I like using Best Press.
2. Cut your fabric as on-grain as possible.
Some quilt patterns let you get away without cutting perfectly on grain, but the grainline really matters on others. The bigger the pieces you’re cutting, the more important it is to stay on grain. I have a blog post all about how to cut WOF strips that can help you cut on grain with those long pieces.
3. Use pins or glue.
This step is crucial. Believe me, I would love to skip this step more than anything, but the reality of it is...it truly makes a difference! Now there are many different pinning methods out there; for the most part, it doesn't matter how you pin your fabrics…but good pinning will make the biggest difference in keeping your fabrics aligned as you sew, resulting in beautiful long seams.
I like using these "fine" glass head pins. If you're into using glue (or want to try it), this glue stick is really great for sewing. Just keep in mind that you don't want to use too much glue because of a reason that I'm sharing later on. So keep reading. :)
Note: If you are able to "nest" your seams, you may not need to pin as much…or at all. This means if you're sewing together a long row of blocks to another long rows of blocks, you press one row seams to the left and the other row seams to the right. Having seams pressed in the opposite direction allow them to "nest" and stay aligned as you are sewing…without any pins!

SEWING YOUR LONG SEAMS
4. Use a walking foot.
Using your "walking foot" or "even feed foot" will help the layers of your fabric go through the machine evenly. As your feed dogs are moving the fabric on the bottom through your machine, your presser foot is slightly pushing against your top fabric in the opposite direction. When you're sewing longer seams, your fabric has more time to slowly shift.
A walking foot helps grab your top fabric so that it's moving along at the same rate as your bottom fabric…even on those long seams.

5. Position your sewing machine well.
Managing the weight of the quilt top is crucial. Gravity can pull fabric and make your fabric pieces or your seam a little wonky, especially if there's a lot of it. I think this is one of the reasons why piecing together a Backing for my quilt is my least favorite activity. Those big cuts of fabric can be hard to manage! Because of this, it's important to support your fabric whenever you can.
It can be helpful to position your sewing machine on a table so that there is space behind it and to the left of it. Bonus points if there is space right beside you on your left. You want your fabric to glide through the machine effortlessly, as if it's floating through without the effects of gravity.
You can get creative with this and position your ironing board or a small table directly to your left so that it supports the weight of your fabric as you are sewing.

6. Have gentle hands.
Be sure you are not pulling or stretching your fabric as you are sewing. You want to lightly and gently support the fabric as your feed dogs and walking foot do all of the work.
7. Slow down!
Speed is not the name of the game here! If you have speed control on your sewing machine, turn that way do
wn and take your time. Sewing quickly can sometimes make your fabrics shift.
8. Increase your stitch length.
I've noticed when I sew with thinner fabrics the tension from my seam can cause slight puckering in the fabrics. Experiment with lengthening your stitch length ever so slightly to see if that makes a difference with any waviness that can happen with a long seam. I typically do not increase my stitch length longer than 2.4mm.
9. Alternate the direction you sew.
This can be hard to explain with words, so I created a diagram below. Essentially alternating the direction that you sew your seams can help "offset" any sort of bowing that happens.

.PRESSING YOUR LONG SEAMS
10. Don't use steam.
Generally speaking, pressing your fabrics with a dry iron will help prevent you from warping and/or stretching your fabric. If you prefer to use steam to press your seams, consider using a dry iron first, then lightly steaming the seam once it is already initially pressed.
11. Press--don't iron.
Remember to use an up and down motion with your iron. Try to avoid sliding your iron as this can stretch your fabrics.

Pattern featured above is Valley Song.
12. Press your seams open.
This is another debatable topic but I've found that when I'm pressing longer seams, I'm less likely to accidentally warp my fabric when I press the seam open. I think this is because it's easy to slide the iron if you're pressing to one side, which can pull your fabrics.
With pressing the seam open, you can more easily use an "up and down" motion that generally keeps the fabrics in place better and it gives you a flatter, more accurate seam.
- If you use glue instead of pins, be sure to only use a little bit…otherwise, it can be a little difficult to press the seam open.
- If you press your seam to one side, consider "setting the seam" first like I demonstrate in my guide to flat seams.

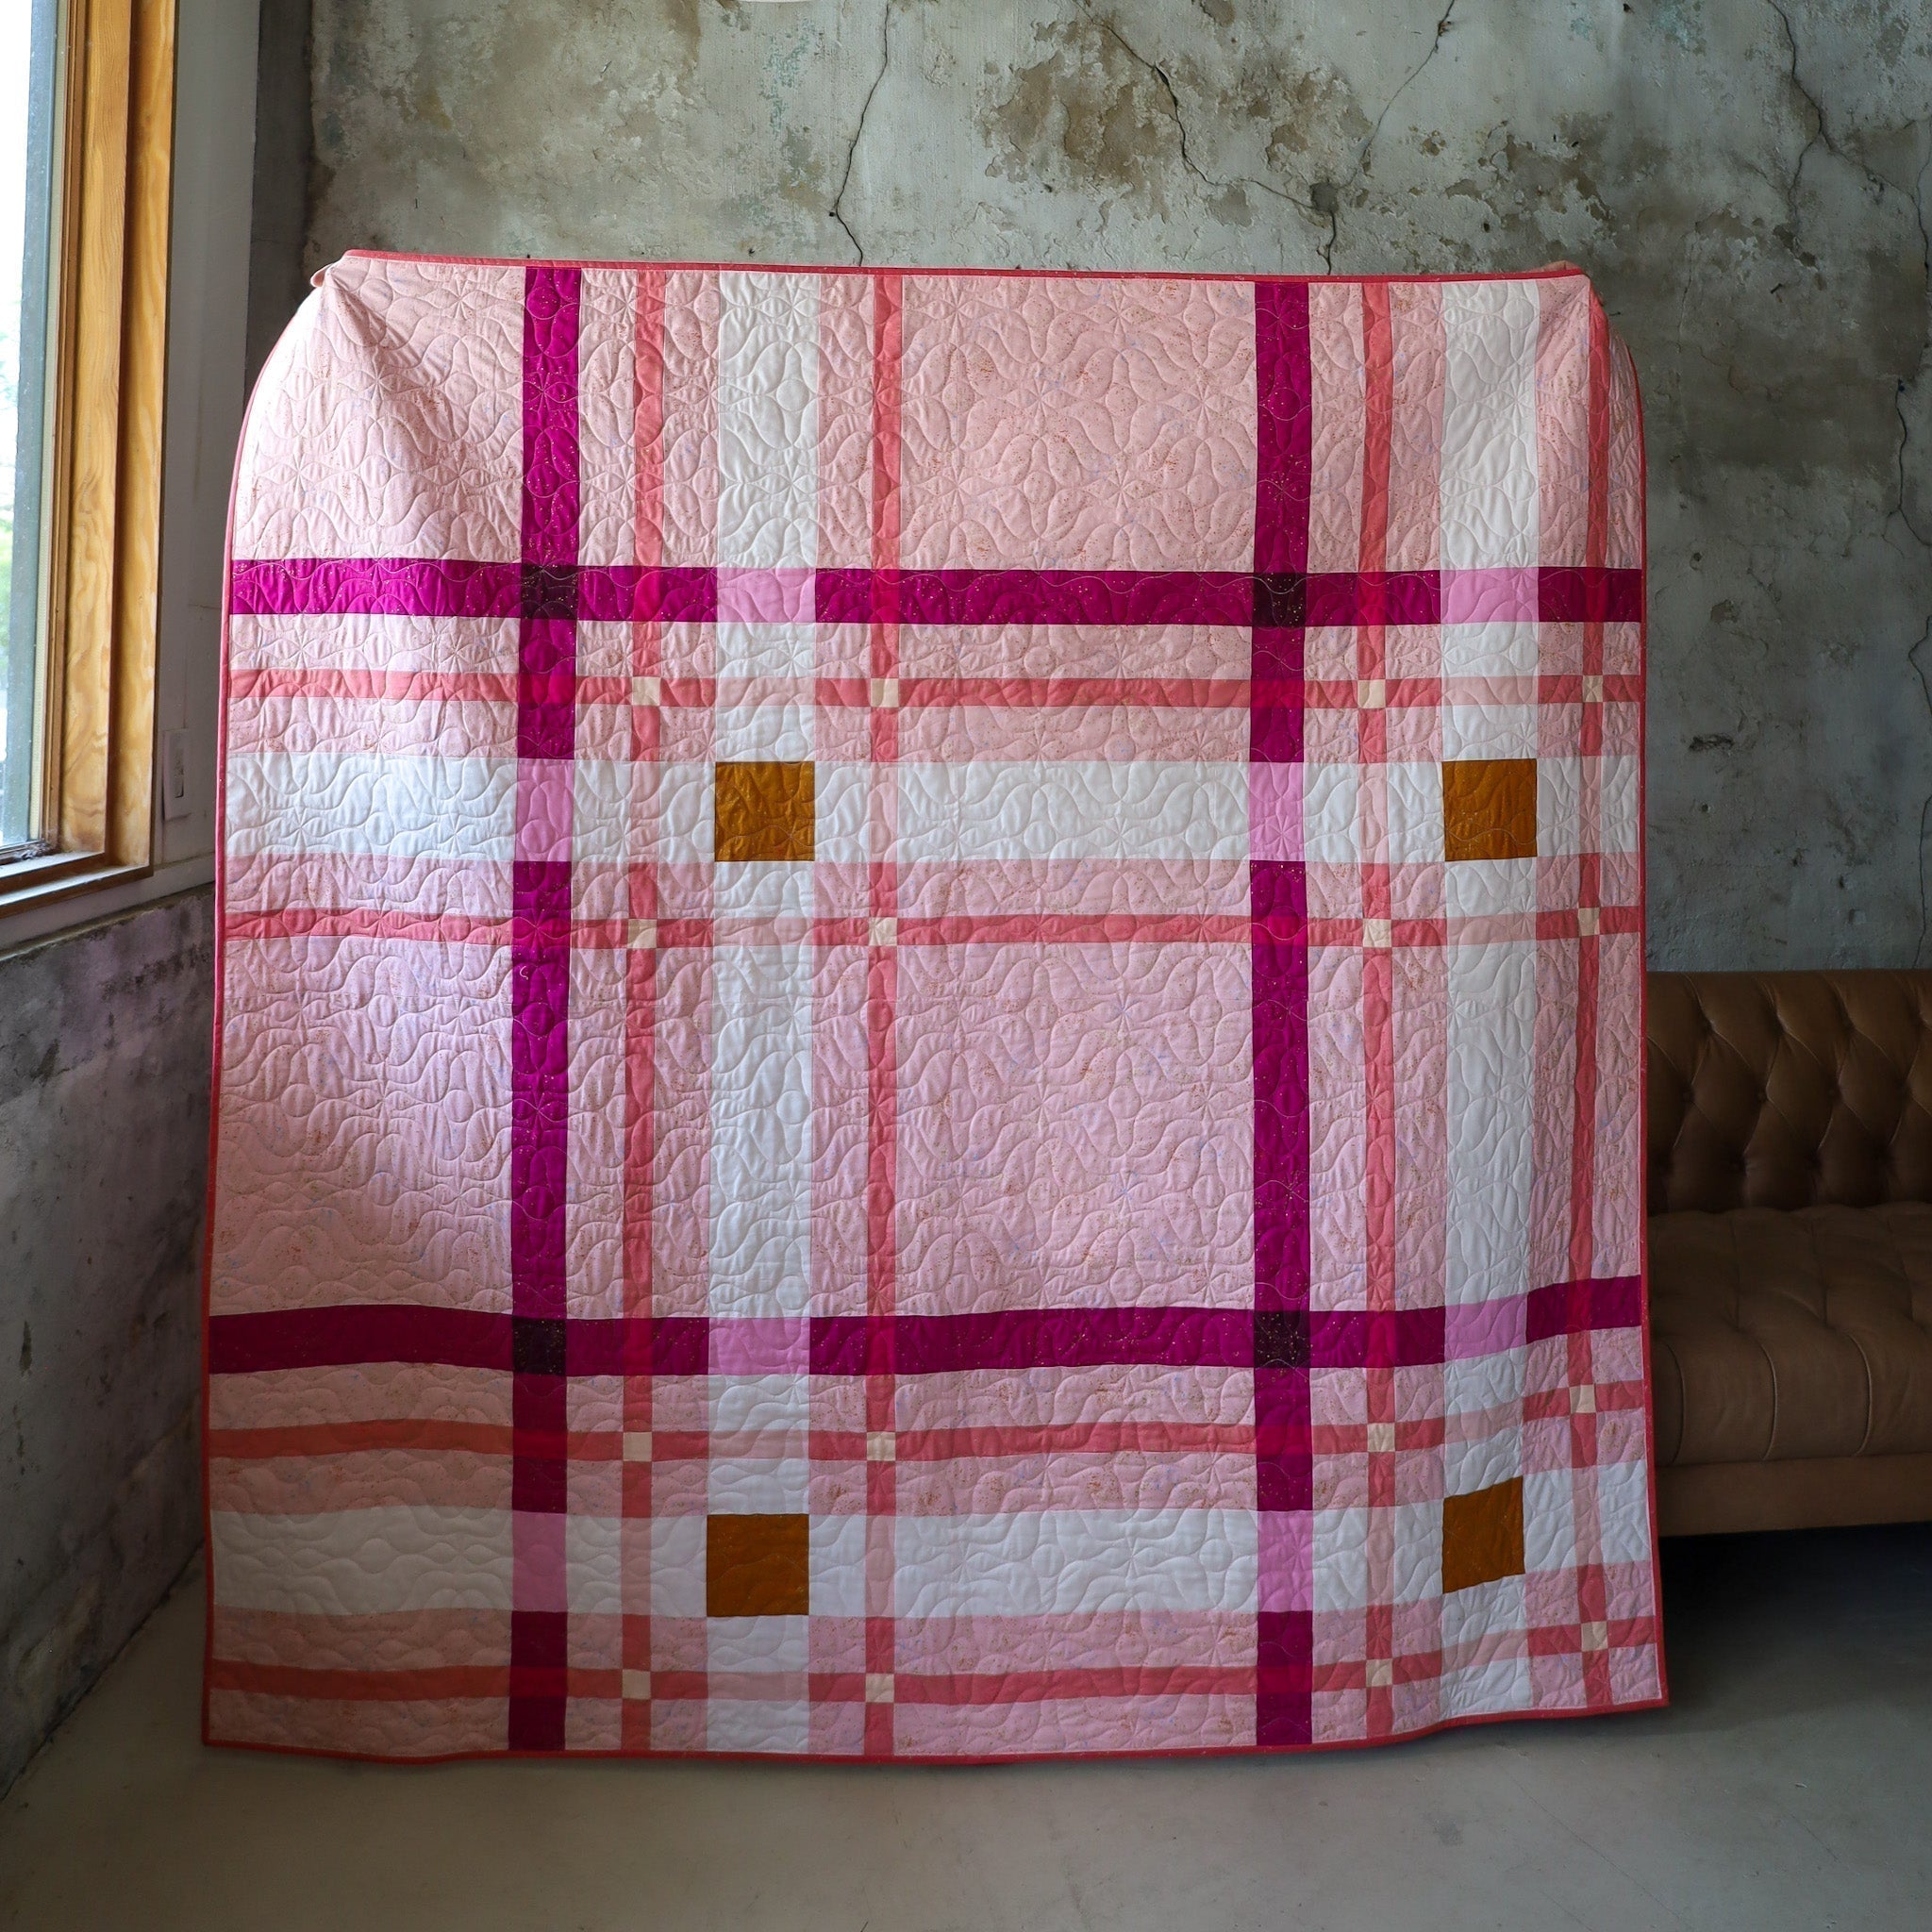
Quilt featured above is the Upscale Plaid quilt pattern.
Bonus tip: Cut the right length.
If you are sewing strips on something like a border around your quilt, always remember to measure your pieces and cut them to the exact length that you need. Sewing a longer strip then trimming off excess can sometimes make that seam wonky and also create extra "fluff" on the other side of that strip. It's tempting, but I've found that when I slow down and really take the time to measure and cut what I need (or cut what the pattern tells me to), then pin that strip in place, but the end result is always a better outcome. .
That's all for now, my friends! I hope you found these tips helpful…and that all your long seams come out perfectly! :)
Happy sewing!
-Brittany
| Updated July 14, 2025 - All the information is the same, but we made it a little easier to read! |
.
.
.
.
.
This post contains affiliate links. If you purchase an item through my link, I receive a small commission from that purchase. This doesn't cost you anything extra. I only recommend what I truly love!