Heirloom Hearts QAL - Week 2
Hello and welcome back! It's Week 2 of the Heirloom Hearts Quilt Along! By this point, you should have all of your fabrics cut. Yay! Now let's move on and start sewing! Here's a look at our schedule:
- Week 1: Jan. 10th - Cut Fabrics
- Week 2: Jan. 17th - Sew Heart Blocks
- Week 3: Jan. 24th - Sew Nine Patch Blocks
- Week 4: Jan. 31st - Assemble Forty-Nine Patch Blocks
- Week 5: Feb. 7th - Assemble Quilt Top
.
Week 2
First and foremost.....please do not share photos of the *inside* of the pattern. This is copyrighted information for your eyes only. If you would like to include a photo of part of the pattern with your fabric, please use the cover. :)
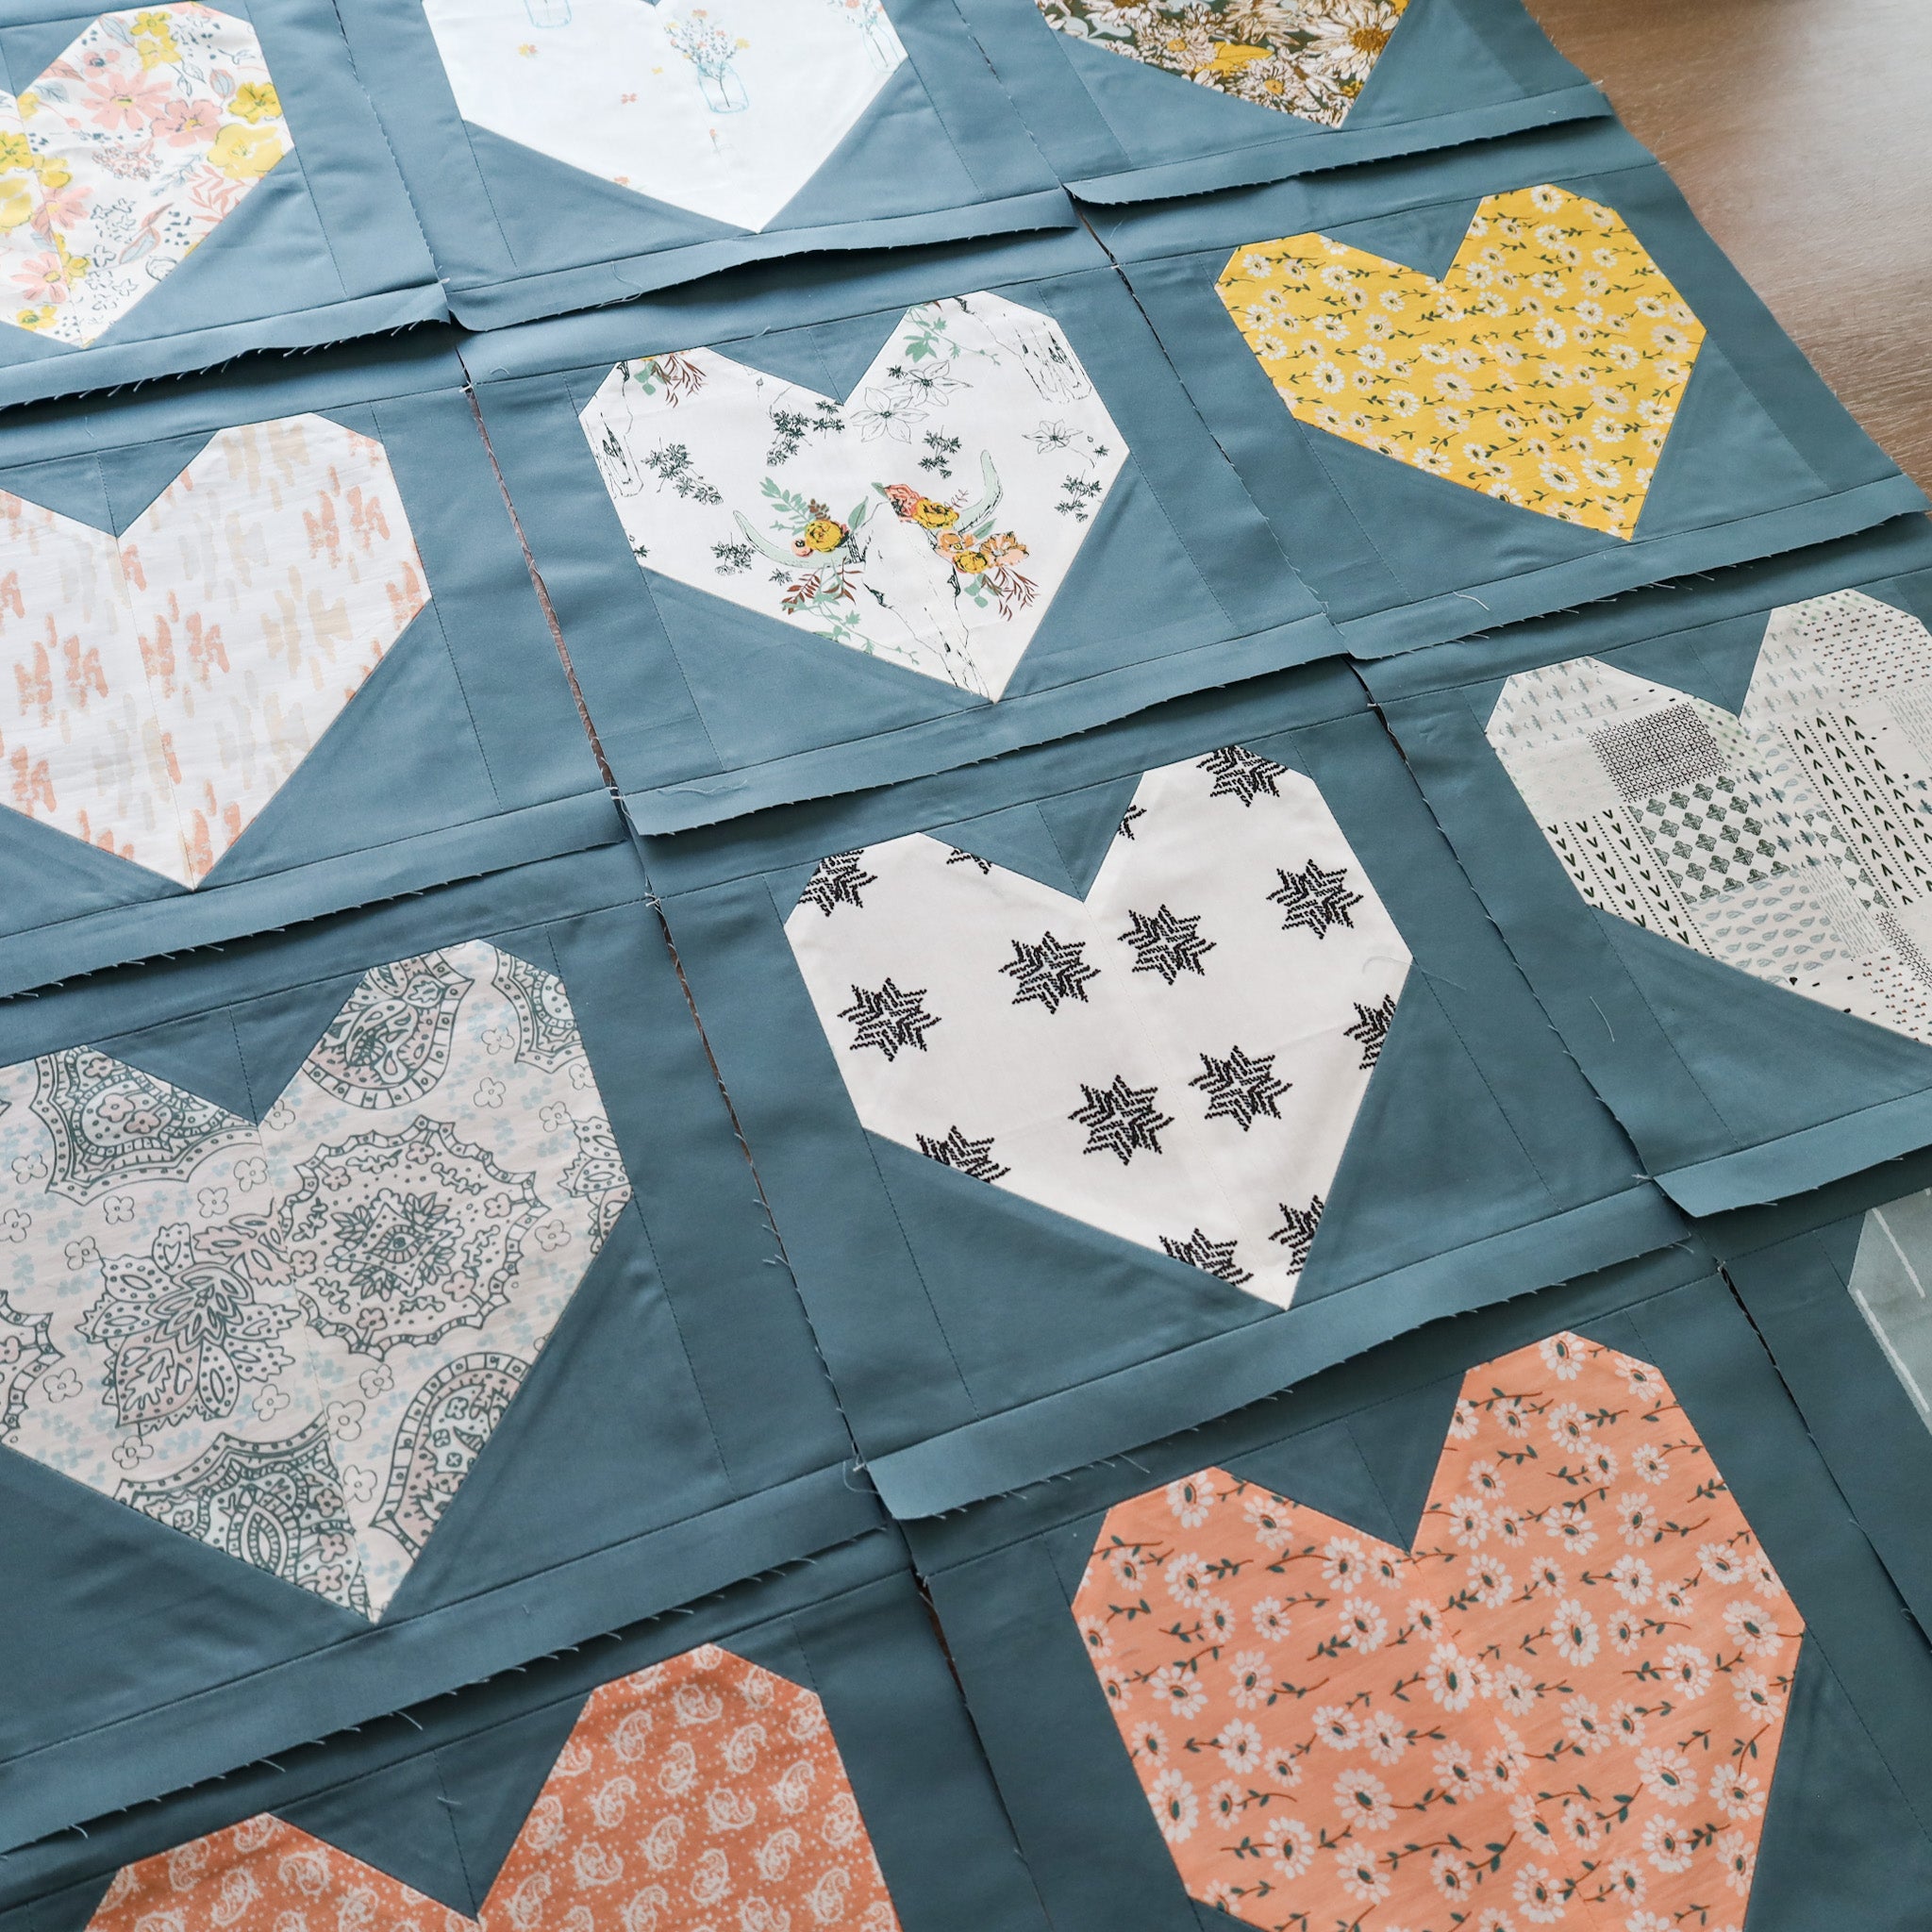
This week, we are constructing all of our Heart Blocks. First and foremost, I strongly recommend making a test block before you get started....especially if you are a beginner or if it's your first time doing a "stitch and flip" technique.
.
If you are wondering why the Background strip on top of the block is larger than the Background strip on the bottom of the block, let me show you why! When I was initially designing this pattern and creating digital mock-ups, I had the hearts dead center in the negative space. However, With the majority of the Heart fabric towards the top of the block, it gives the optical illusion that the block is higher in the negative space than it really is. Take a look at the photo below. The one on the left uses a larger strip on top. The one on the right has equal size strips on the top and bottom. Focus your eyes on the bottom point of the heart and you'll see what I mean!
.
MARKING
There are a few different ways to "draw" a line on the back of your Background squares. Here are some of my go-to methods:
- temporary marking pen - If you go this route, do some reading before you make a purchase. Some pens are "air erasing" meaning that the mark lasts for a set amount of time before it disappears. You wouldn't want this if you plan to mark your squares one day, then sew them the next. There are also "water erasing" and "heat erasing" pens. As a general rule of thumb, I only ever use pens if I'm marking the WRONG side of my fabric. I've heard too many horror stories of pen marks not disappearing or coming back after a set amount of time. This actually happened with some of my grandmother's quilts, so I'm a always a little leery. A safer option would be a chalk pen.

.

.
- hera marker or butter knife - These tools create a crease in your fabric, which is a much less permanent and cost-effective way to mark your fabric. This is my favorite marking method! Hera markers are relatively inexpensive and literally last forever, but an alternative is the back-side of a butter knife.

.

.
- iron - Another option is to press a crease in your fabric with a hot iron. This might be my least favorite option, just because I feel like the crease isn't quite as crisp.

.

.
- Diagonal Seam Tape or regular masking tape - This is also my favorite method because it require no marking at all! You place the tape on your machine, line up the red line with your needle (or edge of the tape with your needle if you are using masking tape). Then when you go to sew, you'll align one corner with the needle and the diagonal corner with the red line on the tape. As you stitch, keep that corner aligned and voila! Here is a video tutorial for the Diagonal Seam tape!

.
Diagonal Seam Tape alternative: masking tape

.
FABRIC ORIENTATION
Once all of your squares are marked (I like to go ahead and mark everything to set me up for chain piecing), separate your heart pieces into two piles, a "Left" pile and a "Right" pile. If there are directional fabrics, be sure they are oriented correctly. For example, the fabric seen below is directional, so I want to pay attention to how I have it rotated so that it's not upside down in my quilt.

.

.
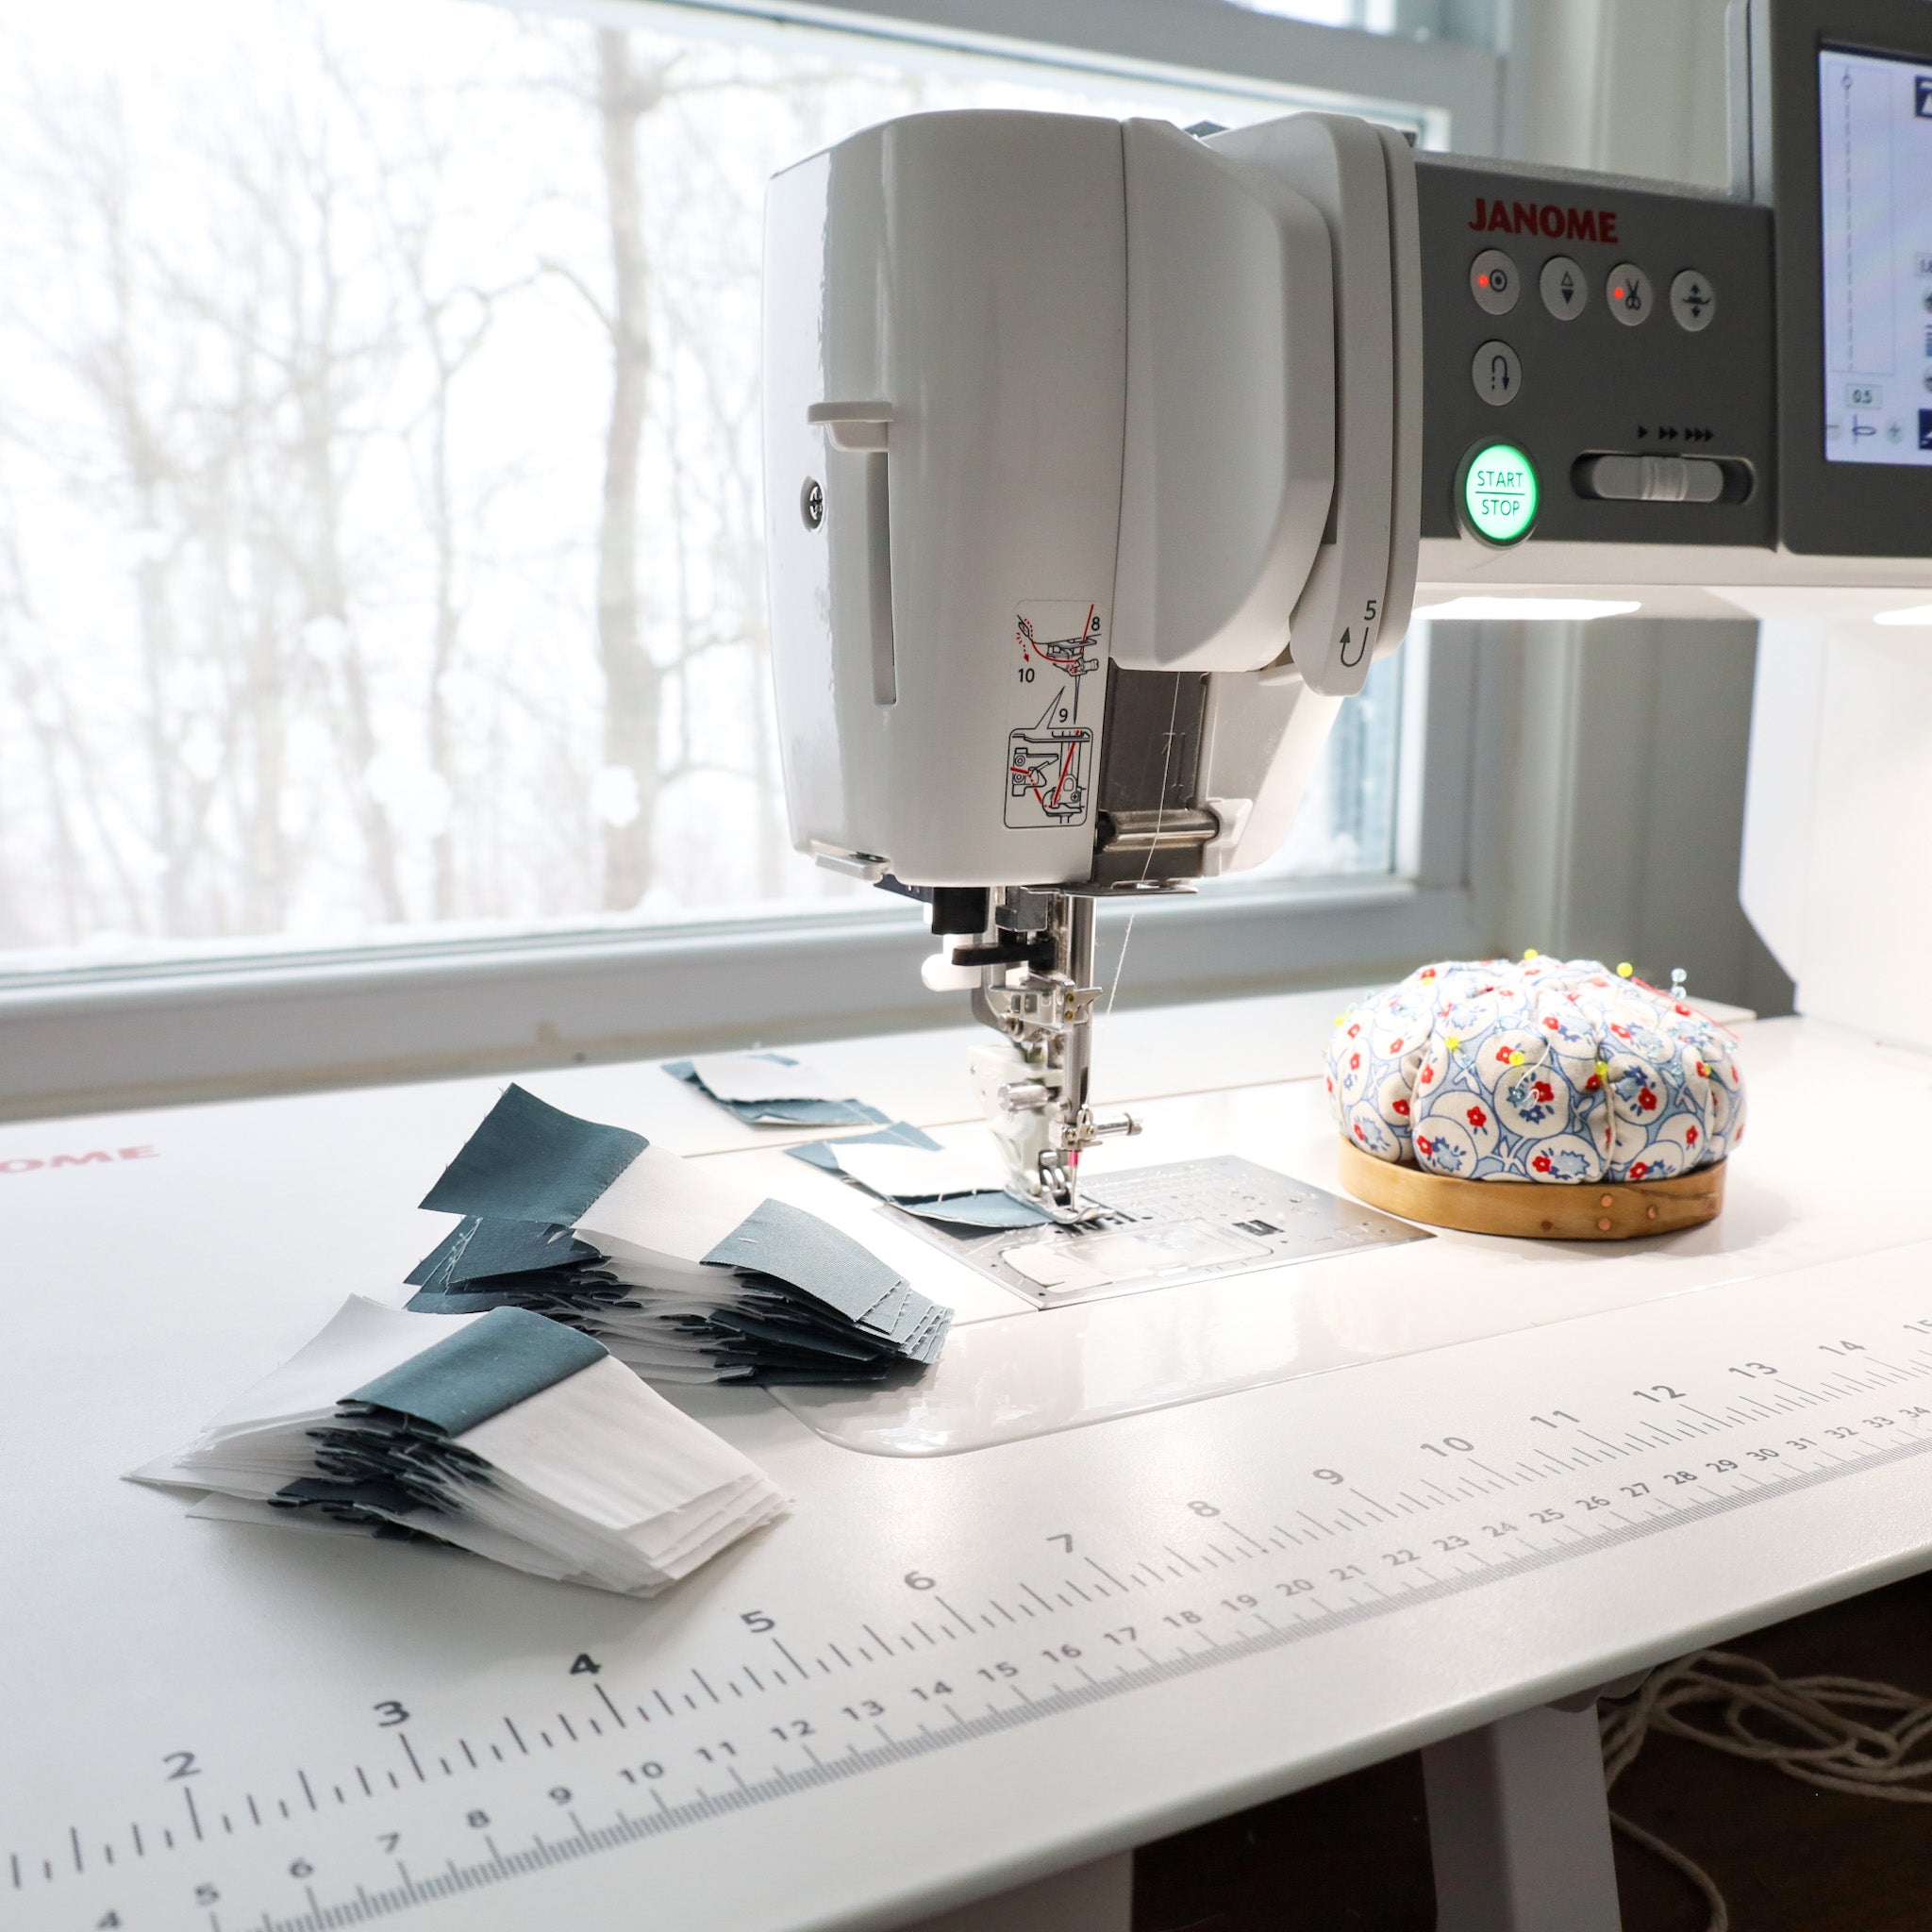
CHAIN PIECING
Once I have everything organized and laid out, then I sew my Background square to my heart pieces. Instead of doing once piece at a time, I always like to chain piece like-tasks. So I'll chain piece all of my Left Side pieces, then all of my Right Side pieces. This simply means that you stitch all of your seams as one continuous "chain" piece to save time, energy and thread. Once you are finished, simply snip the connecting stitches and move on to trimming!

.

.

.
.
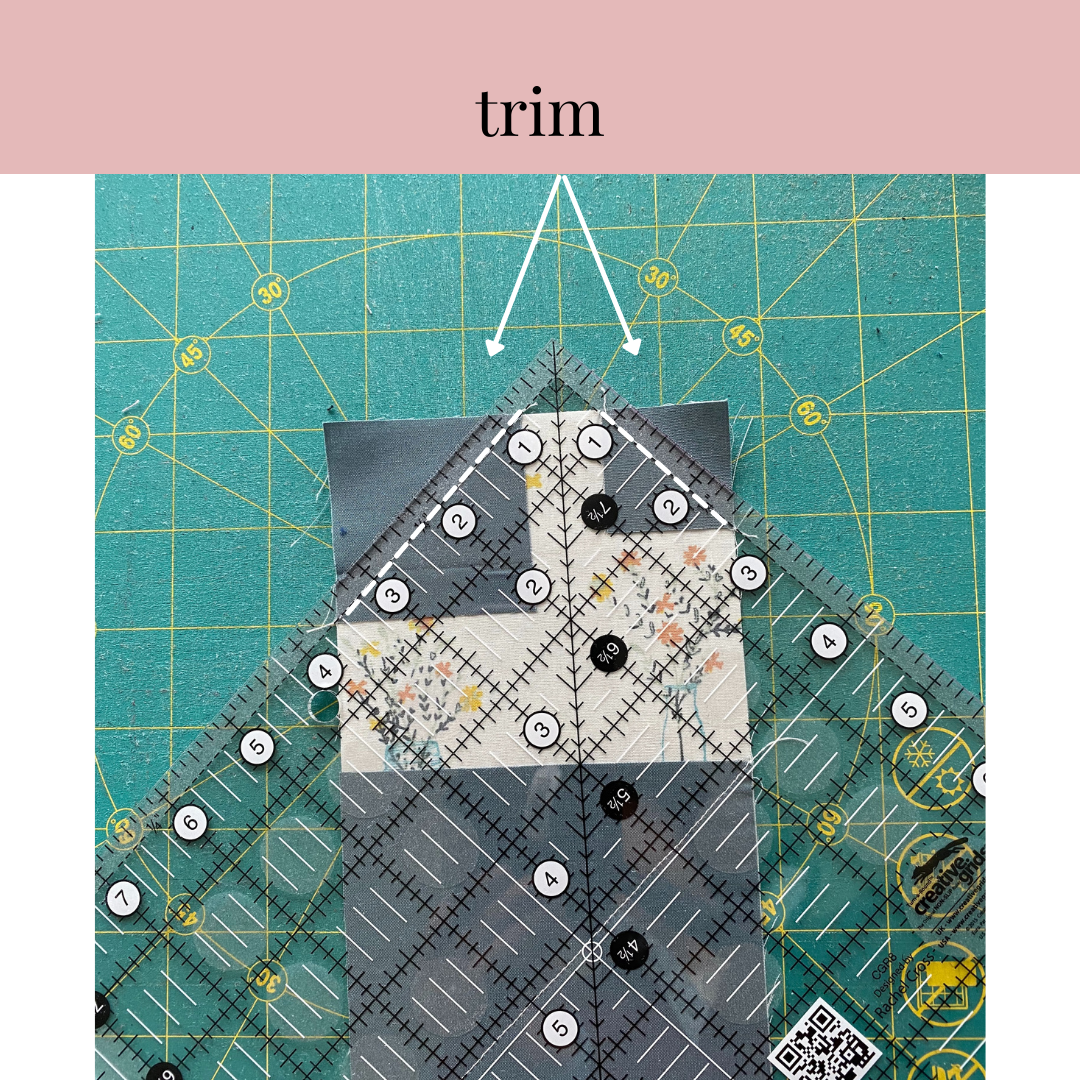
TRIMMING
Once all 3 of the Background squares are sewn to each Heart piece, you'll trim away the excess fabric to create your 1/4" seam. I like to cut my two top squares as seen below....this way I only have to place my ruler once for those cuts.
.
For the larger seam, you can either trim those one at a time.....

.
Or stack them on a line on your cutting mat and trim multiple at once. If I do this, I always give myself a smidge more than 1/4", just in case.

Again, you can see with some of those bottom pieces that I'm giving myself a seam allowance that's larger than 1/4". I would rather give myself too much than too little. As long as the seams are at least 1/4" then you're good to go!
.
.
PRESSING SEAMS
I've found that pressing seams open for this step give the best results. To do that, use your fingers to open up the seam and press the wrong side. Then flip the block over and press the right side. If you plan to use a tailor's clapper, I usually wait to do that until the final step.

.

.
SEWING STRIPS
Any time you sew long strips of fabric, there is a natural tendency for those strips to stretch as you sew. Pinning really helps decrease that risk and keep everything lined up and in place.

.
When you go to sew the bottom strip, consider pinning it in place and sewing with it on the bottom of the block so that you can visualize that 1/4" overlap. You want your needle to hit right where you see the "v".

.
If you like to press your seams open, you can press the seams from Step 3 open instead of to one side. It's really whatever you prefer! Personally, I really love the flat look, but it is much more speedy to press to one side. Try out both ways and see what you think!

.
If you have a tailor's clapper, this is a good place to use it. I normally press with my iron for a few seconds, then immediately follow up with pressing with the clapper for a few seconds. This helps keep the seams nice and flat.

.
An alternative (or an addition) to the clapper is to stack your blocks and place a ruler with something heaving on top. I usually let these sit overnight and it helps keep those seams super flat as well.

.
.
OTHER TIPS
- If your machine "eats" your fabric as you are doing these steps, this can be a common problem! Check and see if your machine came with another needle plate. Ideally if you can use a needle plate with a single, small hole for the needle, that'll help. Also using a "leader" piece of fabric can help as well. This is just a scrap piece of fabric that you start sewing on to begin your seam, then you'll stitch off that fabric and onto the fabric for your quilt. The thought is that the tension from the leader will keep the following fabric above the needle plate. Once you get going, continue to chain piece.
- With this "stich and flip" technique, it's always a good idea to use a fresh needle (I really like sewing with a Microtex needle) and a 2 ply, 50 weight thread like Aurifil. If your thread is thicker, it can throw off your final results.
- Some people sew *just beside* the drawn line to create a "scant seam" situation. You can always do this and then trim away excess if you need to after you press the seam.
- Your strips in Step 3 should fit perfectly. If you go to sew the top and bottom pieces to the block and they're longer than the block, then your seam allowance in the previous step was too large. If you go to sew the top and bottom pieces to the block and they're shorter than the block, then your seam allowance in the precious step was too small. You'll want your final block measurement to be exactly what the pattern says in the pink box. If it's anything different than that number, then you might run into problems when you get to sew your blocks together later on.
.
.
PRIZES
We will have one giant Grand Prize bundle at the end of the Quilt Along! Enter to win the bundle by sharing a weekly photo of your progress. Use the hashtags #heirloomheartsQAL, #heirloomheartsquilt and #loandbeholdpatterns and you'll be automatically entered to win! Just make sure your account is public so that we can see your post. :)
Each week, I'll reveal one portion of the prize bundle. Remember that one winner will win everything in the bundle!!
This week, we are adding a $50 gift card to Saltwater fabrics!

.
Here's what our Grand Prize bundle looks like so far:
- $50 gift card to our shop (can be used on anything!)
- $50 to Saltwater Fabrics
.
I think that's all for now! Next week we will create our Nine Patch Blocks! I'll see you then. :)
.
Brittany