FREE - Patchwork Squares Quilt Pattern

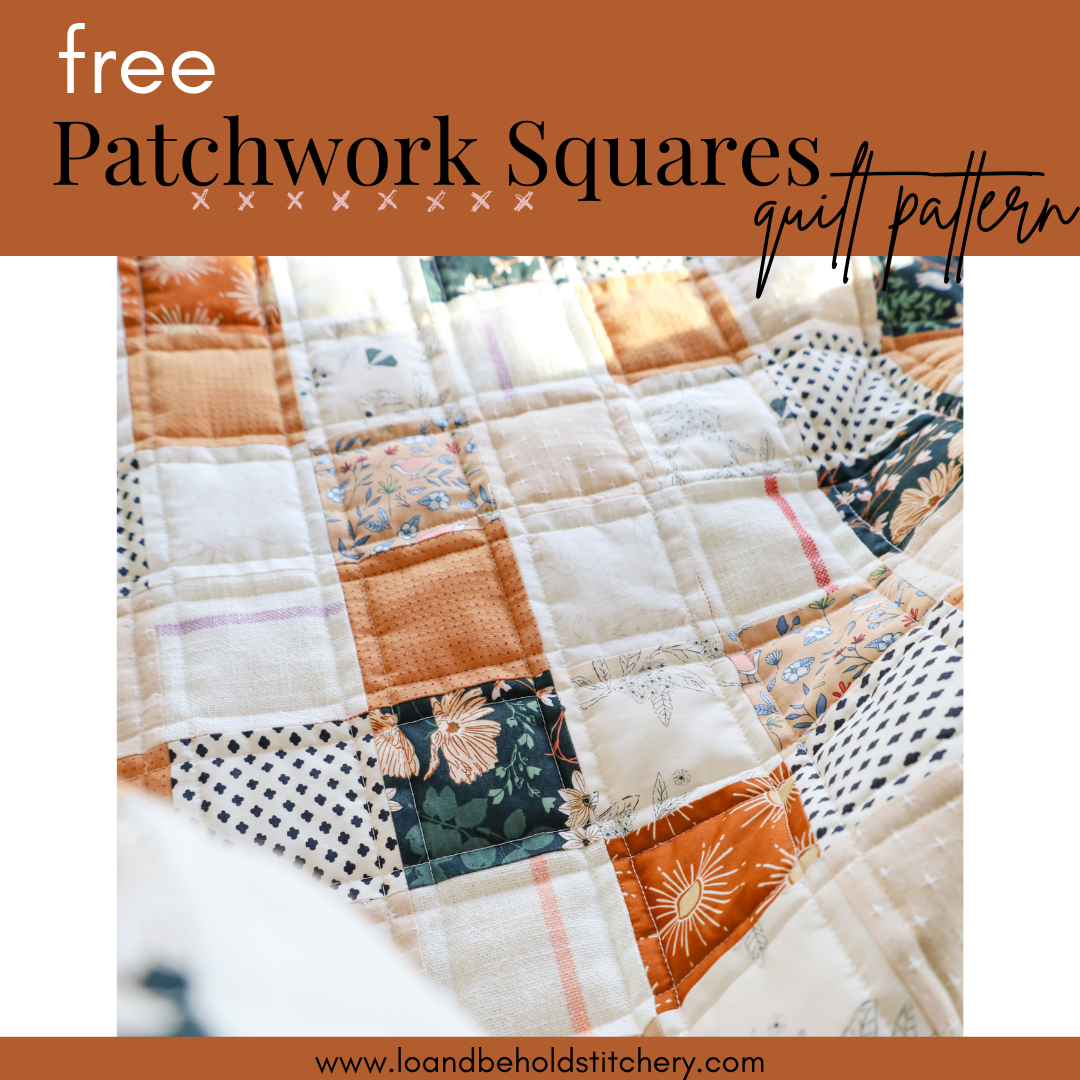
There is something so classic and simple about a patchwork square quilt. It feels homey, vintage, yet simple enough to be classified as "modern." When I first started quilting, I made my fair share of patchwork square quilts. They are fun, quick and easy and a great way to show off a pretty group of fabrics. It's been several years since I made my last square quilt, but I still get emails and questions about those quilts to this day. So I figured it was time to do some math and write up a free pattern for ya'll. Keep scrolling for specifics, or you can download the free PDF below.

.
FREE Patchwork Squares Quilt Pattern
When it comes down to it, you can really make a patchwork quilt out of any size square you'd like! Personally, I love the look of 3" finished (3.5" unfinished) squares because they really work well with a wide variety of print scales. Meaning most large scale prints still look good in a 3" square. And a 3" square isn't so large that a small scale print gets lost within the quilt. 3" finished has always been my go-to square size.
I used our "Garden Room" 9 piece half yard bundle, which can be found in our shop here. The fabrics are:
- Bluebells & Buttercups (AGF)
- Unknown
- Unknown
- Goodness Thoughts (AGF)
- Chore Coat Stripe in Sunset
- Diamond Textiles - Primitive PRF-705
- Lovebirds Amber
- Diamond Textiles - Nikko Topstitch 4813 Butter Rum
- Gleaming Sun Copper

.

.
Quick note about finished vs. unfinished: finished means that it is already sewn into the quilt and there is a seam on all 4 sides of the square. Unfinished means that is is not sewn into the quilt yet, so you cut the square at 3.5" unfinished and it measures 3" finished. So essentially, if your seam allowance is a standard 1/4", then you'll subtract 1/2" total from the unfinished measurement to give you your finished measurement. Make sense?
.
QUILT MATH
So the math is really easy for this quilt. Say that you want to make a quilt using 2.5" unfinished squares....you'll cut your squares at 2.5" x 2.5" and once they're sewn into the quilt, they'll finish at 2". So if you are looking to make a baby size quilt, you'll multiply 2" by the number of squares in a row and column and that'll give you the finished size of your quilt. So if you do 20 squares across and 25 squares down, 20 x 2" = 40", so that would be the width of the quilt. Then 25 x 2" = 50", so that would be the length of the quilt. So the finished quilt size would be 40" x 50".
So just remember to use the finished measurement in your calculations and you can customize this pattern to make any size square and any size quilt you'd like!
Even though 3.5" unfinished is my preferred square size, I'm also very aware of the fact that most beginners would probably appreciate the ability to use precuts. Meaning Precut 5" squares would make the perfect square quilt because it wouldn't require any cutting. SCORE!
With this in mind, I also included instructions for how to use Precut 5" squares (sometimes referred to as a Charm Pack). So this means that you can either use 3.5" or 5" squares. Of course you can make your squares any size you'd like, but this is what I did the math for. :) So there's a Baby and throw size for each of those two options.
.
FABRIC REQUIREMENTS
Here's a look at the fabric requirements:


.
If you are using 3.5" squares, there is not any room for error for ¼ yards, FQ and ½ yards. One ¼ yard should render (24) 3.5” squares. One FQ should render (30) 3.5” squares. One ½ yard should render (60) 3.5” squares. If you would prefer more wiggle room or to account for miscuts, you may need more fabric.
Download the pattern for specific cutting charts, especially if this is your first quilt. There is also a detailed assembly diagram that includes instructions for pressing your squares to create nesting seams.

.

.
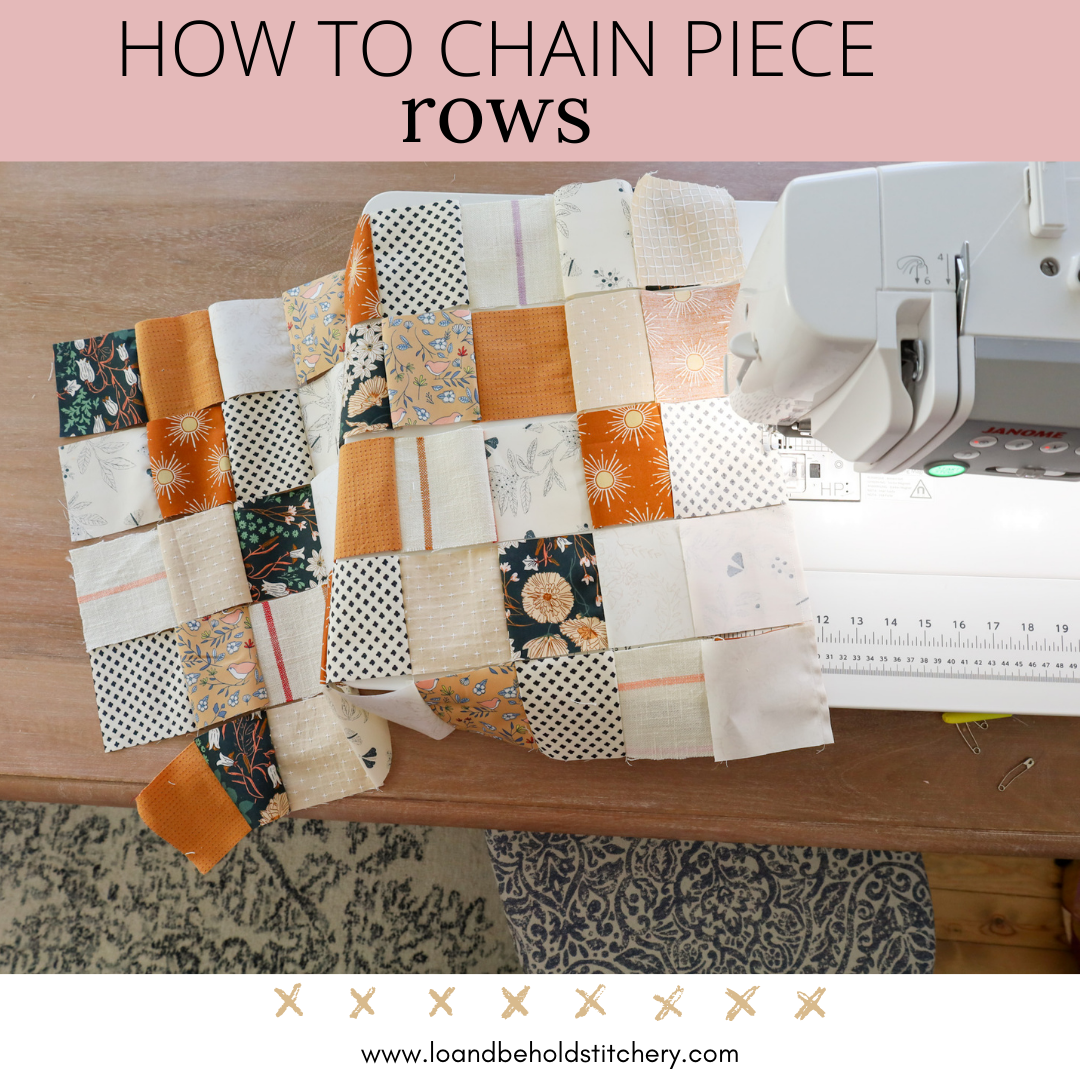
One thing that I really love about this pattern is the ability to chain piece everything! I have a new blog post with video tutorial for this process, so be sure to check that out!
Chain Piecing Rows Blog Post - WITH VIDEO!
.

.

.

.

.

.
For my sample quilt, I made the Throw size using 3.5" squares. It was the biggest patchwork squares quilt that I have ever made and it was quite enjoyable. :) I decided to use Quilter's Dream Wool batting and a fabric called Lindon's Orchard for the backing.

.
I machine quilted this quilt on my Janome M7. I decided to do lines that are 1/4" away from the seams, which really give it a classic look. You can find my machine quilting tutorial here.

.

.
For the binding, I initially thought I would do a classic stripe or a darker fabric to frame the quilt, however both of those options felt a little too busy for what the quilt needed. So I ended up using Lindon's Orchard, the same fabric as the backing. I love that it gives a peek of purple on the front now too. :)

.

.

.

.

.

.
MOCK-UPS
There are some mock-ups in the pattern that include only solids, but here are some extra mock-ups using prints. The first two are from a fabric collection, which is always a great place to start when choosing fabrics. Feel free to add in some solids or low volume fabrics to give the eye a place to rest. You can find all three of these bundles in our shop, just click on the links. :)
.
Egg Hunt 12 piece FQ bundle by Art Gallery Fabrics

.
Shine On fabric collection by Sharon Holland + some PURE Solids

.
I recently announced my 24 piece FQ bundle with Robert Kaufman, which you can read about here. I just might have to make a sample of this!

.
I hope you enjoy this pattern! Please tag me on social media @LoAndBeholdStitchery and use the hashtags #patchworksquaresquilt & #loandbeholdpatterns so we can all see your beautiful creations!
.
Looking for other resources to create your own fiber arts? Check out this blog post from Porch.com for resources on how to decorate your home with macrame, crochet, knitting and quilting!
.
LINKS:
- FREE Patchwork Squares quilt pattern
- Chain Piecing Tutorial - with video!
- Garden Room 1/2 yard bundle
- Lindon's Orchard Backing Fabric
Enjoy!


